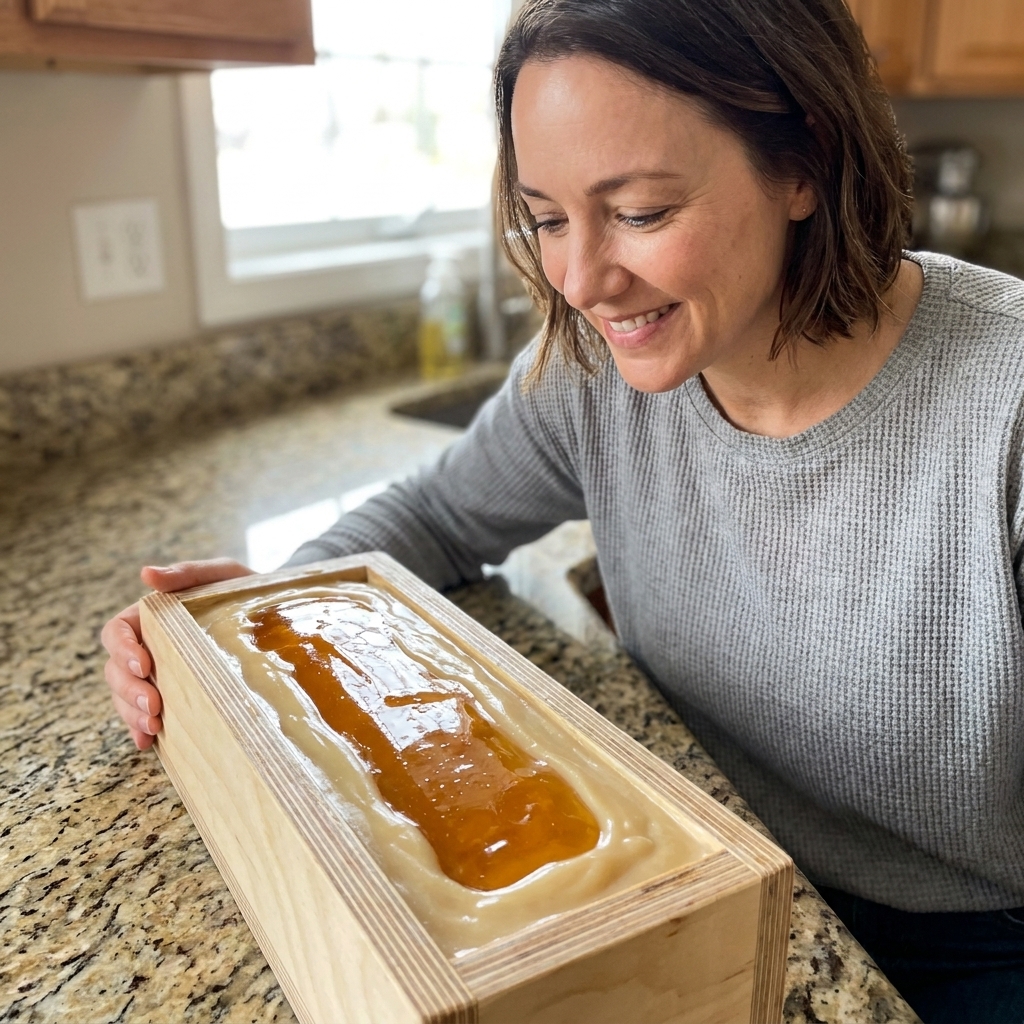
Gel phase is one of those soapmaking moments that feels a little magical the first time you catch it. You peek under the towel and your batter has turned glossy and translucent, almost like warm petroleum jelly, and the colors suddenly look deeper. Then you panic because it is also very hot.
Good news: gel is normal, it is common, and it is often something you can choose on purpose. “Often” matters here, because some fragrances, very small batches, and extreme room temperatures can make gel or no-gel hard to guarantee. But once you understand what drives gel, you can usually steer it for vibrant, punchy colors or keep things cool for a creamy, matte look.
What gel phase is
In cold process soap, oils and lye solution react and create heat. If the soap gets warm enough while saponification is underway, the structure temporarily shifts into a gelled state. The soap looks darker and more translucent while warm, then firms back up as it cools.
Think of gel phase as the soap going through a hot, active middle stage. It is not “extra cooked” soap, and it is not a mistake by itself. It is simply a temperature-driven phase change during the reaction.
One helpful reality check: gel temperature is not a single magic number. It varies by recipe, batch size, and mold. In a hot batch, soap can climb into temperatures that are uncomfortable to touch and high enough to crack or volcano, so respect the heat.
Why some batches gel and some do not
Whether a batch gels depends on how much heat is produced and how well that heat is held in the mold. These factors matter most:
- Batch size: larger volumes hold heat better and gel more easily.
- Mold material: silicone and wood insulate; thin, uninsulated molds, especially metal, lose heat faster.
- Room temperature: a cold house can prevent gel, especially in small molds. A very warm room can push a batch toward gel even if you do not insulate.
- Lye and oil temperatures: warmer mix temperatures encourage gel.
- Recipe makeup: sugars, milk, honey, beer, and some fragrances can increase heat and overheating risk.
- Slow, high-olive formulas: these often gel more slowly and can be more prone to partial gel if the edges cool before the center catches up.
- Additives: some fragrance oils accelerate trace and heat; some colorants look different in gel.
How to tell if your soap gelled
You can spot gel phase in a few ways, depending on timing and your mold. Gel can show up anytime in the first 24 hours, not just in the first couple hours, especially with cool pours.
In the first 24 hours
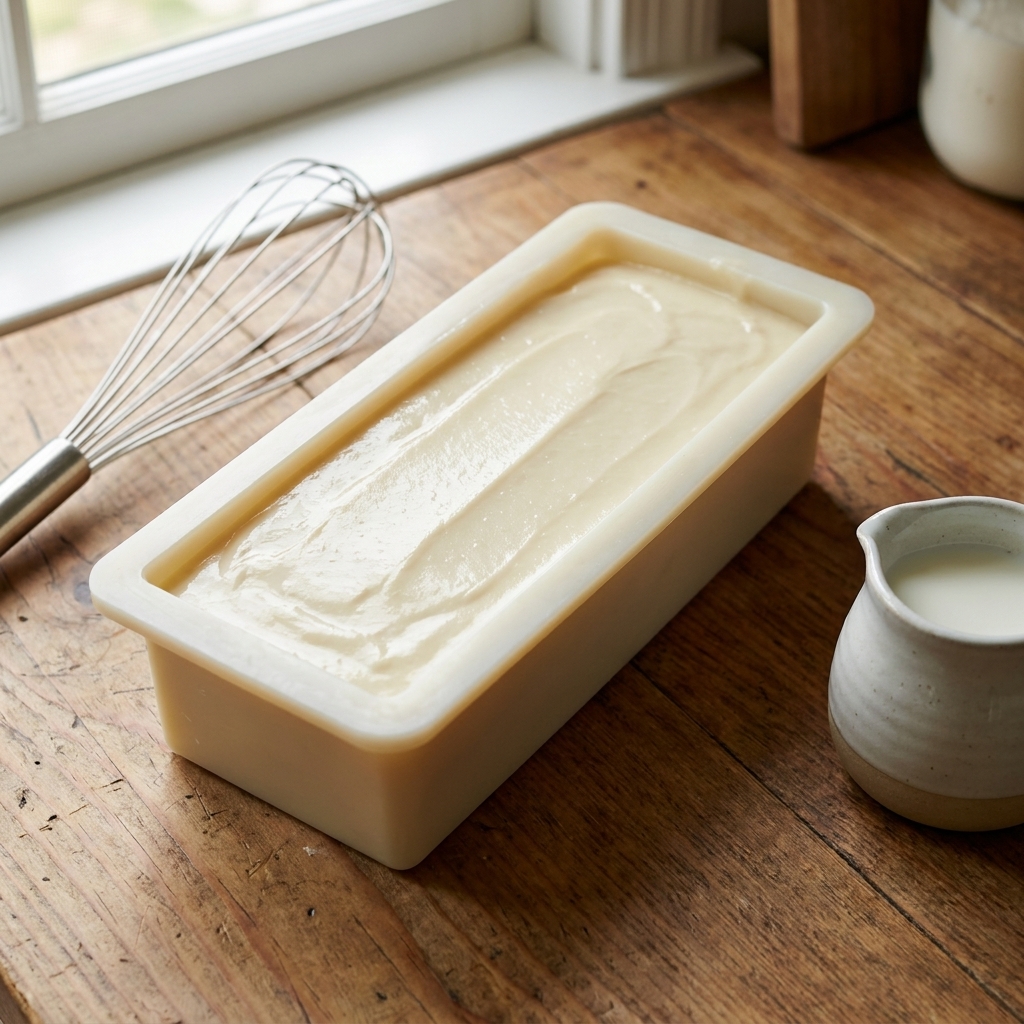
- The soap may look glossy on top.
- In a loaf mold, you might see a darker, translucent circle in the center that slowly expands outward. Soapmakers call this a “gel ring.”
- The mold can feel surprisingly warm, sometimes hot.
After unmolding and cutting
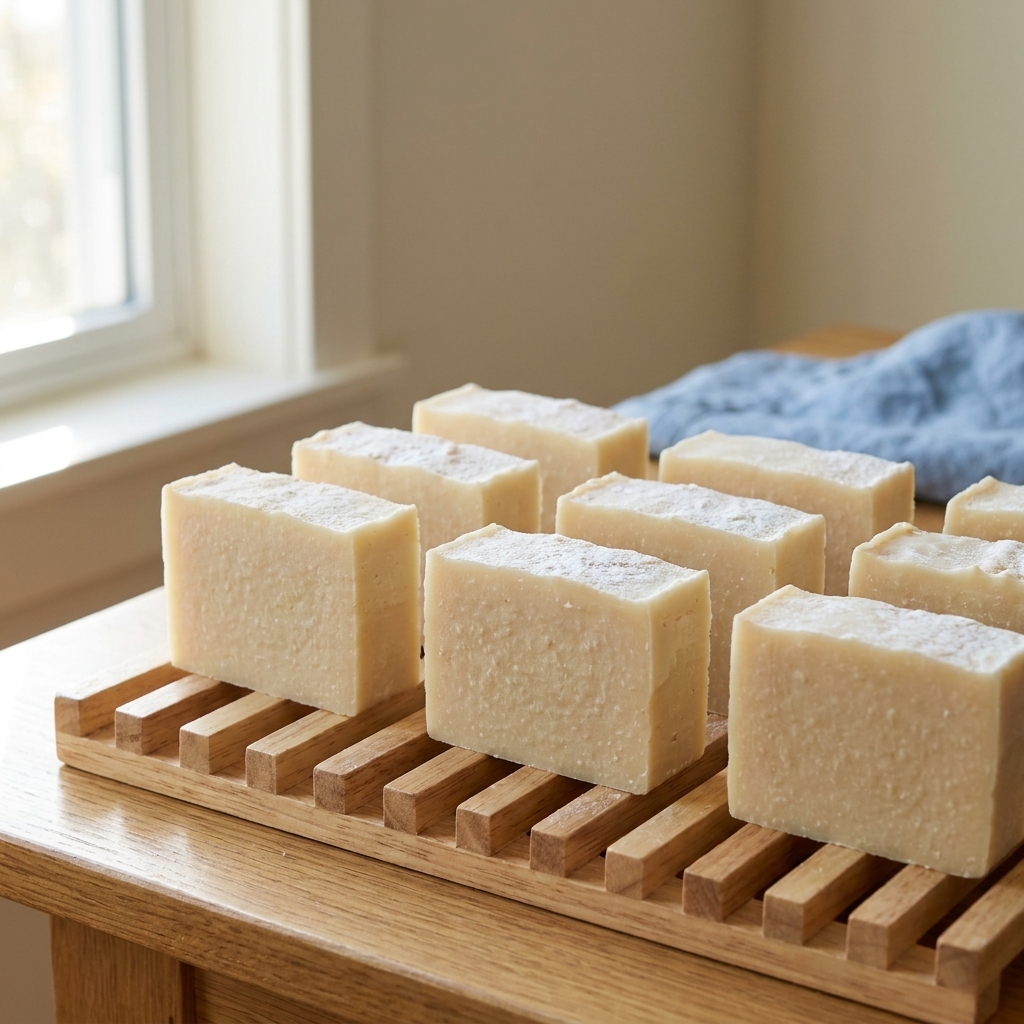
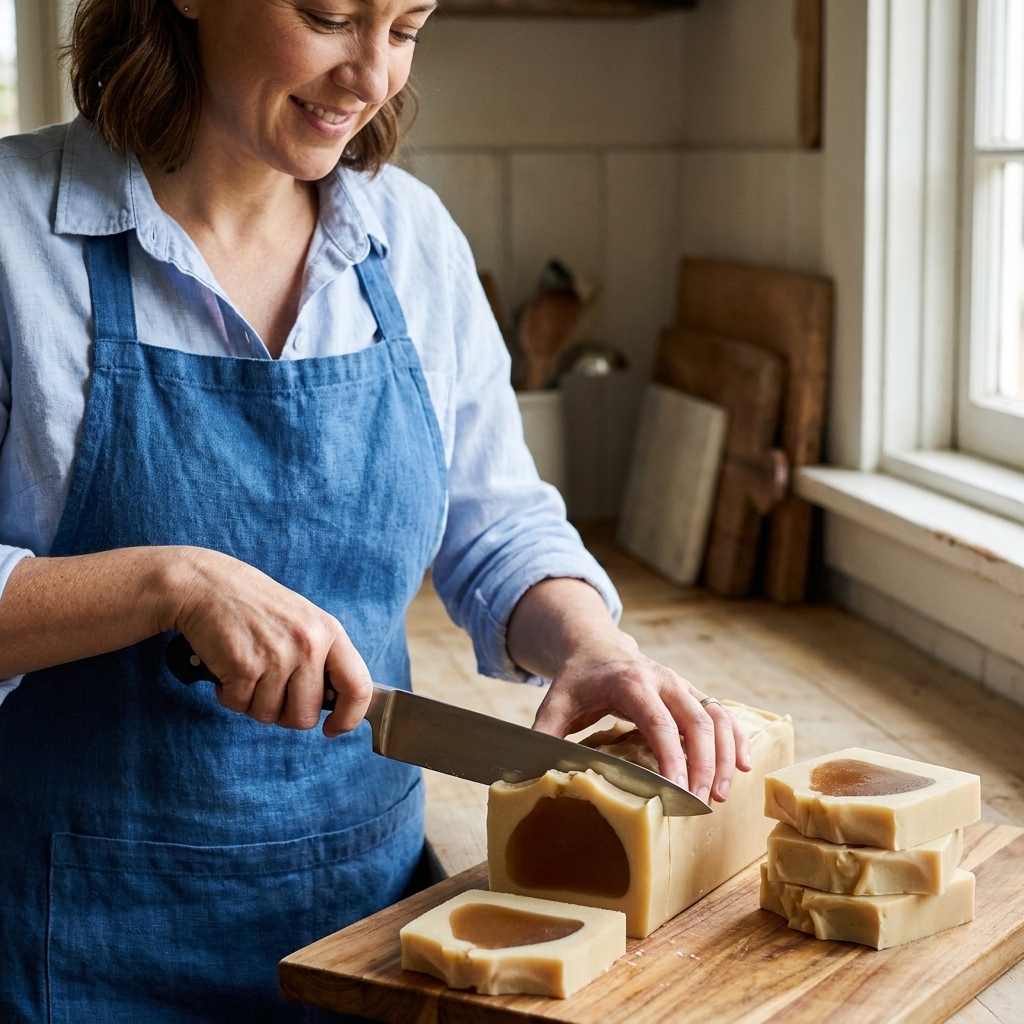
- Gelled soap often looks slightly darker, more saturated in color, and sometimes a bit more translucent.
- Ungelled soap tends to look lighter, creamier, and more matte.
- Partial gel shows up as a darker center with lighter outer edges when you cut the loaf. It is cosmetic.
Pros and cons
Why you might want gel
- Brighter colors: many micas and oxides look richer after gel.
- Clearer contrast: swirls can pop more strongly.
- Less soda ash (sometimes): gelled soap is often less prone to ash, but it is not a guarantee.
- Faster early firmness: bars can feel firmer sooner, though cure time still matters.
Why you might avoid gel
- Pastels and milk soaps: you may prefer the soft, creamy look of ungelled soap.
- Overheating risk: sugars, milk, honey, beer, and some fragrances can push temps too high, leading to cracking or volcanoing.
- Glycerin rivers: high water content plus high heat and titanium dioxide can create translucent “rivers.”
- Partial gel: if you do not fully gel, the ring can be visible in the finished bar.
Safety first
Gel phase itself is not dangerous, but the temperatures involved can be. Treat a freshly poured mold like a hot dish coming out of the oven, especially if you are insulating or using a heating method.
- Set molds on a heat-safe surface away from pets and kids.
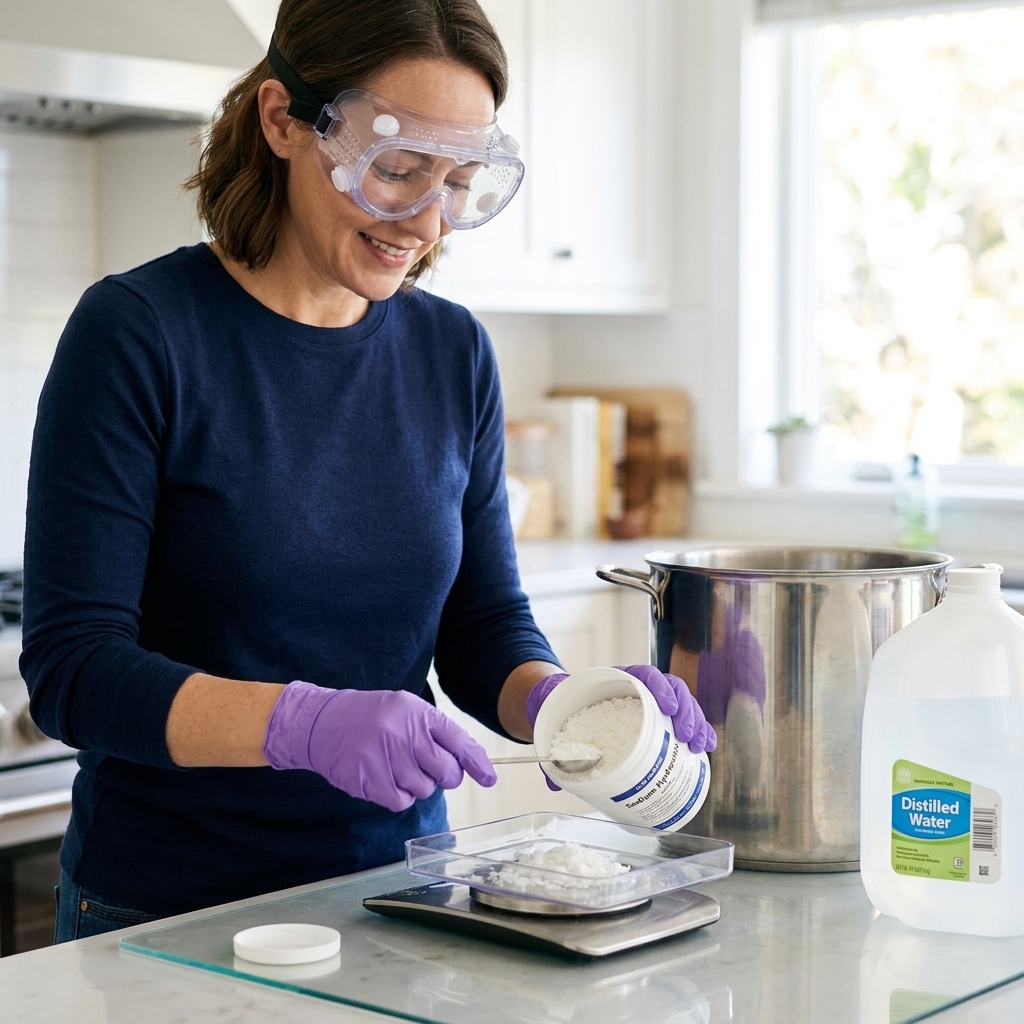
- If you need to move or manage a hot, soft loaf, wear gloves and eye protection. Hot soap is still caustic in the first stages.
- Do not seal soap into an airtight container while it is heating. You want heat retention, not pressure.
- If your soap starts to crack, dome dramatically, or look like it is rising, it is overheating. Move it to a cooler place immediately and consider a fan.
- With milk, honey, beer, or high-sugar batches, plan your temperature control ahead of time. Those recipes can surprise you.
How to force gel
If your goal is vibrant color and a smooth, gelled look edge-to-edge, you want steady warmth and even insulation for the first several hours. Even then, you cannot control every variable, so think in terms of stacking the odds in your favor.
Method 1: Insulate evenly
This is my everyday approach for most standard recipes without extra sugar.
- Pour at medium trace so the batter is stable and your design holds.
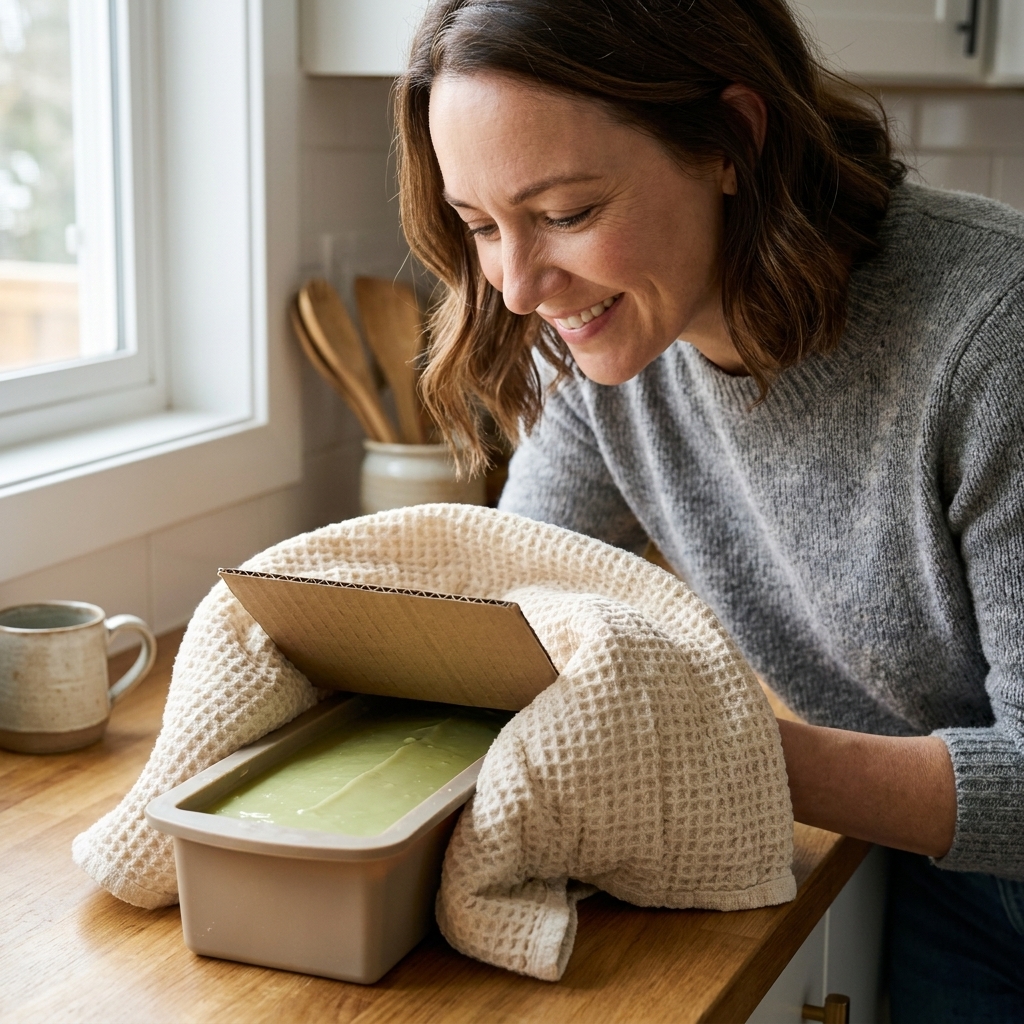
- Cover the mold (a lid or a piece of cardboard works well).
- Wrap with a towel or blanket. One to two layers is usually plenty.
- Leave it alone for 12 to 24 hours in a draft-free spot.
Tip: If you often get partial gel in a loaf, add insulation underneath too. A cold countertop can pull heat from the bottom and edges.
Method 2: Warm oven rest
Oven processing can be wonderfully consistent, but the key is gentle heat. You are trying to help the soap get warm enough to gel, not bake it.
- Preheat your oven to the lowest setting, then turn it off. Many ovens bottom out around 170 F (77 C), which can be too warm for some recipes. If you can, aim for about 120 to 140 F (49 to 60 C) and use an oven thermometer or the simple test that the oven feels warm, not hot.
- Pour your soap, cover the mold, and place it in the warm oven.
- Keep the oven off and do not open the door for a couple of hours.
- After 2 to 4 hours, check once. If it looks glossy and uniformly darker, it likely gelled.
- Let it cool in the oven or on the counter until firm enough to unmold.
Extra caution: For milk, honey, beer, or other high-sugar recipes, oven warmth can tip into overheating fast. I usually skip this method for those unless I am very familiar with the recipe and fragrance behavior.
How to prevent gel
Preventing gel is really about pulling heat away early and keeping the soap from building up warmth. This can be perfect for creamy milk soaps, delicate botanicals, or when you want a soft, matte finish.
Method 1: Cool pour, no insulation
- Soap with your oils and lye solution at cooler temps. Many soapers aim for the 80 to 95 F range (27 to 35 C), depending on recipe and fragrance.
- Use a mold that releases heat well if you have one (individual cavity molds often stay ungelled more easily).
- Do not towel-wrap. Keep the mold uncovered or lightly covered to protect from dust.
This works best in a cool room and smaller molds. Large loaf batches can still gel even with no insulation.
Method 2: Fridge or freezer
Chilling is the most reliable way to prevent gel, especially in loaf molds.
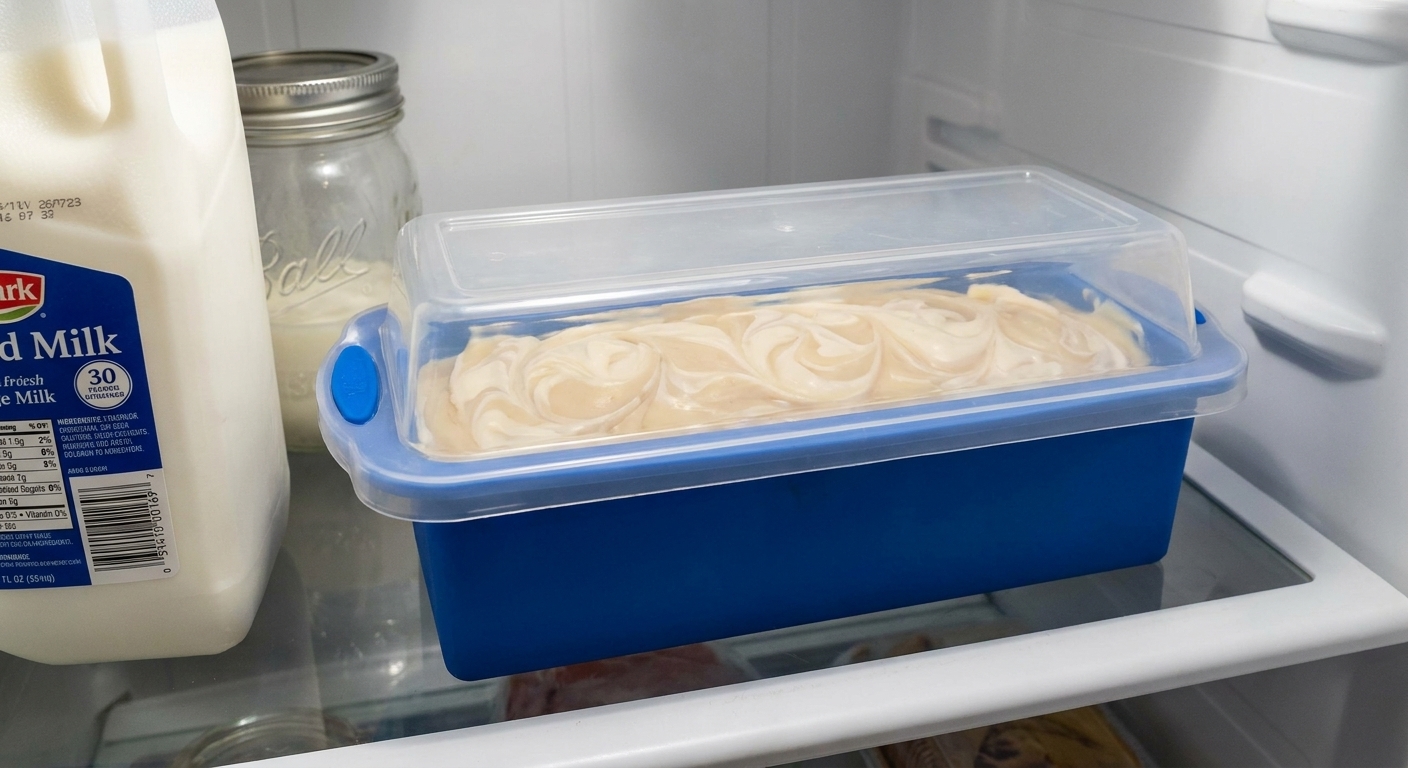
- As soon as you pour and finish the top, place the mold in the refrigerator for 12 to 24 hours.
- If you are working with a very hot recipe (honey, high-sugar, or a fragrance known to heat), start with 1 to 2 hours in the freezer, then move to the fridge.
- After chilling, let the soap sit at room temperature for a few hours before unmolding. This helps reduce condensation and sweating.
Condensation tip: If you see moisture beading on the surface after fridge time, give the loaf extra air time before cutting. A small fan across the room can help dry the surface without blasting it.
Recipe choices and gel
Ingredients that can increase heat
- Honey, sugar, sorbitol: even small amounts can boost heat. Dissolve fully and consider chilling.
- Milk (goat, coconut, etc.): sugars plus proteins can heat and discolor. Many makers prevent gel for a lighter look.
- Beer, wine, cider: sugars and residual fermentation compounds can heat. Degas and consider chilling.
- Fragrances: some heat up, accelerate trace, or both. When in doubt, do a small test batch.
Water amount and gel behavior
Water level can change how a batch behaves. In insulated loaves, higher water can keep soap fluid longer and contribute to longer, hotter gel conditions, which can increase the odds of partial gel, overheating, or glycerin rivers. In other setups, the effect is less dramatic. If you love gel but hate rivers, consider:
- Using a slightly steeper lye concentration (less water) if your recipe and comfort level allow.
- Keeping gel gentle rather than extremely hot (light insulation instead of oven heat).
Also worth saying plainly: gel is mostly an appearance and texture stage. It does not fix a poorly formulated recipe, an incorrect lye amount, or a fragrance that misbehaves.
Troubleshooting
Partial gel
Why it happens: the center stays hot, edges cool too quickly.
Fix next time:
- Insulate the sides and bottom more evenly.
- Soap a little warmer, or use a slightly larger batch size.
- Try a warm oven rest with the oven turned off.
Can you fix it after the fact? Sometimes. If you catch it early, you can gently warm the mold to encourage the gel ring to expand. If the loaf is already firming up, it is usually best to accept it as a cosmetic quirk.
Cracking on top
Why it happens: overheating and rapid expansion during gel.
Do this immediately: remove insulation, move to a cooler spot, and aim a fan nearby. Do not stir or poke.
Prevent next time: reduce insulation, avoid added heat, and consider chilling for high-sugar recipes.
Volcano or spillover
Why it happens: severe overheating, often from sugars or a fragrance that heats, combined with heavy insulation or oven warmth.
What to do: safety first. Put on gloves and eye protection, move the mold to a protected area, and cool it quickly (fan, cooler room). Once stable, you can scoop overflow back into the mold, but the texture may be rustic.
Glycerin rivers
What you see: translucent streaks, often in white areas colored with titanium dioxide.
Why it happens: a combo of high water, titanium dioxide, and heat.
Prevent next time: reduce water a bit, disperse titanium dioxide well, and avoid strong gel (skip oven and heavy insulation).
Quick guide
If you are standing in your kitchen wondering what to do right after pouring, here is my simple way to decide:
- Bright micas, bold swirls, high-contrast designs: aim for gel. Insulate evenly or use a warm oven rest.
- Milk soaps, honey soaps, delicate pastels, botanical tops: prevent gel. Use fridge or freezer time.
- New fragrance, new recipe, weird weather: do not force anything on the first try. Skip heavy insulation and watch how the batch behaves.
FAQ
Is gel phase “better” soap?
No. Gelled and ungelled soaps both cure into safe, usable bars. Gel mostly affects appearance and sometimes how quickly the bar feels firm early on.
Does gel phase change cure time?
Not in a way that replaces curing. Even if gelled soap feels harder sooner, it still benefits from a full cure for mildness, longevity, and a better lather.
Can I gel individual cavity molds?
Yes, but it is trickier because small volumes lose heat fast. You may need a warmer pour, a warm room, and light insulation. Be cautious with high-sugar recipes because even small molds can overheat if you add external heat.
Will gel phase prevent soda ash every time?
Not every time, but it can help. Ash is influenced by surface conditions like humidity, air exposure, and temperature. If ash bothers you, pairing gel with good practices like covering the surface can reduce it.
My soap gelled in the center only. Is it ruined?
No. Partial gel is cosmetic. The soap is still soap. If the look bothers you, plan for full gel next time or intentionally prevent gel so the whole loaf stays uniformly matte.
My favorite way to learn gel
If you want to really understand your setup, run a tiny experiment with the same recipe:
- Make one small batch and insulate it for gel.
- Make the same batch another day and chill it to prevent gel.
When you cut the bars side by side, you will learn more in one weekend than you will from months of guessing. And honestly, that is the heart of soapmaking for me. A little science, a little patience, and plenty of happy accidents that teach you what your soap wants to do.