Natural colorants are my favorite kind of “happy accident.” One day you are trying to get a soft oatmeal beige, and the next you have a perfectly beachy sandstone swirl that looks like it belongs in a boutique. The trick is knowing which powders behave nicely in cold-process soap, how to prep them so they do not clump, and what to expect after gel phase and cure.
Below are seven natural soap colorants I use over and over, plus a layered recipe that shows you exactly how to work with them in one loaf. All rates are written for cold-process soap.
Safety first
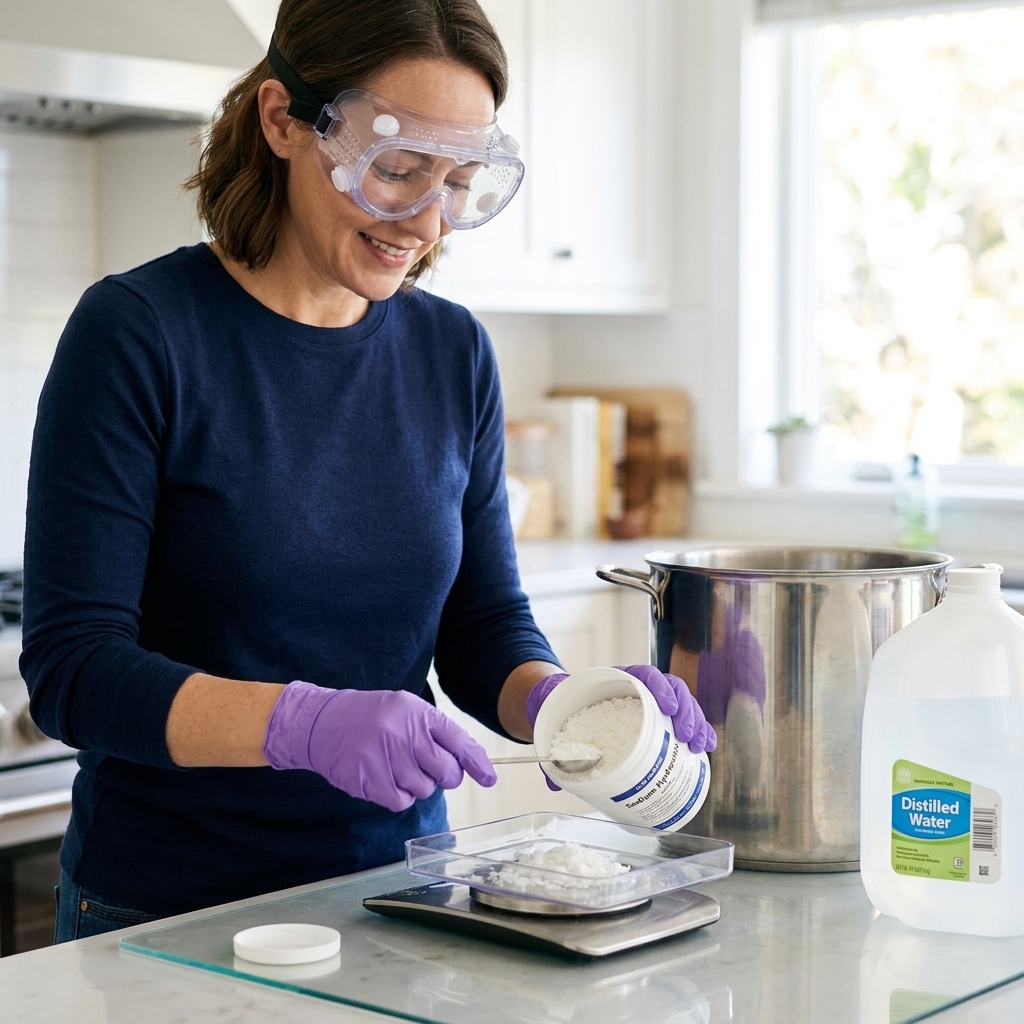
Cold-process soap involves sodium hydroxide (lye). Please wear gloves, eye protection, and long sleeves. Mix lye into water (never the other way around), soap in a well-ventilated space, and keep kids and pets out of the room. Natural colorants are still fine powders, so avoid inhaling them. A simple dust mask helps when measuring clays and botanicals.
If you have sensitive skin or known allergies, use a conservative hand when experimenting with botanicals and spices. “Natural” does not automatically mean “non-irritating,” especially in concentrated powder form.
How to use natural colorants
My “slurry first” rule
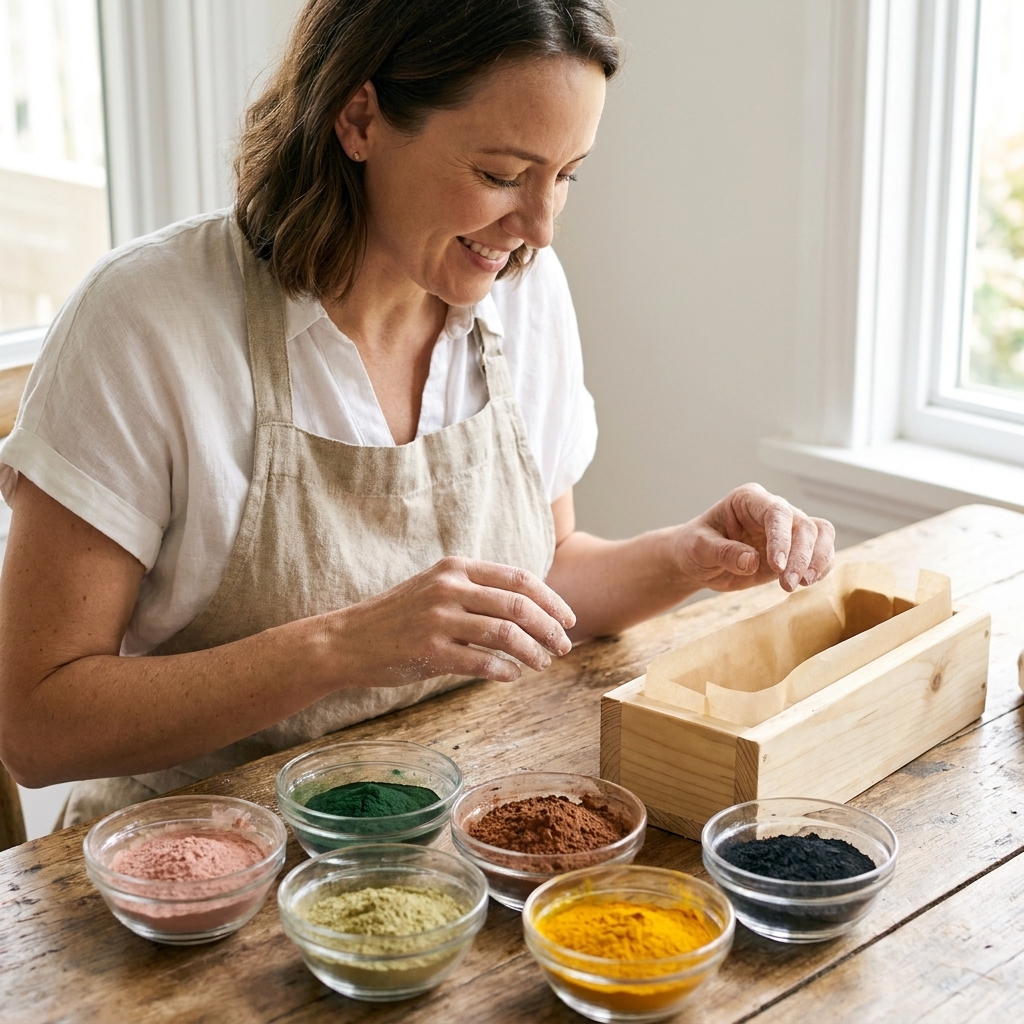
Most natural powders behave best when you pre-disperse them before adding to batter. This keeps freckles intentional and your colors more even.
- For clays and charcoal: mix 1 part powder with 2 to 3 parts distilled water or a little reserved oils from your recipe until smooth. If you are using a steep water discount, oil dispersion is often easier because you are not adding extra liquid.
- For botanicals (like spirulina): disperse in oil, or infuse in oil ahead of time for smoother color.
- For spices (turmeric, cocoa): disperse in a small amount of lightweight oil to prevent floating specks.
Gel phase changes everything
Many botanicals look brighter after gel phase, then soften again during cure. If you want more vivid natural colors, encourage gel by insulating the mold lightly (as long as your recipe is not overheating).
Color can shift with fragrance and additives
Vanilla discolors soap to tan or brown. Some essential oils accelerate trace and make layering feel like a race. When you are aiming for crisp layers, choose a slow-moving fragrance or go fragrance-free for your first attempt.
7 natural soap colorants
Usage rates vary by brand and batch. Start low, take notes, and adjust next time. Rates below are per 1 pound (454 g) of oils, also written as PPO (per pound of oils).
1) Kaolin clay
Kaolin is my go-to when I want a creamy, spa-like base. Many makers find it can contribute to a silkier feel in the finished bar, and it is often used in recipes where you want a soft, refined look.
- Rate: 1 to 2 tsp PPO
- Prep: slurry with distilled water or a bit of oil
- Expect: creamy ivory, not bright white
- Best for: minimalist bars, soft neutrals, and shaving-style recipes
2) French pink clay
Pink clay gives that gentle, natural blush that reads “handcrafted” in the best way. I love it with oat milk notes, rose, or citrus-herbal blends.
- Rate: 1 to 2 tsp PPO
- Prep: slurry well to prevent clay freckles
- Expect: pastel pink that deepens slightly with gel
- Tip: overuse can feel draggy on skin, so keep it moderate
3) Rhassoul clay
Rhassoul makes the prettiest desert neutrals and pairs beautifully with woodsy scents. Many makers also find it can contribute to a cleaner-rinsing feel, depending on the overall formula.
- Rate: 1 to 2 tsp PPO
- Prep: slurry and strain if your clay is grainy
- Expect: tan to taupe, sometimes slightly purple-brown depending on oils
4) Activated charcoal
Charcoal is dramatic, reliable, and easy to control. It also loves to migrate onto lather in the first couple uses if you go heavy.
- Rate: 1/2 tsp PPO for gray, 1 to 2 tsp PPO for black
- Prep: disperse thoroughly in water or oil
- Expect: true gray-black that holds well through cure
- Tip: if your rinse water looks smoky, reduce next batch
5) Cocoa powder
Cocoa smells like brownie batter in raw soap batter, which is delightful. Color ranges from warm tan to deep brown depending on rate and any vanilla discoloration.
- Rate: 1 to 3 tsp PPO
- Prep: mix into oil until smooth
- Expect: warm browns that deepen slightly in gel
- Pairs with: peppermint, orange, coffee, vanilla (if you accept extra browning)
6) Turmeric
Turmeric is potent and a little unpredictable in soap. A tiny amount gives a cheerful yellow. Too much can push orange, and it may fade or shift toward tan over time (oxidation and gel can both play a role).
- Rate: 1/8 tsp PPO for pale yellow, up to 1/2 tsp PPO for golden tones
- Prep: disperse in oil to reduce speckling
- Expect: bright color at pour that can soften during cure
- Tip: turmeric can stain, so keep your work area protected
7) Spirulina powder
Spirulina creates a gorgeous botanical green that looks especially pretty next to creams and clays. It can fade to a softer, earthy green over time, especially in sunny bathrooms.
- Rate: 1/4 to 1 tsp PPO
- Prep: disperse in oil, or infuse in oil for smoother color
- Expect: green that may mellow during cure
- Tip: store finished bars away from direct light to help preserve color
Layered soap recipe
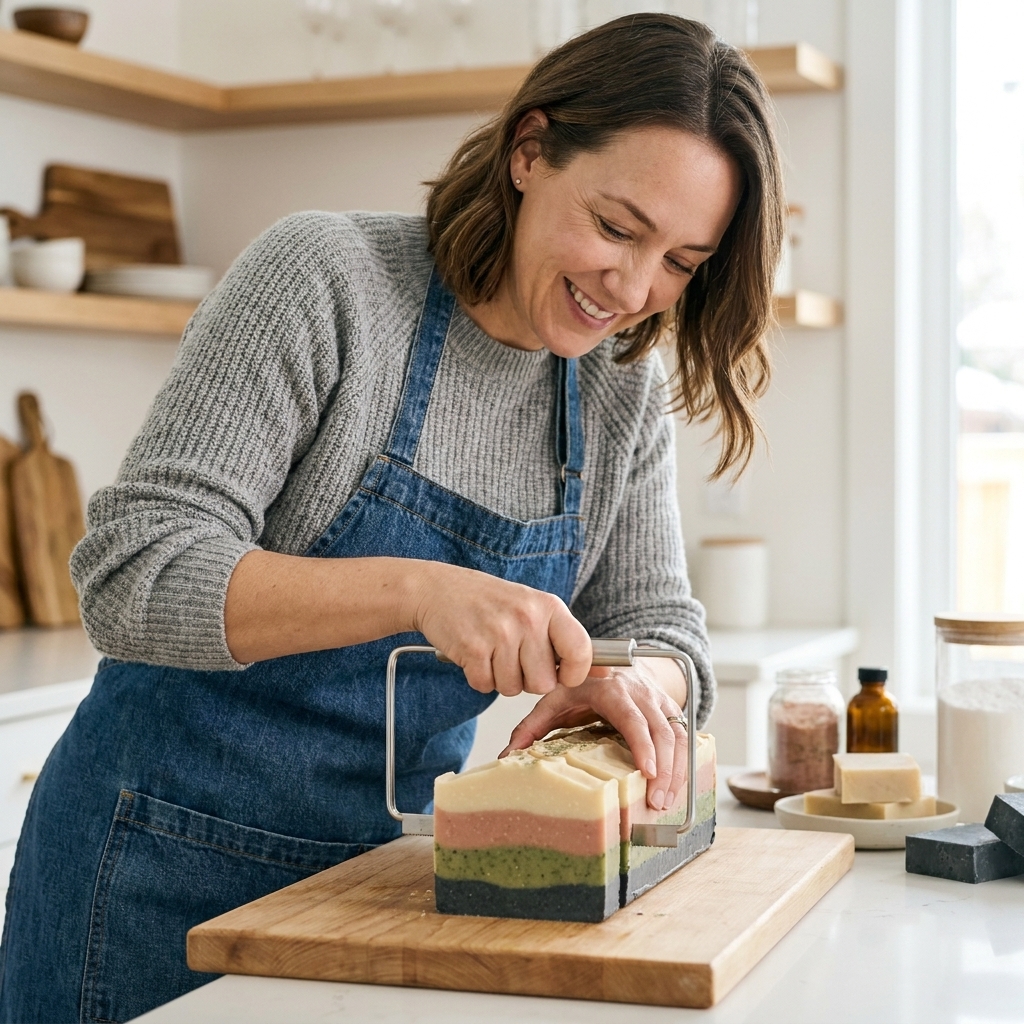
This recipe is designed to move slowly and give you time to create crisp layers. The colors are all natural, and the palette is intentionally earthy: creamy kaolin, blush pink clay, spirulina green, and charcoal gray.
Batch size and mold
- Mold: 10-inch silicone loaf mold (about 2 to 2.5 lb capacity)
- Target oils: 900 g (a sturdy loaf with enough height for layers)
- Superfat: 5%
- Lye concentration: 33% (about 2 parts water to 1 part lye by weight)
Oils (900 g total)
- Olive oil: 360 g (40%)
- Coconut oil (76°F): 225 g (25%)
- Shea butter: 135 g (15%)
- Rice bran oil (or sweet almond): 135 g (15%)
- Castor oil: 45 g (5%)
Lye and liquid
Run these oils through a trusted lye calculator to confirm your exact lye and water amounts, especially if you swap any oils. I do that every single time.
Convenience numbers: For 5% superfat and 33% lye concentration with the oils listed above, you should land around:
- Sodium hydroxide (NaOH): 126 g
- Distilled water: 256 g
These numbers can vary slightly by SAP values used by your calculator and specific oils, so treat them as a close starting point, then verify.
Colorants for four layers (per layer)
Divide your soap batter into four equal portions by weight once emulsified.
- Layer 1 (Cream): 1/2 tsp kaolin clay dispersed in 1 tsp water or oil
- Layer 2 (Blush): 1/2 tsp French pink clay dispersed in 1 tsp water or oil
- Layer 3 (Green): 1/4 tsp spirulina dispersed in 1 tsp lightweight oil
- Layer 4 (Charcoal): 1/2 tsp activated charcoal dispersed in 1 tsp oil or water
Optional fragrance
To keep layers clean, choose something known to behave in cold process. You can also skip fragrance for a stress-free first run.
- Essential oil idea: 3 parts lavender, 1 part cedarwood, 1 part litsea cubeba for a fresh herbal-citrus profile
- Usage: follow IFRA limits and supplier guidance for your specific oils
Step-by-step layers
- Prep your mold and colorant cups. Have your dispersed colorants ready in four small containers. Set your loaf mold on a cutting board so you can move it without bending.
- Make lye solution. Weigh distilled water. Slowly add sodium hydroxide to the water and stir until clear. Set aside to cool.
- Melt and mix oils. Melt your hard oils and combine with liquid oils. Let the oils cool to around 85 to 100 F (29 to 38 C), and aim for your lye solution to be in the same zone.
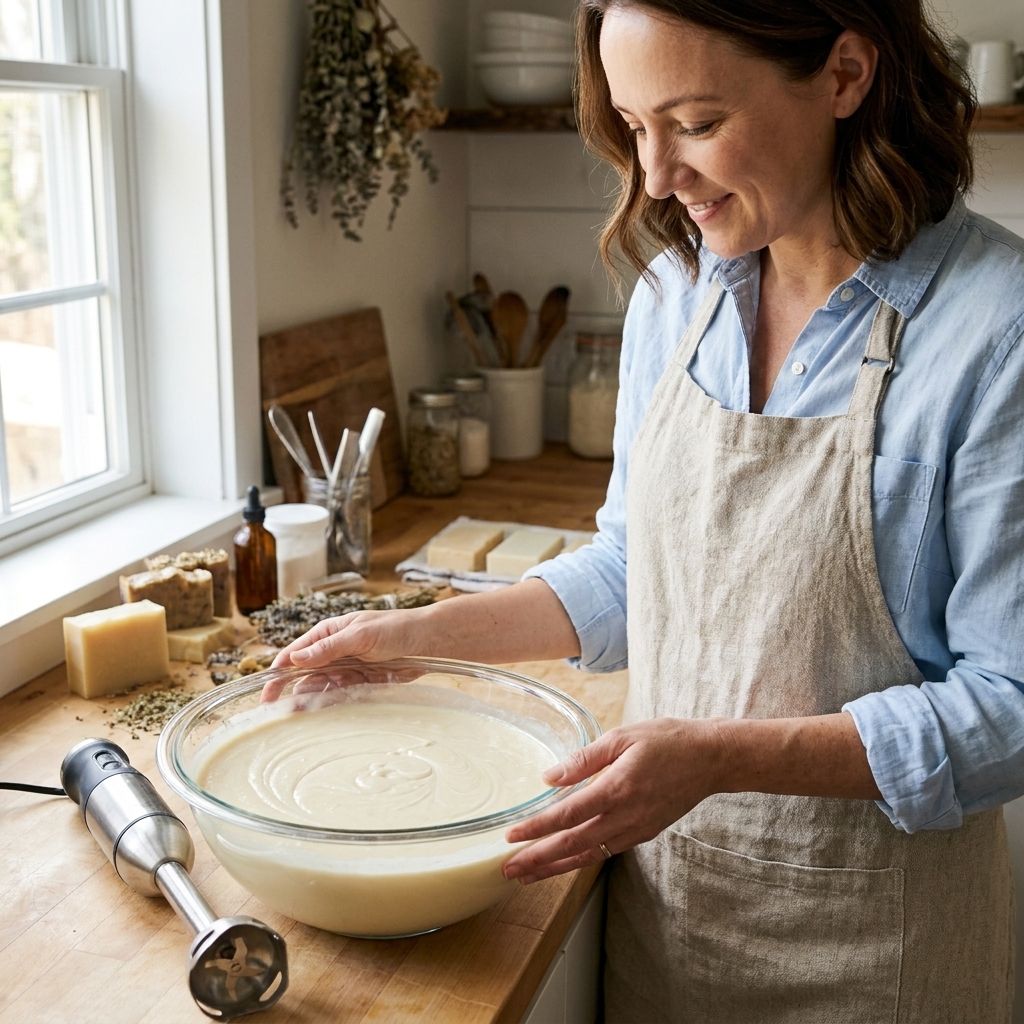
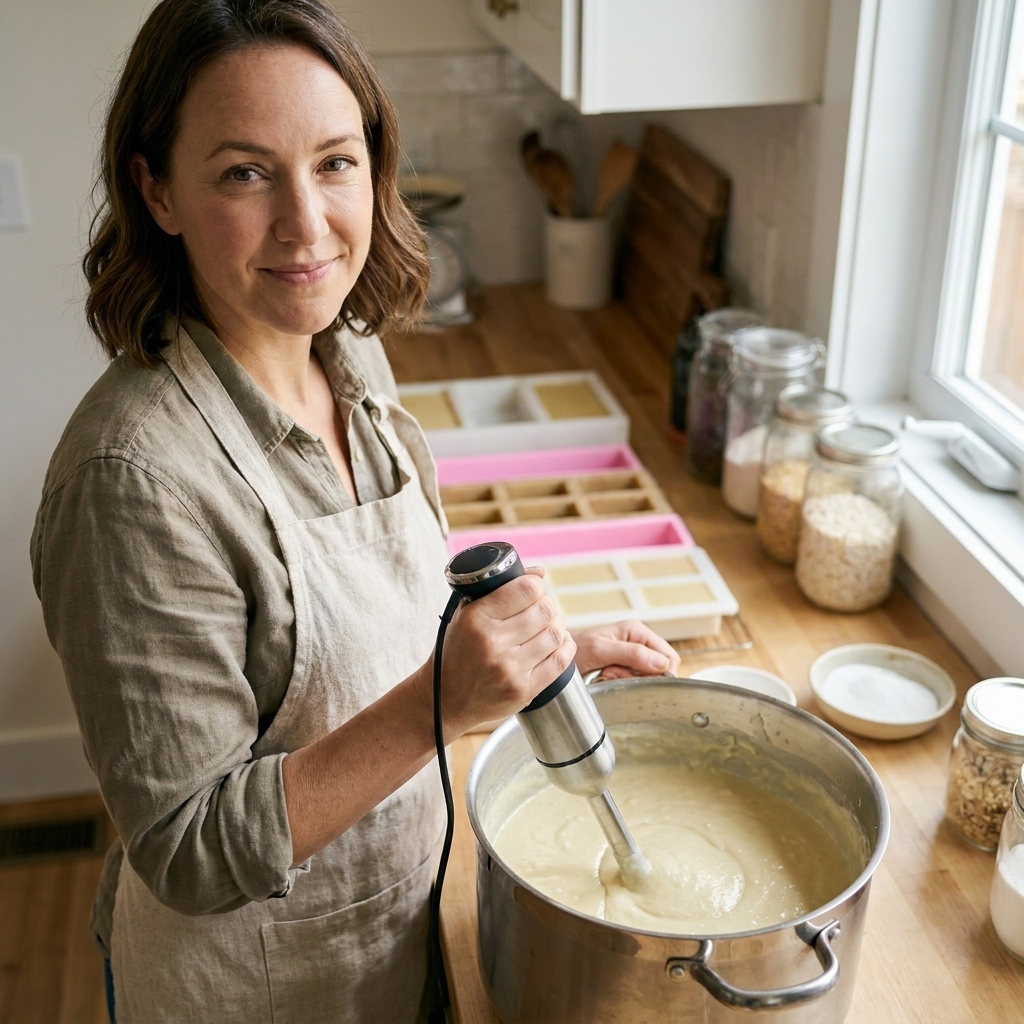
- Emulsify to thin trace. Stick blend in short bursts, then hand stir. Stop when the batter is just emulsified and no longer oily on top. Thin batter is your best friend for layers.
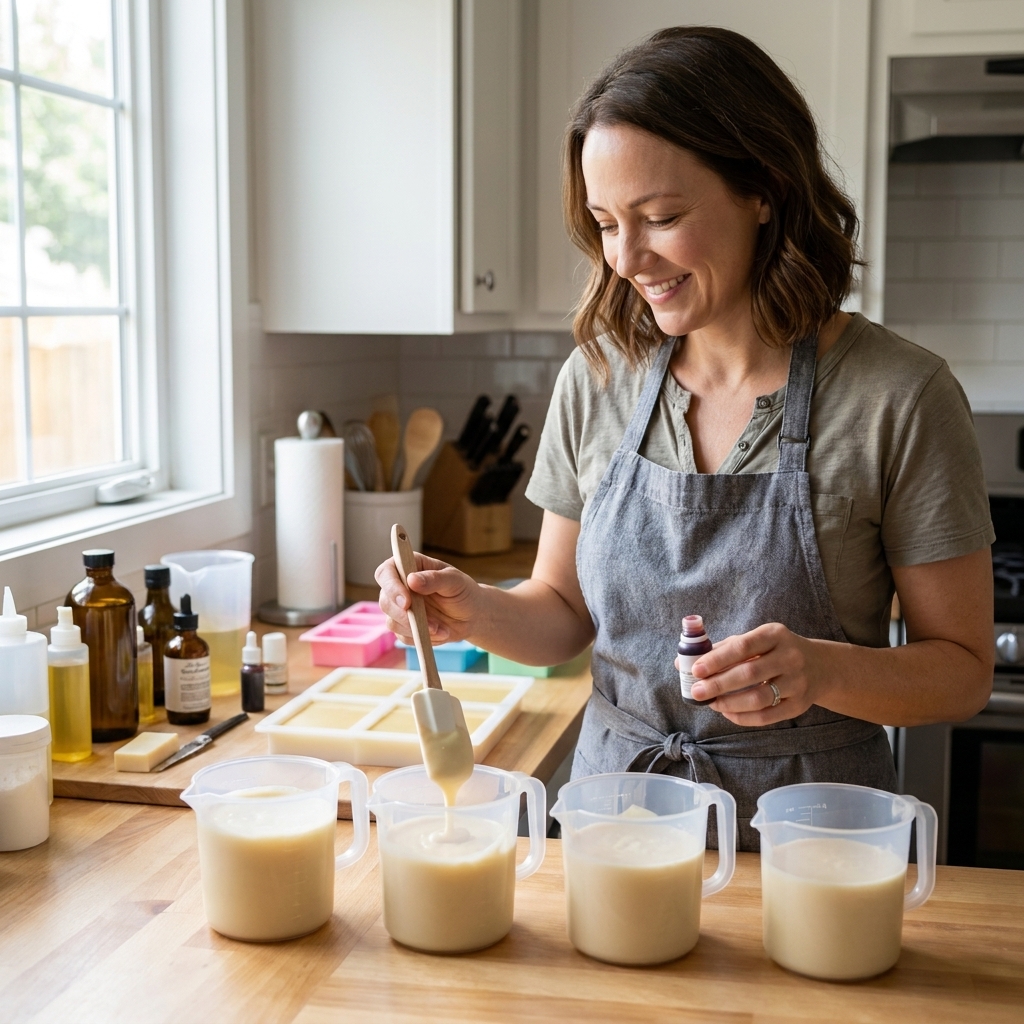
- Divide batter evenly. Place each empty pouring pitcher on a scale and tare it to zero. Weigh out one quarter of the total batter into each pitcher so your layers are even.
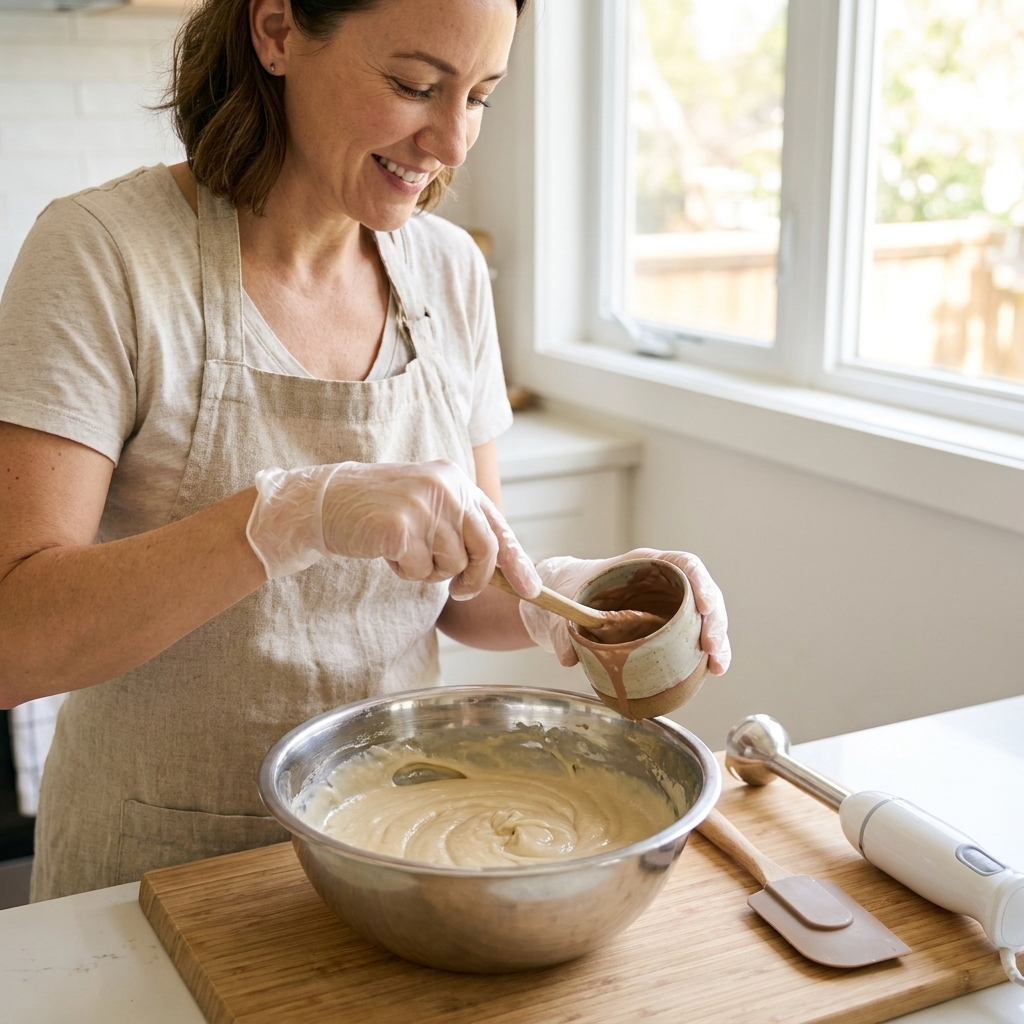
- Color each portion. Stir each dispersed colorant into its portion. Mix patiently and scrape the sides and bottom.
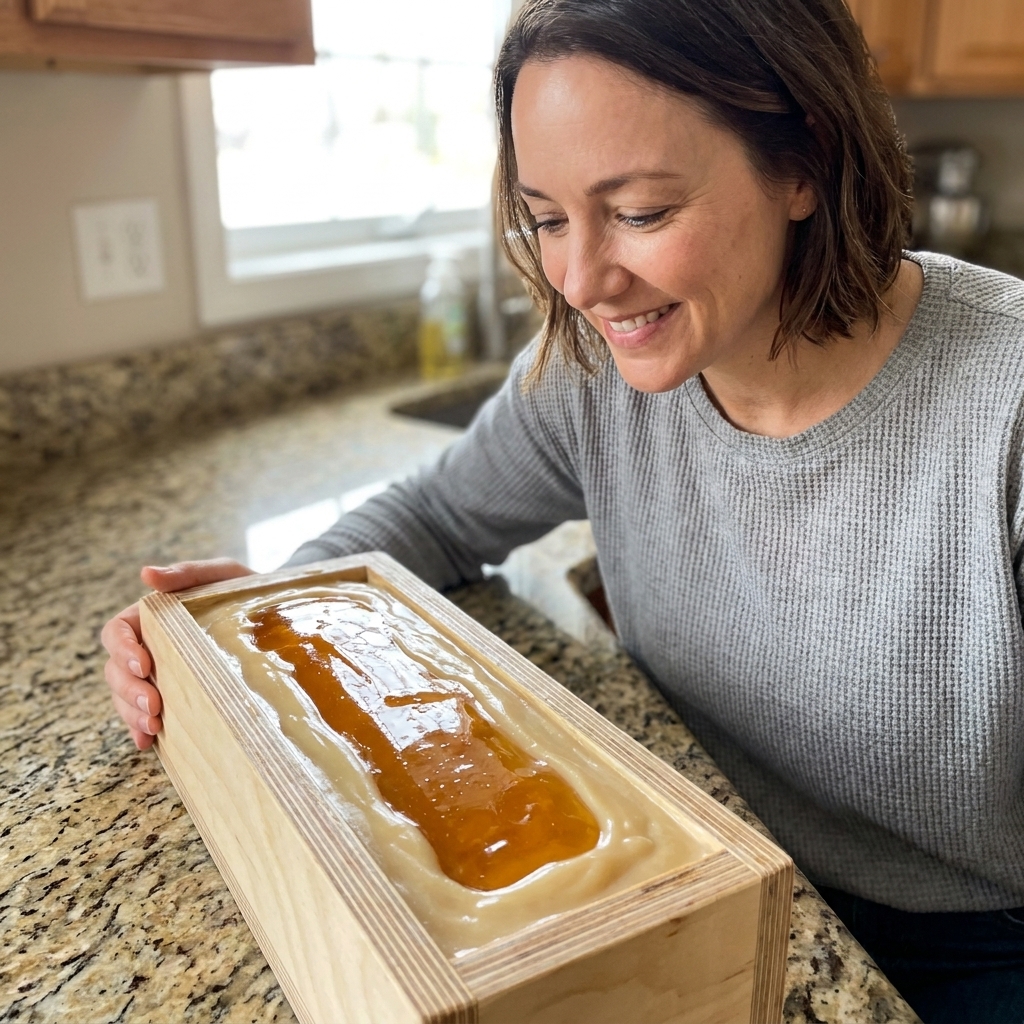
- Pour Layer 1. Pour the kaolin layer into the mold. Tap the mold gently to release air bubbles.
- Wait for “custard.” Let the surface thicken until it can support the next layer without breaking through. I look for the texture of warm pudding. Depending on your recipe, temperature, and fragrance, this can be 2 to 15 minutes (sometimes longer).
- Pour Layer 2 over a spatula. Hold a spatula just above the surface and pour onto it so the batter flows gently and does not punch a hole.
- Repeat for Layers 3 and 4. Pause between layers as needed. If your batter thickens too fast, tap the mold instead of smoothing aggressively to avoid drag marks.
- Texture the top (optional). A spoon swirl looks gorgeous with charcoal on top. Keep it simple so the layers remain the star.
- Gel (optional). For brighter botanicals, lightly insulate. If your room is hot or you used sugar or honey, skip heavy insulation to avoid overheating.
- Unmold and cut. Unmold after 24 to 72 hours, longer if the loaf still feels soft. Cut into bars with a sharp knife or soap cutter.
- Cure. Cure in a ventilated area for 4 to 6 weeks for a harder, longer-lasting bar.
Troubleshooting
Why did my color fade?
Many botanicals (spirulina especially) fade with light, heat, and time. Encourage a gentle gel for better initial color, and store finished bars away from sunny windows. If you need ultra-stable bright colors, that is where micas and oxides shine, but for naturals, softer tones are part of the charm.
Why do I have speckles?
Usually it is under-mixed powder. Next time, disperse more thoroughly and consider straining clay slurries if your clay is gritty. For spices and botanicals, oil dispersion tends to reduce dotting.
My layers broke apart when I cut the loaf
This happens when you poured the next layer too late (the previous layer was too firm to bond), or the opposite, you poured too early and blasted through, creating weak spots. Aim for that custard stage, and pour gently over a spatula.
My soap seized when I added the colorant
Some powders thicken trace, and some fragrances accelerate. Stick to thin trace before dividing, use a well-behaving fragrance, and avoid over stick-blending. If you do seize, scoop and press into the mold, then call it “rustic layers.” I have salvaged plenty of “oops” loaves that way.
Colorant cheat sheet
| Colorant | Hue | Typical rate (per 1 lb oils) | Prep |
|---|---|---|---|
| Kaolin clay | Ivory, cream | 1 to 2 tsp | Water or oil slurry |
| French pink clay | Blush pink | 1 to 2 tsp | Water or oil slurry |
| Rhassoul clay | Taupe, sand | 1 to 2 tsp | Water slurry |
| Activated charcoal | Gray to black | 1/2 to 2 tsp | Water or oil slurry |
| Cocoa powder | Tan to brown | 1 to 3 tsp | Oil slurry |
| Turmeric | Yellow to golden | 1/8 to 1/2 tsp | Oil slurry |
| Spirulina | Green | 1/4 to 1 tsp | Oil slurry or infusion |
FAQ
Can I use these natural colorants in melt-and-pour?
Some work, but many botanicals can sink or look murky in melt-and-pour because the base is translucent. Clays and charcoal can still be lovely, just keep rates modest and stir well.
Will clays make my soap more cleansing?
Clays can contribute to slip and a “clean” feel for many makers, but they do not replace a well-balanced recipe. If your bar feels drying, adjust oils and superfat rather than relying on clay.
How do I keep natural colors from bleeding between layers?
Most powders stay put, but very fluid layers can slightly blend at the edges. Let each layer thicken a bit before the next pour, and pour gently over a spatula.