Why lye safety matters
Sodium hydroxide (NaOH), also called lye, is a standard ingredient in bar soap. It is also a powerful caustic that can burn skin and eyes, irritate airways, and damage surfaces. The good news is that lye is very manageable when you treat it like a lab chemical for the 10 to 20 minutes you handle it.
This protocol is the exact routine I use in my own kitchen workspace. It is designed for cold-process soap makers, but it applies any time you make an alkali solution, including liquid soap (which is often made with potassium hydroxide, KOH) and some specialty projects.
The three rules I never break
- Protect eyes first. Eye exposure is the fastest way to turn a calm day into an emergency.
- Add lye to water, always. Water into lye can flash-boil and spit caustic droplets.
- Plan for spills before you mix. If you already know where you will rinse and what you will grab, you stay calm and move safely.
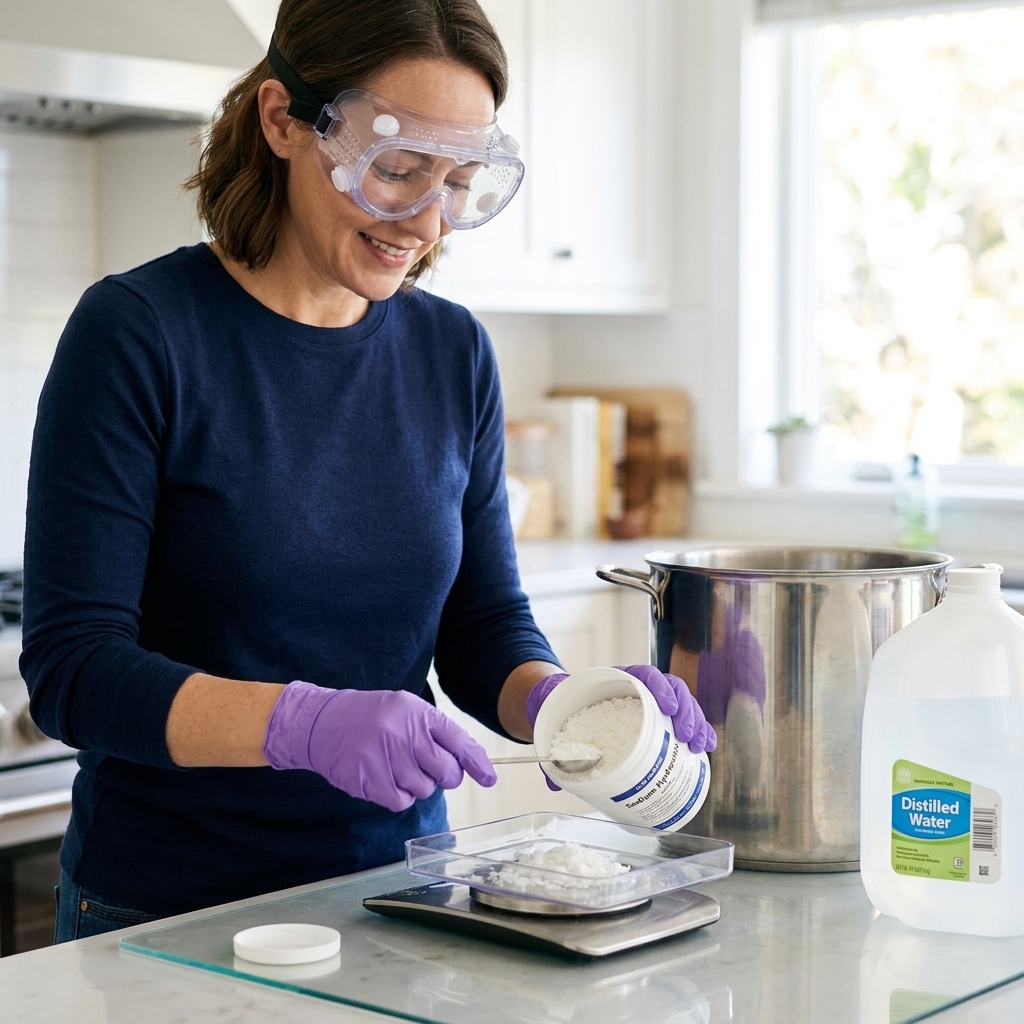
Proper PPE
You will see people soap with bare hands and “be fine” until they are not. Lye splashes are uncommon, but they do happen, especially during mixing and when raw batter is thin and sloshy. Here is the PPE that earns its keep.
Eye and face protection
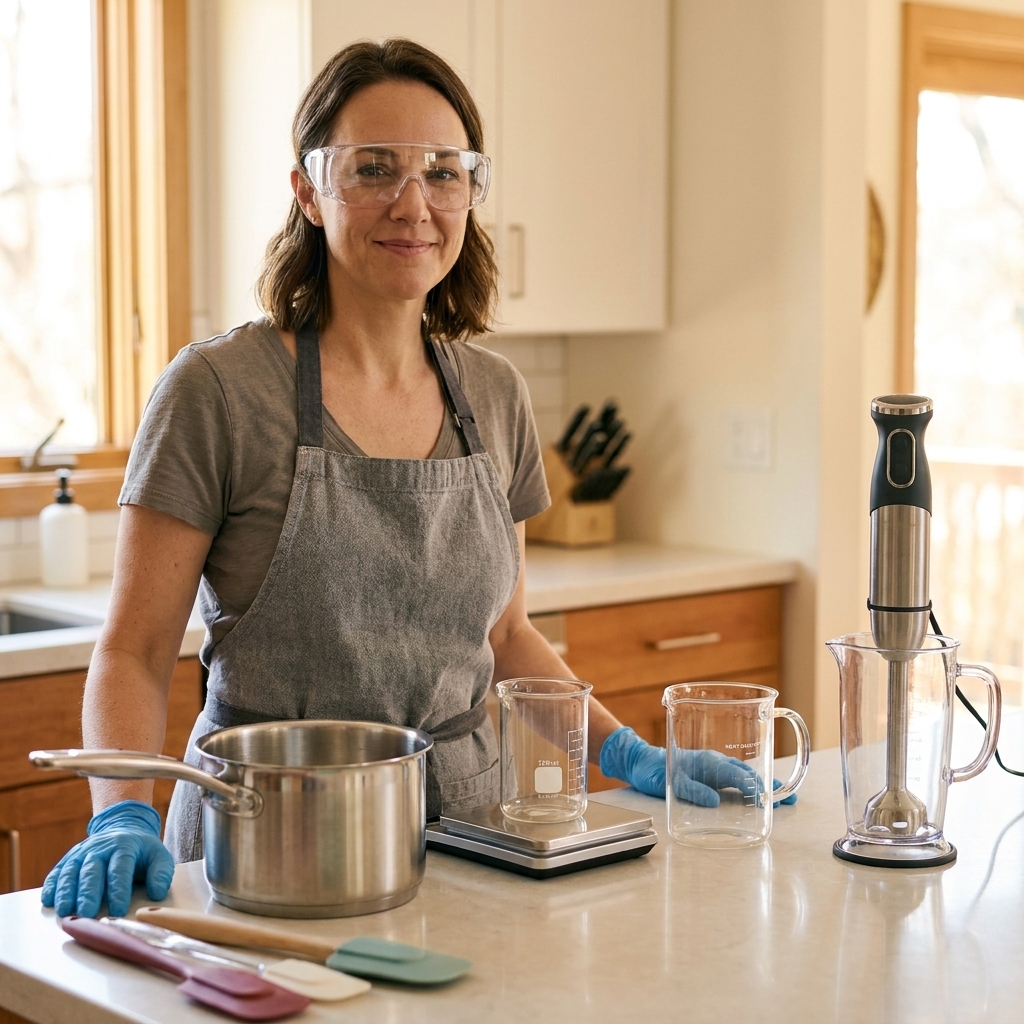
- Chemical splash goggles that seal around the eyes. This is the gold standard. Regular glasses do not protect from splashes coming from below or the side.
- Optional: face shield over goggles if you are nervous, teaching, or mixing a large batch. Think of it as extra insurance against a surprise burp of steam.
Hand protection
- Nitrile gloves (disposable, snug but not tight). Nitrile holds up well to brief contact with lye solution and raw soap batter.
- Skip thin food-prep gloves. They tear easily and give a false sense of security.
Clothing
- Long sleeves and full-length pants. Natural fibers (cotton, denim) are a good choice because they are comfortable around heat.
- Closed-toe shoes. No bare feet. No sandals. Lye on toes is as miserable as it sounds.
- Apron (preferably thick cotton or canvas) to protect your torso from drips when you stick blend.
- Tie back hair and avoid dangling sleeves or scarves that can catch on tools.
Ventilation and respiratory comfort
People often describe “lye fumes,” but what you are usually noticing during the first minute or two is heat-driven steam and an irritating mist, plus the chance of a little dust when you handle dry lye. You do not need a gas mask for typical home batches, but you do need airflow.
- Ventilation: open a window and run an exhaust fan, or mix outside on a stable surface.
- Optional respirator: if you are sensitive, have asthma, or you soap often, a well-fitting half-face respirator can add comfort. For most home soap makers, a particulate filter (commonly P100) is the relevant choice for dust and mist, not a “gas” cartridge. Follow your sodium hydroxide SDS and the respirator manufacturer guidance for the right setup, and remember that a respirator is not a substitute for goggles.
Set up your workspace
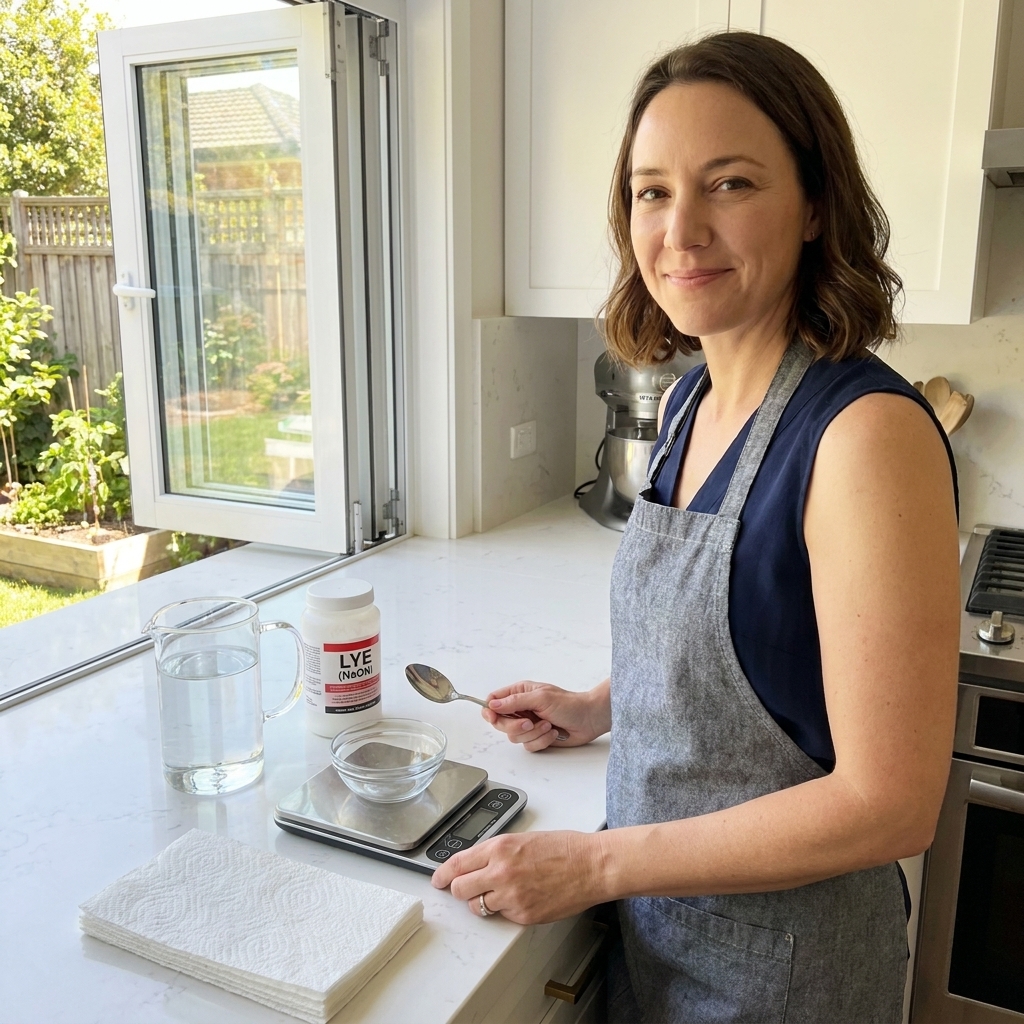
The best safety tool is a tidy setup. Before you open the lye container, do a quick pre-flight check.
- Clear the area of kids, pets, and distractions. This is not the moment for a quick phone call.
- Choose the right surface: a stable counter with elbow room and nothing overhead that can drip or wobble.
- Lay down protection: a silicone mat, a tray with a lip, or thick cardboard covered in freezer paper to catch drips.
- Stage your rinse zone: know exactly where the sink is and make sure it is empty and ready.
- Keep paper towels and a dedicated trash bag nearby for contaminated waste.
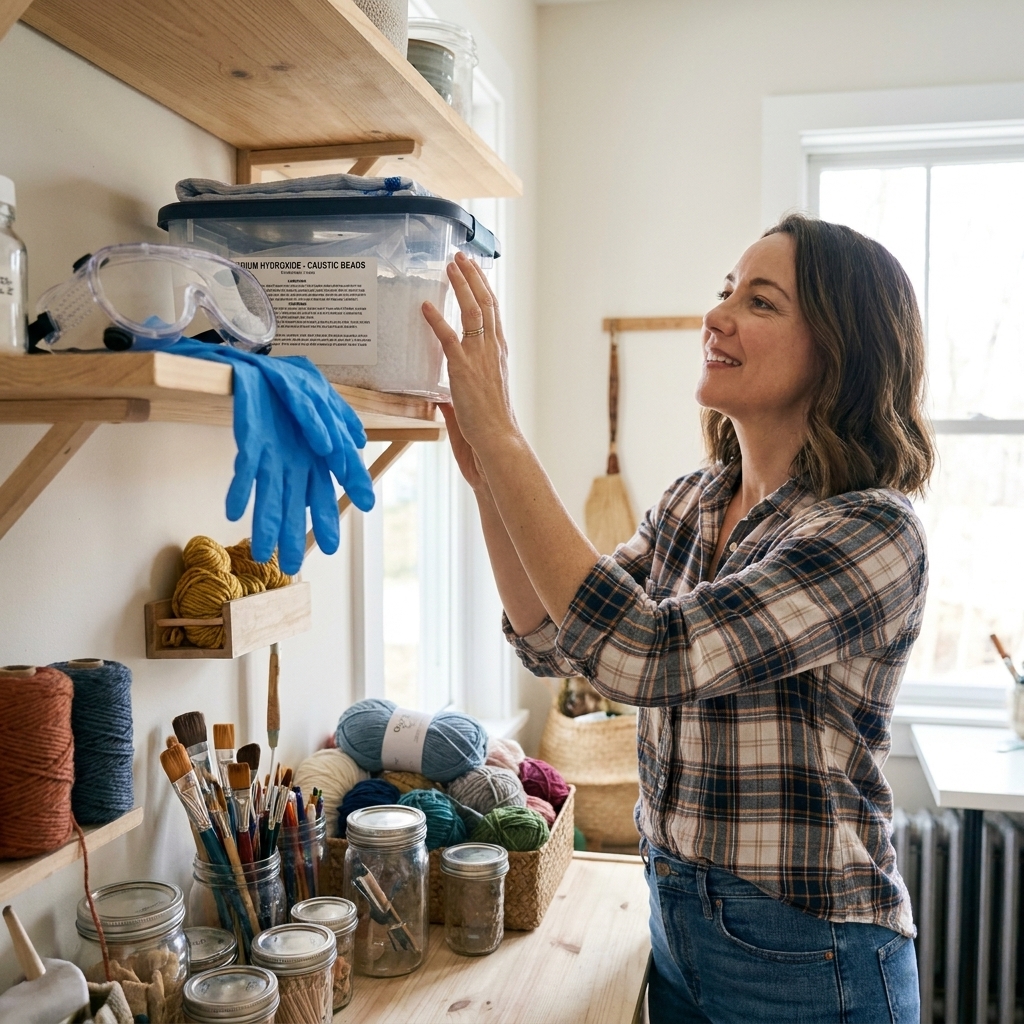
- Label and separate: lye stays in its original container, tightly closed between scoops. Never use a drink bottle for lye.
- Keep the SDS handy: save the sodium hydroxide Safety Data Sheet on your phone or print it and store it with your supplies. If you ever need poison control, it helps to have the details.
Tools and containers
- For lye solution: heat-safe polypropylene (PP #5) pitchers or stainless steel. Tempered glass can work, but I avoid it because thermal shock is real and unforgiving.
- Utensils: stainless steel or silicone. Avoid aluminum (lye reacts with it). If you keep it simple and stick to stainless and PP #5, you are on solid ground.
- Scale: digital, reliable, and placed where you will not bump it.
- Water: distilled water is standard for soap recipes and reduces mineral surprises. Cool or room-temperature water helps keep the initial heat spike more comfortable.
- Optional secondary containment: if you like the sink approach, I treat it as a safety tray, not a cramped mixing station. Place your lye container in a clean, empty sink basin for spill containment, but keep your posture upright and your stirring space comfortable.
Mixing rules
Mixing lye solution is simple, but it is not casual. Expect heat, expect steam, and build the habit that prevents splashes.
Step-by-step: mix lye solution safely
- Put on PPE. Goggles on before the lye container opens.
- Weigh your water into a heat-safe container first.
- Weigh your lye in a separate dry container. Keep your face back from the opening as you scoop to avoid a puff of dust.
- Add lye to water slowly. Sprinkle it in, do not dump it in one dramatic pour.
- Stir gently with a stainless steel or silicone utensil until the solution turns clear. Avoid vigorous stirring that can splash.
- Let it rest in a safe spot to cool, out of traffic. I like a back corner of the counter on a silicone mat.
- Label if you walk away. A simple “DANGER: LYE” note prevents an honest mistake.
What to expect
Right after you add NaOH, the water will turn cloudy and heat up quickly. You may see a little steam and notice a sharp, clean chemical scent. Do not deliberately sniff it. If you notice any irritation, step back and let ventilation do its job. In a few minutes, it usually becomes clear.
Common mistakes to avoid
- Never add water to lye. This is the big one. It can cause a violent, boiling reaction and spit.
- Do not lean over the container. Keep your face back and to the side.
- Do not mix in a cramped sink. You want room for your hands and tools without banging the faucet or walls.
- Do not cap a hot lye container tightly. Heat and vapor need to dissipate. If you must cover it, rest a lid loosely on top.
Spill cleanup
Spills feel scary because lye is invisible once dissolved. The trick is to treat every wet spot near your mixing area like it is caustic until proven otherwise.
First response checklist
- Stop moving fast. Quick, jerky motions cause secondary splashes.
- Keep goggles and gloves on. Do not remove PPE to clean.
- Keep others away. Block off the area so nobody steps in it.
- Identify what spilled: dry lye beads, lye solution, or raw soap batter. Each is handled a little differently.
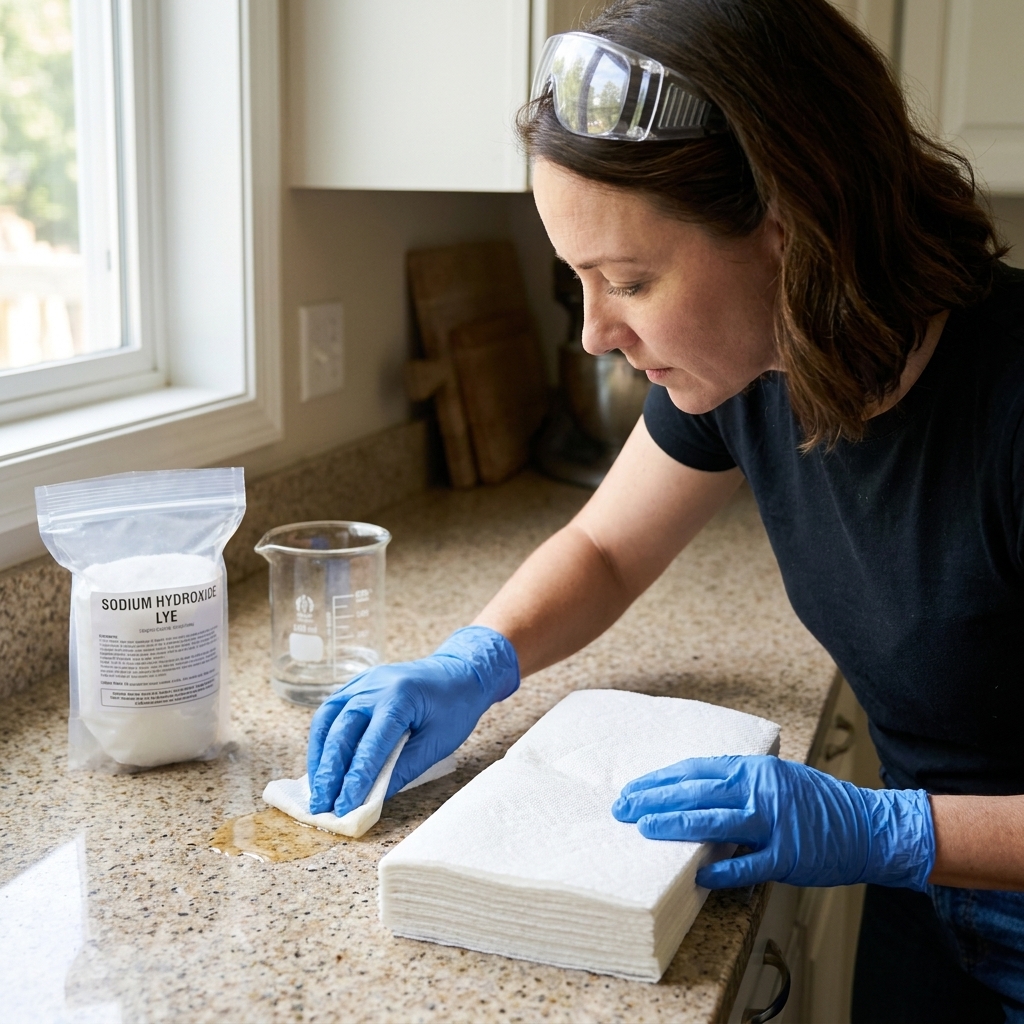
If you spill dry lye
- Do not add water. Water can dissolve the lye and spread it, plus heat it up.
- Gently scoop the dry lye into a disposable cup or dedicated container using a dry spoon or stiff paper.
- Wipe the area with a barely damp paper towel, then follow with a wet soapy cloth.
- Rinse the surface well with water.
If you spill lye solution or raw soap batter
- Contain it. Use paper towels or an old rag to dam the spill so it does not creep toward cabinet edges or the floor.
- Blot, do not wipe. Press down to absorb. Wiping can spread the liquid into a larger, thinner hazard zone.
- Bag the waste. Put used towels straight into a trash bag, tie it off, and keep it out of reach.
- Wash the surface with warm water and dish soap, then rinse thoroughly. Repeat once more for peace of mind.
- For floors: after blotting, mop with hot soapy water and rinse with clean water.
Should you use vinegar?
This is where crafters get conflicting advice, so here is my practical rule: do not waste time trying to neutralize first. Your priority is dilution and removal.
- For skin: skip vinegar and use water. Immediate flushing matters most. Neutralization reactions are exothermic, and messing with acids can delay rinsing and add irritation.
- For hard surfaces: water and dish soap are usually best for home-scale spills because they physically remove the lye. If you want, a small amount of vinegar can be used after you have blotted, washed, and rinsed, as a final wipe for tiny residue, but it is not step one.
If you choose to use vinegar on a countertop, use it sparingly and only after the bulk is removed. The goal is calm cleanup, not a dramatic fizzing reaction.
Exposure first aid
If exposure happens, speed matters. Do not negotiate with yourself about whether it is “that bad.” Start the response and reassess later.
If lye gets on skin
- Flush with cool running water immediately for at least 15 to 20 minutes, longer if irritation persists. Remove contaminated jewelry and clothing while rinsing.
- Wash gently with soap after the initial flush, then rinse again.
- Do not apply vinegar first. Water first, always.
- Seek medical advice if you have persistent pain, blistering, a spreading burn, or the exposure was concentrated.
If lye gets in eyes
- Flush immediately with clean, lukewarm water for at least 15 to 20 minutes. Use an eyewash station if you have one, or the sink or shower.
- Remove contact lenses if they do not come out during flushing.
- Get urgent medical care. Eye exposures are emergencies.
If you inhale dust or mist and feel irritation
- Move to fresh air.
- Loosen tight clothing and breathe slowly.
- Seek medical care if you have wheezing, persistent coughing, chest tightness, or asthma symptoms.
Important: If you are ever unsure, contact local poison control or your local emergency number for real-time guidance. Keep your lye container nearby so you can share the exact ingredient and concentration.
Storage and labeling
Lye safety is not just mixing day. It is also about what happens when you are tired and cleaning up.
- Store lye in the original container with the lid tightly closed, in a cool, dry place.
- Keep it high and locked if children or pets are ever in the home.
- Keep it away from moisture and humid laundry rooms. Lye absorbs water from the air and can clump and crust.
- Never store lye in food containers or anything that could be mistaken for sugar, salt, or baking supplies.
- Label mixed solutions clearly if you ever pre-mix for masterbatching. Include concentration, date, and hazard warning.
Cleanup and disposal
Cleaning tools
Once your lye solution is used up and your soap batter is in the mold, cleanup is mostly about not splashing yourself with residue.
- Keep gloves on while washing tools.
- Rinse slowly under running water to avoid flicking droplets.
- Use dish soap and hot water to remove oils and batter.
- Let heavily coated tools sit for a bit. Raw soap residue often turns into soap with time, making cleanup easier.
Leftover lye solution
Ideally, you calculate accurately so you do not have extra. If you do, treat it as a hazardous chemical. Do not pour concentrated lye solution onto plants or into septic systems without understanding the risk. In many homes, the safest approach is to use it promptly in another soap batch designed with correct calculations, or contact your local waste disposal authority for guidance on household hazardous waste rules.
Quick checklist
- Goggles on, gloves on, long sleeves, closed-toe shoes
- Ventilation running or mix outside
- Heat-safe container, stainless or silicone tools, no aluminum
- Water measured first, then slowly add lye to water
- Stir gently, do not lean over the container
- Spill plan ready: blot, bag, wash with soapy water, rinse
- Skin or eye contact: flush with water immediately, get urgent care for eyes
- Store lye sealed, dry, labeled, and locked away
- Keep the SDS accessible with your supplies
FAQ
Can I make soap without goggles if I am careful?
I would not. “Careful” does not stop a surprise splash from a spoon, a bumped container, or a stick blender burp later when you are pouring. Goggles turn a potentially life-changing accident into a non-event.
Is it okay to mix lye water in my kitchen sink?
You can, but I prefer a clear countertop with a tray or mat. Sinks are cramped and encourage awkward angles, which is where splashes happen. If you do use the sink, remove dishes, clear the area, and consider using the empty basin as secondary containment while you mix with comfortable posture.
What if my lye solution turns cloudy or forms crystals?
Cloudiness can happen if the solution is cooling rapidly, if your water has minerals, or if the room is cold. Use distilled water, stir until fully dissolved, and let it warm slightly if crystals form. Never microwave lye solution.
Does soap batter still burn before it is cured?
Yes. Raw soap batter can be caustic until saponification progresses. Treat fresh batter like lye is still active: gloves on, avoid splashes, and clean drips promptly.