If you have ever unmolded a gorgeous loaf of cold process soap and found a ghostly white film on top, you have met soda ash. It can feel like a craft betrayal, especially after you nailed trace, your swirl behaved, and the whole batch smelled like a dream. The good news is that soda ash is usually cosmetic and generally harmless on properly made, fully cured soap, and you have several reliable ways to prevent it or remove it without ruining your bars.
What soda ash is (and what it is not)
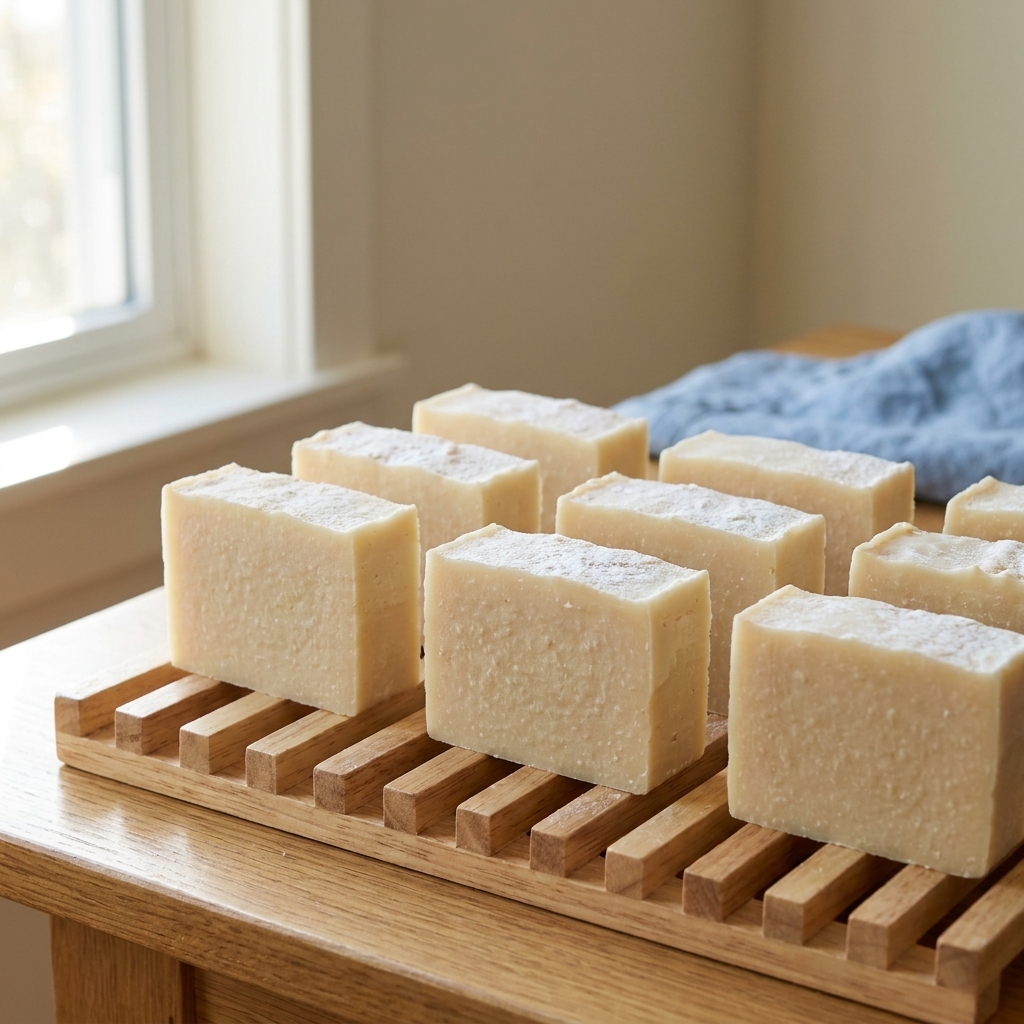
Soda ash is typically sodium carbonate, a white, powdery residue that forms on the surface of cold process soap. It happens when a small amount of sodium hydroxide or alkaline soap solution at the surface reacts with carbon dioxide in the air, often as that surface moisture slowly evaporates. The result is that pale, dusty look that can range from a soft haze to a thicker, chalky crust. This can happen even in a perfectly balanced recipe. It does not automatically mean your batch is lye-heavy.
What it is not:
- Mold: Soda ash looks dry and matte, not fuzzy, slimy, or spotty. True mold on soap is rare because of soap’s high pH, but it can happen in the right conditions (additive-heavy soaps, very wet storage, contamination, or a batch that did not saponify correctly). Mold usually appears in irregular patches and can have color (green, black, pink) or a musty smell.
- Lye pockets: Lye pockets are usually wet, weepy, or crystalline inside the soap and can zap. Soda ash sits on the outside and often brushes off.
- Fragrance frosting or waxy bloom: Some additives can create surface effects, but soda ash is the classic powdery white veil, most noticeable on dark colors.
If you are unsure whether you are dealing with ash or a true safety problem, start with low-risk checks: look for weeping, separation, soft oily pockets, obvious lye crystals, and re-check your recipe math and scale accuracy. Giving the bars more cure time also clears up a surprising number of “is it okay?” worries.
Some makers also use a zap test (touching a tiny bit of fresh soap to the tip of the tongue) to detect free alkali, but it is optional and not for everyone. If you prefer a no-tongue option, you can wear gloves and do a cautious fingertip touch for irritation (then rinse), and focus on the fundamentals: your lye calculator inputs, your scale, and whether the soap is weeping or separating. pH strips are sometimes suggested, but they are often hard to interpret on bar soap and do not reliably tell you whether there is excess lye.
If you choose to do a zap test, do it only on soap you made yourself, avoid it if you have cuts or sensitivities, use only a tiny amount, and rinse your mouth immediately. A sharp, battery-like zap suggests the soap may be caustic. No zap often points to simple ash, but when in doubt, give the soap more cure time and ask an experienced soapmaker to weigh in.
Why soda ash happens
I used to think soda ash was some mysterious punishment for soapmakers who got too confident. In reality, it is just chemistry plus conditions. It tends to show up most in the first 24 to 72 hours, but you can also see it later on newly cut faces, freshly planed sides, or trimmed edges during early cure.
Ash is more likely when one or more of these are happening:
- The surface stays wet longer: A wetter soap top gives alkaline solution more opportunity to meet the air and react.
- Cool temperatures: Cooler conditions can slow the set, keeping the surface receptive longer.
- High humidity: Slower evaporation can encourage ash and make it more stubborn.
- More air exchange while the surface is still damp: More exposure to carbon dioxide can raise ash risk, especially if the top stays wet for a while.
- High water content: Full-water recipes tend to ash more than water-discounted batches.
- Very light trace pours: A very fluid top often stays glossy and wet longer, which can invite ash.
- Overhandling early on: Cutting too soon can create fresh surfaces that ash quickly.
- Certain colorants: Ash shows up more on dark oxides, charcoal, and rich clays because of the contrast.
Is soda ash harmful?
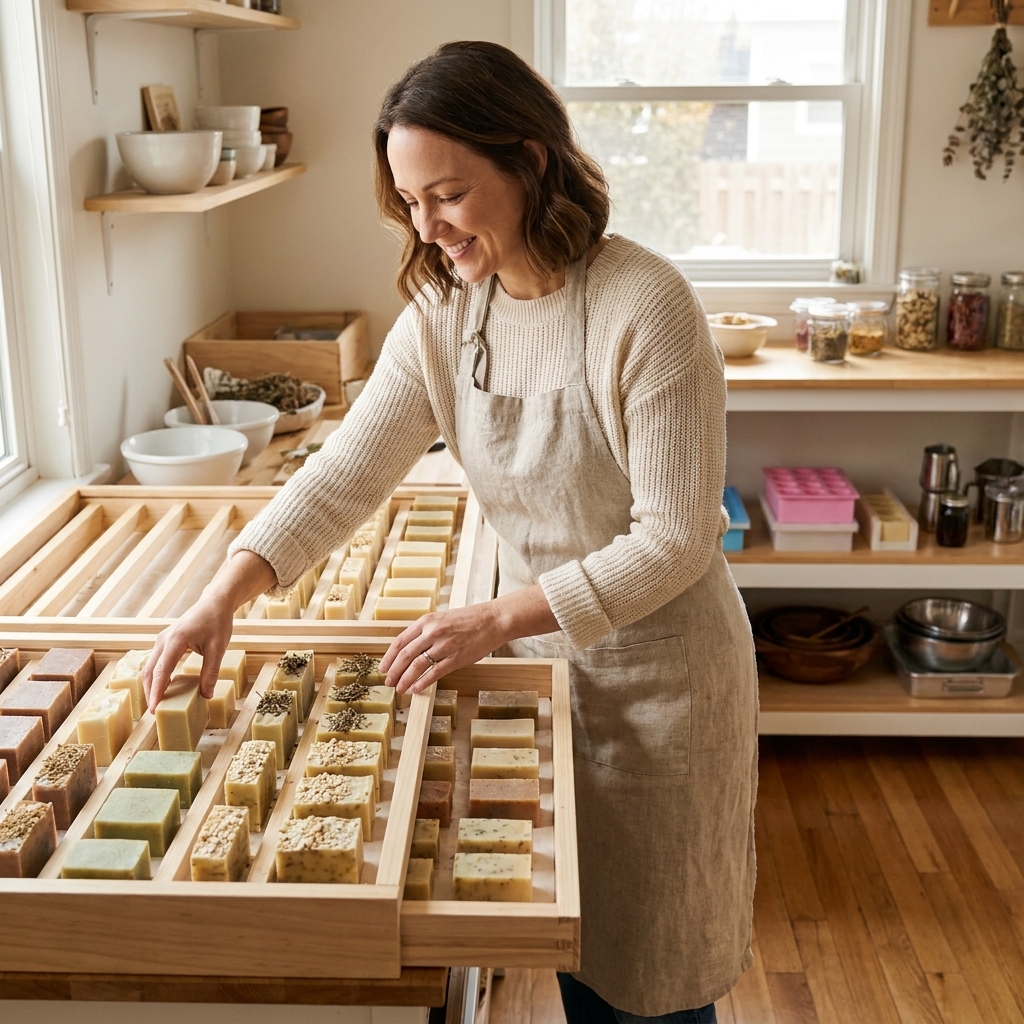
In typical cases, soda ash is not harmful and does not mean your batch is unsafe. It can dull the look and sometimes makes the top feel a bit draggy, but it often rinses away in the shower within the first few uses.
That said, do not wave off warning signs. If your soap is zappy, weepy, separated, or has soft, oily pockets, treat it as a different issue and troubleshoot the recipe, temperatures, and measurements before using or gifting it.
Proven ways to prevent soda ash
You do not need to do every trick on this list. Pick one or two that fit your workflow and your recipe style. When I am making gift soaps and I want crisp, photo-ready tops, I stack a couple of these methods for extra insurance.
1) Cover the soap surface (my simplest win)
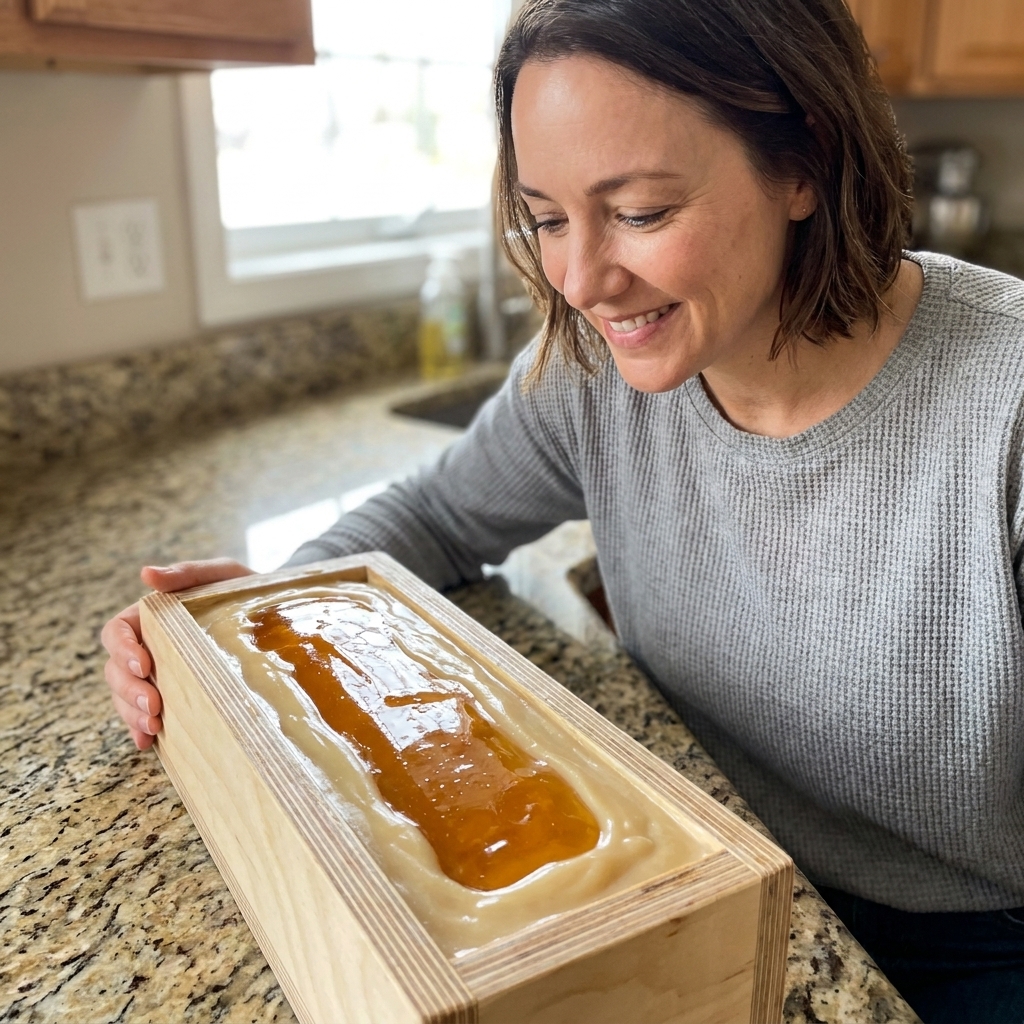
Right after you pour, lay something directly over the soap surface to limit air contact.
- Plastic wrap: Gently smooth it onto the top so there are no air pockets.
- Reusable silicone mat: A clean, flexible sheet can work the same way.
This is especially helpful for textured tops that love to ash in all the little peaks and valleys.
2) Spray with 99% isopropyl alcohol
A light spritz of 99% isopropyl alcohol can help reduce ash, likely by briefly changing how the surface behaves and limiting that early surface reaction with air. I do one spray right after pouring, then another after I texture the top.
- Hold the bottle 8 to 12 inches away.
- Mist lightly. You want dew, not puddles.
- Use 99% if you can. Lower percentages add more water, which can work against you.
3) Encourage gel phase (when your recipe allows)
Gel phase can reduce ash because the soap warms up and often firms up faster at the surface, shrinking the window of time when a wet, alkaline top is exposed to air. If you normally avoid gel for pastel looks, you may prefer other prevention steps.
Ways to encourage gel:
- Insulate your mold with a towel.
- Use a warming pad on low under the mold (supervised).
- Soap a little warmer, within safe handling range for your recipe and fragrance.
Be cautious with sugar, honey, milk, or very fast fragrances since they can overheat.
4) Use a small water discount
Less water usually means a quicker set and less chance for alkalinity to linger at the surface. You do not need to go extreme. Even a modest water discount can help.
If you are new to water discounts, change only one variable at a time. A big water reduction can thicken batter faster and make intricate swirls harder.
5) Control airflow and humidity
Soap loves fresh air, but it does not love extremes.
- Avoid direct drafts (like under a vent) during the first 24 to 48 hours, especially if your top is staying wet.
- Keep humidity moderate. Very humid rooms can slow evaporation and encourage ash.
- Give bars space so moisture can leave evenly.
6) Wait to cut until the loaf is ready
Cutting too early can expose soft, damp surfaces that ash quickly. Cutting too late can cause crumbly edges. Aim for that sweet spot when the loaf is firm but not brittle. For many recipes, that is 18 to 36 hours, but fragrance, additives, and temperatures can change the timeline.
How to remove soda ash
If the ash already showed up, no worries. You have options depending on how polished you want the final look.
Option A: Steam it off
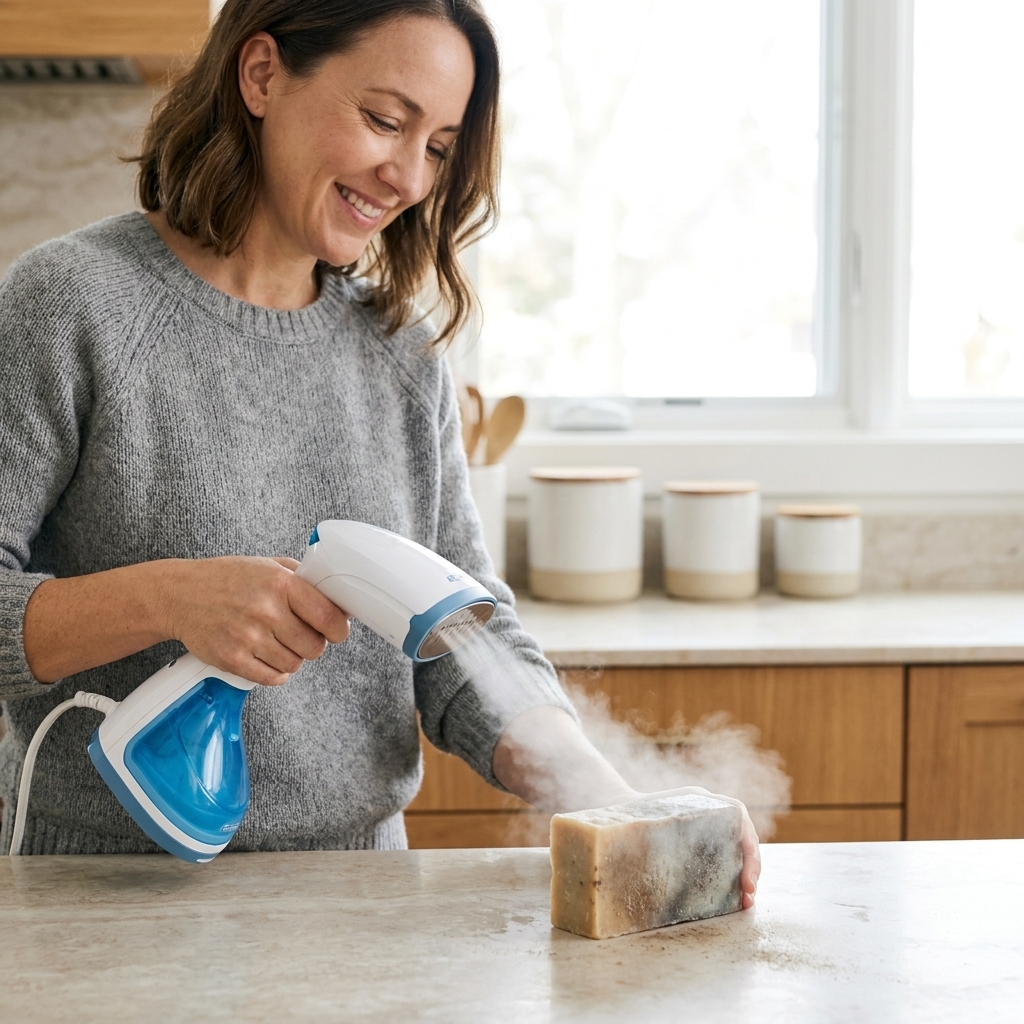
Steam dissolves the ash layer quickly and brings back color contrast.
- Hold the bar with gloved hands or tongs.
- Pass it briefly through steam from a garment steamer or a pot of simmering water.
- Let it dry on a rack with good airflow.
Do not hover too long in one spot or you can create shiny areas or small dents, especially on softer recipes. In humid climates, steaming can also make glycerin dew more likely later, so give the bars plenty of open-air time before wrapping.
Option B: Rinse and buff
A quick rinse under cool water can remove light ash.
- Rinse briefly and rub with gloved hands.
- Pat dry with a clean towel.
- Let the bars air-dry fully before packaging.
If the ash is stubborn, try a soft cloth to buff the surface. Avoid soaking the bars, which can cause glycerin dew later.
Option C: Plane the surface
A soap planer or vegetable peeler can shave off the top layer and leave a smooth, clean face. This is my favorite fix for heavily ashed tops on minimalist bars.
- Plane lightly, taking thin passes.
- Collect shavings for confetti soap or embeds.
- Let the freshly planed bar breathe for a day before wrapping.
Option D: Quick dip
For a very quick refresh, some makers do a brief dip in water and then wipe down. Keep it short and controlled. You are not washing the bar, you are just dissolving the surface powder.
Skip this for intricate tops, since water can linger in texture and cause spotting.
Troubleshooting
It looks like white fuzz
That can be mold. It is uncommon on correctly made soap, but it is more likely with heavy additives, improper curing, or damp, closed storage. If your soap smells off, shows colored growth, or the fuzz keeps spreading, discard questionable bars. Soap is not worth a skin risk.
It looks like glittery crystals
That can be soda ash, but it can also be crystallized additives (like salt) or lye-related crystals if the batch separated. If there is any zap or irritation, treat it as a safety issue first and go back to your measurements and lye calculator inputs.
It is only on the cut faces
This often points to cutting timing and curing conditions. Newly exposed faces can ash quickly with cool temperatures, high humidity, or lots of air exchange while the soap is still wet. Covering the loaf for the first day and adjusting airflow can help.
It keeps coming back
That usually means the bars are still quite wet or curing in a humid spot. Improve airflow, space the bars out, and consider a small water discount next batch.
My go-to routine for gift bars
When I want clean tops with minimal fuss, this is what I do:
- Pour at a stable, medium trace.
- Spritz the top lightly with 99% isopropyl alcohol.
- Cover the surface with plastic wrap smoothed directly onto the soap.
- Insulate just enough to encourage gel, unless the recipe is heat-sensitive.
- Cure in a room with steady temperature and moderate humidity, away from vents.
It is not fancy, but it is repeatable. And repeatable is the real magic in soapmaking.
Safety notes
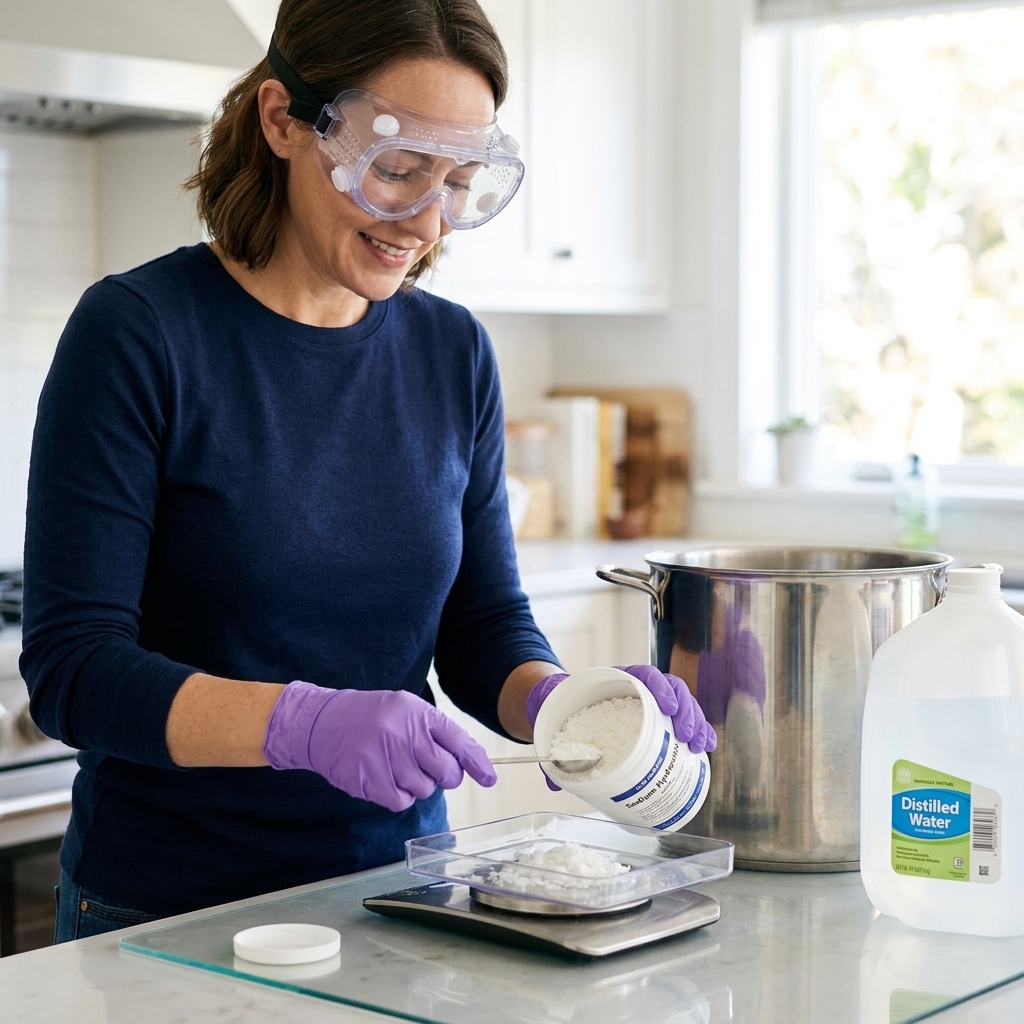
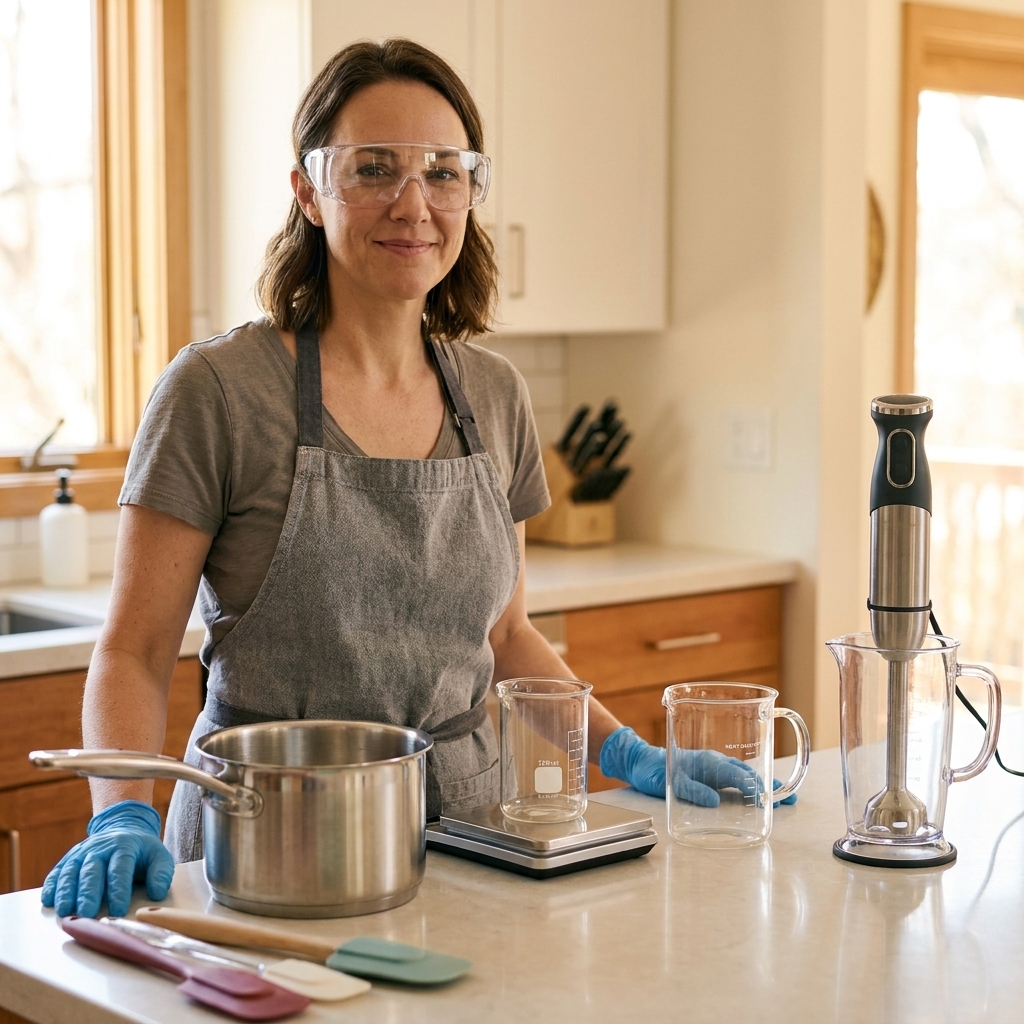
- Wear gloves when handling fresh soap, especially in the first 24 to 48 hours.
- Steam with care. Keep hands away from the steam source and work in a stable area to avoid burns. Steam only fully saponified, non-zappy soap.
- Do not package early. Wrapping soap that is still releasing moisture can lead to sweating and surface issues. If you are in a humid climate, breathable packaging (bands, boxes with airflow) is often kinder than tight plastic.
FAQ
Will soda ash go away on its own?
Sometimes. Light ash often wears off with handling and the first few washes. Heavy ash usually needs a quick steam, rinse, or planing if you want a clean, photo-ready finish.
Does soda ash mean I used too much lye?
Not necessarily. Soda ash can happen in perfectly balanced recipes because it is a surface reaction. If the soap zaps, irritates, or feels harsh after a reasonable cure, double-check your measurements and your lye calculator inputs.
Can I prevent soda ash in melt and pour soap?
Soda ash is mainly a cold process and hot process surface reaction. Melt and pour can get surface dullness or sweating, but classic soda ash is much less common.
Can hot process soap get soda ash?
Yes. Hot process soaps often ash less because saponification is further along before molding, but the surface can still react with air during cure, especially on freshly cut faces.
Does fragrance oil cause soda ash?
Fragrance does not directly create soda ash, but it can influence trace, gel, and how quickly the surface sets. A slow-moving fragrance paired with a high-water recipe can make ash more likely.