I still remember my first cold process batch: a wobbly plastic pitcher, a borrowed stick blender, and the unmistakable moment when the oils turned from slippery and see-through to creamy and opaque. It felt like magic. Cold process soap making is absolutely learnable, even if you are brand new, as long as you treat lye with real respect and follow a steady process.
This tutorial walks you through a simple, beginner-friendly recipe that traces predictably and cures into hard, long-lasting bars. I will also show you a no-nonsense lye safety routine, because confident soap making starts before you ever pick up the sodium hydroxide.
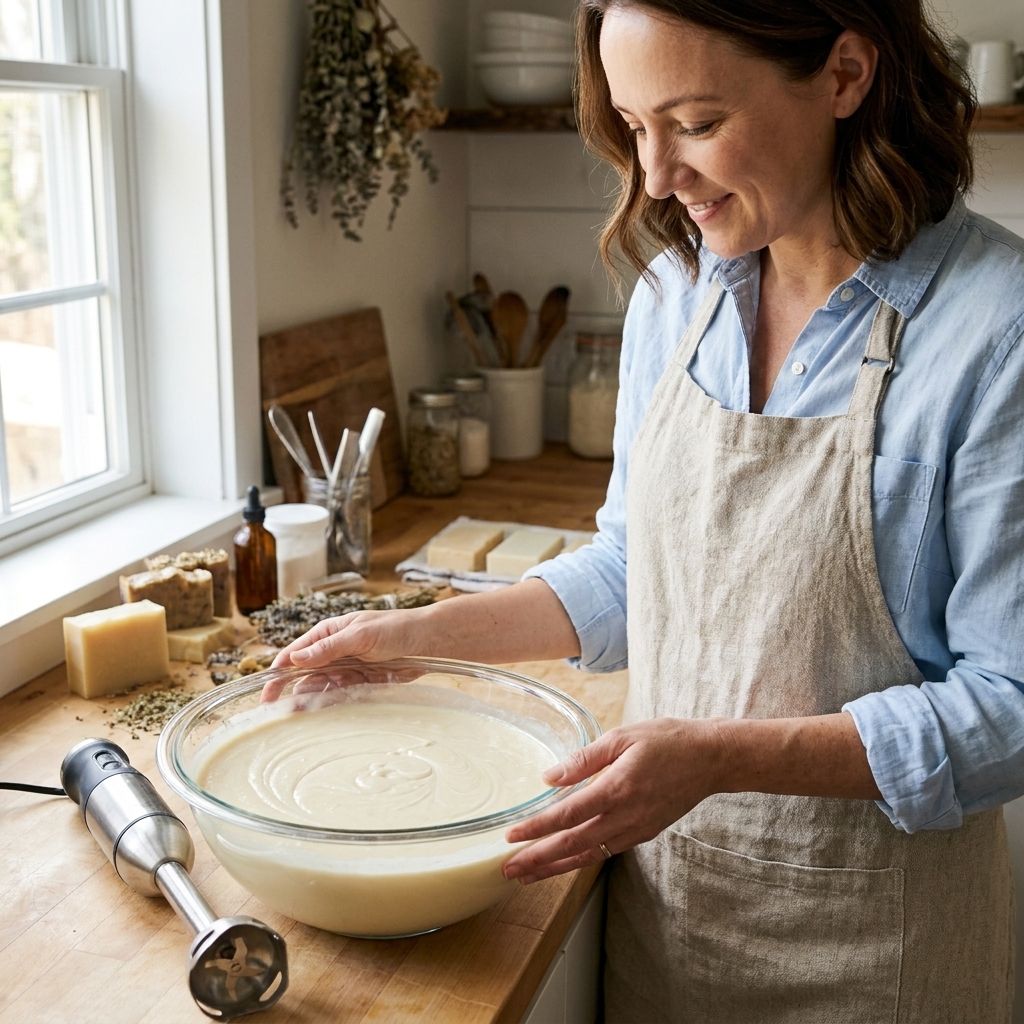
Before you start: what cold process soap is
Cold process soap is made when oils and butters react with a lye solution in a chemical reaction called saponification. You mix warmed oils with cooled lye water, blend to emulsion and trace, pour into a mold, and let the soap harden. Over the next several weeks, excess water evaporates and the bar becomes milder and harder.
- Unmold: typically 18 to 48 hours
- Cut: once firm enough to slice cleanly
- Cure: usually 4 to 6 weeks for best hardness and lather
Lye safety guide (read this every time)
Sodium hydroxide, also called lye, is essential for real soap. It is also caustic. The goal is not to be scared, it is to be consistent.
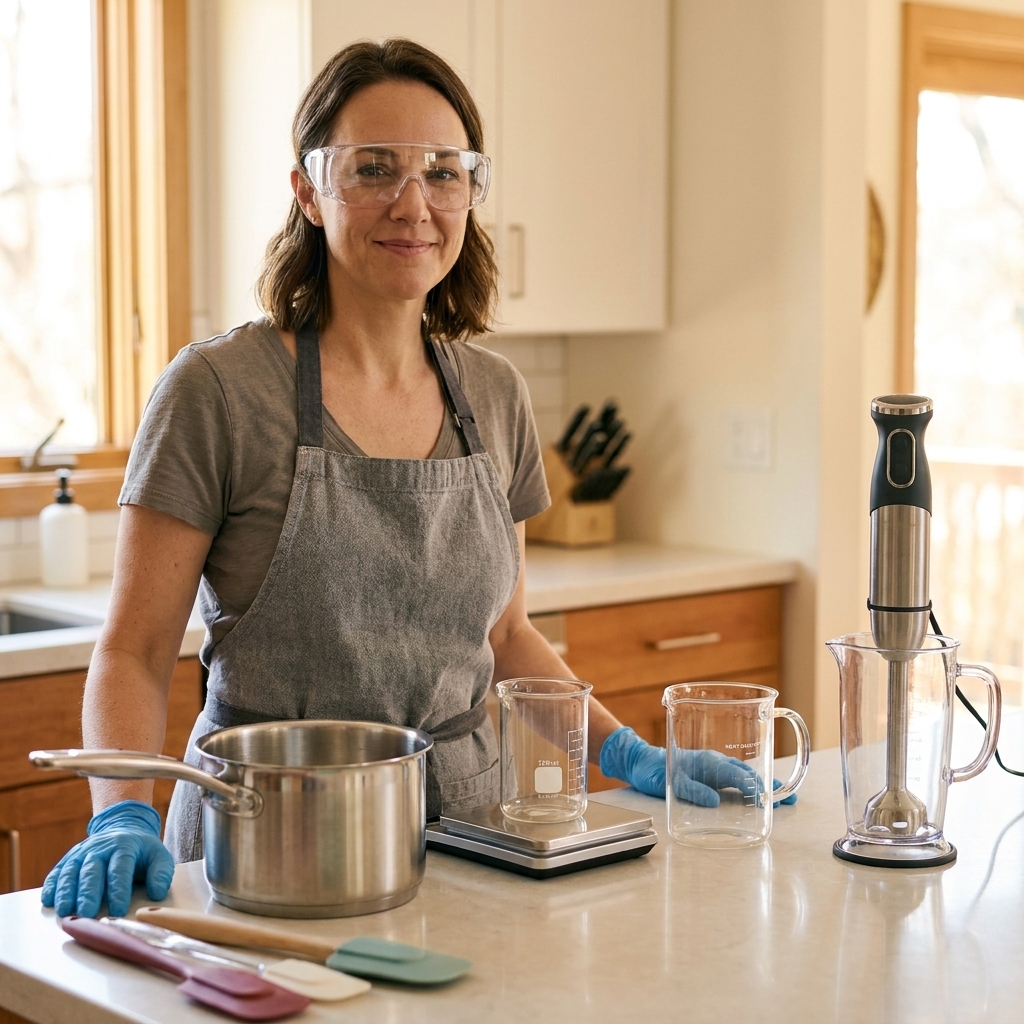
Dress for it
- Eye protection: snug safety goggles, not just glasses
- Gloves: chemical-resistant (nitrile is great)
- Clothing: long sleeves, long pants, closed-toe shoes
- Hair: tied back
Set up your space
- Work in a well-ventilated area, like under a range hood or near an open window.
- Keep kids, pets, and other bystanders out of the room until cleanup is done.
- Clear your counter so you are not reaching over tools or containers.
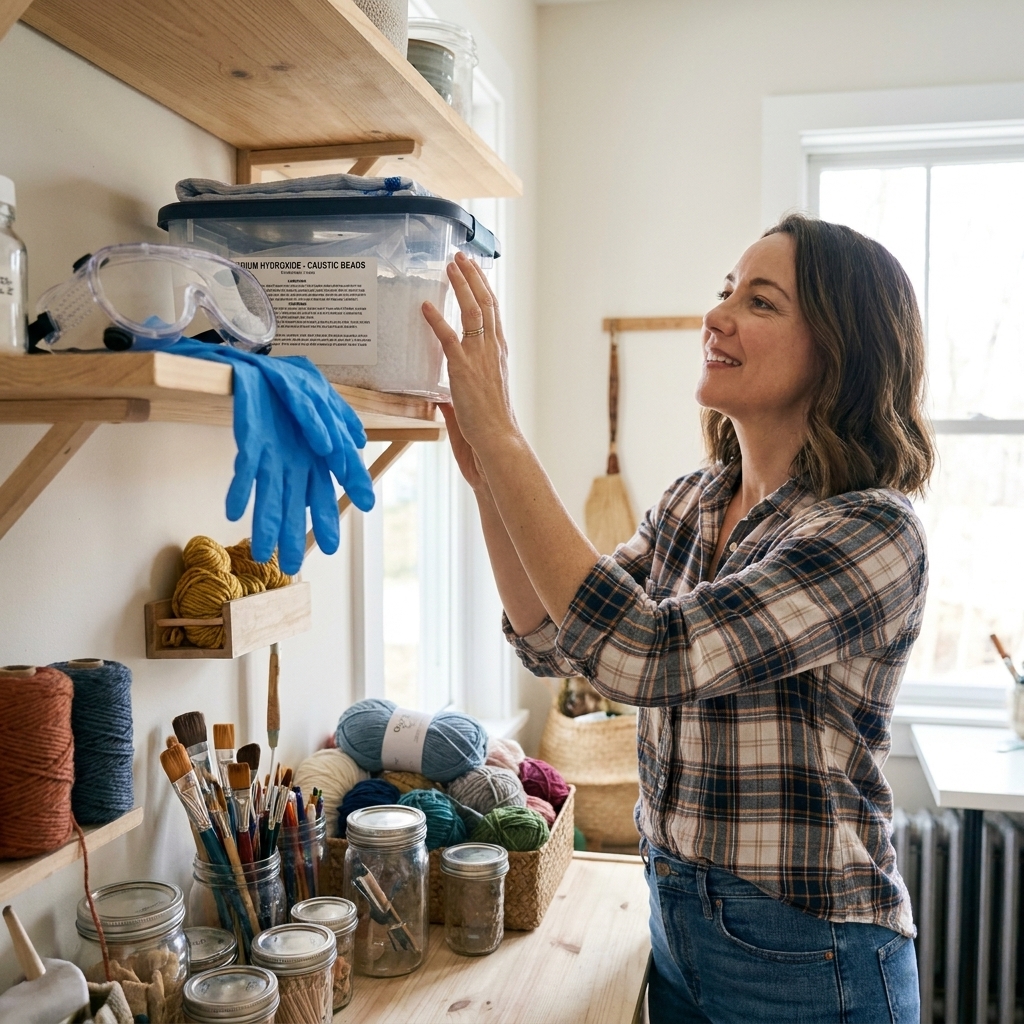
- Label your lye container and store lye locked up, dry, and away from humidity.
Use the right containers
- Safe: stainless steel, heat-safe polypropylene (often marked #5), heavy-duty HDPE (often #2), and silicone.
- Avoid: aluminum (reacts with lye), tin, and cookware with non-stick coatings (not recommended for lye because coatings can be damaged and it is harder to be sure the tool stays food-safe later).
- For mixing lye: a heat-safe plastic or stainless pitcher with plenty of headspace.
The rule you never break
Always add lye to water, never water to lye. Adding water to lye can cause a violent eruption. Adding lye to water lets the heat build in a controlled way.
What to expect when mixing lye solution
Your lye water will heat up fast and release strong fumes for the first minute or two. That is normal. Keep your face back, stir slowly, and let it sit somewhere safe to cool.
Lye purity matters
Use lye that is clearly labeled 100% sodium hydroxide (NaOH) with no additives. Many drain cleaners are not pure NaOH, and some lye is not 100% pure. If your lye lists a different purity, enter that information into your soap calculator and do not guess.
First aid basics (keep it simple)
- On skin: rinse immediately with cool running water. For a tiny splash, keep rinsing for several minutes. For a larger exposure or persistent slippery feeling, keep flushing for at least 15 minutes and remove contaminated clothing and gloves while rinsing.
- In eyes: flush with water for at least 15 minutes and seek medical help immediately.
- Spills: wipe up small soap batter drips with disposable towels while wearing gloves, then wash the area with lots of water. For dry lye, carefully scoop, avoid dust, and wipe the area with damp disposable towels.
If you have any medical concerns, contact local emergency services or poison control. Safety is not the glamorous part, but it is the part that lets you keep making soap for years.
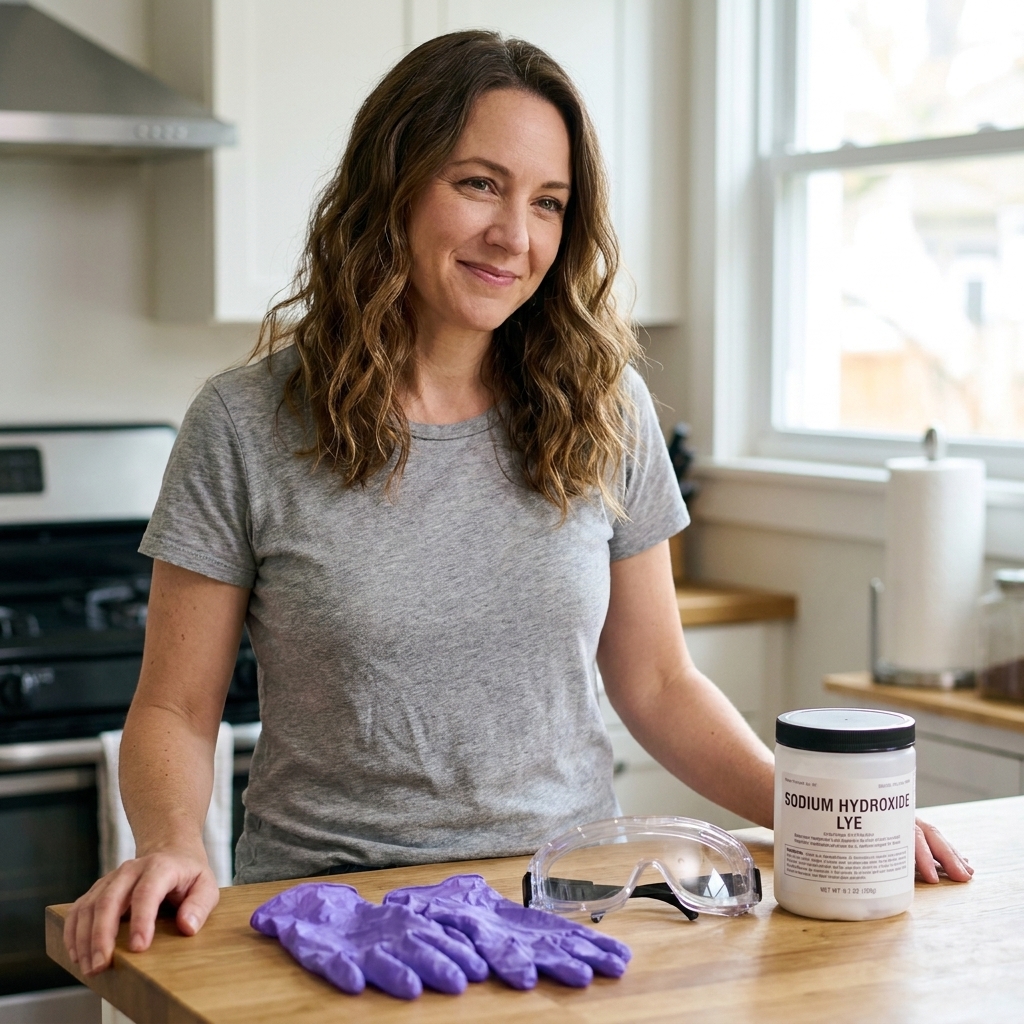
Equipment you need (beginner-friendly)
- Digital scale that measures in grams (accuracy matters in soap)
- Two heat-safe pitchers for water and lye solution
- Stainless steel or heavy-duty plastic mixing bowl
- Stick blender (immersion blender)
- Silicone spatula
- Thermometer (instant read or infrared)
- Soap mold (a silicone loaf mold is the easiest)
- Optional but helpful: sieve for lye, paper towels, rubbing alcohol in a spray bottle for surface bubbles and soda ash, parchment for lining wooden molds
Soap-only rule: Once you make soap with tools, do not use them for food again. I keep a clearly labeled “soap bin” so nothing wanders back into the kitchen rotation.
The easy beginner cold process soap recipe
This is a balanced, forgiving formula with nice hardness from palm or tallow, conditioning from olive oil, and bubbly lather from coconut oil. I am including a conservative superfat that feels gentle for most skin types.
Batch size and mold
This recipe uses 1,000 g of oils. Before cure, the total batch weight is roughly 1,470 g (oils + water + lye), so choose a loaf mold with at least that much capacity. As a practical shortcut, a loaf mold that holds about 50 oz (1.4 kg) or more is usually a comfortable fit.
Oils (by weight)
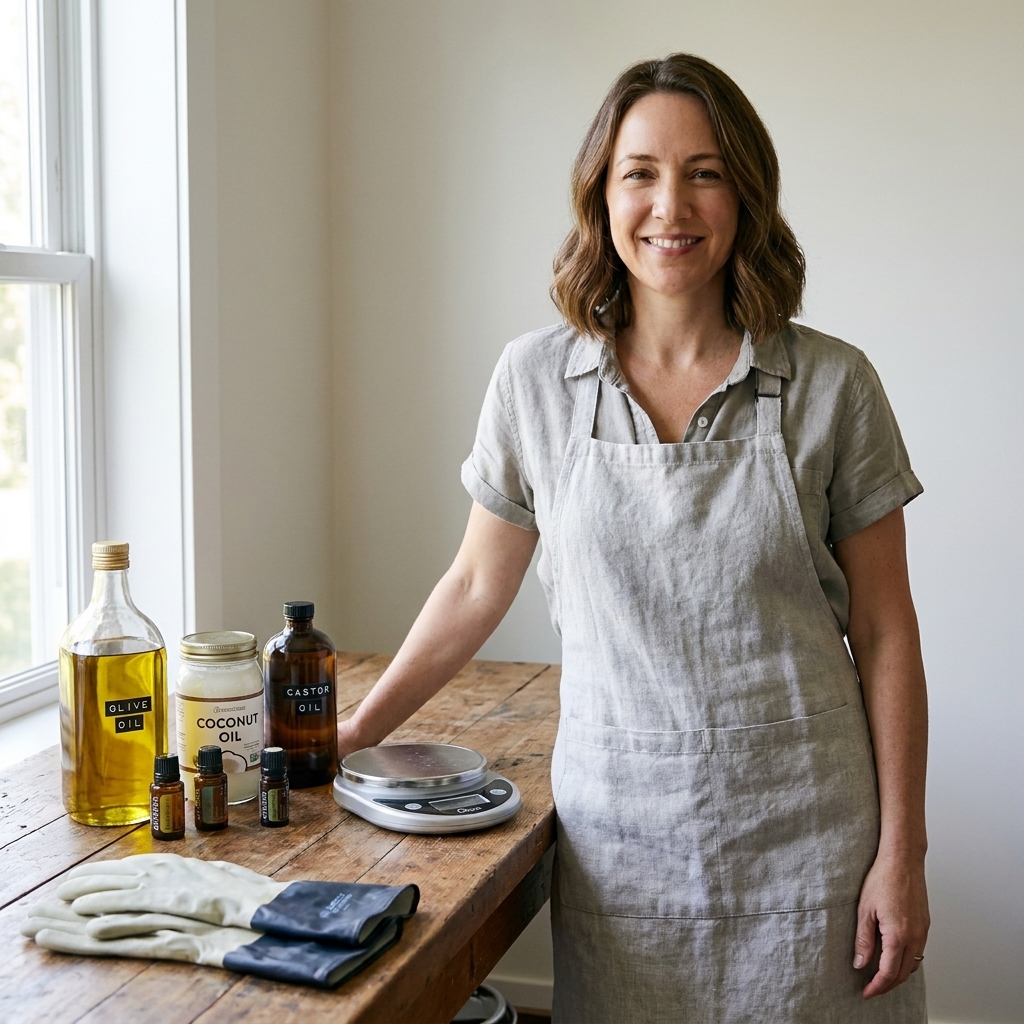
- Olive oil: 450 g (45%)
- Coconut oil (76°F / 24°C): 250 g (25%)
- Sustainable palm oil or beef tallow: 250 g (25%)
- Castor oil: 50 g (5%)
Palm note: If you use palm oil, melt it fully and stir it well before weighing. Palm can separate in the container, and weighing without recombining can throw off your balance.
Lye and water
Important: Always run your exact recipe through a reputable soap calculator before making it, especially if you change any oils, your lye purity, or you are using a different olive oil type. Different oils require different amounts of lye, and small NaOH errors can matter.
- Distilled water: 330 g
- Sodium hydroxide (NaOH lye): 141 g
This lye amount is calculated for the oils listed above at 5% superfat using commonly published NaOH SAP values. Please verify it in a calculator you trust (SoapCalc, Soapee, Bramble Berry, or similar) and match the oil selections to what you actually have (for example: olive oil vs pomace, palm oil vs palm shortening, tallow type).
This is roughly a 2.3:1 water-to-lye ratio, which is a comfortable zone for learning emulsion and trace.
Optional add-ins (keep it simple on batch one)
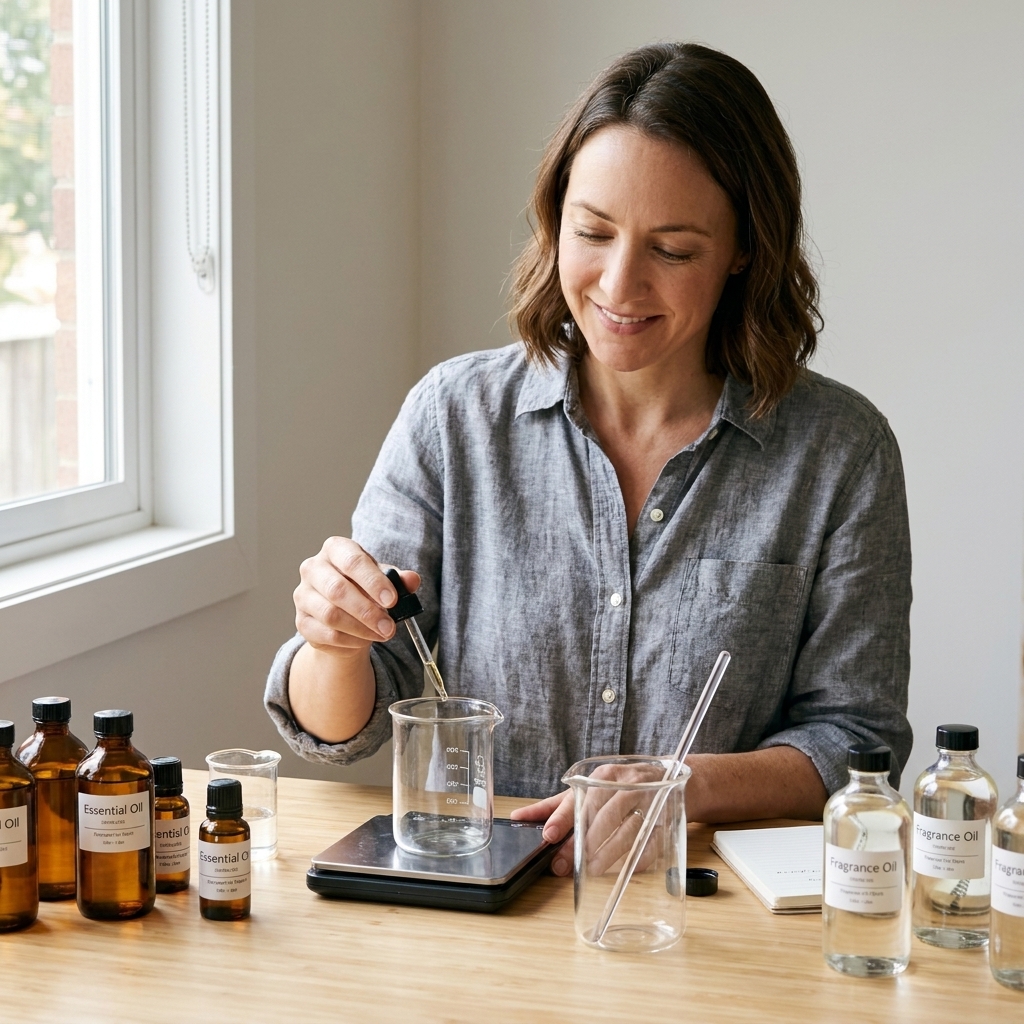
- Fragrance or essential oil: up to 30 g (about 3% of oil weight). Choose a soap-safe scent that behaves well.
- Color: 1 to 2 tsp kaolin clay dispersed in a little oil, or 1 tsp cocoa powder for a warm beige.
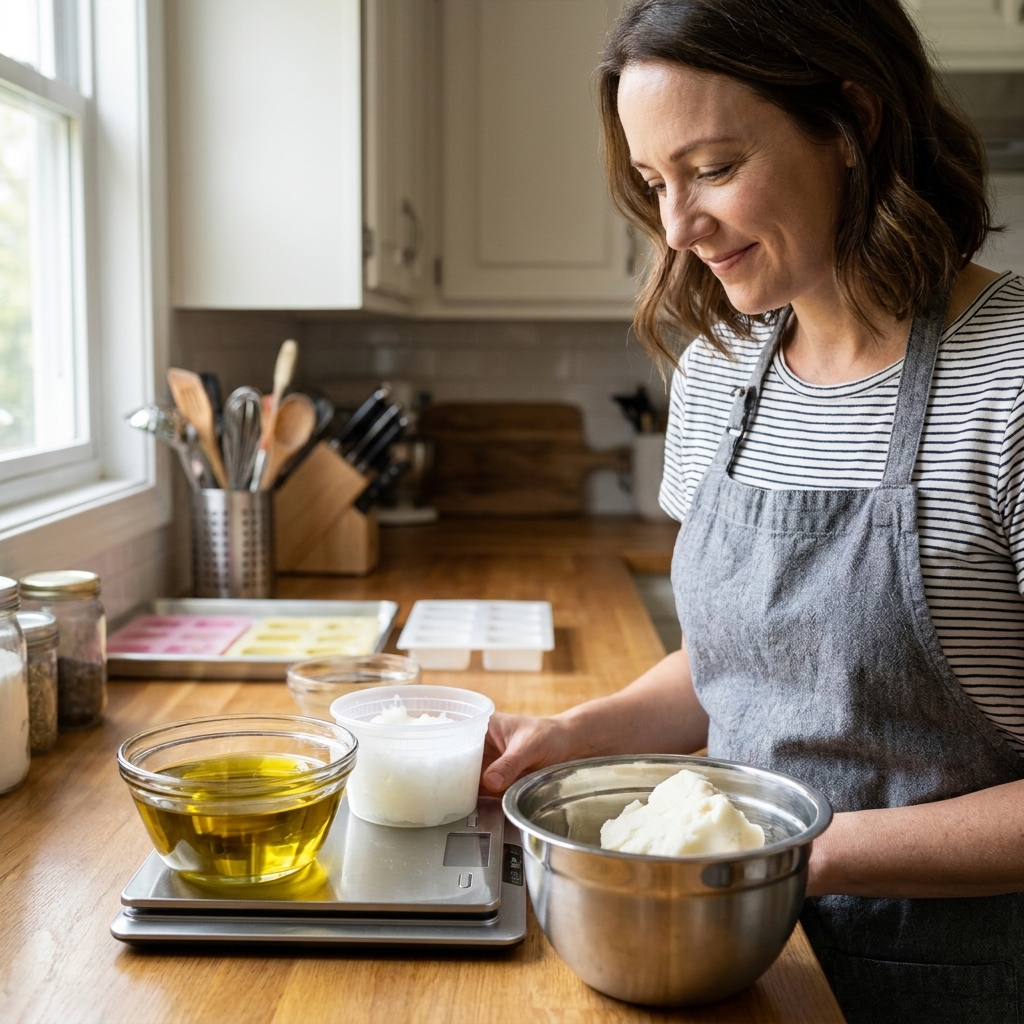
Step-by-step instructions
1) Prep your mold and workspace
- Set out your mold on a tray or cutting board so it is easy to move.
- Measure your fragrance and any colorants ahead of time.
- Put on gloves and goggles before you handle lye.
2) Make the lye solution
- Weigh distilled water into a heat-safe pitcher.
- In a separate container, weigh your lye.
- Slowly sprinkle lye into water while stirring gently.
- Stir until the liquid turns clear. Set it aside in a safe spot to cool.
Tip: I like to mix lye solution in the sink or on a tray, just in case I drip. Also, do not lean over the pitcher when the fumes rise.
3) Melt and combine your oils
- Gently melt the coconut oil and palm or tallow until just liquid.
- Add the liquid olive oil and castor oil to your main mixing bowl.
- Pour the melted oils in and stir to combine.
Let the oils cool a bit if they are very hot. For this recipe, I aim for oils and lye solution in the same general range, about 90 to 110°F (32 to 43°C). Being perfect is not the goal. Being close is.
4) Bring it to emulsion and trace
- When your lye solution and oils are in a similar temperature range, slowly pour the lye solution into the oils.
- Pulse your stick blender in short bursts, then stir, then pulse again.
- Watch for the batter to change from “cream in coffee” to a uniform, opaque mixture.
Emulsion comes before trace. A fully emulsified batter looks evenly mixed and will not immediately separate back into oily streaks, even if it is still thin.
Light trace for beginners looks like this: if you lift the blender and drizzle batter across the surface, it leaves a faint line that sits for a second before sinking in.
5) Add fragrance and color (optional)
Add your pre-measured fragrance and stir by hand, or give one or two quick blender pulses. Some fragrances accelerate trace. Stirring by hand gives you more control.
6) Pour and finish
- Pour into the mold, tapping it gently to release air pockets.
- Spritz the top with rubbing alcohol if you want fewer soda ash issues.
- Cover lightly and insulate if your room is cool.
For a first batch, I usually do light insulation with a towel. If your soap gets very hot or starts to crack on top, remove insulation and let it cool.
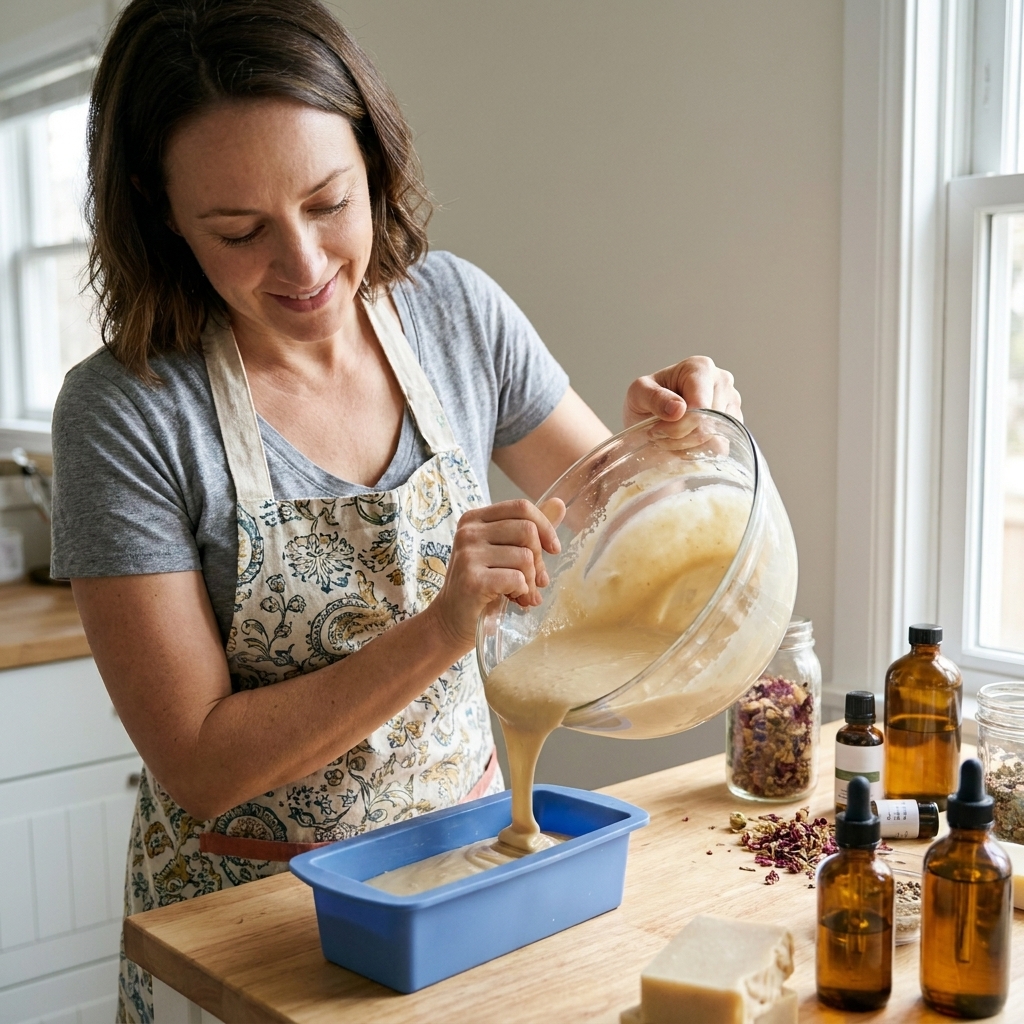
Unmolding, cutting, and curing
When to unmold
Check at 18 to 24 hours. If the loaf feels firm and pulls cleanly from the mold, unmold. If it still feels soft or sticky, give it another day.
How to cut
Use a non-serrated knife or a soap cutter. Slice straight down, wipe the blade between cuts, and aim for even thickness so your bars cure at the same pace.
How to cure
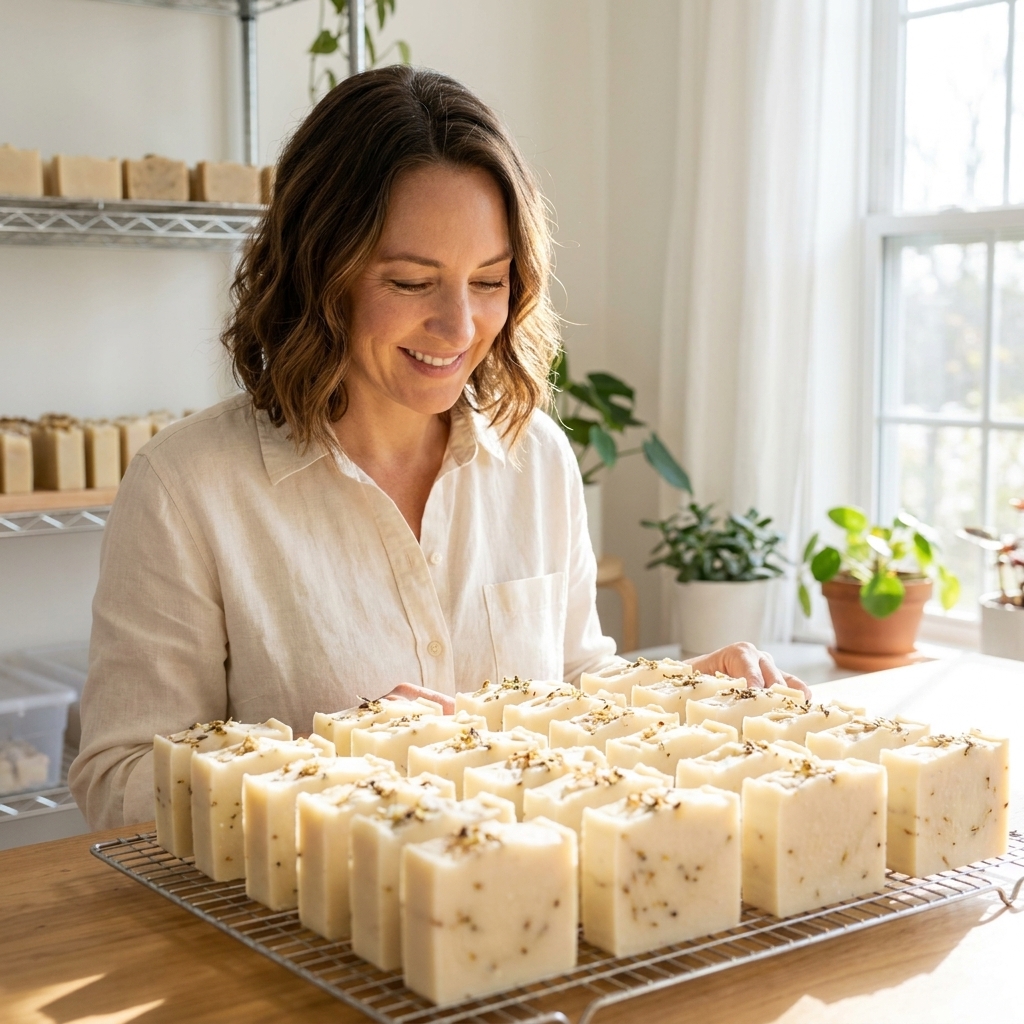
- Place bars on a rack or a piece of cardboard in a single layer.
- Keep them in a cool, dry space with airflow, out of direct sunlight.
- Turn the bars every few days for the first two weeks if you remember.
- Cure for 4 to 6 weeks for a harder bar and better lather.
Yes, you can use the soap earlier, but it will be softer and it will disappear faster in the shower. Future-you will appreciate the cure.
Beginner troubleshooting (my most-used fixes)
My soap is too soft to unmold
- Wait another 24 hours.
- Pop the mold in the freezer for 1 to 2 hours, then unmold.
- Next time, consider a slightly higher hard fat percentage or a small water discount once you have a few batches under your belt.
It thickened up suddenly
This is usually fragrance acceleration, cooler temps, or over-blending. Spoon it into the mold, press it down, and call it “rustic.” It will still be soap.
There is a white powdery layer on top
That is usually soda ash. It is harmless. You can steam it off later, rinse it off before gifting, or prevent it by using a bit less water, soaping a little warmer, and spritzing the top with rubbing alcohol.
It separated or looks oily
Separation can happen if the batter was too cool, not fully emulsified, or if a tricky fragrance misbehaved. If it is still in the mold and clearly separating, you can often save it by spooning it back into a pot and doing a quick hot-process rescue. If you are not sure, set it aside and do not use it until you are confident it is fully saponified.
It looks like gel rings or a darker center
That is a partial gel. It is cosmetic. For an even look, either insulate more consistently to encourage full gel or avoid insulation and keep the mold cool to prevent gel.
FAQ
Can I make cold process soap without a stick blender?
You can, but be prepared to stir for a long time. A stick blender makes reaching emulsion and trace much easier and more consistent for beginners.
Can I swap oils in this recipe?
Yes, but you must re-calculate the lye amount in a soap calculator. Never “eyeball” lye. Even small oil changes can shift the required sodium hydroxide.
Do I have to use distilled water?
I strongly recommend it. Minerals in tap water can contribute to soap scum, and in some cases can nudge long-term issues like DOS (dreaded orange spots), especially if your water is high in metals or minerals. DOS is also influenced by old oils, high-oleic formulas, heat, light, and how the soap is stored.
Is there any lye left in finished soap?
In a correctly formulated recipe, the lye is consumed during saponification. That said, accurate weighing, correct lye purity, and thorough mixing are essential, and a full cure improves mildness.
A calm checklist for your first batch
- Verify the recipe in a soap calculator if you changed anything (including lye purity).
- Use a mold large enough for roughly 1,470 g of raw soap batter.
- Wear goggles and gloves from start to fully cleaned counter.
- Add lye to water, stir, and let it cool safely.
- Bring to emulsion and light trace, keep additives simple.
- Unmold when firm, then cure 4 to 6 weeks.
If your first loaf is not “perfect,” welcome to the club. My best soaps came after my messiest weekends. Keep notes, make one change at a time, and let yourself enjoy the oddly thrilling moment when you slice that first clean bar.