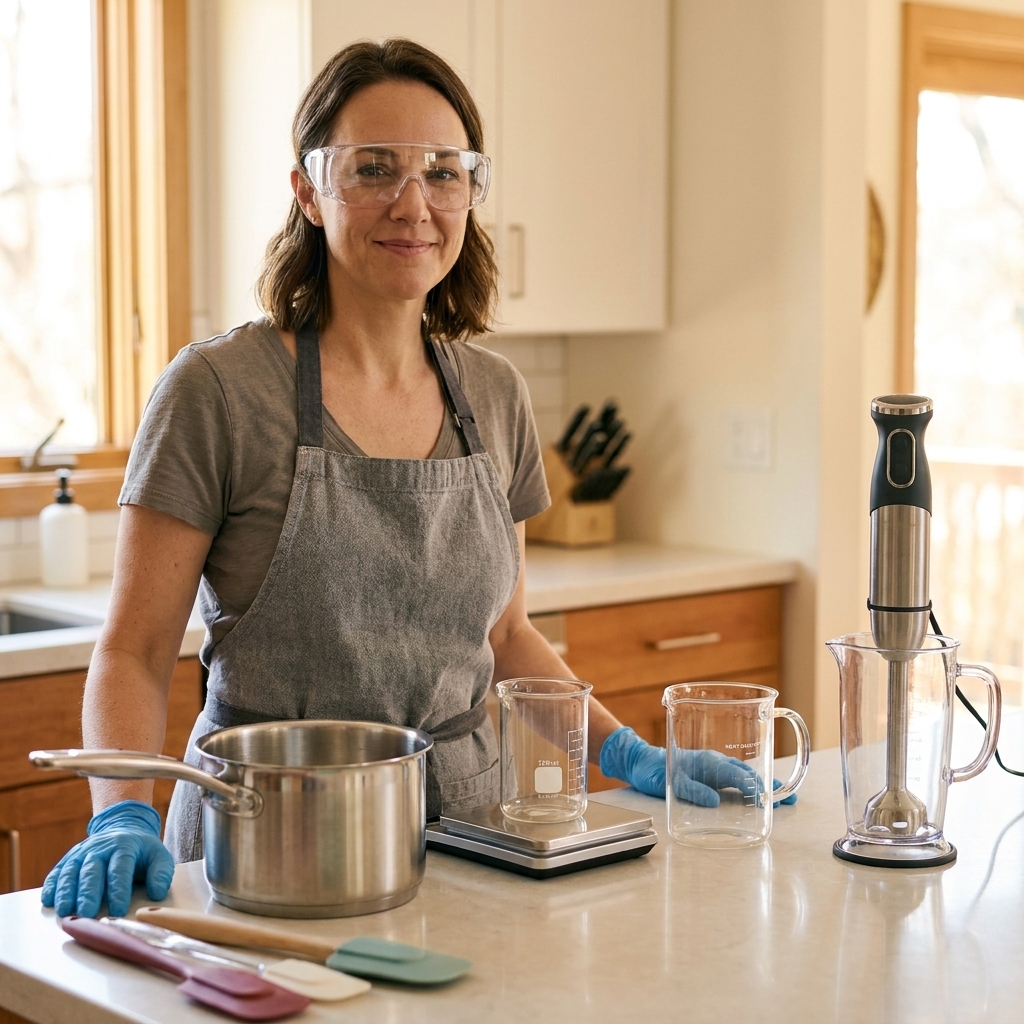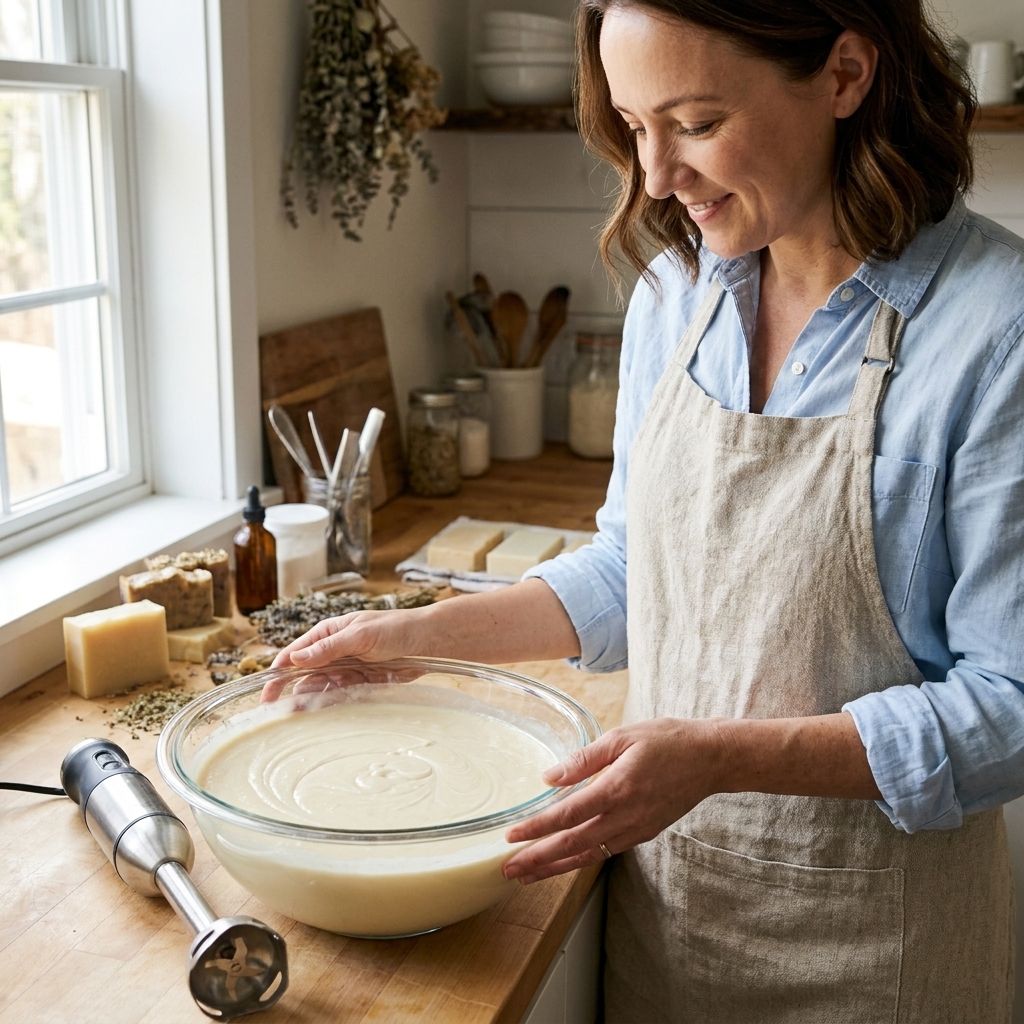
Choosing a mold sounds simple until you are standing over a brand-new batch of cold-process soap that refuses to budge, or you are trying to get a pillar candle out without cracking a corner. I have made candles and soap long enough to have opinions, but I also have enough happy accidents under my belt to know there is no single perfect mold. There is, however, a best mold for what you are making, how often you make it, and how patient you feel on unmolding day.
Below is a practical, craft-room-tested comparison of silicone molds, rigid plastic molds, and wooden block molds, with specific unmolding techniques for both candles and soap.
Quick pick
- If you want the easiest unmold: silicone, especially for detailed shapes and small batches.
- If you want crisp lines on a budget: rigid plastic, especially for basic pillars and clamshell-style wax melts.
- If you want max soap per pour: wooden block molds (ideally with a silicone liner).
If you do both soap and candles, the combo I reach for most is: a wooden loaf mold with silicone liner for soap, and silicone plus rigid plastic for candles depending on the design.
Silicone molds
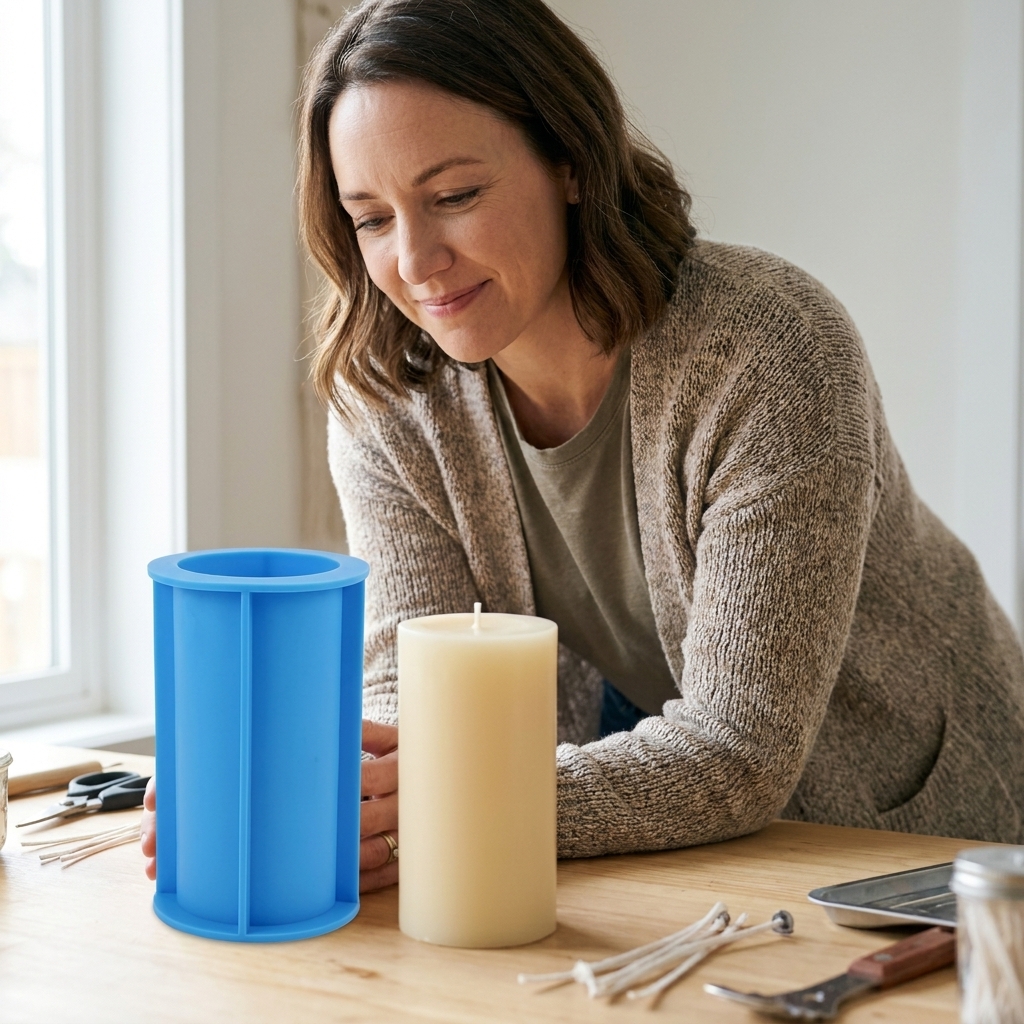
Why silicone works
Silicone is flexible, forgiving, and excellent at releasing cured soap and cooled wax. For anything with curves, cavities, or fine details, silicone usually wins.
Pros
- Easy release: Flex the mold and break suction instead of forcing the product out.
- Great for detail: Floral shapes, embossing, bees, moons, and all those “I had to try it” designs.
- Less need for release agents: Often none for soap, and only sometimes for candles depending on wax type.
- Beginner-friendly: Fewer cracks, fewer chipped edges, fewer tears.
Cons
- Can bulge or bow: Tall pillar molds may need support so you do not end up with a slightly oval candle.
- Surface imperfections show: Lint, pet hair, or a wrinkled mold can transfer to the finish.
- Can smear soft soap: If you unmold too early, the silicone can drag at the edges.
- Quality varies: Thin silicone can warp over time or tear at stress points.
Best uses
- Soap: cavity soaps, guest bars, embeds, novelty shapes, small loaf molds
- Candles: sculptural pillars, shapes, wax embeds, detailed melts
Unmolding silicone
For cold-process soap
- Wait until it is ready. Many recipes unmold cleanly at 24 to 48 hours, but it depends on water amount, hard vs soft oils, additives (milks, sugars, salt), temperature, and whether you used a hardener like sodium lactate. When in doubt, wait.
- Pull the sides away first. Gently peel the silicone away from the soap to let air in and release suction.
- Flip and support. Turn the mold upside down onto a cutting board and let gravity help while you peel the mold back.
- If it sticks, chill briefly. A short freezer rest, often 20 to 40 minutes, can firm the edges. Unmold right away, then let the loaf come back to room temp uncovered. Over-freezing can invite condensation, soda ash, and in some formulas even cracking.
For candles
- Cool completely. If the outside is firm but the center is warm, you can get dents and distortion.
- Break suction at the edges. Flex the top rim and work your way down.
- Use a quick chill if needed. 10 to 20 minutes in the freezer helps stubborn pillars, but do not forget them. Over-chilling can cause sweating or frost-like bloom on some waxes, especially soy and other vegetable waxes.
Little tip: For tall silicone candle molds, I often nest the mold inside a jar or wrap it with a cardboard cuff and rubber bands. It is not glamorous, but it keeps your pillar from leaning.
Rigid plastic molds
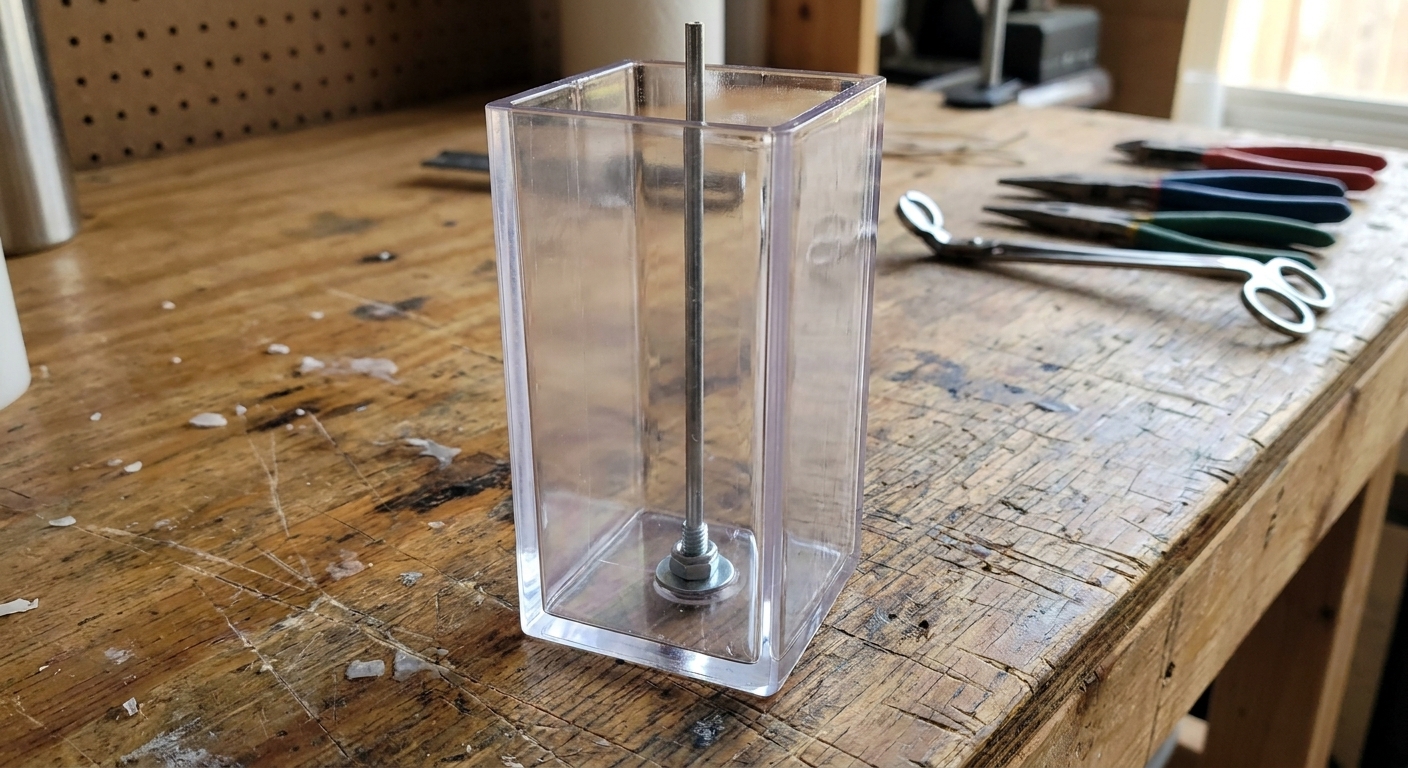
Rigid plastic molds are the structured, no-nonsense option. They hold their shape beautifully and can deliver crisp, straight sides. You will see them made from polycarbonate and other hard plastics, and they are popular for pillars and some specialty shapes.
Pros
- Crisp edges and smooth sides: Great for modern pillars and geometric designs.
- Very consistent: Once you dial in wick and wax, results repeat well.
- Supportive for tall shapes: No bulging like floppy silicone can do.
- Often easier to clean wax from: Hardened drips usually pop off.
Cons
- Unmolding can be stubborn: Especially with soy pillars and some blends that do not shrink much.
- Risk of cracking: The mold, the candle, or both, if you force it.
- Seams and hardware: Many require mold sealer, wick pins, and careful leak checks.
- Not my first pick for cold-process soap: Some plastics are not lye-safe or heat-safe, and rigid walls love to suction-cup.
Best uses
- Candles: pillars, tapers (with the right mold), shapes where straight lines matter
- Soap: usually melt-and-pour with approved plastic molds, not cold-process unless the manufacturer explicitly states it is lye-safe
Unmolding rigid plastic
For candles
- Let the candle cool and shrink. Many waxes contract as they cool, which helps release, but soy often shrinks less and can cling. If you are using soy or a tight-grip blend, plan on a little extra patience.
- Tap, then twist. Hold the mold firmly and tap the sides, then gently twist the candle inside the mold to break suction.
- Use a short freezer rest. 5 to 15 minutes is usually enough. Then try again with tapping and twisting.
- If you over-chilled, warm the outside. Rapid cooling can create a temporary grip from contraction and condensation. A warm towel around the mold for a minute can help the candle release.
Release spray? Sometimes helpful, sometimes a mess. If you use one, test first because some sprays can dull details or leave an oily film on the candle surface.
For soap
If you are determined to use a rigid plastic loaf mold for cold-process soap, choose one specifically sold as lye-safe and heat-rated for saponification temperatures. When in doubt, line it with freezer paper or use a silicone liner. Otherwise you are gambling with both unmolding and the lifespan of the mold.
Wooden block molds

Wooden molds are the steady workhorse of cold-process soap. They insulate, they make gel more likely (and easier to achieve) if that is your goal, and they let you make big, satisfying loaves. Most modern wooden molds are used with a removable silicone liner, which gives you the best of both worlds.
Pros
- Great insulation for soap: Can help soap hold warmth, which can encourage gel phase depending on recipe and room temperature.
- Supports large batches: Great for efficient production and consistent bar sizing.
- Long lifespan: A good wooden mold can last for years with basic care.
- With a silicone liner, unmolding is easy: Peel and release like a silicone loaf.
Cons
- Not ideal for most candles: Wax can seep into wood, stain it, and create cleanup headaches. Wood is also not airtight, so leaks happen.
- Needs maintenance: Keep it dry, avoid soaking, and watch for warping if stored damp.
- Without a liner, lining is required: Freezer paper lining is a skill, and yes, you will crease it wrong once.
Best uses
- Soap: cold-process loaf soap, slab soap (with a slab mold), high-volume batches
Unmolding wooden molds
With a silicone liner
- Remove the liner. Lift it out by the edges once the soap is firm enough to hold its shape.
- Peel back the silicone. Start at the long sides to let air in.
- Flip and release. Turn onto a cutting board and gently peel the liner away.
With freezer paper lining
- Lift the loaf out by the paper. Use the overhang like handles.
- Let it breathe for an hour. If the paper sticks, a little air-drying helps.
- Peel slowly. Pull the paper back against itself, not straight up, to reduce gouges.
Side-by-side comparison
| Feature | Silicone | Rigid plastic | Wood block (usually with liner) |
|---|---|---|---|
| Best for cold-process soap | Excellent for cavities and small loaves | Only if lye-safe and ideally lined | Excellent for loaves and slabs |
| Best for candles | Excellent for shapes and pillars (with support) | Excellent for crisp pillars and tapers | Not recommended |
| Ease of unmolding | High | Medium to low | High with liner, medium with paper |
| Surface finish | Can be very smooth, shows lint easily | Very smooth, crisp lines | Depends on liner and technique |
| Durability | Varies by quality, can tear | Can crack, but rigid and stable | Long-lasting if kept dry |
| Upfront cost | Low to high | Usually medium | Medium to high |
| Storage | Flexible, easy to stash | Bulky, needs careful stacking | Bulky, best stored dry and flat |
Picking the right size
Soap mold volume
If you have ever poured a loaf and realized you made enough batter for a small swimming pool, you are not alone. The simplest way to estimate mold capacity is the water method.
- Water method: Put the empty mold on a scale, tare to zero, fill with water to your usual pour line, then note the weight.
- Convert to oils: Water weight in grams is close to milliliters. Many soap makers use a rough shortcut of multiplying that water weight by about 0.9 to estimate finished soap capacity by weight, then run the exact numbers through a lye calculator once you choose your recipe.
Candle mold fill
For candles, molds are often sold by diameter and height, not wax weight. The easiest way to estimate wax is to fill the mold with water to your fill line, weigh it, then multiply by about 0.86 as a starting point for many waxes. It is not perfect because wax density varies by blend, but it gets you close enough to plan a pour without panic.
Material limits
Heat and chemical compatibility
- Silicone: Quality matters. Platinum-cure silicone tends to be more durable and less smell-prone than bargain mystery silicone. If a mold has a strong odor out of the box, I do not trust it for hot wax. For soap, make sure it is intended for lye exposure.
- Rigid plastic: “Plastic” is not one material. Some plastics handle heat and caustic better than others, and some can warp, craze, or stress-crack. For both candles and cold-process soap, check the manufacturer’s heat rating and whether it is approved for lye.
- Wood: Great for soap insulation, but it is porous. Keep wax out of it, keep water out of it, and let it dry fully before storage.
Wick pins and pour holes
For pillar candles, rigid molds often use wick pins and a sealed wick hole. That system can give you a neat, centered wick, but it also means you need mold sealer and you need to take leaks seriously. Silicone molds vary. Some have a built-in wick channel, some require you to poke a hole, and some are designed for making wickless shapes or wax embeds. Hardware is not glamorous, but it is part of choosing a mold you will not hate later.
Common problems
A candle is stuck
- Rigid plastic: Wait longer, then try a short freezer rest and gentle tapping. Do not pry with a knife. It scratches molds and chips candles.
- Silicone: Flex, peel, and break suction gradually. If it is still stubborn, chill briefly and try again.
Soap will not release cleanly
- Unmolded too early: Give it another 12 to 24 hours. Soft soap smears.
- Soft formula or high water: High olive, high rice bran, or high-water recipes often need more time in the mold. Some additives (milks, sugars, honey) can also slow firming.
- Heat issues: Overheated soap can stay softer longer. Cooler soap can be more crumbly. Neither is ruined, but your unmold timing changes.
Silicone is warped or wobbly
- Support it: Place it inside a box, loaf tray, or snug container.
- Avoid heat and pressure: Do not store it crushed under heavy items, and keep it away from direct high heat.
A wooden mold smells like fragrance oil
Wood absorbs scent. If you use wooden molds for soap, keep the fragrance in the liner and avoid spills. Wipe immediately and let the mold air out fully before storing.
Safety notes
For soap makers
- Not all plastics are lye-safe or heat-safe. If the mold is not labeled for cold-process soap, do not assume.
- Do not force unmolding. Forcing creates gouges and can crack brittle, partially gelled soap.
- Wear gloves when handling fresh soap. Unmolding too early can mean the surface is still caustic.
For candle makers
- Mind heat limits. Some plastics warp with higher-temperature wax or preheating. Check the mold’s rating.
- Seal leaks. Pillar molds often need putty or mold sealer around the wick hole.
- Do not rush cooling. Fast cooling can increase the risk of sinkholes, rough tops, and cosmetic flaws depending on wax type and pour temperature.
My recommendations
If you mostly make cold-process soap
- Get a wooden loaf mold with a silicone liner for your main batches.
- Add a silicone cavity mold for sample bars and embeds.
- If you want faster unmolding, consider a hardening helper like sodium lactate (used properly and at safe rates), or simply plan for a longer set time with softer recipes.
If you mostly make candles
- Choose rigid plastic when you want straight, crisp pillars and repeatable results.
- Choose silicone when you want sculptural shapes, fine details, or easy release.
If you do both
- Soap: wooden mold with liner plus a few silicone cavities.
- Candles: one dependable rigid pillar mold and a couple of silicone shapes you truly love.
My biggest money-saving tip is to buy molds for the designs you will make again and again, not the ones that are cute once. A boring mold you actually use is always the better tool.
FAQ
Do I need mold release for silicone molds?
For cold-process soap: usually no. For candles: sometimes. Paraffin pillars often release fine without it, while some soy pillar blends can benefit from a light release spray. Test first so you do not end up with oily residue.
Can I use candle molds for soap?
Sometimes, but only if the material is lye-safe and the shape makes sense for unmolding. Many rigid candle molds are not designed for caustic exposure, and soap batter can overheat in narrow shapes.
Why do silicone molds look dusty or leave marks?
Silicone attracts lint. Wash with warm water and a grease-cutting dish soap, air dry fully, and store covered. If your soap shows drag marks, you likely unmolded before it was firm enough.
Are wooden molds okay for melt-and-pour soap?
They can be, but melt-and-pour likes to sweat, and wood can absorb moisture. If you use wood, use a liner and let the bars dry on racks with airflow.