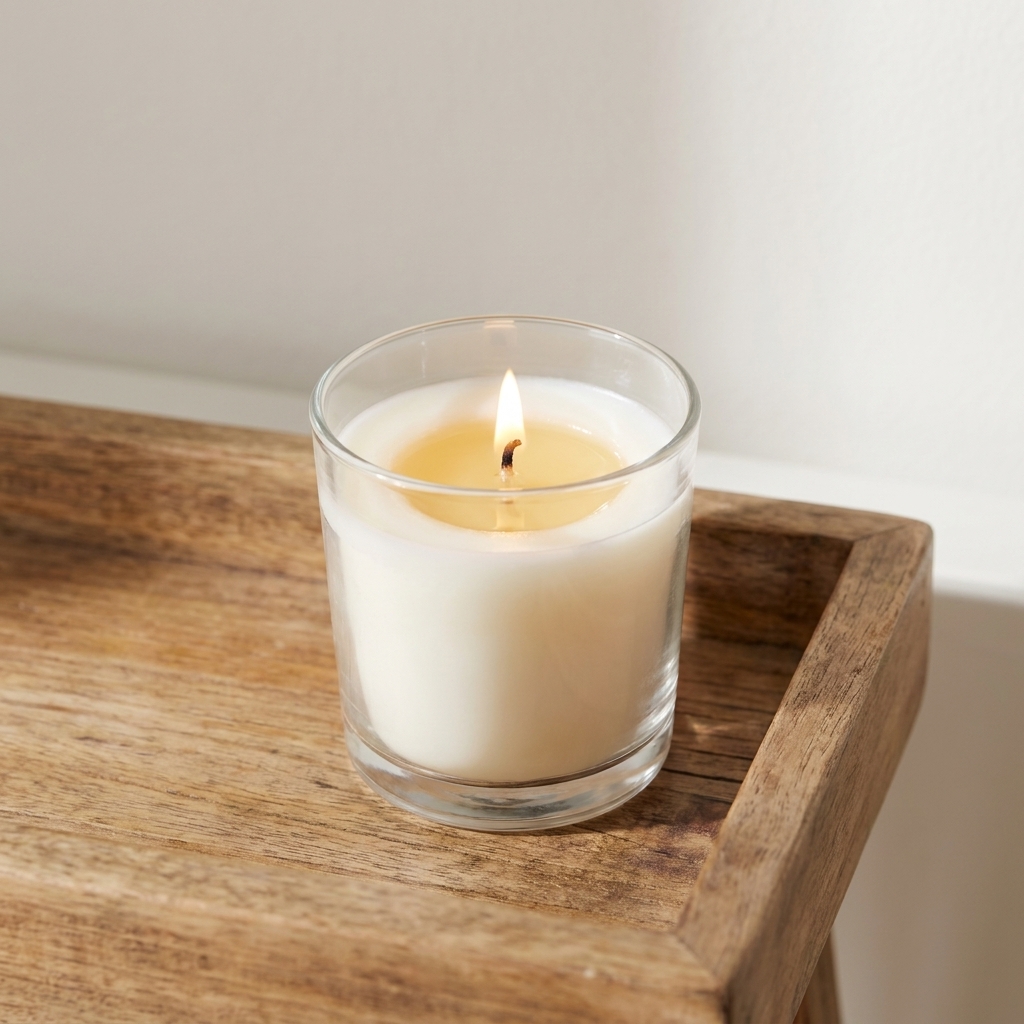
There is something downright magical about a candle that does double duty. One minute it is flickering on the nightstand, and the next it is a pool of warm, silky oil you can drizzle into your palm. If you have ever wanted a romantic DIY gift that feels luxurious but is still totally beginner-friendly, a massage oil candle is it.
This recipe is built around three skin-loving staples: a skin-safe container soy wax for structure, shea butter for cushiony glide, and jojoba oil for that non-greasy, sinks-in finish. The goal is a low-melt blend that liquefies quickly, stays comfortably warm (not hot), and spreads like a body oil instead of setting up like a regular candle.
Before you start: safety and skin-sense
Massage candles are body products first and candles second, so I treat them like a crossover between candle making and bath-and-body making.
- Patch test. Even gentle ingredients can irritate some skin types. Test a small amount of cooled melted oil on your inner arm.
- Choose skin-safe materials from reputable suppliers. For the wax, look for a container soy wax with a clear SDS and, when available, an ingredient listing from the manufacturer or supplier. For the butters and oils, choose refined shea butter and cosmetic or skin-safe jojoba oil.
- Fragrance is optional. If you add scent, it must be approved for leave-on skin use and used within the supplier’s IFRA limits. Some fragrance oils are not allowed for leave-on products at all, even at low percentages.
- Keep botanicals out. Dried flowers and herbs look romantic, but they are messy in body oil and risky around flame.
- Basic candle safety still applies. Burn on a heat-safe surface, keep away from anything flammable, keep out of reach of kids and pets, and never leave a burning candle unattended. Do not move the container while it is hot.
- Expect a softer candle. This is not meant to ship in a hot mailbox or survive a sunny windowsill. It is a “use soon, gift with love” kind of project.
Ingredients (by weight)
I strongly recommend using a digital scale. Measuring by volume is unreliable with waxes and butters.
Base recipe (100 g batch, about one 4 oz jar)
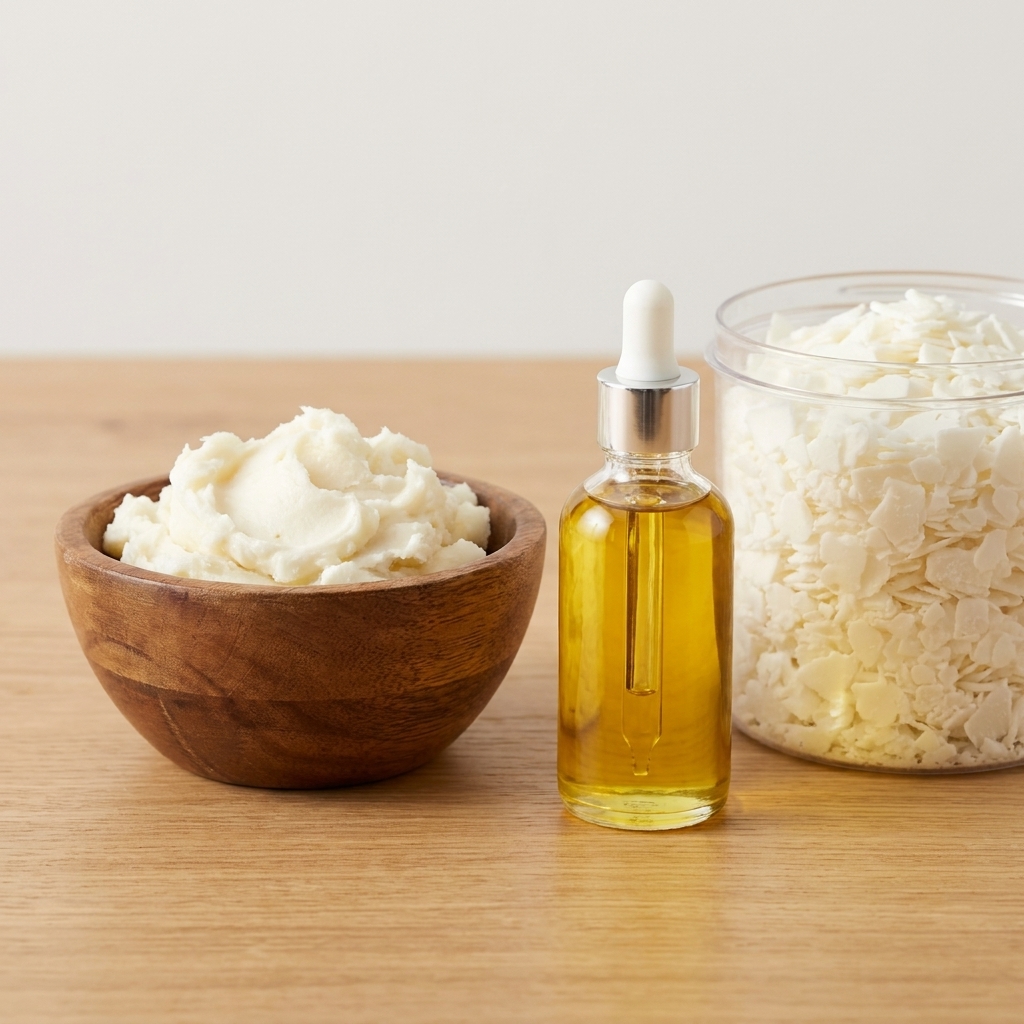
- 45 g skin-safe container soy wax (a softer container soy works best)
- 30 g refined shea butter
- 25 g jojoba oil
This ratio gives you a candle that is firm enough to hold a wick upright, but melts into a luscious oil with plenty of slip.
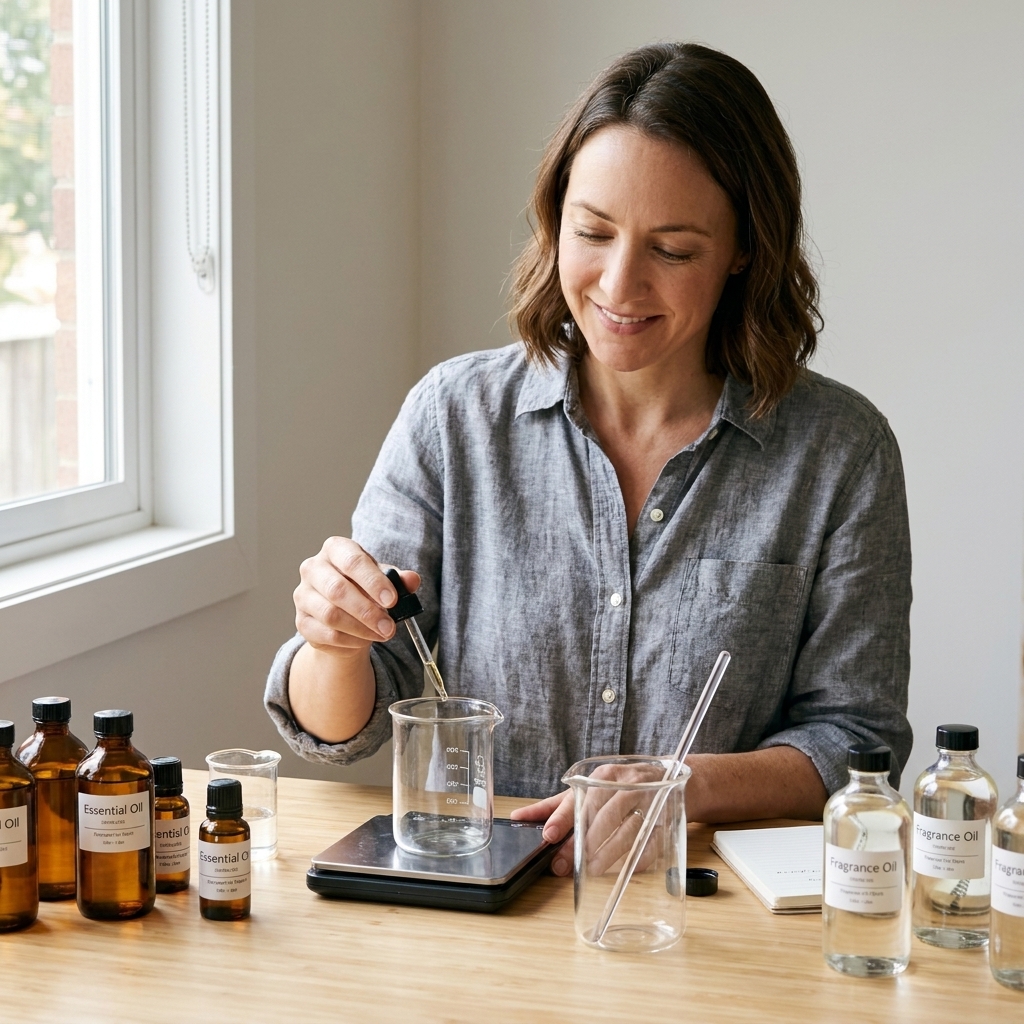
Optional: fragrance or essential oils
For skin-safe scent, stay conservative and follow the rules for leave-on body products:
- Up to 1 to 3 g total scent per 100 g batch (about 1% to 3%), only if your specific fragrance or essential oil is approved for leave-on use at that level per IFRA or a reputable safety reference.
If you are ever unsure, skip scent entirely or keep it closer to 1%. In massage products, less really is more.
Equipment
- Digital scale (0.1 g precision is ideal)
- Heat-safe pouring pitcher or measuring cup
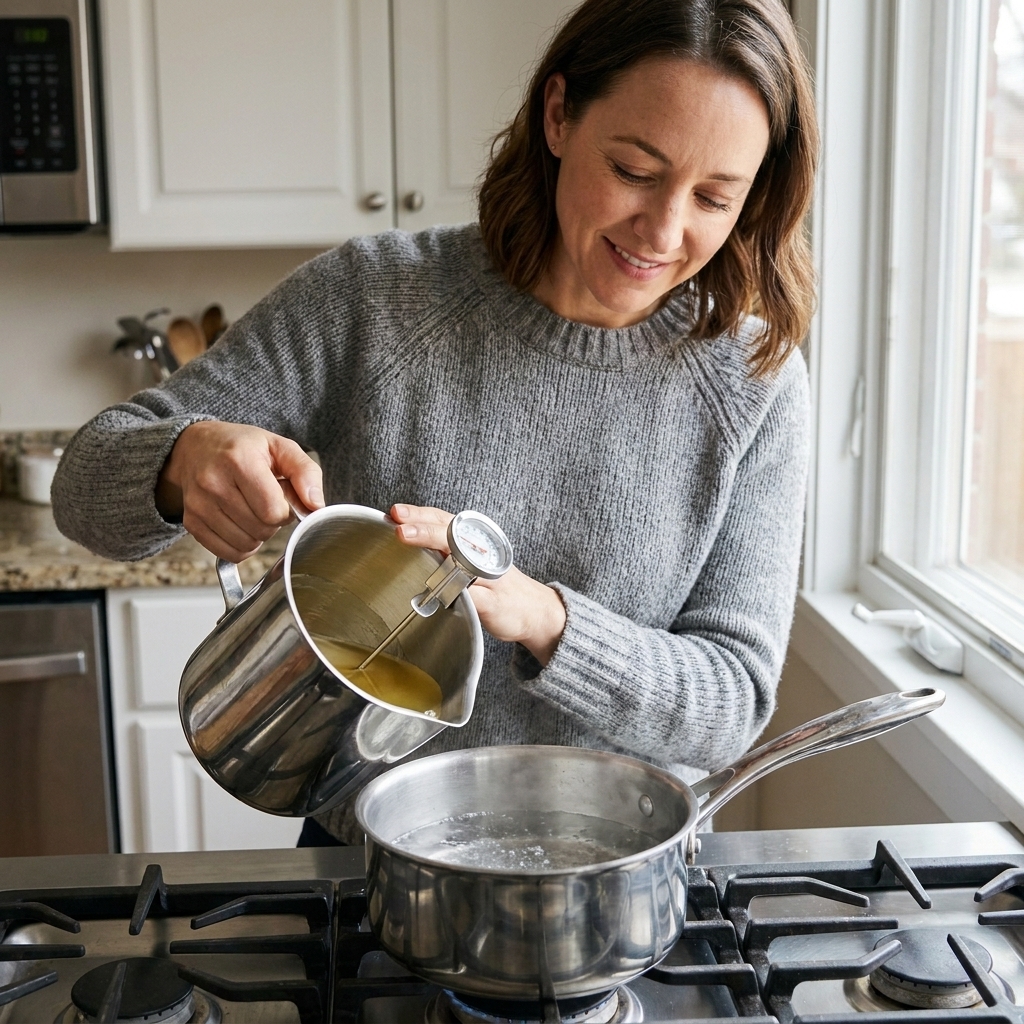
- Double boiler setup (a saucepan with a simmering water bath)
- Thermometer (clip-on or infrared)
- Candle container (4 oz to 8 oz heat-safe glass or metal tin)
- Wick and wick sticker
- Stirring utensil (silicone spatula works beautifully)
- Paper towels and rubbing alcohol for cleanup
Container and wick
Containers
Massage oil candles work best in a container that is easy to pour from without dribbling. Look for:
- Low, wide jars so the melt pool forms quickly
- A gentle lip for cleaner pouring
- Heat-safe glass or a quality tin
If you can find a purpose-made pour spout massage candle jar, it is a dream for gifting, but a simple 4 oz tumbler also works if you pour slowly.
Wicks
Because this blend is soft and oily, it generally wants a smaller wick than a standard soy container candle in the same jar. A wick that is too large can overheat the container and create oil that feels too hot on skin.
As a starting point for a 4 oz low tumbler, try:
- Small cotton coreless wick or small braided cotton
- Small wood wick can work, but test carefully because wood can run hotter
Test burning is mandatory. You are checking for a calm flame (not towering), minimal soot or smoke, and a container that stays comfortable to handle. If the jar gets uncomfortably hot to touch, the flame smokes, or the oil feels too hot on skin, wick down and retest.
Step-by-step recipe
1) Prep the container
Clean your jar with rubbing alcohol and let it dry. Attach the wick with a wick sticker and center it. Use a wick holder or two chopsticks to keep it upright.
2) Melt wax and shea gently
Set up your double boiler on low heat. Add the soy wax and shea butter to your pouring pitcher. Heat slowly, stirring occasionally, until fully melted and uniform.
Target temperature: 150 to 165°F (65 to 74°C). You do not need to go hotter than necessary. Shea can get grainy if it is overheated and cooled too slowly, so gentle heat is your friend.
3) Add jojoba off the heat
Remove the pitcher from heat. Add jojoba oil and stir thoroughly for 1 to 2 minutes, until the mixture looks completely uniform.
4) Add scent (optional)
Let the blend cool slightly before adding fragrance or essential oils.
- Add scent around 140 to 150°F (60 to 65°C)
- Stir slowly but consistently for 2 full minutes
Slow stirring reduces air bubbles and helps keep the finished top smooth.
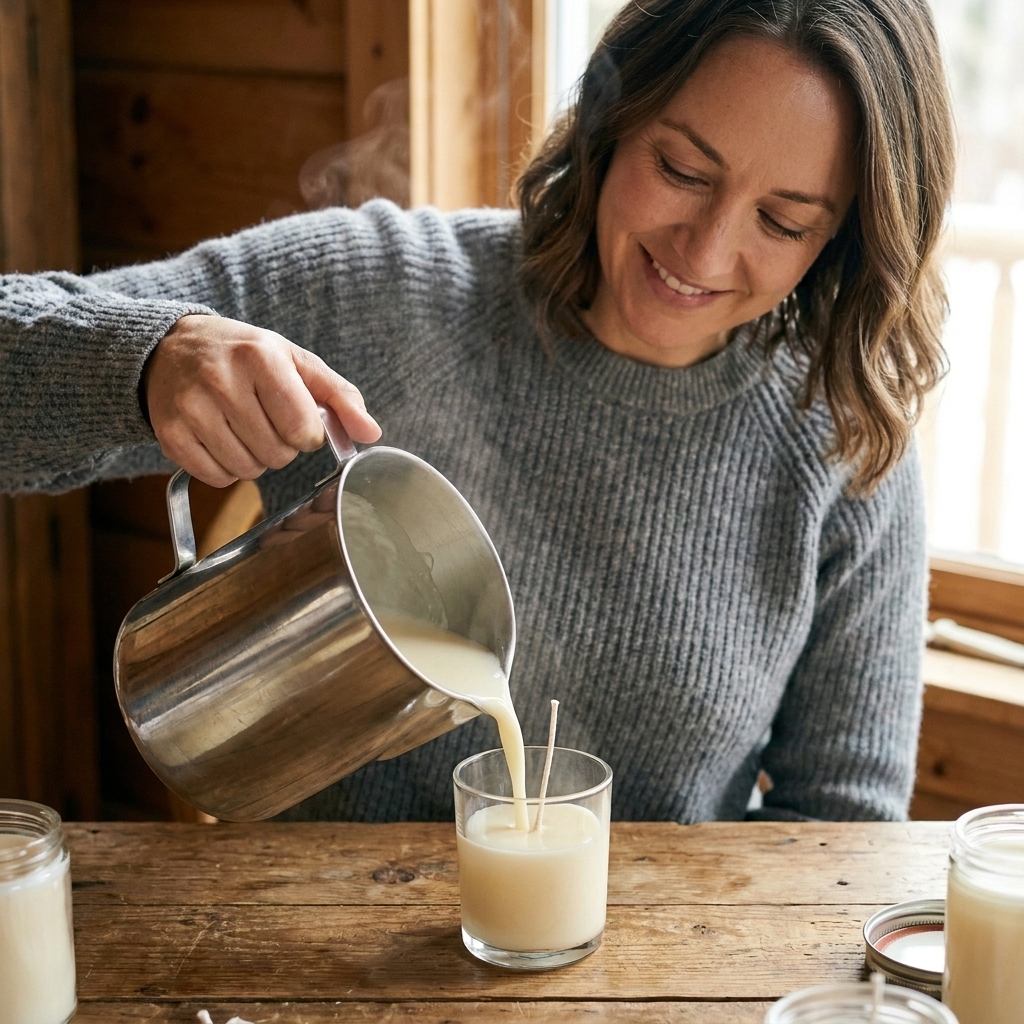
5) Pour
Pour into your prepared container at about 135 to 145°F (57 to 63°C). If you pour too hot, the top can crater as it cools. Too cool, and you may get a lumpy top.
Let it cool undisturbed at room temperature.
6) Cure and finish
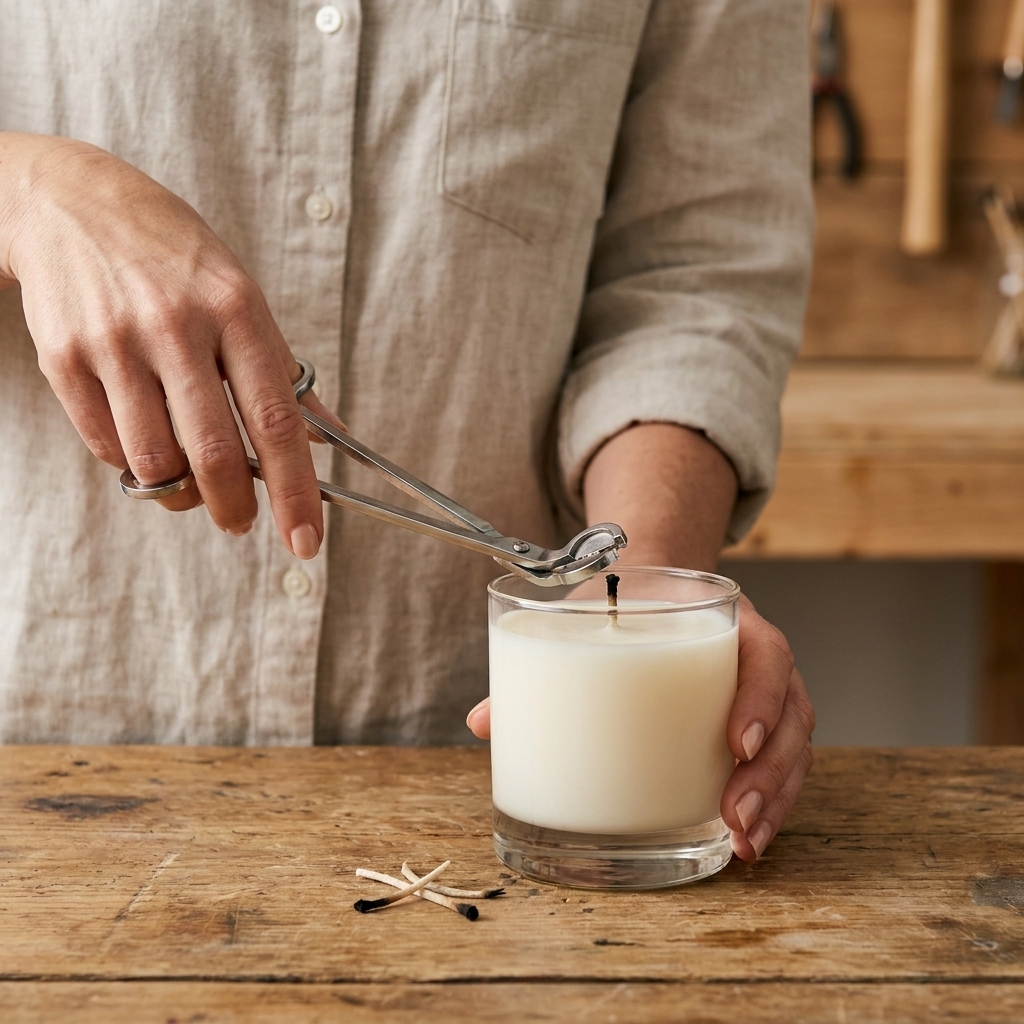
This candle is usable once it is fully set, but I like to give it 24 to 48 hours before gifting. Trim the wick to 1/4 inch (or per your wick type).
How to use it
- Light the candle and let a small pool form, usually 10 to 20 minutes depending on jar width.
- Extinguish the flame.
- Wait about 30 to 60 seconds for the surface to settle.
- Temperature check: touch a drop to your inner wrist or inner forearm first. If it feels too hot, wait another minute.
- Pour a small amount into your palm first, then apply. A little goes a long way.
It should feel pleasantly warm, not hot. If your oil feels too hot, your wick may be oversized or you are letting it burn too long before extinguishing.
Avoid using on broken, freshly shaved, or irritated skin.
Romantic scent ideas
Massage candle fragrance is best when it stays close to the skin. Think “soft sweater,” not “perfume aisle.” A few cozy blends to play with using skin-safe, leave-on-approved oils:
- Vanilla and sandalwood (warm, creamy, a little dreamy)
- Lavender and vanilla (classic relaxing, sweetened)
- Bergamot and amber (bright top note with a cozy base)
- Rose and cocoa butter (romantic but grounded)
Confirm that every oil you use is approved for leave-on skin products at your chosen level. If that sentence sounds fussy, it is because skin is fussy.
Troubleshooting
The candle is too soft and the wick flops over
- Increase soy wax by 5% and reduce jojoba by 5%.
- Use a sturdier wick or a wick with a bit more rigidity.
- Make sure the wick sticker is firmly adhered to a clean container.
The melt pool feels too hot
- Wick down one size.
- Use a wider container so heat disperses.
- Encourage shorter burns. 10 to 15 minutes is plenty for a pourable pool.
Grainy or lumpy texture
- Soy and shea can both show texture changes with temperature swings. Melt gently, do not overheat.
- Cool at room temperature away from drafts and cold windows.
- If it already set grainy, remelt fully and repour a little cooler.
Oily wet spots or separation
- Stir longer after adding jojoba and again after adding scent.
- Double-check your scale measurements. A little extra liquid oil can tip this blend into “too oily.”
Gift finishing touches
This is one of those gifts where the presentation makes it feel boutique. A few of my favorites:
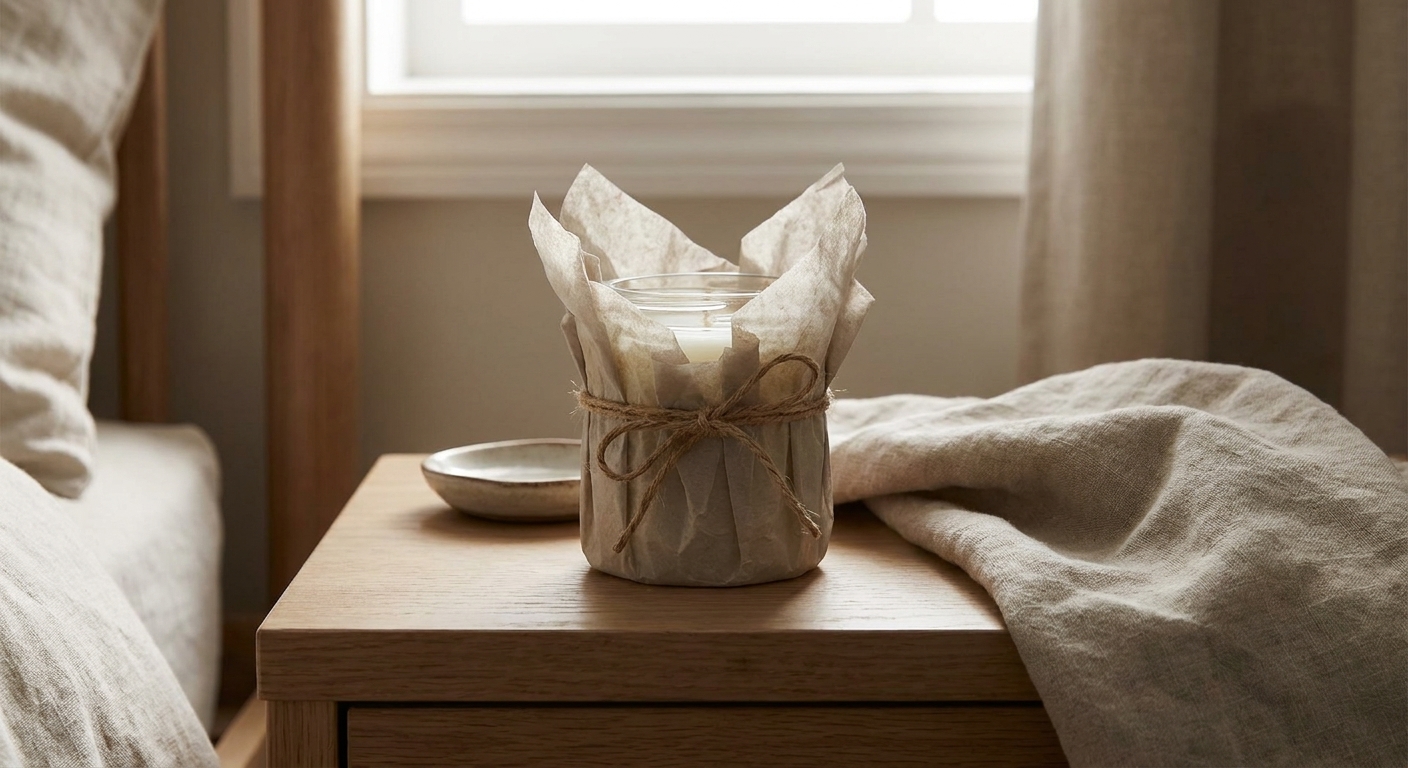
- Wrap the jar in tissue and tie with cotton twine
- Add a small tag with burn instructions, a reminder to patch test, and a note to extinguish before pouring
- Pair with a soft washcloth or a handmade soap bar for a full self-care bundle
FAQ
Can I use regular soy wax?
You can, but choose a container soy with a lower melt point, and buy it from a reputable supplier with a clear SDS. Avoid harder pillar blends since they can make the oil feel hotter on skin.
Can I swap shea butter for cocoa butter?
Yes, with a note: cocoa butter is typically harder and higher melt than shea. It makes a firmer candle, but the oil can feel warmer and set up faster on skin. If you swap, consider a partial swap (for example, half shea and half cocoa) and test burn.
Is this safe for sensitive skin?
The base oils are generally gentle, but everyone’s skin is different. Keep fragrance low or skip it entirely, and always patch test.
How long will it last?
Stored cool, dry, and clean, this blend often feels best within 6 to 12 months. Use clean hands, keep the wick trimmed, and avoid introducing water into the jar. If it develops an off smell, noticeable color shift, or a “stale” oil scent, retire it and make a fresh batch.
Do I need a preservative?
Not for this anhydrous (water-free) recipe. The moment water is introduced, the conversation changes. Keep it strictly oil and wax, and store it with the lid on.
My favorite part
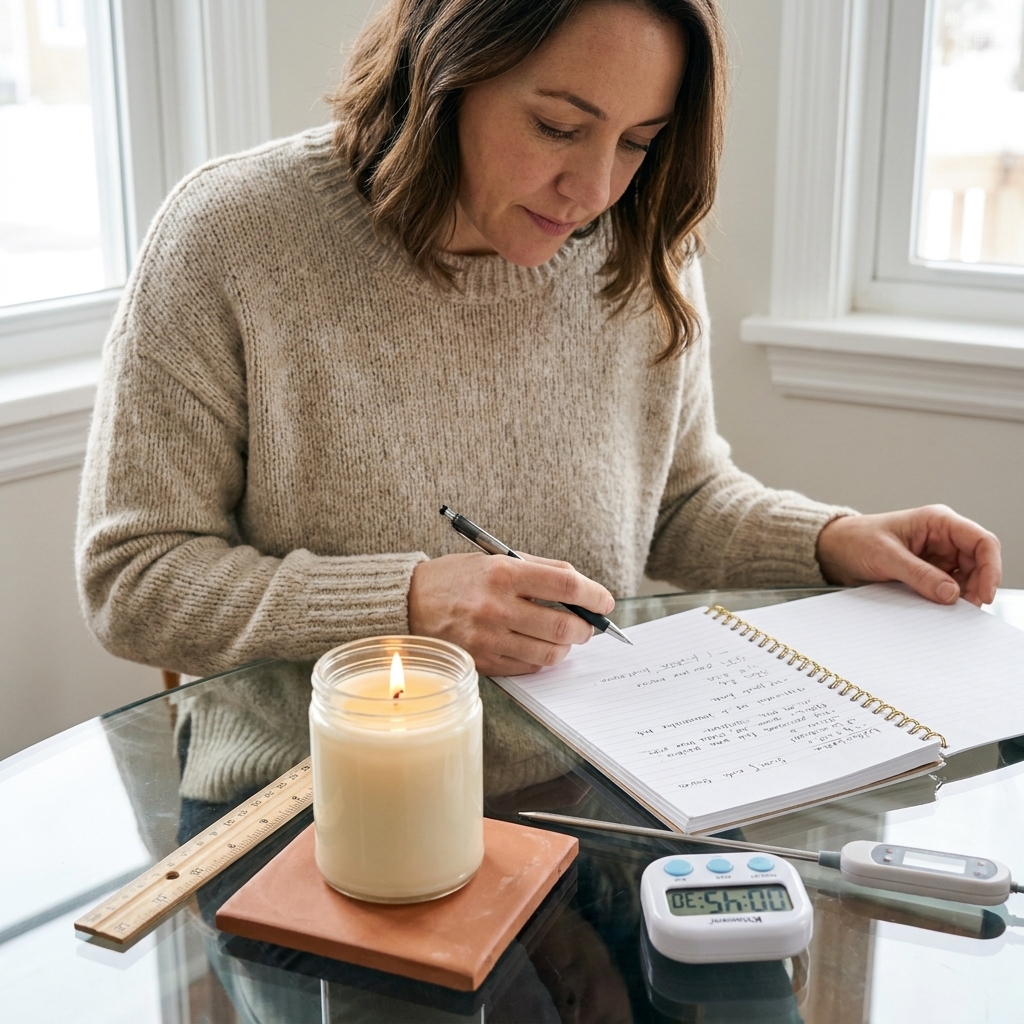
There is a special kind of joy in watching a candle you made melt into something useful and intimate. If you try this recipe, take notes on your wick choice and burn time. Those little details are what turn a cute DIY into a truly luxurious, repeatable gift.