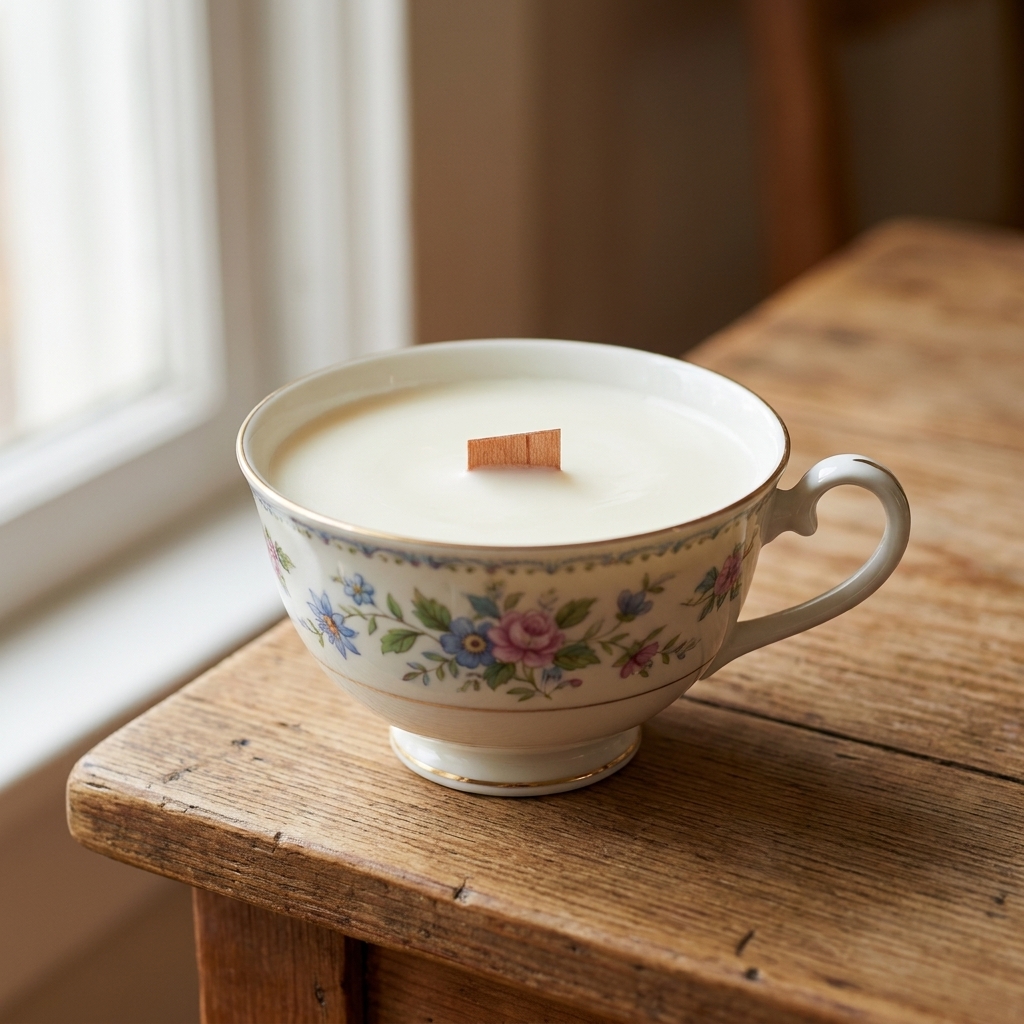
Wick sizing is one of those candle-making skills that feels mysterious until you’ve watched a few candles misbehave. A wick that’s too small will tunnel like it’s trying to escape your jar. A wick that’s too large can roar, smoke, and turn your pretty candle into a sooty science project.
The good news is you do not need a lab. You need a container measurement, a realistic starting point, and a simple testing routine you can repeat. This is the exact approach I use at my own kitchen counter when I’m dialing in a new jar, wax, or fragrance.
What wick size means
When we say “wick size,” we’re usually talking about how much fuel (melted wax) the wick can pull up and burn in your specific candle setup. That burn rate controls:
- Melt pool width (does it reach the edges?)
- Melt pool depth (is it shallow and calm or deep and overheated?)
- Flame height (steady and tidy versus tall and flickery)
- Smoke and soot (clean burn versus black jar rings)
- Scent throw (hot throw needs heat, but not chaos)
Important nuance: wick size is not universal. A “CD 12” (for example) behaves differently in soy versus paraffin, and differently again if you add fragrance oil, dye, or a wax blend with softer or harder components. Even fragrance load changes things, and every wax has its own recommended maximum. Treat any percentage you see online as an example, then verify with your wax manufacturer.
Start with jar diameter
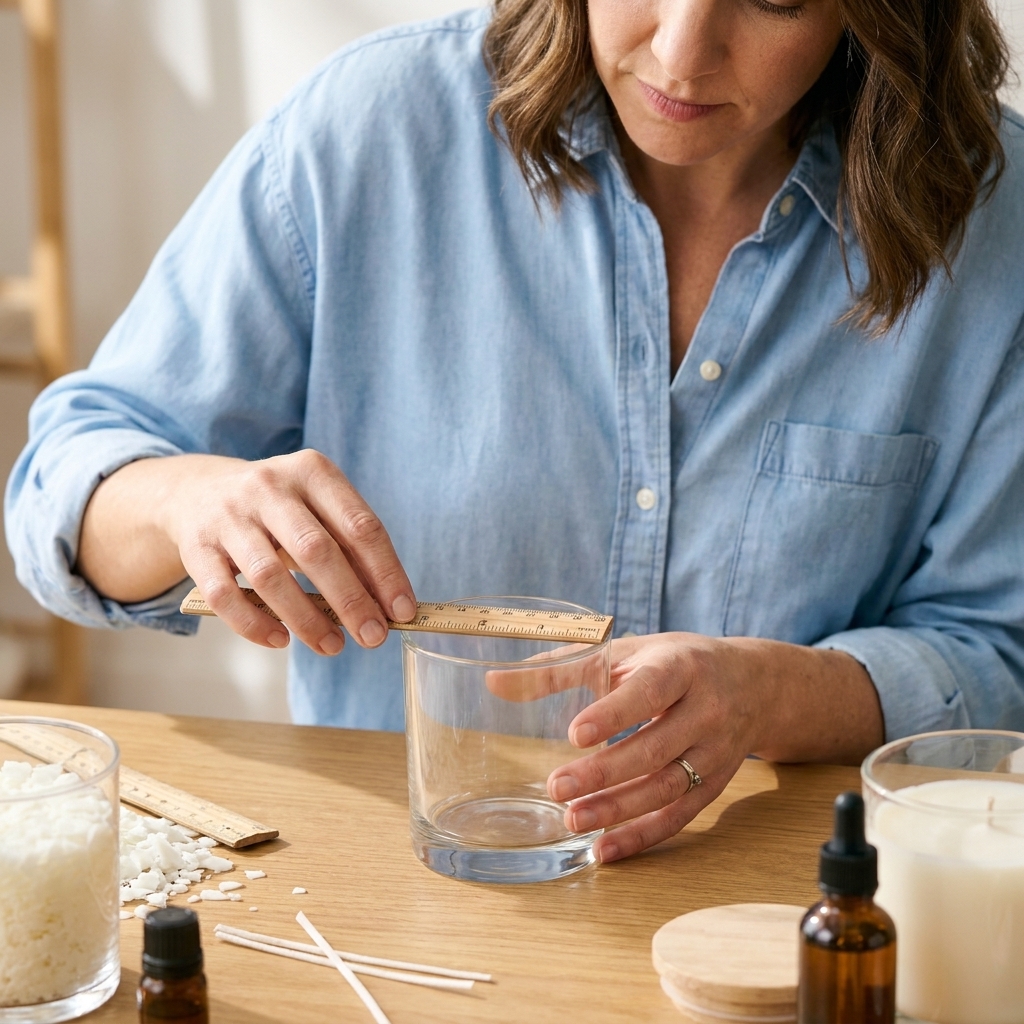
If you only do one thing before choosing a wick, do this: measure the inside diameter of your container. Use a ruler or calipers and measure straight across the opening, interior wall to interior wall.
Quick measuring tips
- Measure in inches or millimeters and write it down in your candle notebook.
- If your jar is tapered, measure the widest area you want fully melted, usually the top. Tapered jars can require compromises, so testing matters even more.
- For oval or irregular containers, measure the widest span and assume you may need multiple wicks or a specialty wick.
Wick sizing by diameter
Consider this section your “first guess,” not a promise. Different wick series vary, but container diameter does a great job getting you into the right neighborhood so testing is faster and cheaper.
Single-wick starting guide
| Inside container diameter | Suggested approach | What you’re aiming for |
|---|---|---|
| 2.0 to 2.5 in (50 to 63 mm) | Small cotton wick or narrow wood wick | Even pool development within a typical 3 to 4 hour test burn, without overheating |
| 2.5 to 3.0 in (63 to 76 mm) | Medium cotton wick or standard single wood wick | Steady flame, minimal mushrooming, clean jar walls |
| 3.0 to 3.5 in (76 to 89 mm) | Larger cotton wick, boosted cotton series, or wide wood wick | Pool expands toward the edges over a few burns, with controlled flame |
| 3.5 to 4.0 in (89 to 102 mm) | Consider double wicks or a very robust wick | Even melt without a huge flame or deep, hot pool |
| Over 4.0 in (102 mm+) | Usually multi-wick | Uniform melt across a wide surface, no tunneling islands |
If your jar is in the 3.5 inch and up range, do not force a single wick just because it looks simpler. A correctly wicked double-wick candle is often cleaner and more stable than one oversized wick doing too much.
Cotton vs wood wicks
I love both, and they behave differently enough that I pick based on the project goal, not just aesthetics.
Cotton wicks (CD, ECO, LX, HTP, and similar)
- Pros: forgiving, widely available, lots of size options, great for testing, easy to trim.
- Watch-outs: some series mushroom more with heavier fragrance oils, and some run cooler in soy and may need sizing up.
Wood wicks (single ply, booster, crackling, and similar)
- Pros: cozy flame profile, attractive wide flame, can perform beautifully in certain wax blends.
- Watch-outs: more sensitive to setup and sizing, can self-extinguish if underwicked or if the melt pool is not feeding it consistently.
My rule of thumb: if you are brand new or you’re developing a new scent blend, start with cotton while you perfect the wax, fragrance, and jar combo. Once the candle behaves, switch to wood if the look and sound are part of the vibe you want.
What changes wick size
Two candles can use the same jar and still need different wicks. Here are the big factors that push you up or down in wick strength.
Wax type
- Soy wax: often needs a slightly larger wick than you expect, especially in cooler rooms. It can struggle with full melt pools if underwicked.
- Paraffin: typically melts more readily and may need a smaller wick for the same diameter.
- Coconut-heavy blends: many melt easily and can pool faster, but performance is very blend-dependent, so test with care.
- Beeswax: naturally higher melt point, often needs a more robust wick and careful testing.
Fragrance load and type
More fragrance oil does not automatically mean better scent. It can also mean a wick that struggles: clogging, mushrooming, smoking, or an unstable flame. Even at the same percentage, some oils burn heavier than others and may require a wick adjustment. Always stay within the wax manufacturer’s recommended fragrance load.
Dyes, mica, botanicals
Anything that adds “stuff” to wax can change how the wick pulls fuel. I’m all for creative color, but be extra conservative with anything that might clog a wick. If you use botanicals, keep them away from the flame zone and always prioritize fire safety.
Jar shape and heat retention
Thick glass, narrow openings, and tall jars can trap heat and change burn behavior. This can be one reason two jars with the same diameter still behave differently.
Room conditions
Drafts, ceiling fans, and cold rooms can make an otherwise perfect wick look underpowered. Test in a normal living space, not only in a warm, still workshop.
Different wick numbers
Wick brands and series are not standardized. One company’s “size 12” is not another company’s “size 12.” Instead of chasing a universal conversion chart, use this approach:
- Choose a wick series that is known to work with your wax type (your wax supplier usually recommends a few).
- Pick 3 sizes based on your diameter: one likely, one smaller, one larger.
- Test them side-by-side in identical jars with the same wax, fragrance percentage, dye level, and cure time.
This tiny bit of upfront testing saves you from making a whole batch of candles that tunnel or smoke and then trying to “fix” them later.
Test the melt pool
When I test, I am not trying to get perfection on the first burn. I’m looking for a wick that behaves well over time.
My test setup
- Make at least two candles per wick size if you can. One candle can be a fluke.
- Let candles cure (especially soy). For many soy blends, I get the most reliable results after about 1 to 2 weeks.
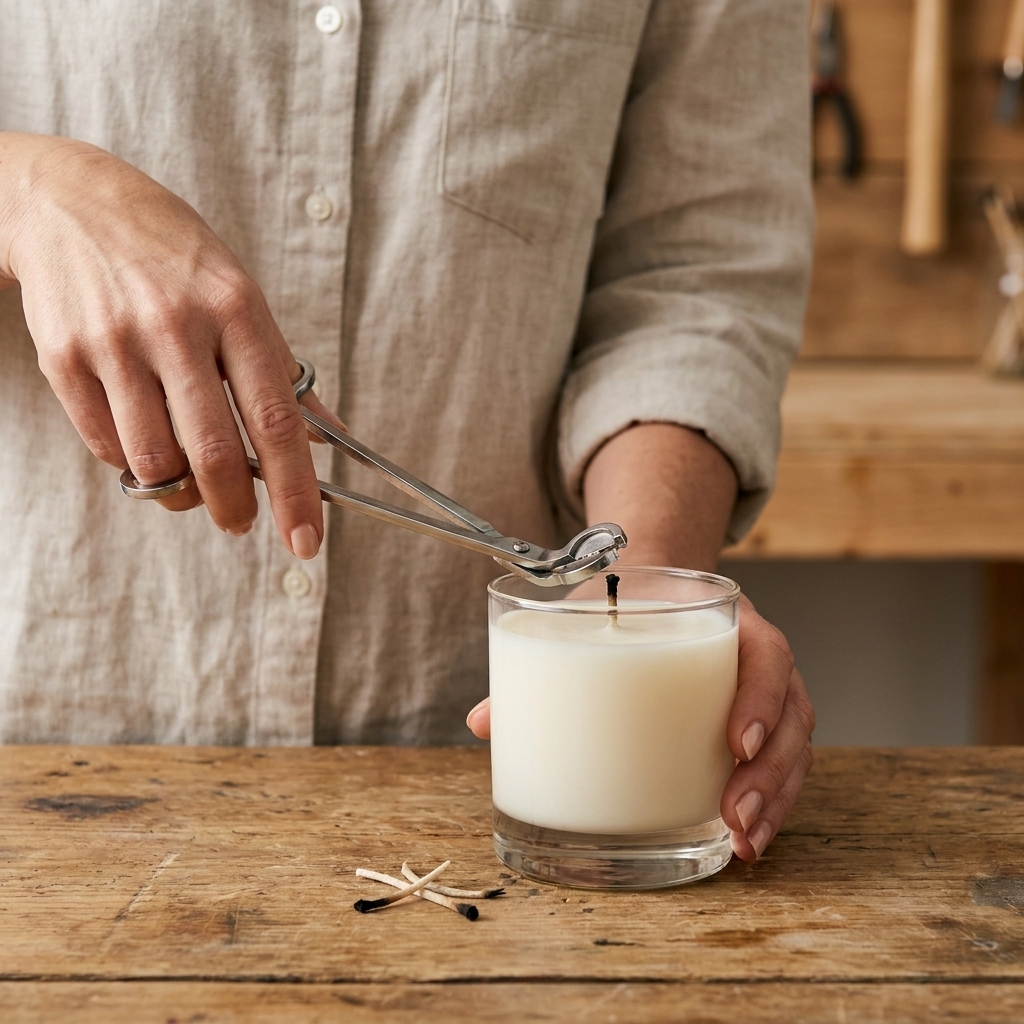
- Trim the wick to the manufacturer recommendation. A common starting point is 1/4 inch for cotton. Wood wicks are usually trimmed very short per supplier guidance, often around 1/8 inch or even closer to flush.
What you want to see
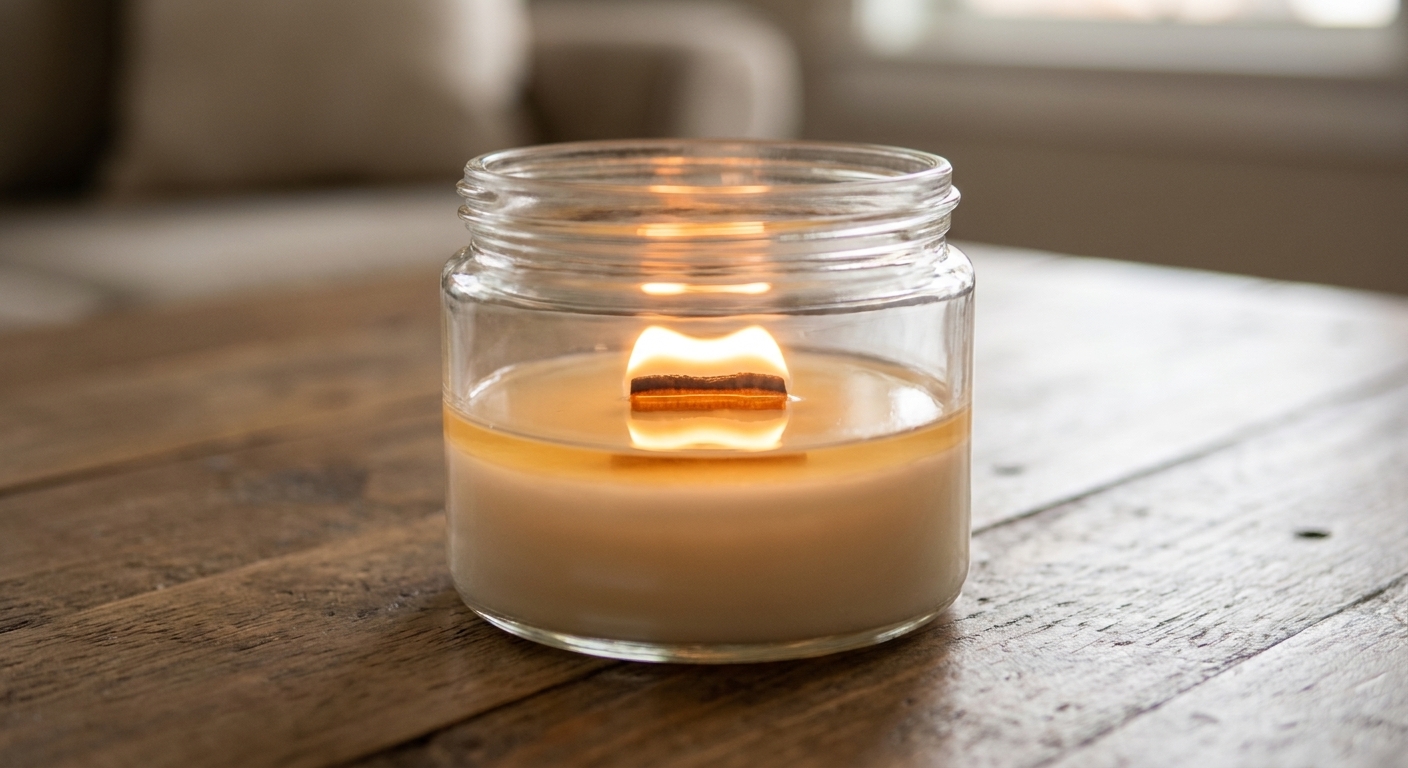
- By hour 2: an even pool forming, not racing hot and not starving.
- By the end of a 3 to 4 hour test burn: the pool is expanding steadily toward the walls (for many jars), with a calm surface.
- Flame: steady, not wildly flickering, not excessively tall.
- Jar: minimal soot, no heavy blackening around the rim.
What “too small” looks like
- Tunneling that persists after multiple burns
- Weak or drowning flame
- Melt pool stays narrow across several sessions
What “too large” looks like
- Very tall flame or aggressive flicker
- Excessive mushrooming, especially if paired with smoke
- Deep melt pool that feels overly hot
- Soot on the jar or smoky smell
Test through the candle
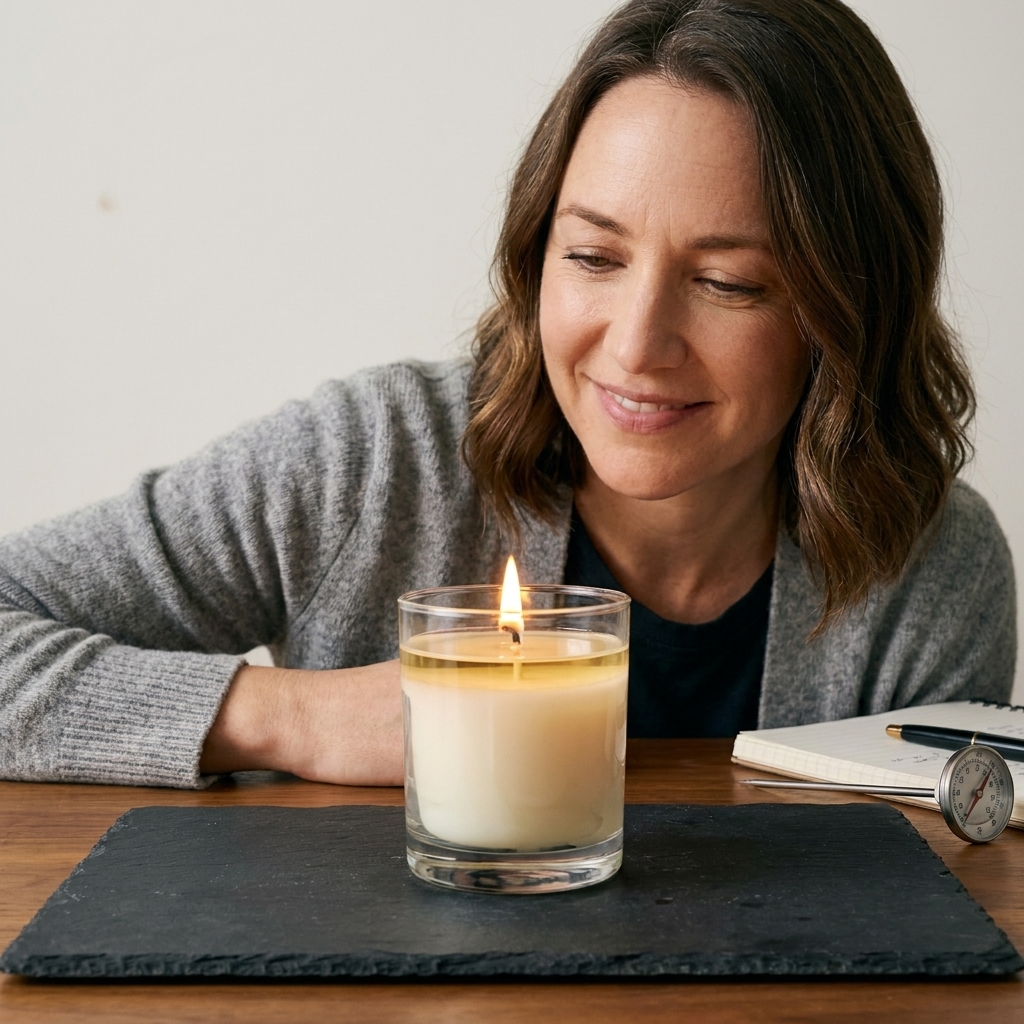
This part is easy to miss: a wick that looks perfect on the first burn can be too hot later. Evaluate at the top third, then check again around the middle, and keep an eye on the bottom third where heat can build in some jars. I want a candle that behaves, not just one that looks good for the first four hours.
Wood wick sizing
Wood wicks are usually selected by width and sometimes by construction (single ply, booster, crackling style). Here’s how I keep it simple.
Wood wick tips
- Match width to diameter: wider containers typically need a wider wick or a stronger wood wick style designed for higher output.
- Wick clip fit matters: if your wick is too tight or too loose in the clip, performance suffers.
- Follow priming guidance: some wood wicks are pre-primed, some are not. Use your supplier’s instructions so the wick lights and stays fed.
- Respect the trim: most wood wicks prefer a very short trim. Too long often leads to big flames and quick soot.
If your wood wick keeps going out, it is often underwicked for the wax blend, the fragrance is too heavy for that wick, or the wick trim and setup are off. Sometimes it is all three.
When to use two wicks
Multi-wicking is not a “failure,” it’s good design for wide vessels. If your container is wide enough that a single wick would need to be oversized, two smaller wicks often burn cleaner and more evenly.
Placement basics
- Start centered and symmetrical: place wicks evenly spaced from the center line so the melt pools meet gently in the middle.
- Rule of thumb spacing: for many double-wick jars, a practical starting point is placing each wick about 1/2 to 3/4 inch (12 to 19 mm) off-center. Then adjust based on what the melt pools actually do.
After your first burn, look down into the melt pool. If the pools never meet, you may need slightly larger wicks or different spacing. If the center becomes overly hot and turbulent, scale down.
Fix problems fast
Tunneling
- Likely cause: underwicked, or burning for short sessions.
- Try: size up one wick step, or use a different wick series designed for your wax. Also coach yourself to burn long enough for a full melt pool during early burns.
Smoking and soot
- Likely cause: overwicked, wick too long, drafts, or a fragrance that burns heavy.
- Try: trim more frequently, size down, reduce fragrance load, and test away from vents and fans.
Mushrooming
- Likely cause: wick too large, fragrance type, or too much dye or additive.
- Try: size down, test a different wick series, or simplify the formula.
Wick drowning
- Likely cause: wick too small, melt pool too deep for that wick’s strength, or the wick is clogged.
- Try: size up, reduce additives, confirm proper wick tab size and adhesion so the wick stays upright.
Wood wick won’t stay lit
- Likely cause: underwicked, trimmed too short for that specific wick, or wax blend not feeding well.
- Try: go up in wood wick width or switch to a booster style, confirm correct clip, and test with a slightly lower fragrance load.
Safety basics
- Use proper wick tabs and adhere them securely to the container with a high-heat adhesive.
- Keep wicks centered to help prevent hot spots against the glass.
- Use a heat-rated container and discontinue use if you notice cracking, leaking, or abnormal overheating.
- Do not add dried botanicals near the flame area. They can ignite.
- Test burn every new recipe (new jar, new wax, new fragrance, new wick). Even one change can shift performance.
- Limit long burns: many candle makers and manufacturers recommend burning in roughly 3 to 4 hour sessions, but always follow the guidance for your specific container and wick.
Testing checklist
If you want a simple routine you can repeat every time, this is it:
- Measure inside diameter and note jar shape.
- Choose a wick series, then pick three sizes around your best guess.
- Make testers with identical wax, fragrance percentage, and pour temperature.
- Cure appropriately for your wax.
- Trim, then burn test in 3 to 4 hour sessions.
- Record melt pool width, flame behavior, soot, and scent throw each session.
- Re-check performance at the top, middle, and bottom of the candle.
- Adjust one variable at a time.
This is the unglamorous part of candle making, but it is also where the magic lives. Nothing beats the moment you realize your candle is burning clean, steady, and edge-to-edge when it should, like it was always meant to.
Wick size FAQ
Is it better to overwick or underwick?
If I had to choose, I would rather be slightly underwicked at first because it’s generally easier to correct safely. Overwicking can create excess heat, soot, and stress on the container. That said, severe underwicking can cause chronic tunneling, so the real goal is to test into the sweet spot.
Why does my candle tunnel even with the “right” wick?
Often it’s burn habits (too short burns early on), wax that needs longer cure time, or a drafty spot that cools one side. If your wick is correct, fix the environment and burn routine before you change materials.
Do I need different wicks for soy and paraffin?
Usually, yes. Soy often needs a wick that delivers a bit more heat for the same jar size. Paraffin tends to melt readily and can soot if overwicked, so the same wick may be too strong.
Can I use one wick size for every fragrance?
You can get close, but fragrance oils vary a lot. One oil can burn clean and another can mushroom and smoke at the same percentage. When you change fragrance, plan on at least a quick confirmation test.
How do I know if I should switch wick series?
If you’ve tested up and down several sizes and you still cannot get a stable flame, clean jar, and workable melt pool across the candle’s life, it’s time to try a different wick series. Some waxes simply click with certain wick constructions.