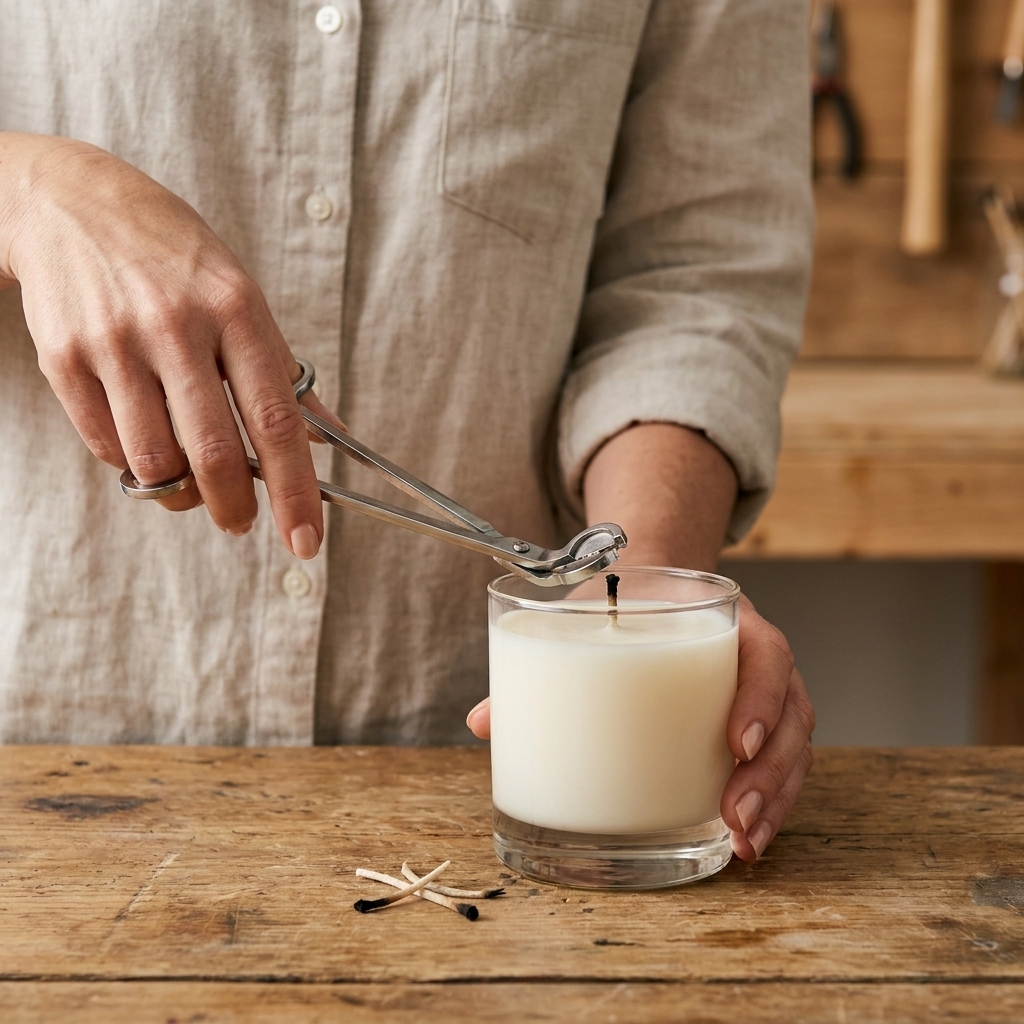
If you have ever gifted a candle you poured with your own two hands, you know the feeling: you want the first light to be magical. Warm glow, steady flame, no smoke, and that “I cannot believe you made this” moment. One of the quickest ways to protect that experience is a tiny insert: a candle care card and a simple soap instruction tag.
Care cards are not just a nice extra. They are a safety tool, and they dramatically improve how your gifts perform over time. A few lines about wick trimming and burn time can prevent tunneling, soot, cracked jars, and that sad little drowned wick. A couple soap tips can turn a squishy bar into a long-lasting one.
Why care cards matter
I used to assume everyone “just knew” how to burn a candle or use a handmade soap. Then I watched a relative light a candle for ten minutes, blow it out, and wonder why it tunneled. Another friend kept a bar of soap in a puddle and told me it melted in a week. None of this is malicious. It is just normal.
Including instructions helps in three big ways:
- Safety: You are reminding people about flame basics, container heat, and when to stop burning.
- Performance: Proper first burn and wick trimming reduce tunneling, soot, and mushrooming.
- Longevity: Good soap draining habits can make a bar last significantly longer.
It also quietly communicates that your gift is thoughtfully made and meant to be used with care, like a little handcrafted luxury.
What to include on a candle care card
If your recipient reads only one thing, make it these essentials. Short, clear, and easy to follow wins every time.
1) The first burn rule
The first burn is where tunneling usually begins. Encourage a long enough initial burn to melt the surface wax all the way to the edges.
- Burn until the melt pool reaches the container edge, usually 2 to 4 hours depending on diameter.
- Avoid quick 10 to 20 minute burns, especially at the start.
2) Wick trimming
Wick trimming is the simplest fix for so many issues. It reduces soot, tall flames, mushrooming, and that smoky “campfire” note that can cover your beautiful fragrance blend.
- Trim wick to 1/4 inch (6 mm) before lighting.
- Remove loose charred bits from the wax surface.
3) Burn time limits
Extra-long burns can overheat containers and can throw more fragrance than intended. They can also increase soot or smoking if a wick needs trimming.
- Burn no more than 3 to 4 hours at a time (or follow the label if it specifies less).
- Let the candle cool and fully solidify before relighting.
4) Safe placement basics
These are basic, but they belong on every card because people genuinely forget in the moment.
- Burn within sight and away from drafts.
- Keep away from kids, pets, curtains, and clutter.
- Place on a heat-safe, level surface.
5) Keep it tidy and centered
These tiny habits prevent so many “why is it acting weird” moments.
- Keep the wick centered and upright.
- Keep the wax pool free of matches, wick trimmings, and debris.
6) If the flame gets high or smokes
This is the fast fix line people are grateful for in the moment.
- If the flame gets too high or smoking occurs, extinguish the candle, trim the wick, and relight after it cools.
7) When to stop burning
This protects containers from overheating and cracking near the end.
- Stop burning when 1/2 inch (about 12 mm) of wax remains, or sooner if your label says so. Never let the flame touch the container.
- Do not touch or move a hot candle jar.
8) A quick note on what is normal
Handmade candles are not always as uniform as factory pours, and that is okay. A tiny “normal” line prevents unnecessary worry.
- Minor frosting on soy wax can be normal and does not affect burn.
- Slight wick mushrooming can happen. Trim before the next burn.

What to include on soap instructions
Soap care is mostly about dry time. Cold-process soap naturally retains glycerin created during saponification, and many melt-and-pour bases are glycerin-rich. Either way, a bar that sits wet will soften and disappear faster.
1) Let the bar dry between uses
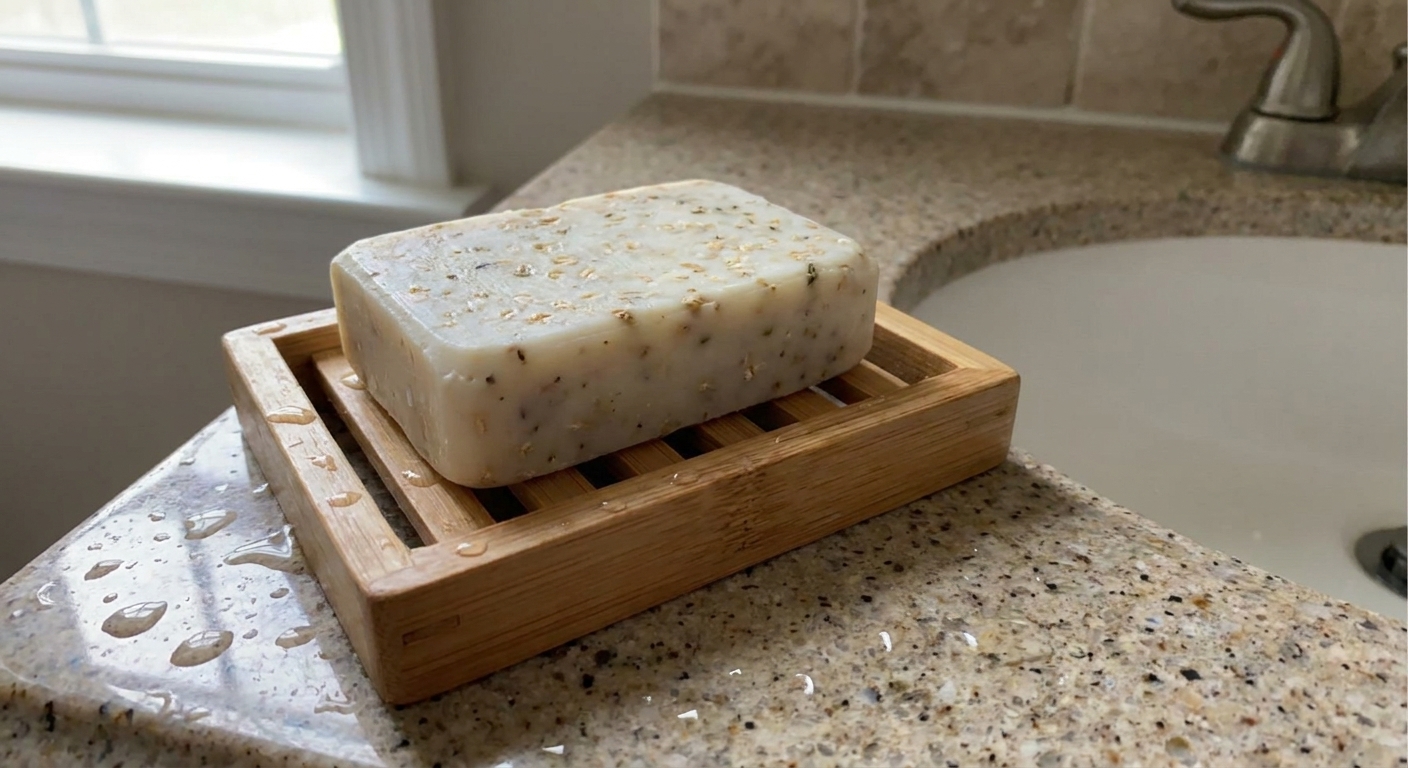
- Use a draining soap dish with ridges or slats.
- Keep the bar out of direct shower spray when possible.
- If it gets mushy, let it air-dry for a day or two and it will firm back up.
2) Cure versus daily drying
These sound similar, but they are different. Cure is the longer rest time (mostly water evaporation and hardening) for cold-process soap. Dry between uses is the everyday habit that keeps any bar from turning to mush.
3) Cure and freshness notes (only if needed)
If you gift cold-process soap that is fully cured, you can skip this. If you ever gift soap near the end of cure, give a gentle heads-up.
- Cold-process soap gets harder and longer-lasting as it cures.
- Store unused bars in a cool, dry place with airflow.
4) Sensitive skin caution
You do not need to scare anyone, but a small reminder helps people patch-test new scents, clays, or botanicals.
- If irritation occurs, discontinue use.
- Avoid use on broken skin.
5) Optional: how to get the best lather
This is my favorite “delight” line because it turns the first use into a mini spa moment.
- Wet hands and bar, lather for 10 to 15 seconds, then apply the creamy foam.
- For extra bubbles, use a washcloth or soap saver bag.
Copy-ready wording
Feel free to copy these exactly, or tweak the tone to match your brand. I like to keep it friendly, short, and skimmable.
Candle care card text (short)
- Trim wick to 1/4 inch before each burn.
- On the first burn, melt wax to the edge of the container (2 to 4 hours).
- Burn no more than 3 to 4 hours at a time.
- Keep wick centered. Keep wax free of debris.
- Keep away from drafts, kids, and pets. Burn within sight.
- Stop burning when 1/2 inch of wax remains. Never let flame touch the container.
Candle care card text (detailed)
- Trim wick to 1/4 inch before lighting for a clean, steady flame.
- Let the melt pool reach the container edge to help prevent tunneling.
- Burn 3 to 4 hours at a time, then allow candle to cool before relighting.
- Place on a heat-safe surface. Keep away from drafts and flammable items.
- Keep wick centered and wax free of matches or trimmings.
- If smoking or a tall flame occurs, extinguish, trim, and relight after cooling.
- Discontinue use when 1/2 inch of wax remains. Never leave unattended.
Soap care tag text (short)
- Let your soap dry between uses on a draining dish.
- Keep out of standing water and direct shower spray to help it last longer.
- Store unused bars in a cool, dry place with airflow.
Soap care tag text (luxe)
- This bar loves fresh air. Let it dry fully between uses on a draining soap dish.
- For the longest life, keep it out of standing water and direct shower spray.
- Store extra bars somewhere cool and dry, not sealed in plastic.
Match care to candle type
A one-size care card is fine, but if you want your gifts to feel extra polished, tailor a couple lines to the format.
Jar candles
- Include the “stop at 1/2 inch” line.
- Mention not to touch or move the jar while hot.
Tin candles
- Note that the tin gets hot and needs a heat-safe surface.
- Remind them to let it cool before putting the lid back on.
Pillars and votives
- Stress the need for a proper candle holder or heat-safe plate.
- Encourage trimming and watching for a steady, not oversized, flame.
Wood wicks
- Recommend trimming to about 1/8 inch, or follow your wick supplier guidance.
- Remove loose char before lighting for easier re-lights and a steadier crackle.
If you use unusual containers, extra-large diameters, or multi-wick designs, consider a specific burn time suggestion. The goal is always the same: a controlled melt pool without overheating.
Match care to soap type
Cold-process soap
- Emphasize drying between uses and airflow during storage.
- If you use botanicals on top, mention that bits can naturally slough off in the shower.
- Depending on the recipe, cold-process bars may contain a small amount of unsaponified oils (superfat), which can feel wonderful but also means good draining matters.
Melt-and-pour soap
- Be extra clear about keeping it dry. Glycerin-rich bases can sweat in humid bathrooms.
- If gifting multiple bars, suggest storing backups in a cool, dry place until needed.
Salt bars and exfoliating bars
- Add a gentle note: “Use light pressure” to avoid over-exfoliation.
- Encourage keeping these especially dry, since they can soften at the surface.
Where to place care cards
The best instructions in the world do nothing if they get tossed with the tissue paper. A few placement tricks that work well for gifts:
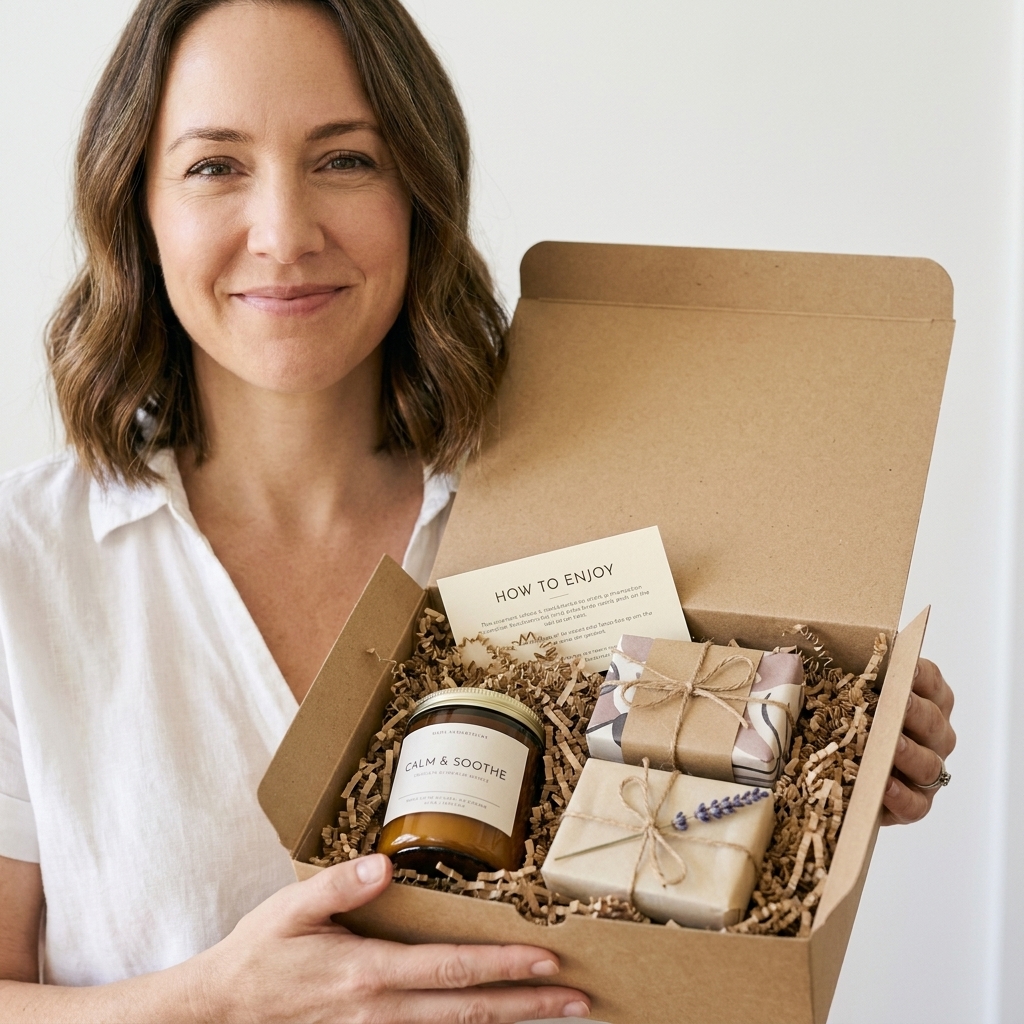
- Tie-on tag: Punch a hole and tie it to the candle lid handle, jar neck, or soap wrap twine.
- Top-of-box insert: Place the card right under the lid so it is the first thing seen.
- Back label: If you are already labeling, add a short care line on the bottom or back.
Small extras that feel intentional
You do not need to overdesign anything. A clean card with the right information is already a gift. But if you want to make it feel especially personal, these little touches are sweet:
- Scent note: “Notes of lavender, bergamot, and cedar.”
- Wax note: “Soy wax with cotton wick.”
- Soap highlight: “Colored with pink clay” or “Scented with essential oils.”
- Batch personality line: “Hand poured and uniquely imperfect.”
Keep safety instructions prominent, and treat the “romantic” details like a garnish, not the main course.
FAQ
Do I really need burn instructions if I only gift candles to adults?
Yes. Most candle issues I see come from perfectly capable adults who simply have not learned the first-burn rule or wick trimming habit. Your card prevents accidents and prevents disappointment.
How long should a recipient burn a candle the first time?
Long enough to melt the top layer all the way to the edge of the container. For many jar candles, that is 2 to 4 hours. Wider candles take longer than narrow ones.
What is a safe “stop burning” guideline?
For most container candles, stop when about 1/2 inch of wax remains, or follow the specific candle label if it instructs otherwise. The goal is to never let the flame get close enough to overheat the container.
Why does my handmade soap disappear so fast for some people?
Almost always because it sits in water. A draining soap dish and letting the bar dry between uses makes a dramatic difference, especially for glycerin-rich bars.
Should I include fragrance allergens or full ingredient lists on a gift?
For casual gifting, I at least include the scent type and any notable additives (like cinnamon, clove, or exfoliants) so sensitive friends can decide. If you sell, follow the labeling rules where you live, which can be more detailed.
The bottom line
A candle care card and a soap instruction tag are small, but they do big work. They protect your recipient, protect your reputation as the maker, and help your handmade goods burn cleaner and last longer. The best part is that once you write your wording, you can reuse it forever, with tiny tweaks for each scent and batch.
And if someone still manages to tunnel a candle or turn a soap bar into mush, I promise it does not mean your craft is not good. It just means your care card is doing its job, one gentle reminder at a time.