There is a special kind of satisfaction in lighting a candle you poured yourself and watching it settle into a steady, clean burn. But before a homemade candle is ready to gift, sell, or even keep on your own nightstand, it deserves a standardized burn test. Standardized means you burn it the same way every time as many variables as practical, record the same data every time, and only change one variable at a time. That is how you get candles that look beautiful and behave safely.
Below is the exact system I use when I am dialing in a new container, wick, or fragrance load. It is detailed, yes. But once you do it once, it becomes a cozy little ritual: notebook, timer, a careful eye on the flame, and that first whiff of the hot throw filling the room.
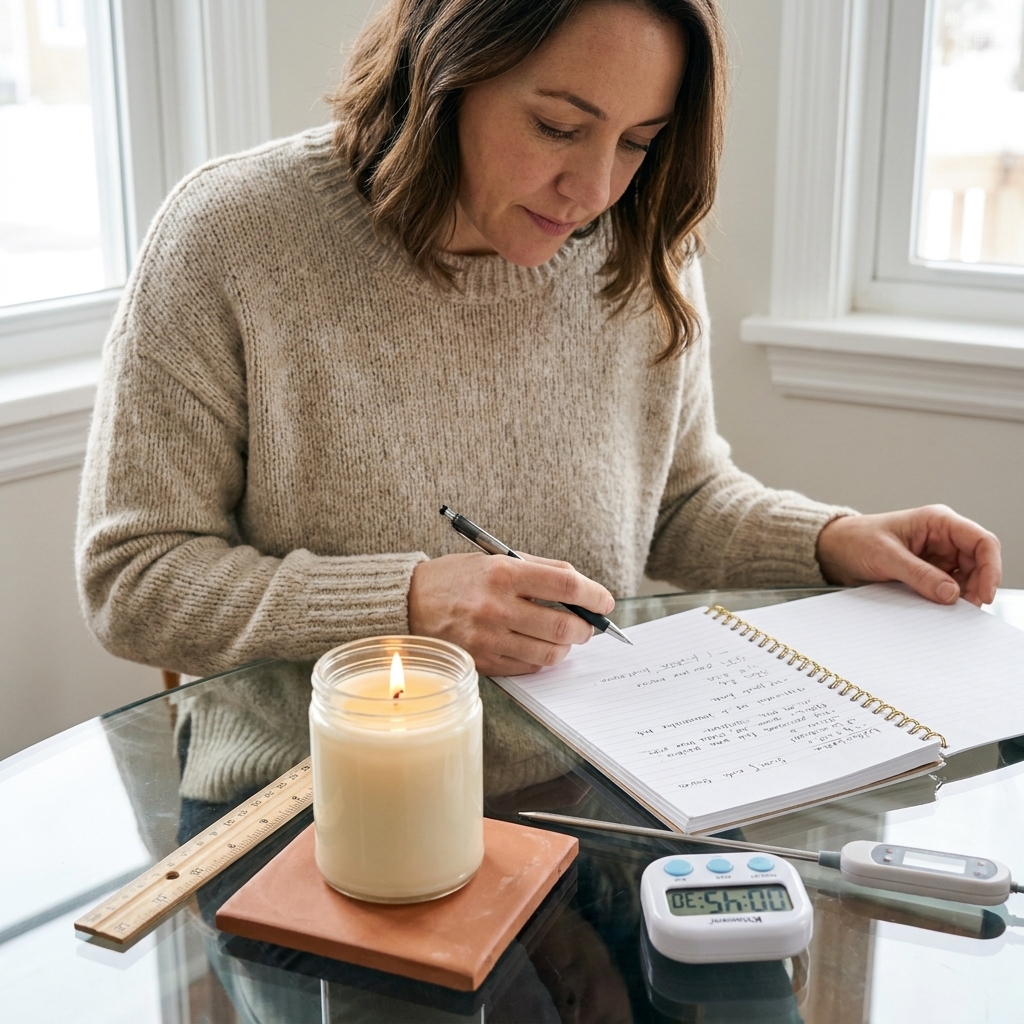
Safety first: what this is and is not
A burn test is a controlled experiment that checks two big things:
- Fire safety behavior: stable flame, no excessive soot, no container overheating, no cracking, no flare-ups, and a safe end-of-life.
- Performance: melt pool development, wax consumption rate, wick posture (mushrooming, drowning, bending), and scent throw.
What it is not: burning a candle all evening on the coffee table and calling it “fine.” Casual burns can hide problems like gradual overheating or soot that only appears after hour three.
On standards and rules: If you make candles for others, check the rules that apply where you live and sell. Many makers use industry guidance such as ASTM standards as reference points for fire safety and labeling (for example, standards commonly cited in the candle world include ASTM F2417 and ASTM F2601). You do not need to turn your kitchen into a lab to benefit from that mindset. You can run a disciplined home burn test that catches the biggest safety and quality issues.
Tools and supplies
You do not need a lab. You do need consistency and a few basic tools.
Must-haves
- Timer (phone is fine)
- Notebook or spreadsheet (I like paper during the burn and a spreadsheet afterward)
- Ruler or calipers for melt pool diameter and wax depth
- Heat-safe surface (ceramic tile, stone coaster, or a metal tray)
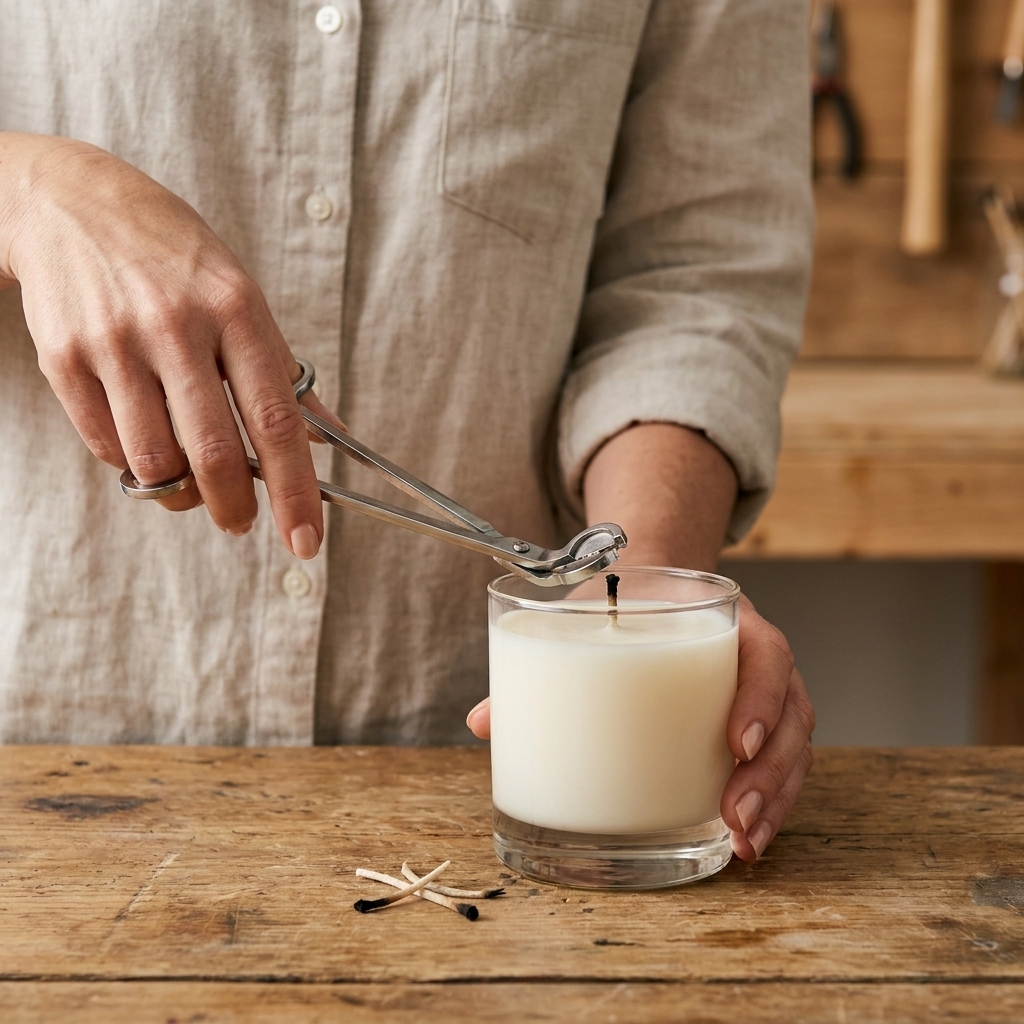
- Wick trimmer or scissors
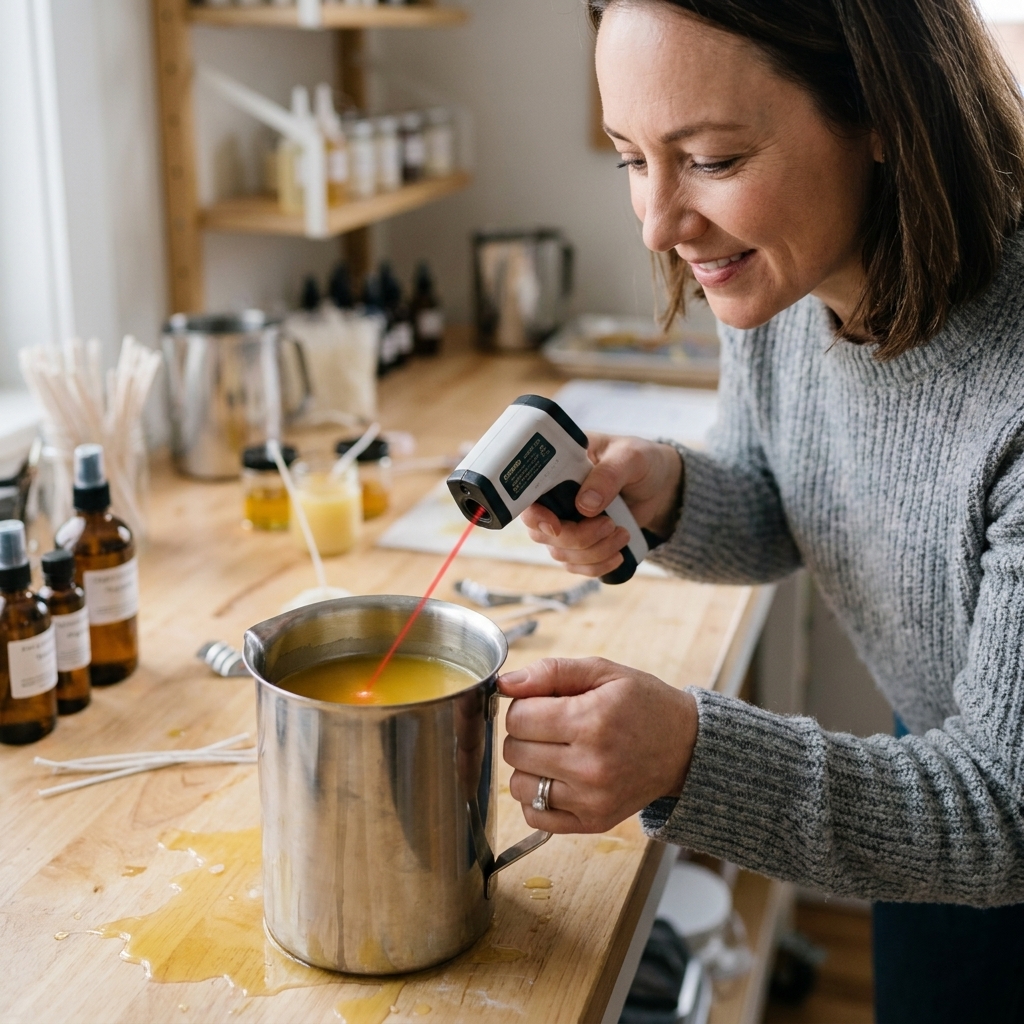
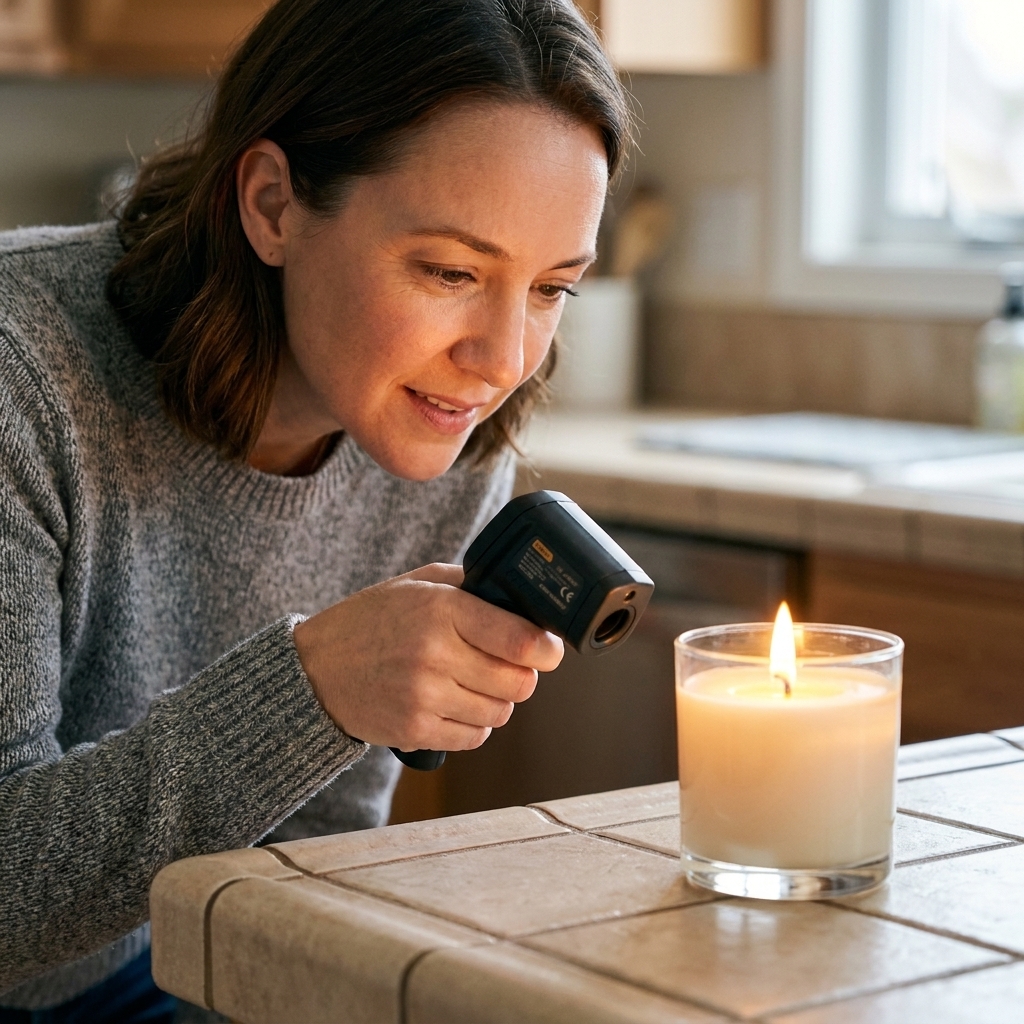
- Thermometer: an infrared thermometer is easiest for container surface readings
- Scale (optional but extremely helpful) to track burn rate by weight
Nice-to-haves
- Draft control: a quiet room with no fans, HVAC blasts, or open windows
- Camera for quick flame photos at the same time points
- Spare lids or snuffer for extinguishing without smoke
Standardize before you light it
If you want burn tests you can actually compare, you need to lock down your starting conditions. In my early days I changed three things at once and then wondered why nothing made sense. Save yourself the headache.
Confirm container suitability
- Use a candle-rated container from a reputable supplier when possible.
- Do not test in glass that is chipped, cracked, thin, or visibly flawed.
- Avoid random household jars and vintage glass for testing. Even if they survive once, thermal stress can catch up later.
Record your candle specs
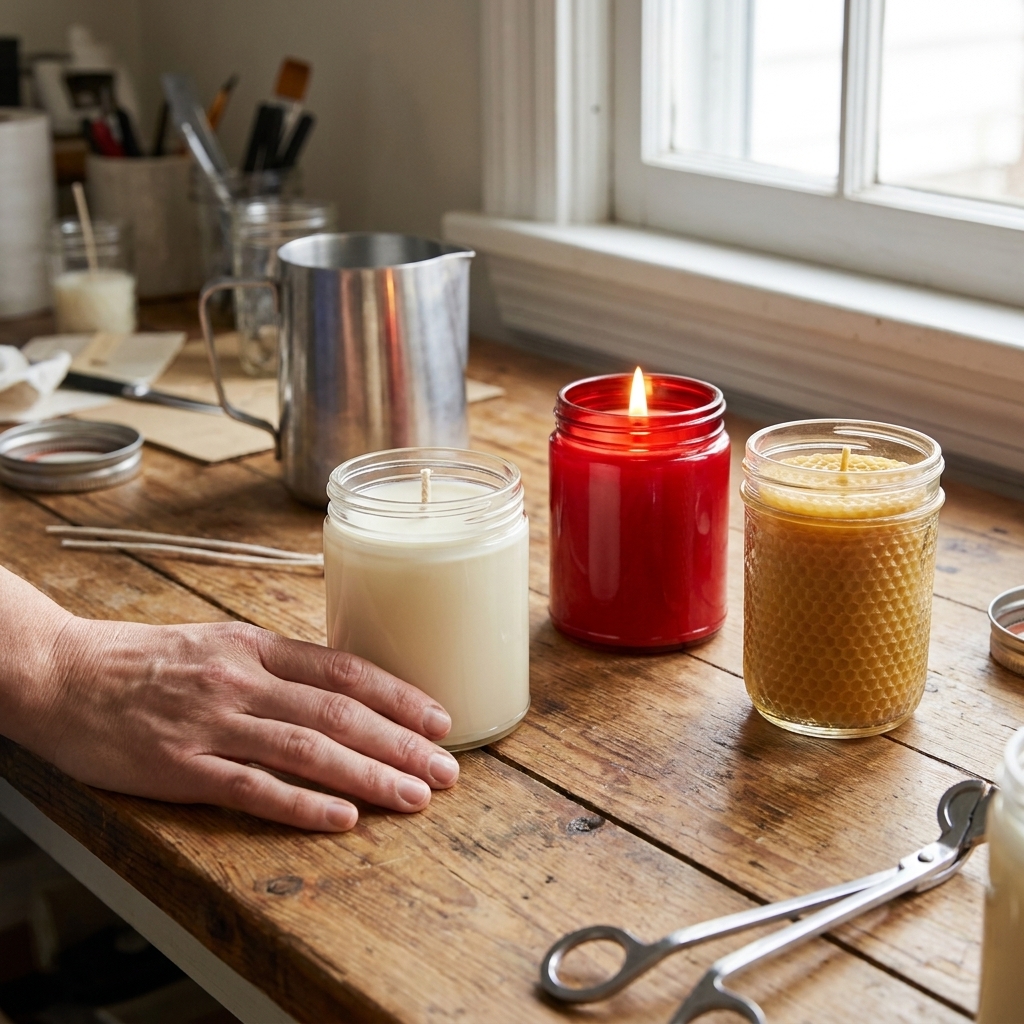
- Wax type and brand (soy, coconut-soy, paraffin blend, beeswax blend)
- Container type and dimensions (inside diameter matters most)
- Wick series and size (and whether it is pre-tabbed)
- Wick tab type (size and material) if you know it
- Fragrance oil brand and percentage
- Dye type and amount (even tiny dye loads can affect burn)
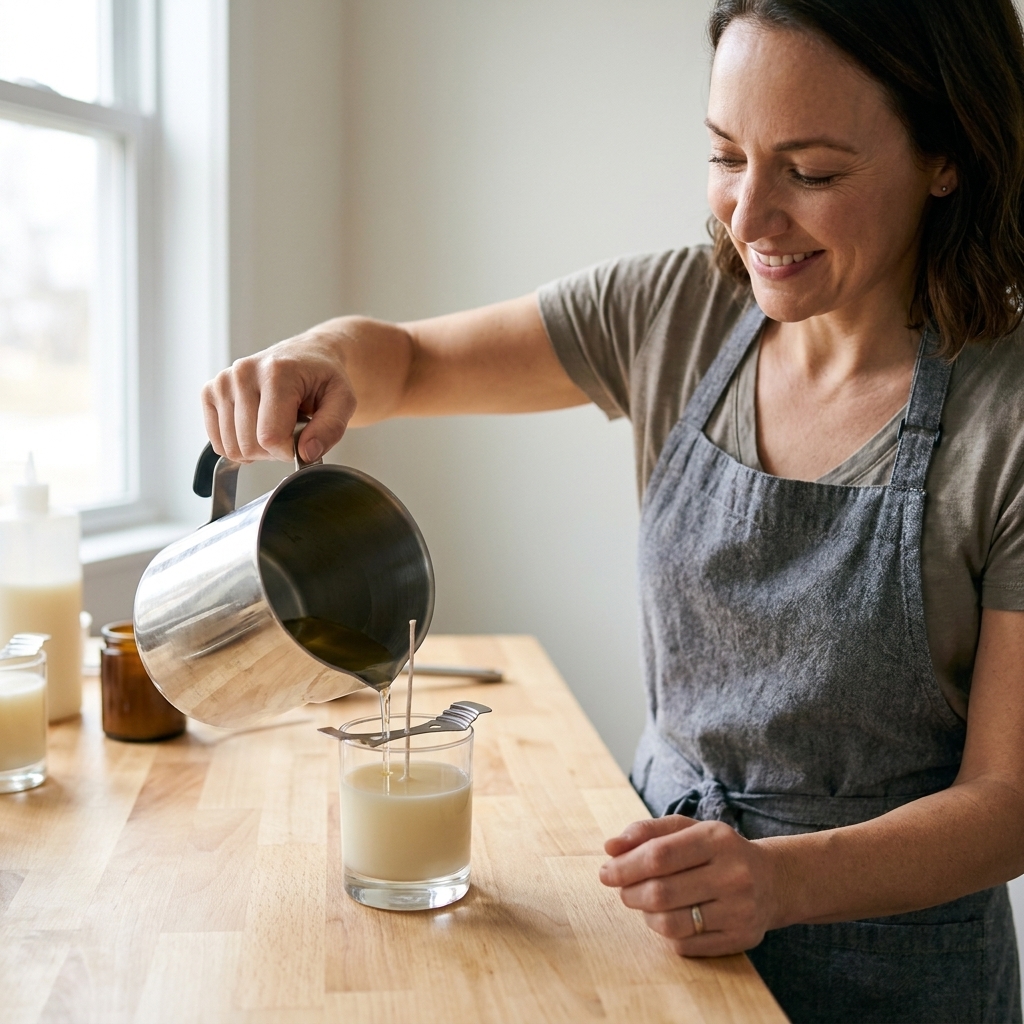
- Pour temperature and any additives (stearic, vybar, beeswax, etc.)
- Cure time before testing (especially important for soy and vegetable blends)
Pick a consistent cure window
Cure time is one of those topics where candle makers can politely disagree all day. In my experience, many soy and coconut-soy blends behave better when tested after 48 to 72 hours, and a lot of makers (me included) prefer about a week when evaluating hot throw. That said, it depends on the wax, fragrance, and supplier guidance. The key is to choose a cure window for your project, follow your wax supplier recommendations, and keep it consistent across tests.
Set up your test space
Little environmental changes can make a candle look “too wicked” or “too weak” when the real culprit is a draft or a cold room.
- Room temperature: aim for a normal indoor range (about 68 to 75 F, or 20 to 24 C).
- No drafts: avoid ceiling fans, open windows, and strong HVAC vents.
- Clearance: keep the candle away from walls, curtains, paper, and anything flammable.
- Stable surface: perfectly flat, heat-safe, not on a cloth runner or wood directly.
- Supervision: a burn test is an attended burn. Always.
Burn schedule
For container candles, a practical standard is burning in cycles and checking at consistent time points. This mimics real use while still being controlled.
Cycle length
Burn for 3 to 4 hours per session, then extinguish and let the candle cool completely (usually overnight). Repeat until the candle is finished or until it clearly fails.
Why 3 to 4 hours? Many containers are designed around that typical use pattern, and it is long enough to reveal wick and soot behavior without pushing into “forgotten on the counter all day” territory.
Checkpoints
I record observations at:
- 15 minutes (initial flame and wick behavior)
- 30 minutes (early melt pool formation)
- 60 minutes (melt pool depth and stability)
- Every hour after until the session ends
Step-by-step test
1) Trim to a standard length
Trim to 1/4 inch (about 6 mm) unless your wick manufacturer recommends otherwise. Record your trim length so you can repeat it every cycle.
2) Weigh the candle (optional but powerful)
Weigh the candle before lighting and record it. If you do this each cycle, you can calculate burn rate and compare wick sizes objectively.
3) Light and start the timer
Use a long lighter or match. Avoid scorching the container rim. Start your timer immediately.
4) Observe flame and wick posture
At each checkpoint, note:
- Flame height (small, medium, tall, flickery, leaning)
- Wick posture (upright, curling, bending into the melt pool)
- Mushrooming (carbon cap size and how quickly it forms)
- Smoke when burning (not just when extinguishing)
5) Measure melt pool diameter and depth
This is the heart of performance testing.
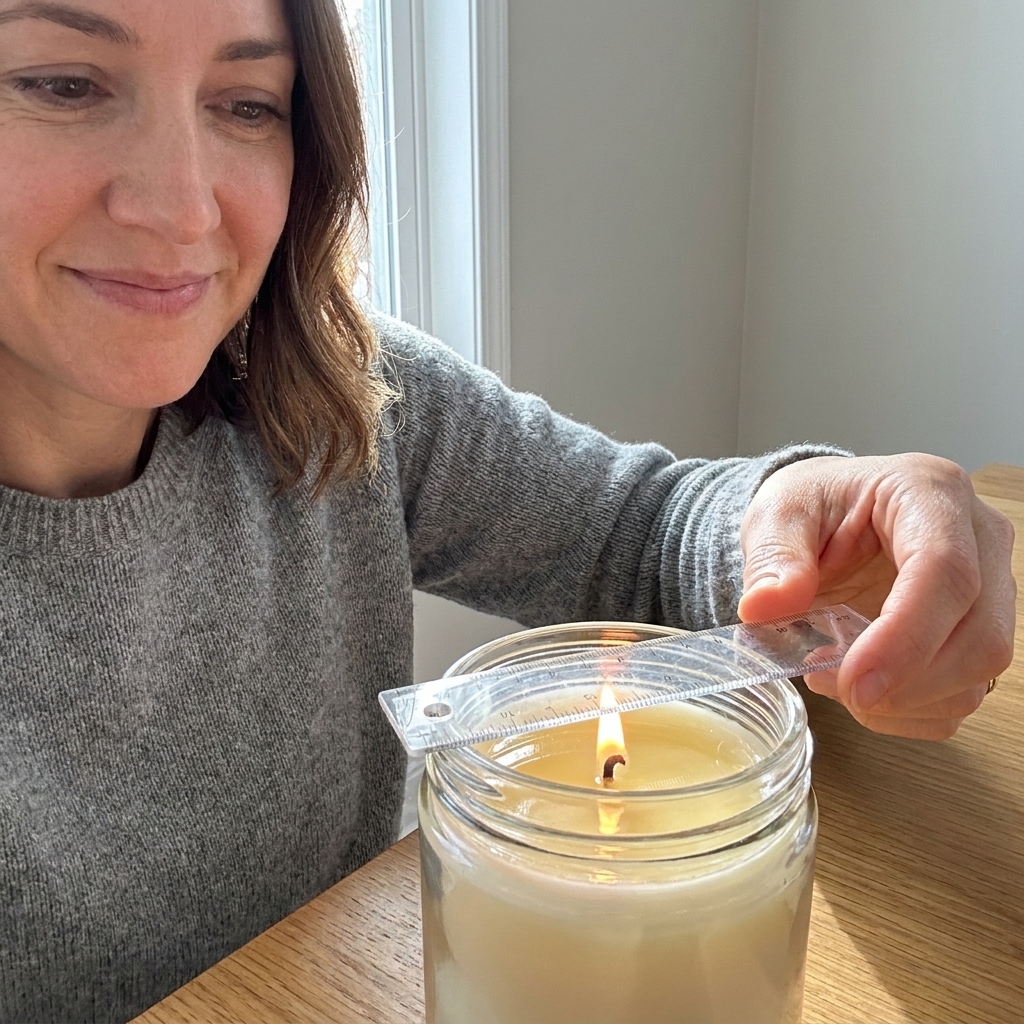
- Diameter: measure across the liquid wax surface at the widest point.
- Depth: if you check depth, do it carefully with a skewer or wick dipper and a steady hand. Move slowly, avoid splashing, and never drip hot wax onto yourself or your work surface.
As a rough observation, many container candles settle into a melt pool depth somewhere around 1/4 to 1/2 inch once they reach a steady rhythm, but this is highly wax and container dependent. I treat depth as a safety signal, not a beauty target. If the melt pool is getting very deep and the jar temperature is climbing aggressively, I stop and rethink the wick.
Also, do not chase a perfect edge-to-edge melt pool in the first hour. Many waxes need time and multiple burns to fully catch up, especially vegetable blends.
6) Check container temperature
Use an infrared thermometer to measure:
- Sidewall temperature about halfway down
- Near the top rim (often the hottest area)
- Bottom area where it sits on the surface
Record the highest reading you see. There is no single magic number that applies to every jar, wax, and wick, and glass can fail from thermal stress even before it feels “too hot to touch.” The strongest approach is to follow your container supplier’s guidance, treat rapid temperature rises and hot spots as red flags, and discontinue testing at the first sign of container stress (ticking sounds, visible cracking, warping, or a rim that seems to be cooking).
7) Watch for soot and wall staining
Look for:
- Blackening on the jar above the flame line
- Haze or smoke trails during normal burning
- Dirty lid undersides (if you place a lid on after extinguishing)
A little post-extinguish smoke can happen with any candle. What you are looking for is soot during the burn, which often points to an oversized wick, too much fuel delivery, heavy fragrance load, or drafts that increase flicker and disrupt combustion.
8) Extinguish cleanly and cool completely
Use a snuffer or wick dipper if you have one. Cooling matters because many issues show up when the wax resets, like sinkholes, rough tops, and wick shifting.
Pass and fail signs
Every wax and wick series has its own personality, but these are reliable green flags during testing:
- Flame: steady, not wildly dancing, not consistently too tall
- Melt pool: gradually expands, then stabilizes; does not become extremely deep
- Minimal mushrooming: small or moderate carbon cap that does not create smoke or debris
- Little to no soot: jar stays mostly clean
- Even consumption: wax level drops consistently without severe tunneling or hang-up
- Safe container behavior: no cracking, no warping, no alarming hot spots
Clear fail criteria
If any of these show up, I stop the test and change something before I try again:
- Persistent smoking or sooting during normal burning
- Flame that is consistently too tall, extremely flickery, or repeatedly flares up
- Container stress: cracking, ticking/pinging sounds, visible defects forming, or a rim that looks scorched
- Unsafe heat behavior: rapidly rising readings session over session, strong hot spots, or a jar that becomes uncomfortably hot to handle
- Repeated wick failure: self-extinguishing early, drowning, or a wick that will not stay lit under normal conditions
- Debris issues: large mushroom caps dropping carbon chunks into the melt pool
Burn test log
If you only take one thing from this guide, let it be this: write it down the same way every time.
Data to record each session
- Date and cure age (for example: “Day 7 cure”)
- Session number (Burn 1, Burn 2, etc.)
- Start wick trim length
- Burn start time and end time
- Melt pool diameter and depth at each checkpoint
- Container temperature readings
- Flame notes (height, flicker, leaning)
- Soot notes (jar staining, smoke during burn)
- Scent throw notes (cold throw before lighting, hot throw intensity at 1 hour and 3 hours)
- Any safety concerns (crackling, flaring, excessive heat, container stress)
Optional: burn rate by weight
If you weigh before and after each session:
- Grams burned per hour = (starting weight minus ending weight) divided by hours burned
This is incredibly helpful when you are comparing two wick sizes that both “look fine.” One might burn cleanly but too fast, and the scale will tell you.
Troubleshooting
Tunneling
Most common causes: wick too small, not enough heat for the container diameter, short burn sessions, or testing before the candle has settled into its cure (especially with some vegetable waxes).
Try:
- Wick up one size in the same wick series
- Switch to a different wick series designed for your wax type
- Confirm you are burning 3 to 4 hours per session during testing
Deep melt pool, hot jar, or smoke
Most common causes: wick too large, high fragrance load for that wick, or drafts that increase flicker and disrupt combustion.
Try:
- Wick down one size
- Reduce fragrance percentage slightly and retest
- Test again in a draft-free spot
- Check that the wick is centered and secured
Mushrooming
Most common causes: wick too large, fragrance oil that burns “heavier,” dye load, or too long between wick trims.
Try:
- Trim to 1/4 inch before every session
- Wick down or try a different wick series
- If you are at the top end of fragrance load, back off and test again
Wick drowning
Most common causes: wick too small, melt pool too cool, excessive additives that raise melt point, or an overly large container for that wick.
Try:
- Wick up one size
- Reduce high-melt additives
- Confirm the wick is appropriate for the wax type and diameter
Hang-up on the sides
Good news: a little hang-up early on is normal for many soy and coconut blends. Do not over-wick just to force a perfect wall-to-wall melt pool in the first burn.
Watch for: hang-up that persists deeply into the candle and leaves thick walls of wax. That can signal under-wicking, but always weigh it against safety and jar temperature.
End-of-life testing
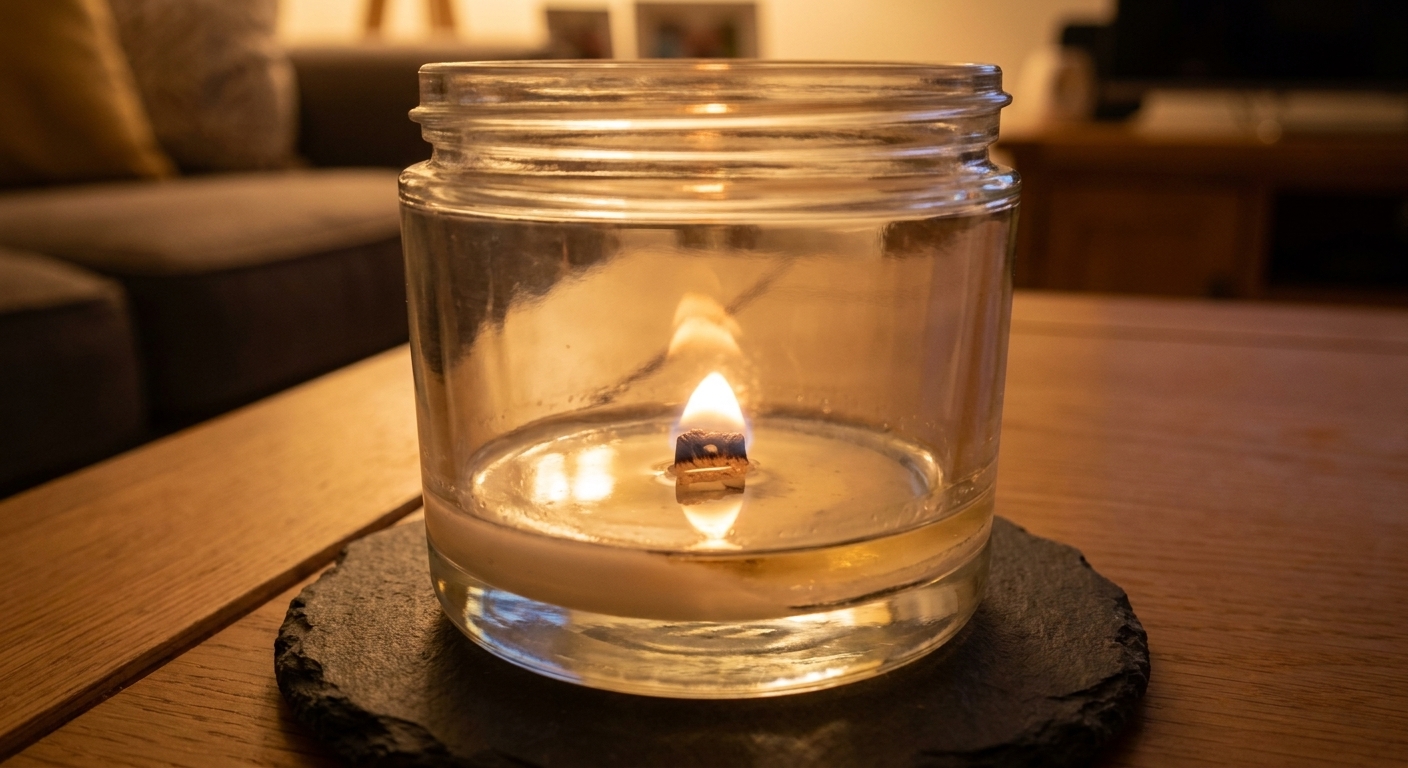
The last third of a candle is where things can get spicy. As the wax level drops, the flame can get closer to the container bottom and heat can concentrate differently. A standardized test includes the finish.
What to watch near the bottom
- Flame stability: no sudden flare-ups
- Container bottom temperature: check more frequently
- Wick tab visibility: you should see the wick tab as wax gets low
- Self-extinguishing behavior: many makers aim for the candle to go out with some wax remaining rather than burning bone-dry
Stop point: If the candle is producing excessive heat at the bottom, the flame is behaving erratically, or the container seems stressed, end the test. Safety beats a “complete burn” every time.
Make results comparable
- Only change one variable at a time. If you change wick size and fragrance load at once, you will not know what fixed the problem.
- Use the same container diameter. A 2.75-inch jar and a 3.25-inch jar can need totally different wicks.
- Test at least two candles per setup. One candle can be a fluke: a slightly off-center wick, a tiny air pocket, a weird pour day.
- Trim every cycle. Same trim length, every time.
- Test in the same room when possible. Temperature and airflow are sneaky variables.
- Match your real use instructions. If your label guidance is “trim to 1/4 inch and burn 3 to 4 hours,” test that way. If you plan to recommend a stop point (many makers use something like leaving some wax at the bottom), verify the candle behaves safely as it approaches that point.
FAQ
How long should I burn a candle during testing?
I recommend 3 to 4 hours per session, then cool completely between sessions. This reveals real performance issues while staying within a controlled, realistic use pattern.
What melt pool should I aim for?
You want a melt pool that expands steadily and eventually reaches close to the container edges without becoming dangerously deep. Many makers observe a steady-state depth somewhere around 1/4 to 1/2 inch in common container setups, but it is not a universal target. Prioritize safe temperatures, a clean burn, and stable flame behavior over chasing a perfect look early.
How do I know if my candle is sooting?
Look for black residue on the jar above the wax line, visible smoke while the candle is burning, and a dirty look forming around the rim area. Soot during burning often points to too large a wick, drafts that disrupt combustion, or a heavy fuel load from fragrance and dye.
Do I really need an infrared thermometer?
It is not mandatory, but it makes your testing much safer and more consistent because you can spot overheating trends early. If you do not have one, be extremely cautious, do not use questionable containers, and stop at the first sign of stress or excessive heat.
Why does my candle look worse on the second burn?
Second and third burns often reveal the truth. As the jar warms and the melt pool widens, an oversized wick might start smoking or overheating. That is why multi-cycle testing matters.
My takeaway
Burn testing can feel picky, but it is really an act of care. Care for your craft, for your home, and for the people who will light your candles and trust them. When you standardize the process, you get to swap the guesswork for clear answers. And once you have a candle that burns steady, smells dreamy, and keeps its cool, you will feel it in your bones when you light it. That clean, confident flame is the reward.