Wet spots and frosting are the two “did I do something wrong?” surprises that love to show up in glass jar candles. The twist is that they are usually cosmetic and not automatically a sign your candle will burn poorly. Still, I want to be clear: any candle can be unsafe if the wick is too large, the jar is poor quality, or the candle is otherwise out of balance. So even if the issue looks cosmetic, burn testing still matters, and you should watch for excessive jar heat, smoking, soot, or large air gaps.
I am going to walk you through what is actually happening, then the temperature control and pouring techniques I use at Candlory to get cleaner sides and a smoother top. Your exact results will vary by wax blend, jar shape and thickness, fragrance load, dye, and room conditions, but the habits below are repeatable and easy to test.
What wet spots and frosting are
Wet spots (the candle version)
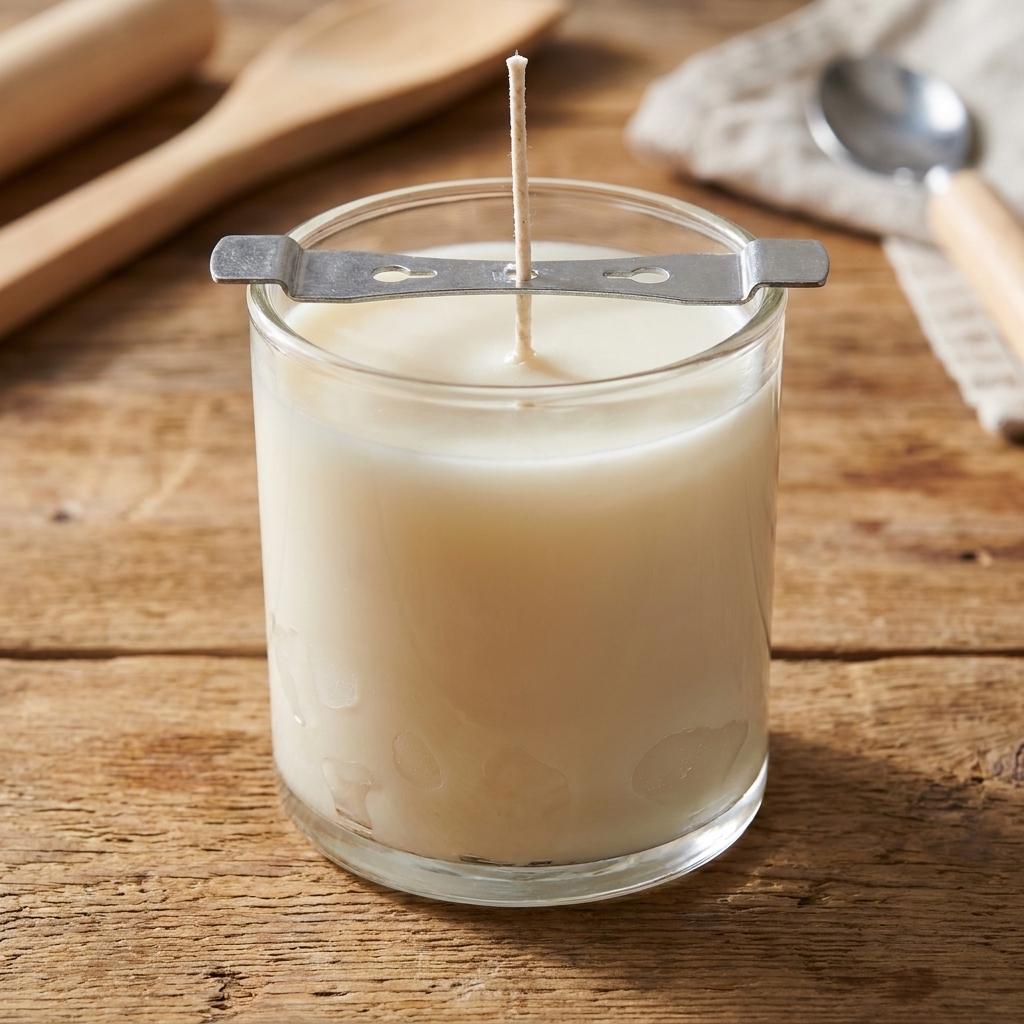
Wet spots look like little “puddles” or air gaps between the wax and the glass. They usually show up as lighter, translucent patches on the sides of a jar. Despite the name, there is no water involved. It is simply wax pulling away from glass as it cools and shrinks, sometimes with tiny pockets of air.
Wax frosting
Frosting is a whitish, crystalline haze or pattern, most common in soy wax and other natural waxes with higher crystal structure. It can show up on the top, the sides, or around the jar edge. Frosting is not mold. It is wax crystals forming as the wax cools and settles, and it is influenced by temperature swings, cooling speed, soy formulation, and what you add to the wax.
Why they show up in glass jars
Glass draws heat away from wax quickly, especially at the edges. That creates temperature differences between the jar wall and the center of the candle, which encourages shrinkage, adhesion issues, and crystal formation. Uneven cooling is a major driver of both wet spots and frosting, even though other factors can contribute too.
Safety first
Before we get into technique: any time you use a heat gun or reheat a container candle, you are working with hot glass and hot wax.
- Never move a candle while the glass is very hot. Thermal shock is real, especially if the jar touches a cool counter.
- Do not aim a heat gun at one spot for too long. Use gentle, sweeping heat to avoid cracking the jar or overheating fragrance near the surface.
- Work on a heat-safe surface and keep paper towels, alcohol, and packaging away from direct heat.
- Do not reheat candles with lids on, and do not reheat candles with dried botanicals or anything flammable embedded in or on top of the wax.
Temperature control
If you only change one thing, change your temperature control. Most wet spots and frosting come from wax and glass being at very different temperatures, or from the candle cooling too fast or inconsistently.
1) Warm the jars
Pouring into cool glass is like pouring hot caramel onto an ice-cold plate. The edges set first, then the wax continues shrinking as the center cools, and that is when pull-away becomes visible.
- Target: slightly warm jars, not hot. Warm to the touch is perfect.
- Easy method: set clean, dry jars on a sheet pan in an oven warmed to its lowest setting, then turned off, for 5 to 10 minutes.
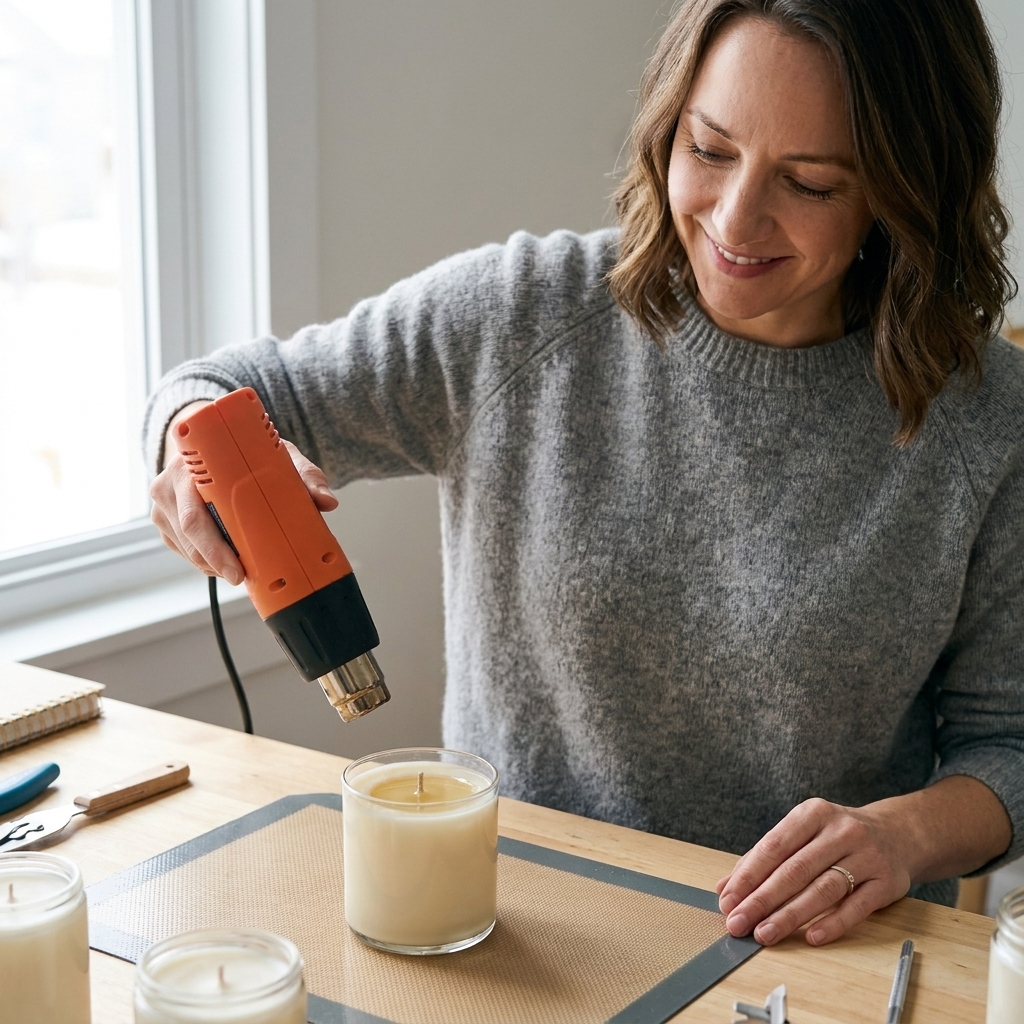
- Alternative: a heat gun on low, sweeping around the jar for 20 to 40 seconds.
Warming jars slows edge-cooling and helps the wax set against the glass more evenly.
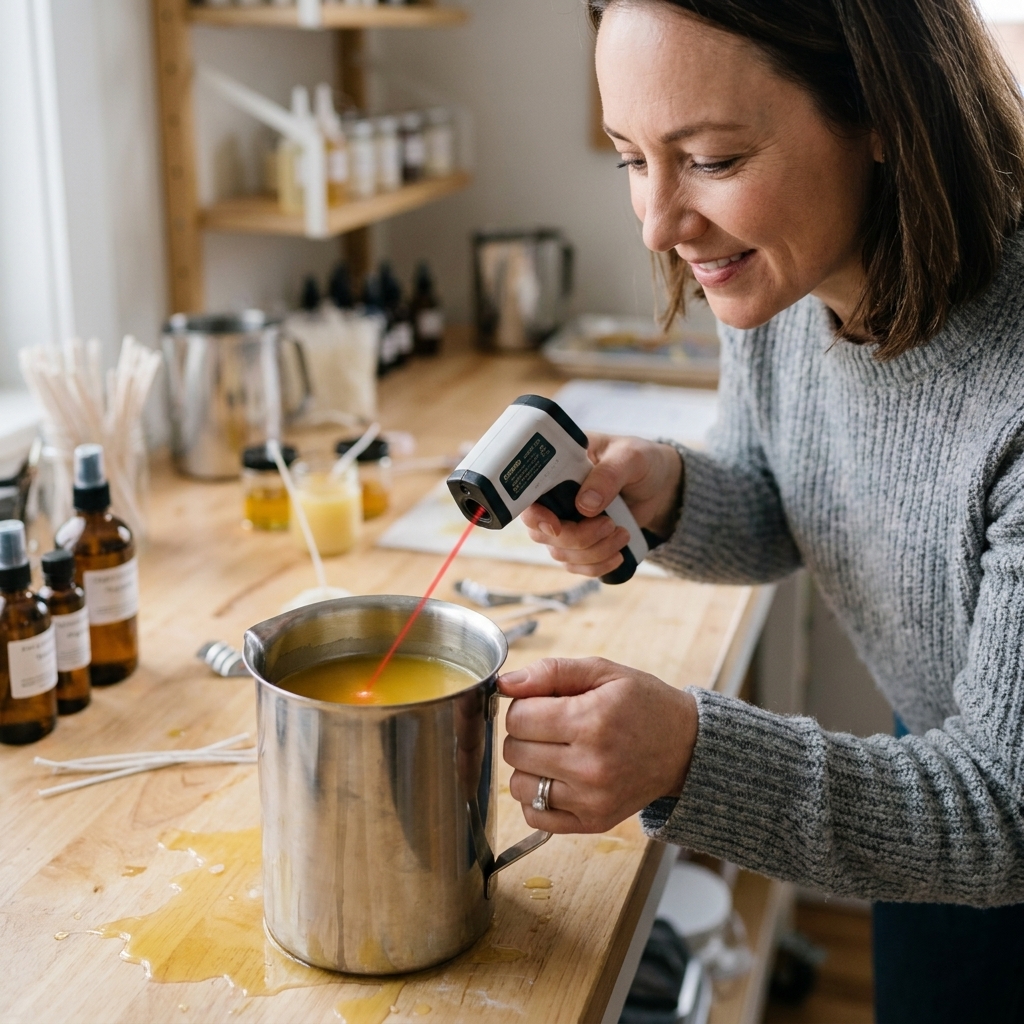
2) Know the two key temps
Beginners often get tripped up because fragrance-add temperature and pour temperature are not always the same.
- Add fragrance at the manufacturer’s recommended temperature so it binds well in the wax.
- Then cool the wax to your pour temperature for smoother tops and better glass adhesion.
This alone clears up a lot of confusion, especially when a supplier recommends a higher fragrance-add temperature than the pour temperature you are aiming for.
3) Pour a little cooler (but test)
Very hot pours can increase shrinkage and can also influence how crystals form as the candle cools. Very cool pours can cause jump lines, rough tops, or poor adhesion. The sweet spot depends on wax type, additives, and even your room.
As a starting point, these ranges are common for some blends:
- Soy container wax: many makers get good results around 120 to 145°F, but some blends prefer higher, sometimes up into the 160s. Follow your wax sheet first, then test.
- Coconut blends: often do well a bit warmer than soy and still benefit from stable cooling.
- Paraffin blends: can tolerate hotter pours and tend to frost less, but wet spots can still happen if jars are cool.
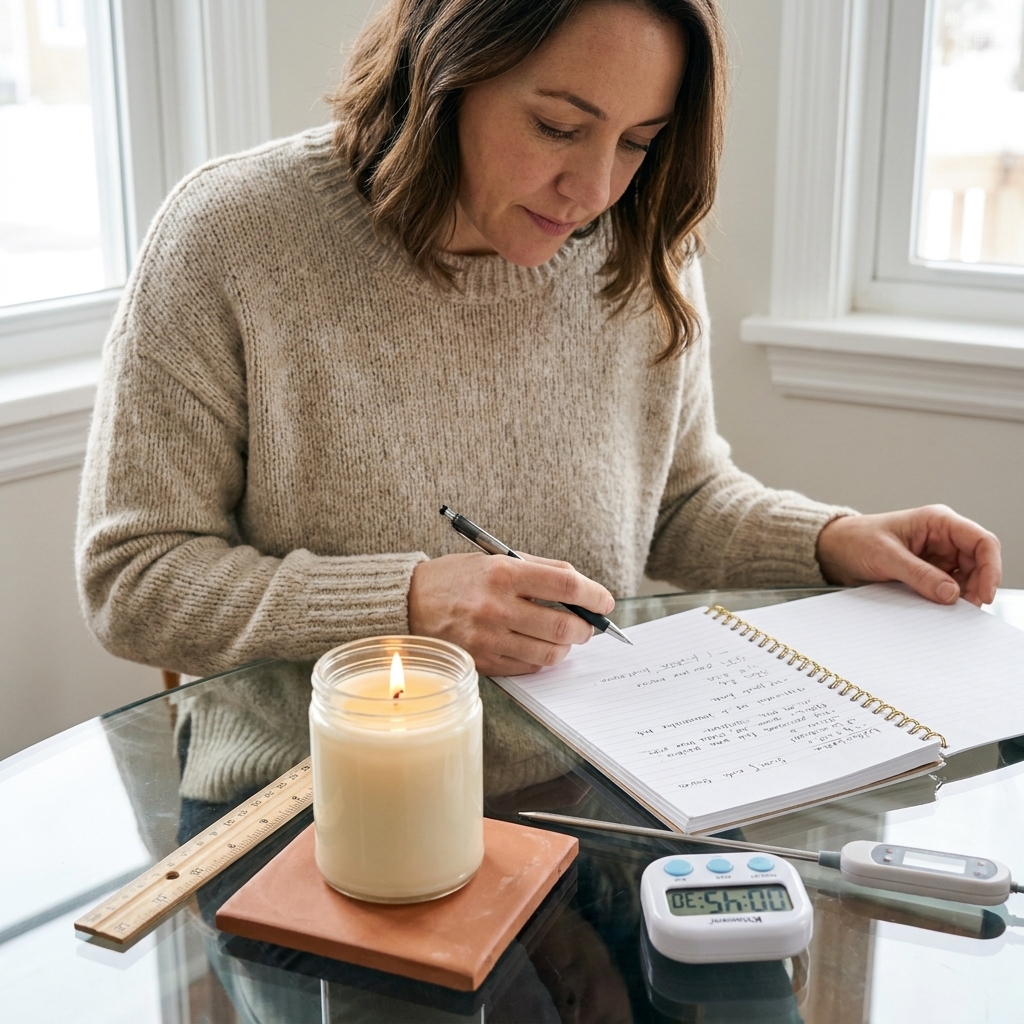
Your wax manufacturer’s sheet matters here. Use these as a starting lane, then test in your space and write down what happens.
4) Control the room
A perfectly poured candle can still frost if it cools in a drafty kitchen. I like a boring, steady environment.
- Ideal room temp: roughly 70 to 75°F with minimal drafts.
- Avoid: AC vents, open windows, and cold stone countertops.
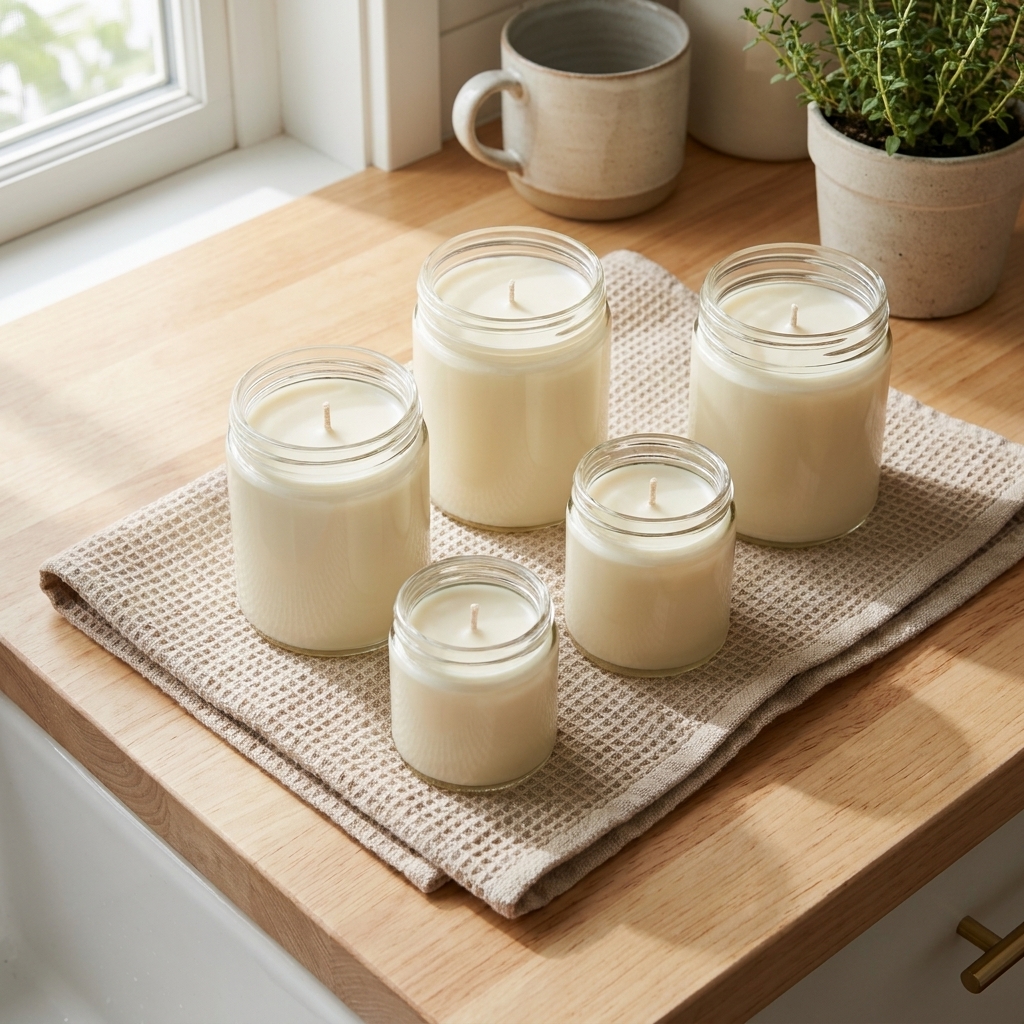
- Do: cool candles on a wooden board or a folded towel to reduce heat being pulled away from the base.
5) Slow, even cooling
If your candles frost heavily or show side pull-away, try slowing the cool-down.
- Simple trick: loosely tent the candles with a clean cardboard box (no contact with hot jars) to buffer temperature swings.
- For stubborn frosting: cool in a slightly warmer area of the house rather than a chilly utility room.
Pouring technique
Center the wick and leave it
Wet spots are not caused by wick placement, but a drifting wick can force you to fuss with the jar while the wax is setting. Movement can create micro-separation at the glass.
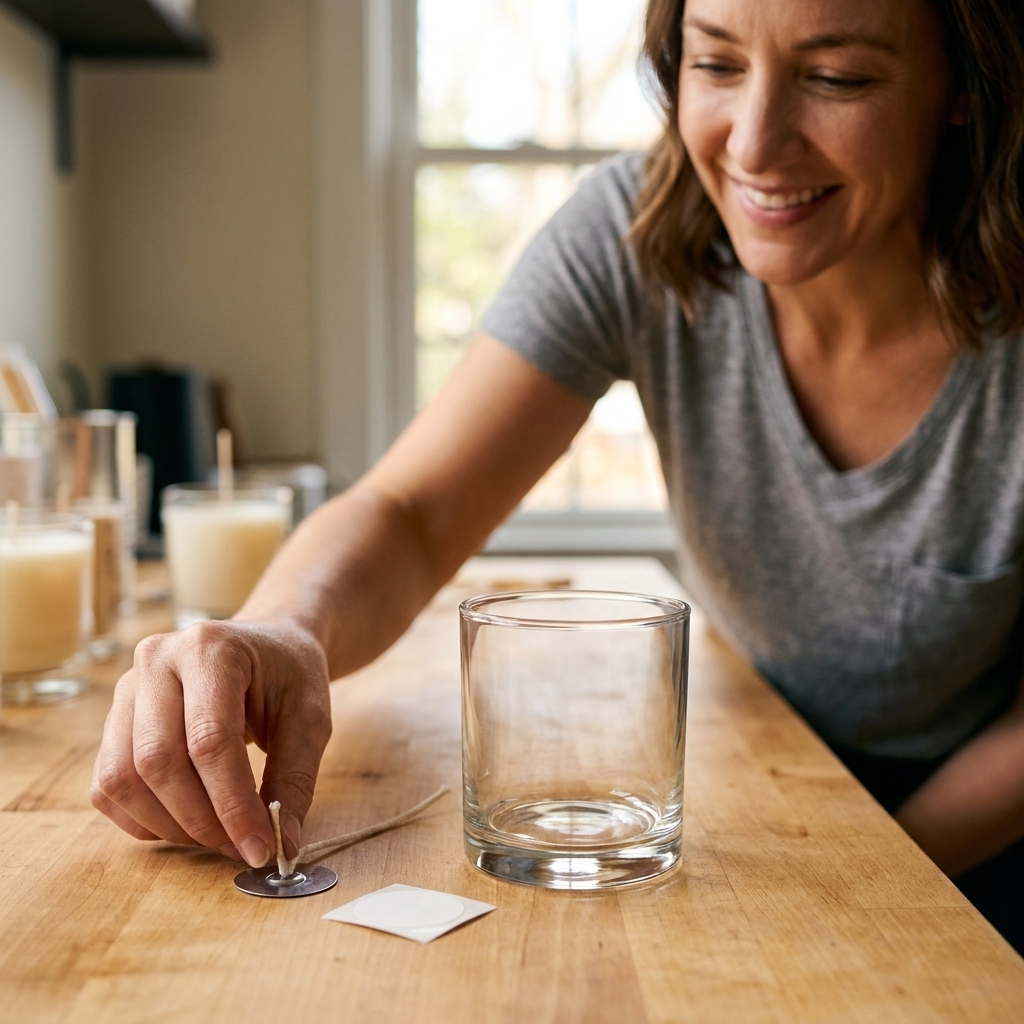
- Wick, sticker, and press firmly.
- Use a wick bar or chopsticks and avoid adjusting after you pour.
Pour down the side, then fill
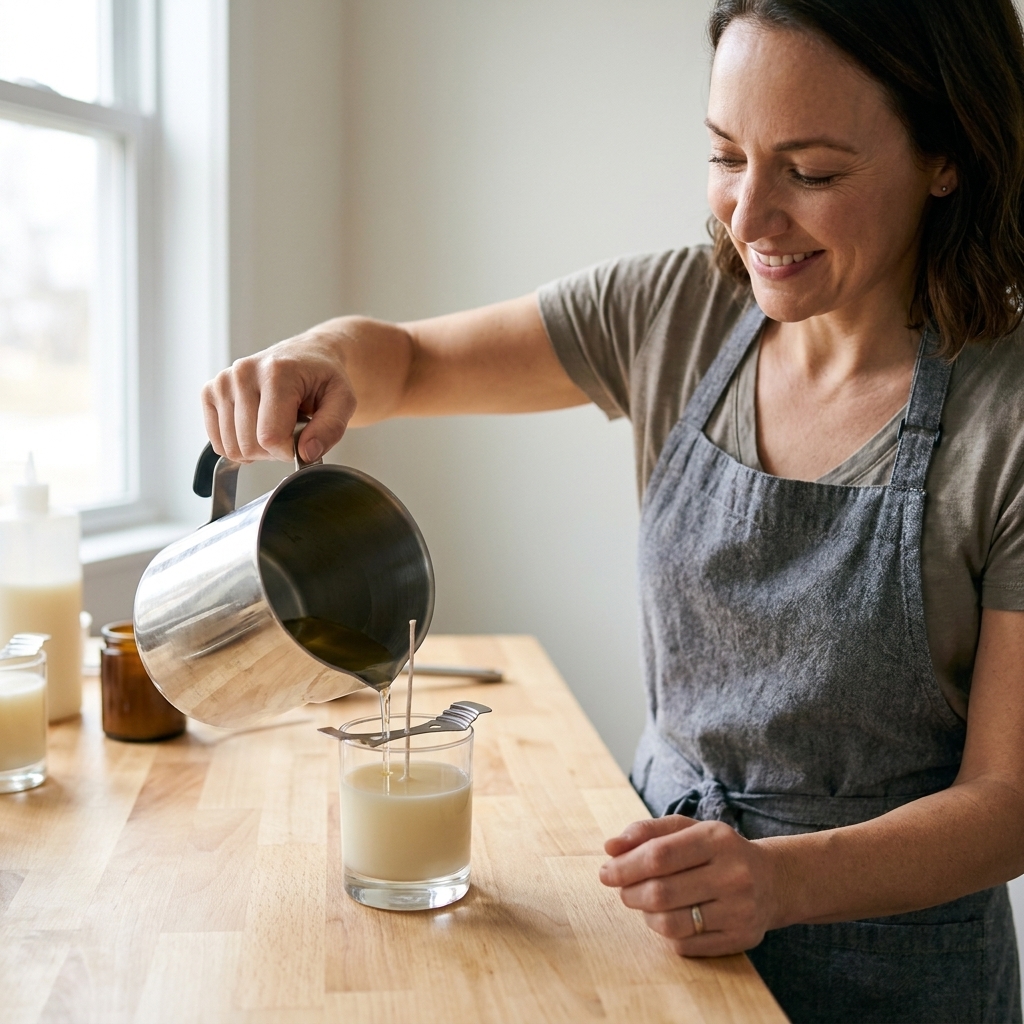
I like to start my pour by letting a small stream run down the inside wall of the jar for a few seconds. This gently warms the glass where wax first contacts it. Then I pour into the center to finish.
One steady pour beats top-offs
Every time you add more wax later, you create a new cooling cycle. That can make lines, separations, and more noticeable wet spots.
- If your wax is prone to sinkholes, plan for a very small second pour only if needed.
- Keep the second pour in a similar temperature range to your first pour, and warm the jar surface lightly first.
Do not over-stir right before pouring
Stirring is important for fragrance incorporation, but aggressive stirring right before you pour can whip in bubbles. Bubbles tend to cling to glass and can mimic wet spots.
- Stir gently but thoroughly when adding fragrance.
- Let the wax sit for 1 to 2 minutes to calm before pouring, especially if you see foam.
Reduce soy frosting
Some soy frosting is simply part of working with a natural wax. I aim for “greatly reduced” rather than “never again,” especially across seasons.
Keep cycles consistent
Soy likes consistency. Repeated overheating then rapid cooling can encourage crystal changes, sometimes right away and sometimes days later.
- Melt and cool in a predictable rhythm.
- Avoid shock cooling (like placing jars in front of a fan).
Watch fragrance load and additives
Fragrance load, dye, and additives can change both adhesion and crystal behavior. Higher fragrance loads can increase the chance of sweating or softness. Some additives marketed for appearance can help in one area while making another worse. Keep your fragrance load within your wax’s recommended limit and test one change at a time.
Keep dyes and botanicals realistic
Some additives make frosting more noticeable. Dark dyes can highlight any haze. Botanicals along the glass can create texture and micro air gaps. If your goal is clear sides, keep decorations away from the glass wall.
Consider a different wax if needed
If you have tested every technique and still hate the look, you may simply be using a wax that likes to frost in your climate. Some container blends are formulated to reduce frosting and improve glass adhesion. That is not cheating. That is choosing the right tool for your goals.
Jar prep
Clean glass, no residue
Fingerprints, dust, and soap residue can worsen adhesion. I clean jars with warm water and a grease-cutting dish soap, rinse well, then do a final wipe with isopropyl alcohol and a lint-free cloth. Let them dry completely before warming.
Pick forgiving jars
Perfectly straight-sided clear jars show everything. Slightly thicker glass and jars with labels or textured surfaces visually minimize minor wet spots. If you are gifting or selling and you are still dialing in technique, choose forgiving jars so you can focus on burn testing and scent throw. Sometimes a frosted jar, an opaque vessel, or a full label is not “hiding flaws.” It is a practical design choice for natural wax.
Mind the headspace
Overfilling can create uneven cooling near the rim. I leave a consistent headspace so the top edge cools evenly and looks intentional.
If it still happens
Heat gun smoothing
A quick heat gun pass can reflow the outermost layer of wax, which can reduce visible frosting and soften the look of wet spots.
- Use low heat and keep the gun moving.
- Warm the glass gradually. Avoid blasting one patch.
- Stop as soon as the surface goes glossy.
Oven reheat (use caution)
This can help re-adhere wax to glass, but it is not my first choice because it is easier to overdo, and not all jars handle heat the same way.
- Only try this with known, candle-rated glass. Avoid unknown or bargain jars.
- Remove lids and any packaging. Be cautious with labels that could soften, slide, or off-gas.
- Use the lowest possible oven setting, then turn the oven off.
- Place candles on a baking sheet, warm briefly, and monitor constantly. Never leave unattended.
- Let them cool slowly inside the closed oven with the heat off.
When to leave it alone
If the candle burns cleanly and the jar is structurally sound, a little frosting is not a failure. I have had “imperfect” candles become favorites because the scent and burn were beautiful. Cosmetics can improve with technique, but safety and performance come first.
Troubleshooting
| What you see | Most likely cause | What to try next batch |
|---|---|---|
| Wet spots along lower sides | Cool jar, fast cooling from the base | Warm jars, cool on towel or wood board, avoid cold counters |
| Wet spots appearing days later | Temperature swings after curing, normal shrinkage showing up later | Cure in a stable room, avoid moving candles between hot and cold areas |
| White crystalline haze on sides | Soy crystal formation, cooling too quickly, formulation sensitivity | Pour in a tested range for your wax, slow cooling with a box tent, avoid drafts |
| Frosting mostly on top | Top cooled faster than the body | Warm jars, reduce drafts, consider a brief heat gun finish |
| Air bubbles clinging to glass | Over-stirring, pouring too fast | Gentle stirring, slower pour, let wax settle 1 to 2 minutes |
| Jar feels excessively hot or soots | Wick too large or formula imbalance | Stop burning, rewick smaller, verify fragrance load, burn test again |
My simple process
If you want a straightforward routine you can repeat, here is what I do when I am chasing that smooth, polished look:
- Clean jars and wipe with alcohol. Dry fully.
- Warm jars until just warm to the touch.
- Melt wax gently and avoid overheating.
- Add fragrance at the manufacturer’s recommended temperature. Stir slowly for about 2 minutes.
- Let wax cool into a good pouring range for your wax. I start testing around 135°F for many soy container blends, then adjust based on what I see.
- Pour steadily and do not move the jars.
- Cool slowly away from drafts. Tent if your room runs cool.
- Cure in a stable spot before you judge the final look.
FAQ
Do wet spots affect how my candle burns?
Usually, no. Wet spots are mostly cosmetic. Still, always burn test. A beautiful candle that tunnels is not a win, and a slightly spotty candle that burns perfectly can be. Also, if you see large air gaps or your jar is getting unusually hot, treat that as a wick and safety issue, not a cosmetic issue.
Can I eliminate frosting in soy wax completely?
In my experience, you can reduce it dramatically, but “never ever” is hard to promise across different seasons and room temps. If you need consistently frosting-resistant results, consider testing a soy blend formulated for smoother appearance.
Why did my candle look perfect yesterday and frost today?
Temperature changes after pouring can encourage crystal rearrangement in natural waxes. A warm day followed by a cool night can make frosting show up later, even if the pour was great.
How long should I wait before judging the look?
Give a candle at least 24 to 72 hours before you decide it is a visual disaster, especially with soy. For scent performance, many soy candles throw best after a longer cure, often 1 to 2 weeks depending on the wax and fragrance.
Will adding more fragrance oil prevent frosting?
No, and it can create other problems like sweating, poor burning, or wick issues. Keep fragrance load within your wax’s recommended limit and focus on temperature control instead.
Final thought
If wet spots and frosting have been haunting your jars, I want you to know this is not a talent issue. It is a heat management issue plus a little bit of wax personality. Warm the glass, pour at a sensible temperature, and give your candles a calm, draft-free cool down. Do that consistently, take notes, and you will be amazed how quickly your jars start looking cleaner, smoother, and gift-ready.