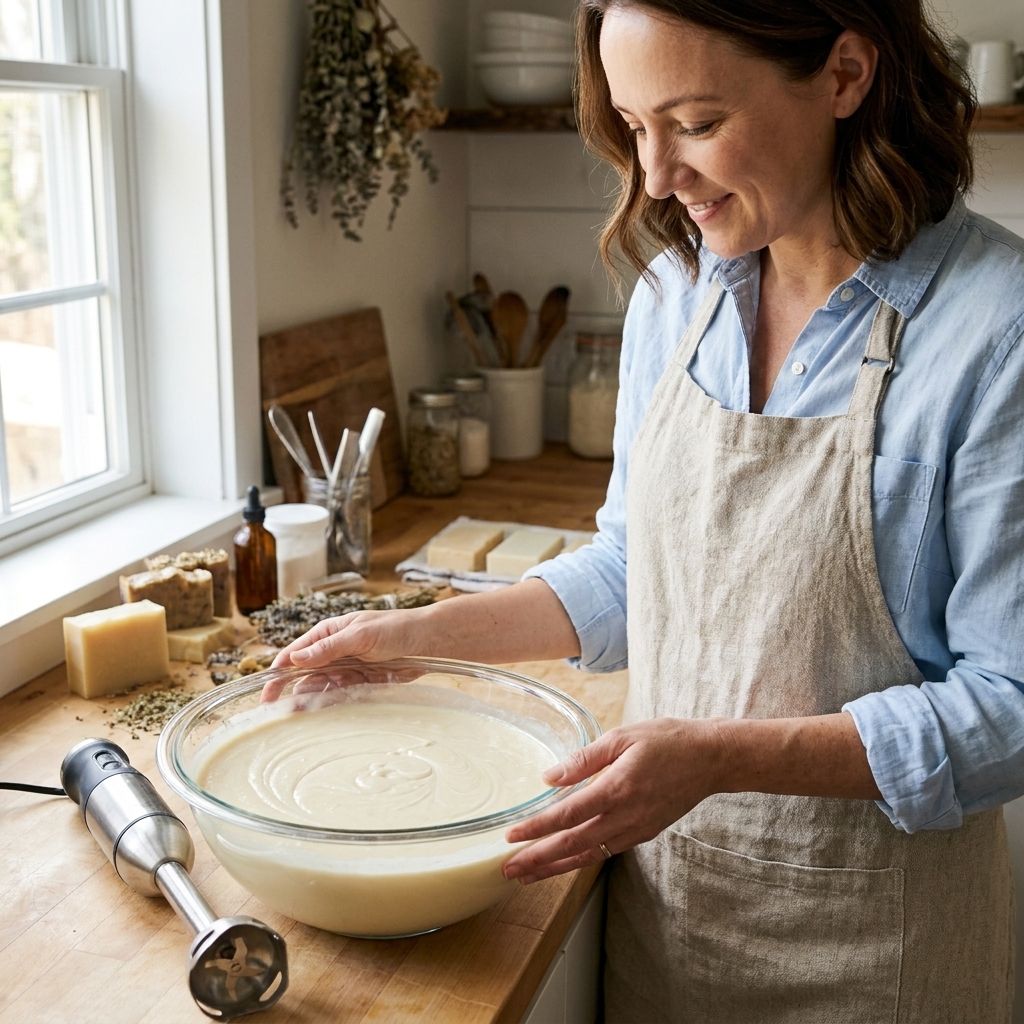
My first cold process batch happened on a whim, in a too-small kitchen, with exactly one “good” tool and a whole lot of optimism. I still remember the moment the oils and lye water turned opaque and creamy under the stick blender. It felt like magic. The not-so-magical part was realizing I had used a mixing bowl I wanted back for food. Learn from my early mistakes and set yourself up with a small, dedicated kit you will actually enjoy using.
This checklist focuses on cold process soap making equipment, the tools that keep you safe, help you hit trace on purpose, and make unmolding day a little celebration instead of a wrestling match.
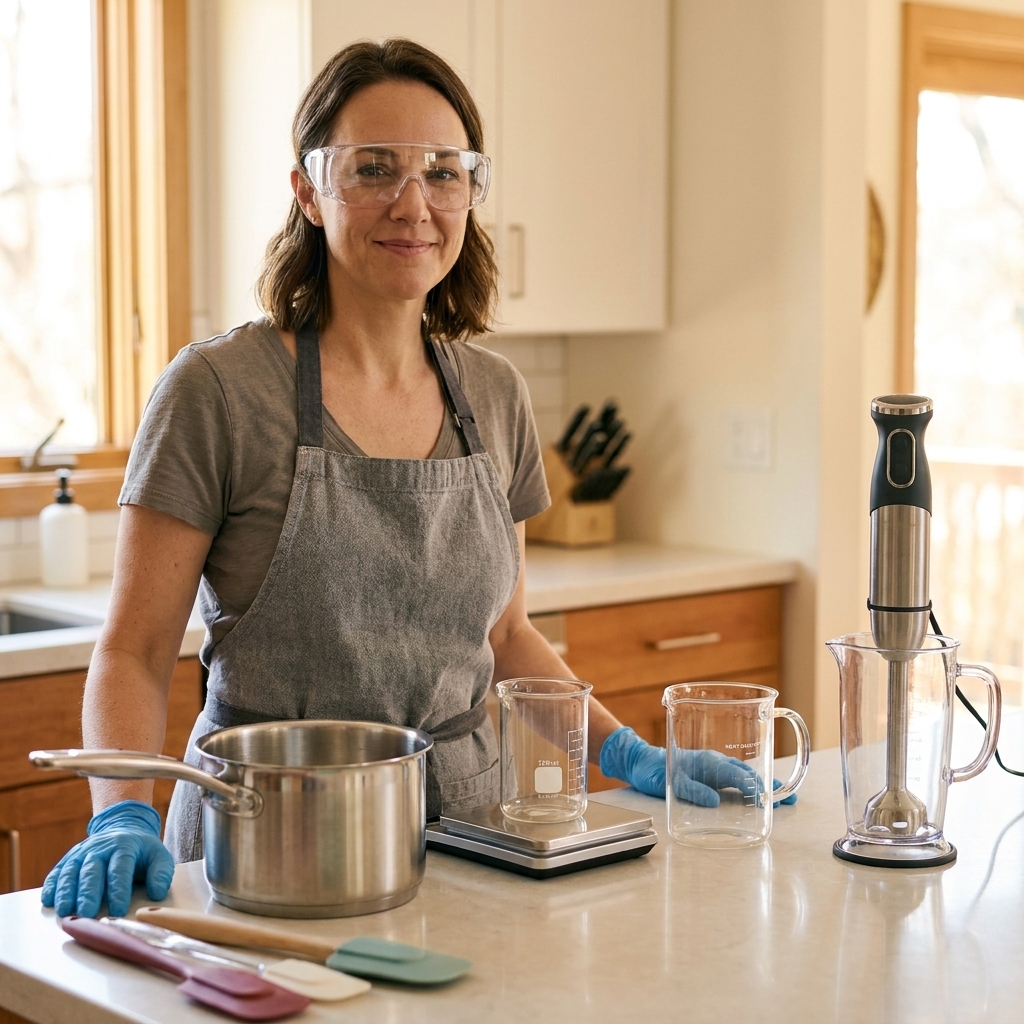
Before we talk tools: two non-negotiables
1) Dedicated soap-only equipment
Anything that touches lye solution or raw soap batter should become soap-only. That includes pitchers, spatulas, stick blender head, and containers. Cold process soap is safe once fully saponified and cured, but it is not worth mixing your kitchen gear into lye handling.
2) Safety comes first
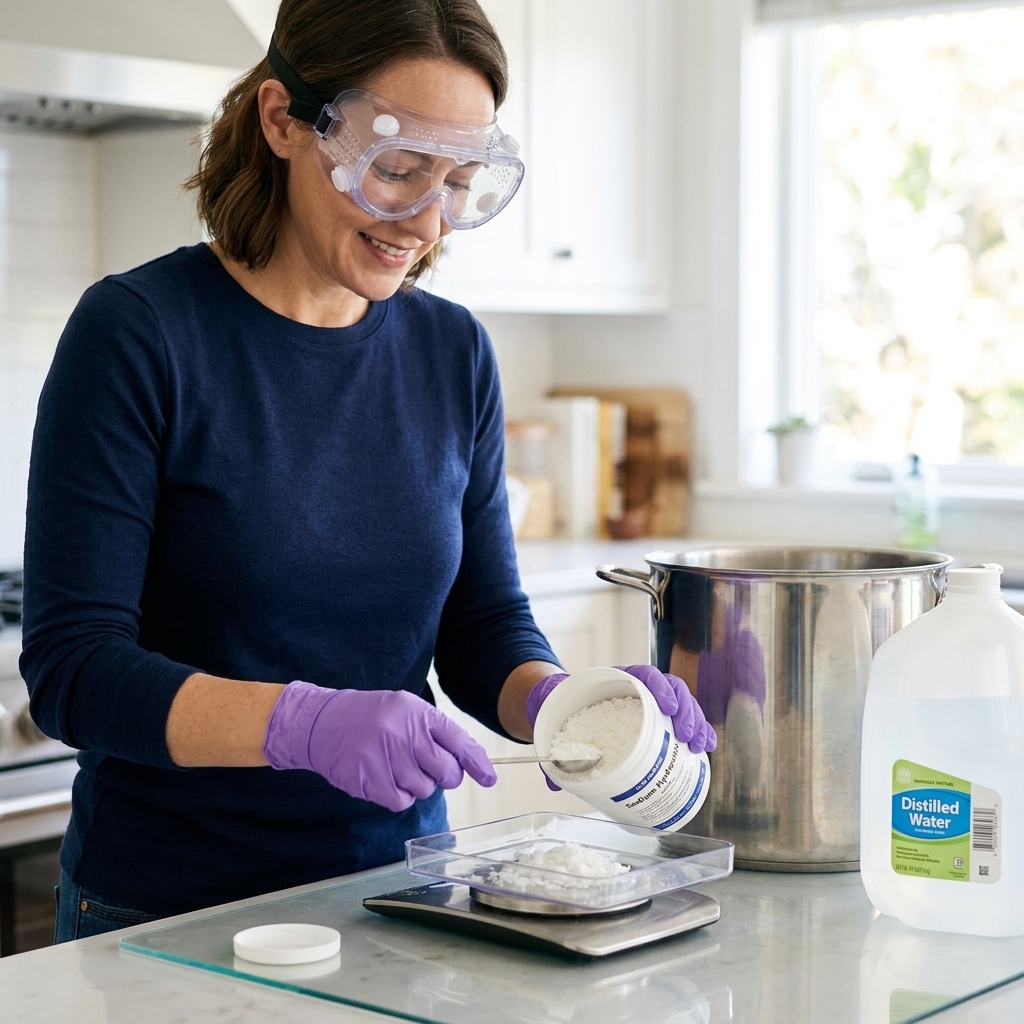
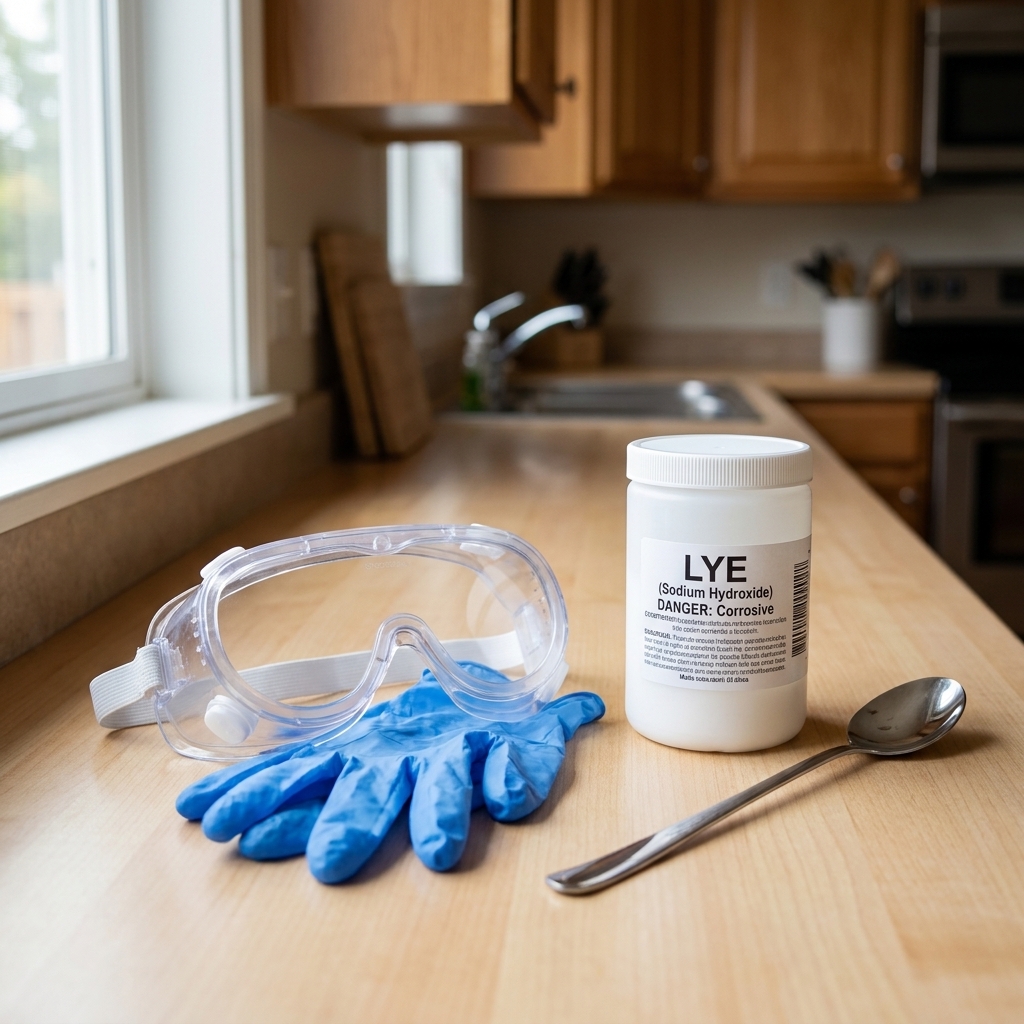
Lye (sodium hydroxide) is caustic. The right protective gear turns cold process from intimidating to confidently manageable. If you buy nothing else today, buy the safety items.
Must-have safety gear
- Safety goggles: Real splash protection that seals around your eyes, not just glasses. Hot lye solution can release irritating vapors or mist, and splashes are no joke.
- Nitrile gloves: Chemical-resistant and easy to swap if you get batter on them.
- Long sleeves and closed-toe shoes: Cotton is great. Skip flowy cuffs that can dip into batter.
- Apron: Protects your clothes from raw batter and oils.
- Ventilation plan: A range hood, an open window, or mixing lye solution outdoors or under a running exhaust fan. You do not need a lab, just smart airflow.
My habit: goggles on first, gloves on second, then I touch the lye container. It is an automatic routine that saves you from “I will be careful” optimism.
Quick material reminder: avoid aluminum anywhere near lye. Stick with stainless steel, silicone, or lye-safe plastics.
Measuring and mixing essentials
Digital scale (absolute must)
Cold process soap is chemistry. Measuring by volume is how you end up with a too-lye-heavy bar or a soft, weepy loaf that never quite firms up. Choose a scale that:
- Measures in grams
- Has a tare function
- Is accurate to at least 1 gram
- Has a platform large enough for a pitcher or pot
Bonus “tool” that saves batches: a reliable soap calculator. Even if you follow recipes, it is how you double-check lye amounts when you scale up or swap oils.
Heat-safe pitchers (at least 2)
You will typically want one pitcher for lye solution and one for oils or for dividing batter. Look for:
- Heat-safe polypropylene (PP #5), HDPE (plastic #2), or stainless steel
- A stable base and comfortable handle
- A clear measurement marking (helpful, but still weigh everything)
Avoid thin, brittle plastics and mystery “storage” containers that can warp.
Stainless steel or heavy-duty plastic mixing bowl
Many soapmakers mix in the pot they melt oils in. That works great if it is stainless and tall enough to reduce splatter. If you prefer a bowl, make sure it is deep and stable. No aluminum.
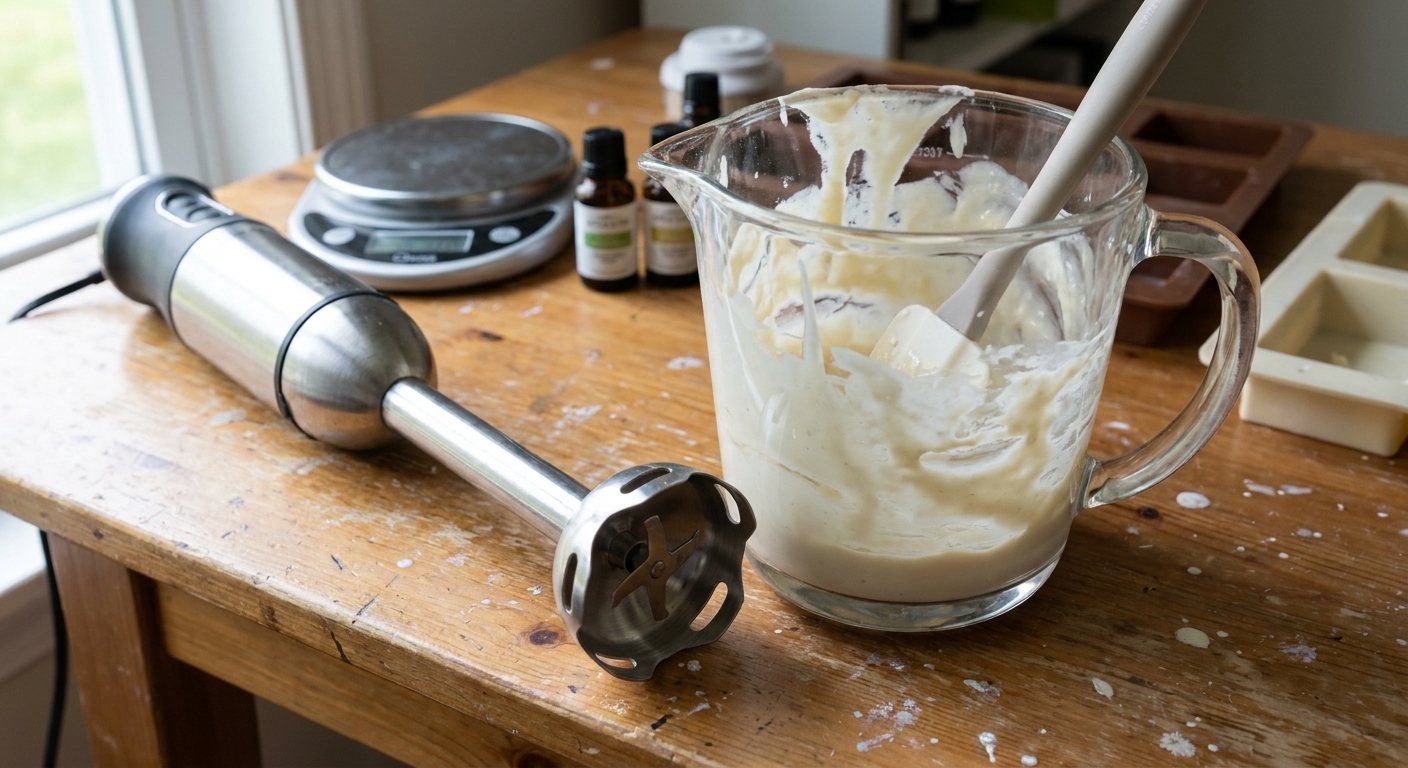
Dedicated stick blender
This is the tool that turns “stirring forever” into “trace when you want it.” A good beginner stick blender should have:
- A stainless steel shaft (easier to clean and more durable)
- A comfortable grip and strong motor
- Minimal splatter design (a bell-shaped guard helps)
Tip from my messy era: keep the blender head fully submerged before turning it on. That one habit dramatically cuts batter freckles on your counter.
Temperature tools
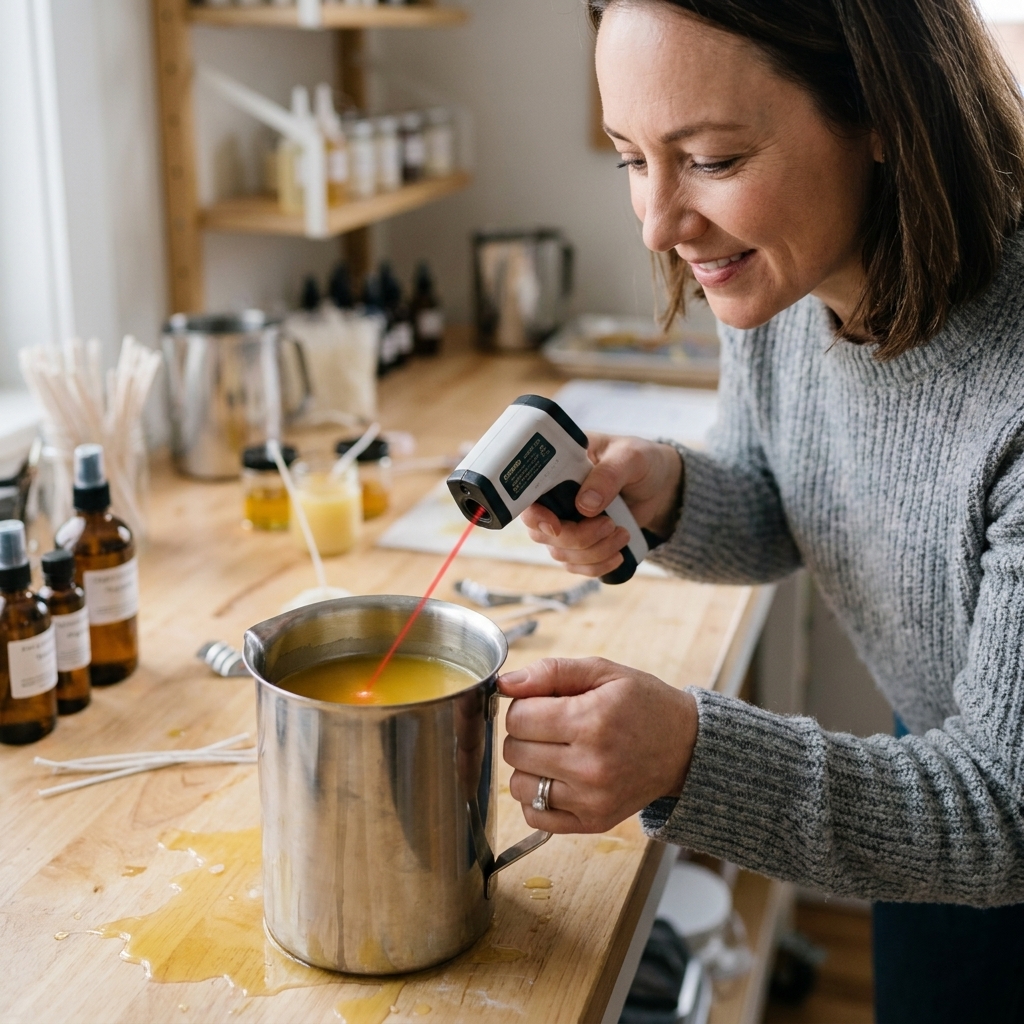
Thermometer
Cold process soap does not require a single perfect temperature, but knowing your temps prevents a lot of beginner frustration. You can use:
- Instant-read digital thermometer (fast, easy)
- Infrared thermometer (great for oils, less ideal for checking lye solution unless you stir first)
Most recipes behave nicely when oils and lye solution are in a similar, moderate range. The exact target depends on your formula, additives, and whether you want to encourage gel phase.
Heat source and melting setup
- Stainless steel pot for melting hard oils
- Microwave-safe container (soap-only) if you melt in short bursts instead
- Silicone or stainless spoon for stirring oils
Pouring, molding, and shaping tools
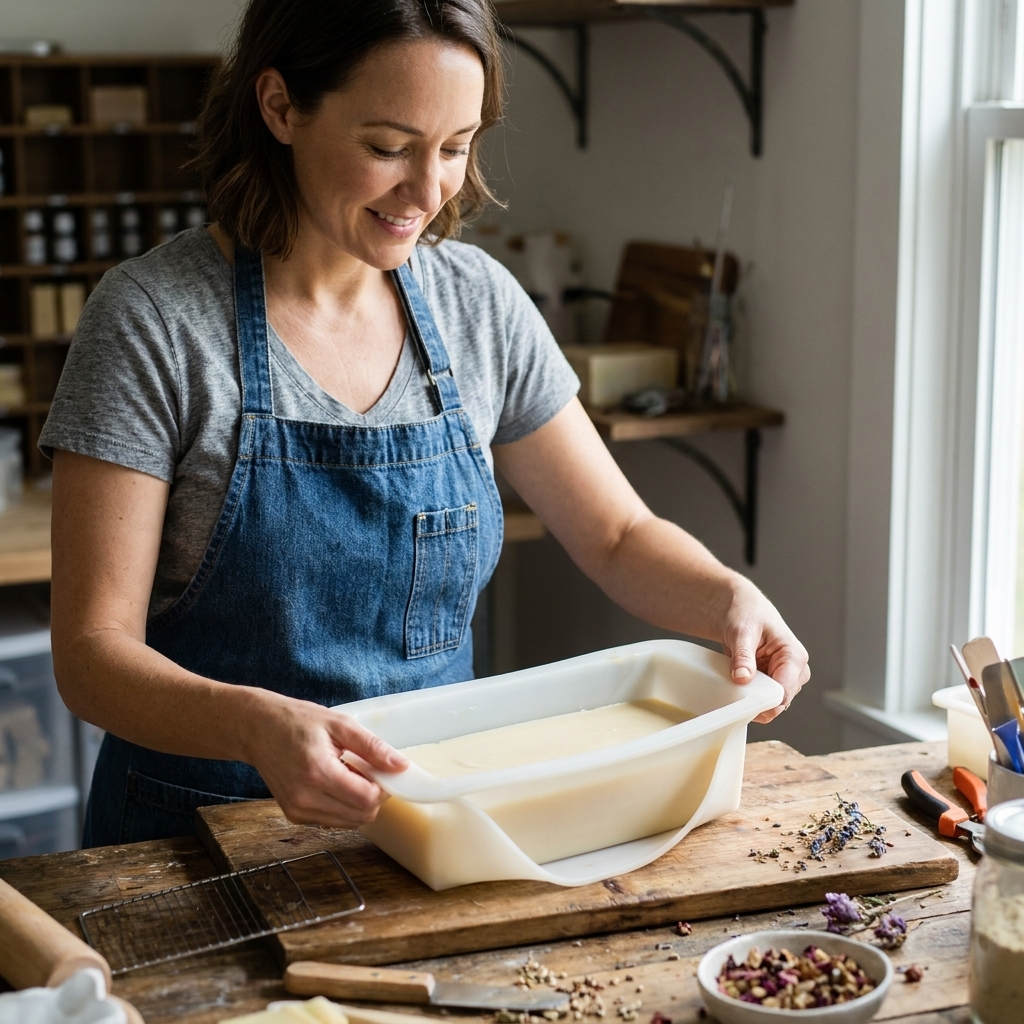
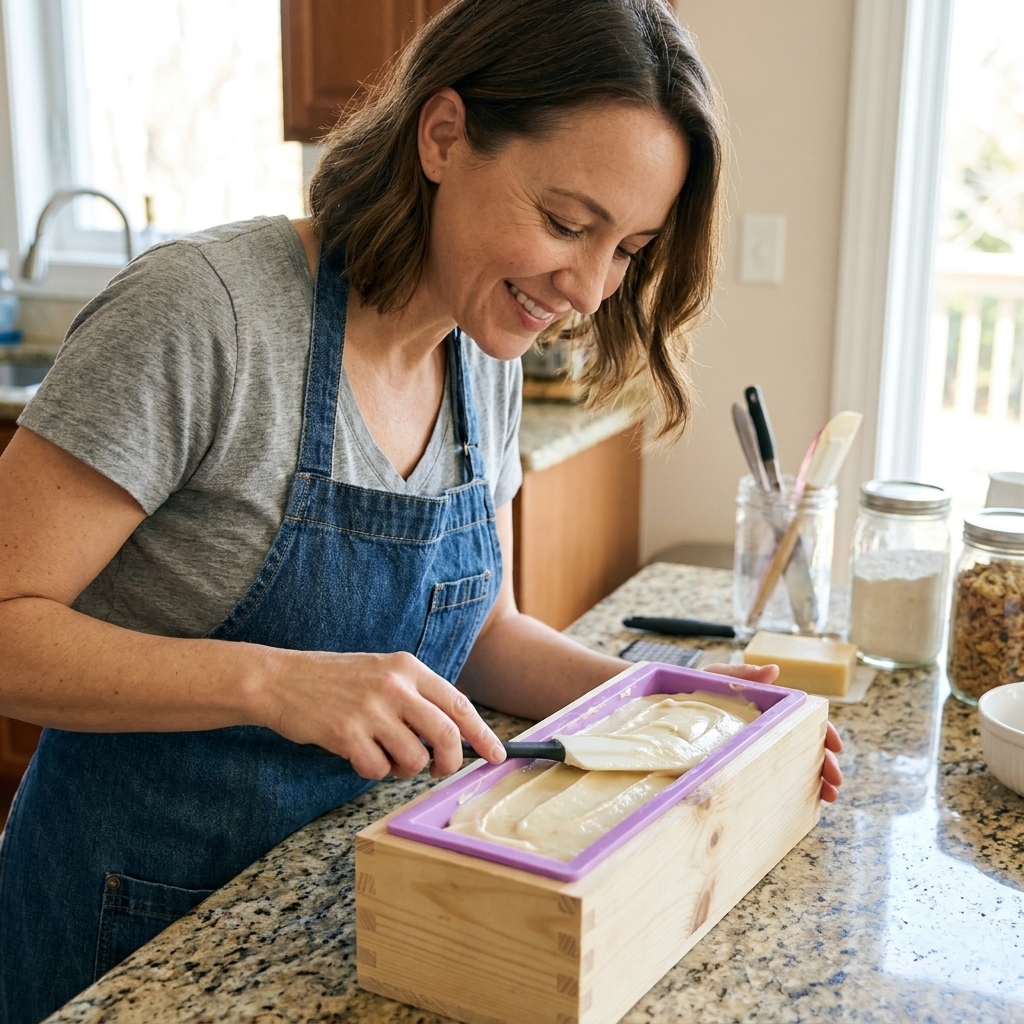
Soap mold
For beginners, I love silicone loaf molds because they release beautifully and tolerate temperature swings well. Other options:
- Wood loaf mold with silicone liner (great insulation and sharp edges)
- Individual cavity silicone molds (fun, easy to gift, and no cutting)
If you use a rigid mold, you may also need a liner (freezer paper, silicone liner, or polypropylene sheet) so you can unmold cleanly.
Spatulas and scrapers
- Silicone spatula: gets every last bit of batter into the mold
- Small silicone scraper: perfect for getting batter out of the stick blender guard
Whisks and mixing spoons
A whisk is useful for hand-stirring fragrance oil in at light trace, or for gently blending colorants. Choose stainless or silicone coated.
Optional but helpful: mold support
Silicone loaf molds can bow when full. A simple support box or a snug-fitting tray keeps your loaf straight and your bars evenly sized.
Cutting and curing tools
Soap cutter or cutting knife
You can start with a non-serrated kitchen knife that becomes soap-only, but a few tools make cutting easier:
- Bench scraper: surprisingly great for straight cuts
- Wire soap cutter: clean, professional slices with less drag
- Miter box: helps keep cuts consistent
If your knife drags and makes messy edges, your timing is usually the issue. If the loaf smears or dents, wait a bit longer. If it crumbles, chips, or cracks, cut sooner next time.
Cutting board or silicone mat
Protect your counter and make cleanup simpler. A large silicone mat is easy to wipe down and keep soap-only.
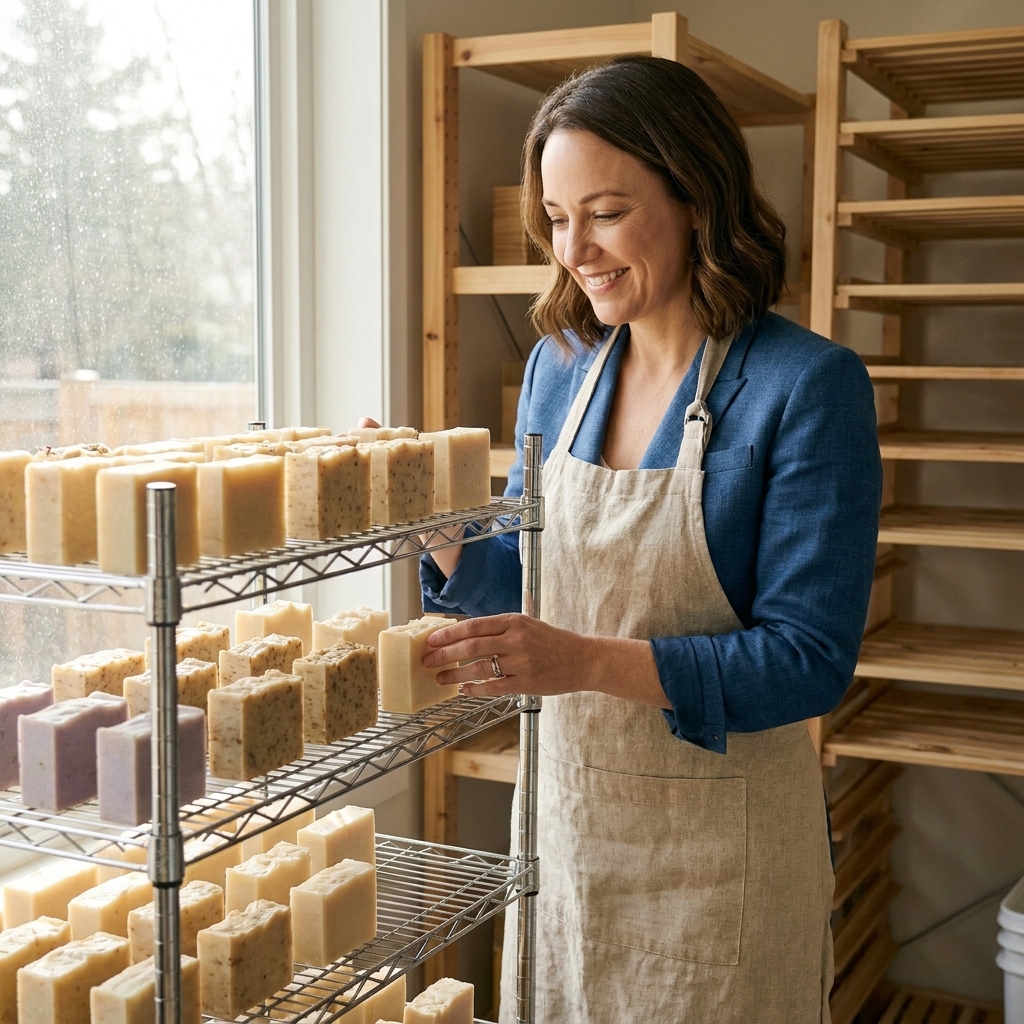
Curing rack or breathable surface
Soap needs airflow. You can use:
- Wire cooling racks
- Bakery racks
- Cardboard trays lined with paper (works in a pinch, rotate bars often)
A dedicated curing space also keeps curious hands and pets away from fresh soap.
Cleanup and spill management
Cleanup is part of the craft, and the right supplies make it less dramatic.
- Paper towels or shop towels: for quick wipe-downs of raw batter
- Dish soap that cuts grease: oils cling to everything
- Trash bag: toss batter-smeared towels immediately
- Dedicated sponge or scrub brush: keep it soap-only
- Vinegar (final wipe only): after you have scraped up batter and cleaned with plenty of water and dish soap, a vinegar wipe can help remove residue on surfaces. Do not rely on vinegar to “neutralize” a spill, and never use it on skin. For skin exposure, rinse with lots of cool running water.
My easiest cleanup trick: Scrape or wipe out as much batter as you can first, then set tools aside somewhere safe, labeled, and out of reach of kids and pets. After 24 to 48 hours, the residue is often far less caustic and washes up more like regular soap. If something is heavily coated, wash it sooner with gloves on.
Nice-to-have upgrades
- Mini mixer or milk frother: dispersing micas and clays in oil without clumps
- Fine mesh strainer: catching undissolved lye bits or fragrance floaties (rare, but it happens)
- Silicone loaf divider inserts: quick consistent bar sizing in some molds
- Texturing tools: spoons, spatulas, chopsticks for simple swirls and tops
- Heat gun: popping surface bubbles and encouraging gel on top (use gently)
- Infrared thermometer: quick surface checks on oils and molds
Beginner equipment checklist
- Safety goggles
- Nitrile gloves
- Long sleeves, closed-toe shoes, apron
- Digital scale (grams, tare)
- 2 heat-safe pitchers (lye and oils)
- Stainless steel pot or deep mixing bowl (no aluminum)
- Dedicated stick blender
- Thermometer
- Silicone spatulas and scrapers
- Whisk or mixing spoon
- Soap mold (silicone loaf is easiest)
- Knife, bench scraper, or wire cutter
- Cutting board or silicone mat
- Curing rack or wire racks
- Paper towels, dish soap, dedicated scrub brush
Common beginner questions
Do I really need a stick blender?
You can technically hand stir to trace, but it can take a long time and increases the chance of false trace or uneven emulsification. A dedicated stick blender is one of the best “buy once, cry never” tools in soapmaking.
Can I use glass for lye solution?
I do not recommend it. Some glass can handle heat, but thermal shock and hidden flaws are real risks. Stick with stainless steel or lye-safe plastic like PP #5 or HDPE #2 for your lye container.
What plastic is safe for soapmaking?
For lye solution and raw batter, look for PP #5 or HDPE #2. Both are commonly used for chemical-resistant containers. When in doubt, choose stainless steel.
Do I need a thermometer for a simple recipe?
Even a simple recipe behaves differently if your oils are hot and your lye solution is cool, or vice versa. A thermometer helps you learn faster and troubleshoot with confidence.
How do I store lye safely?
Keep sodium hydroxide in its original container, tightly closed, clearly labeled, and bone dry. Store it high up and locked away from kids and pets, away from humidity, and far from anything you do not want it to touch.
How do I know what should be soap-only?
If it touches lye solution or raw batter, label it soap-only and store it separately. I keep a single bin with my soap gear so I never accidentally grab a spatula for pancake batter later.
My calm reminder
You do not need a studio full of gadgets to make beautiful cold process soap. You need the essentials that keep you safe and consistent, plus a setup that makes you excited to try again. Start small, dedicate your tools, and let your first batches teach you what upgrades are worth it for your style.
If you want a simple next step, build your kit around the big three: goggles, scale, stick blender. Everything else can grow from there, one satisfying unmold at a time.