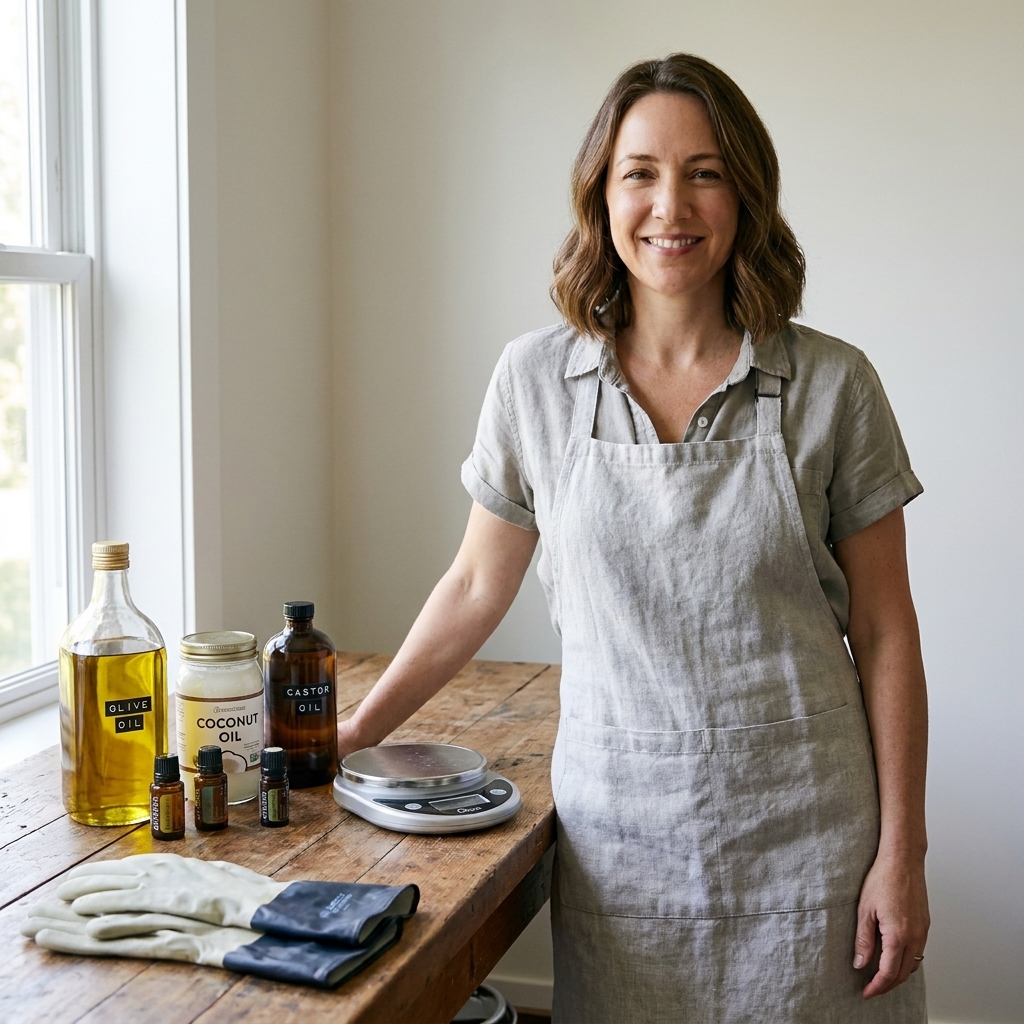
When I first started making cold-process soap, I thought “cure” meant “wait four weeks and try not to touch it.” Truthfully, curing is less about patience and more about environment. Get the temperature, humidity, airflow, and rack setup right, and your bars go from a little bendy to that satisfying, stone-hard “tap test” bar that lasts forever in the shower.
This is exactly how I set up a dependable curing station at home, plus what to tweak when the weather is doing its own thing.
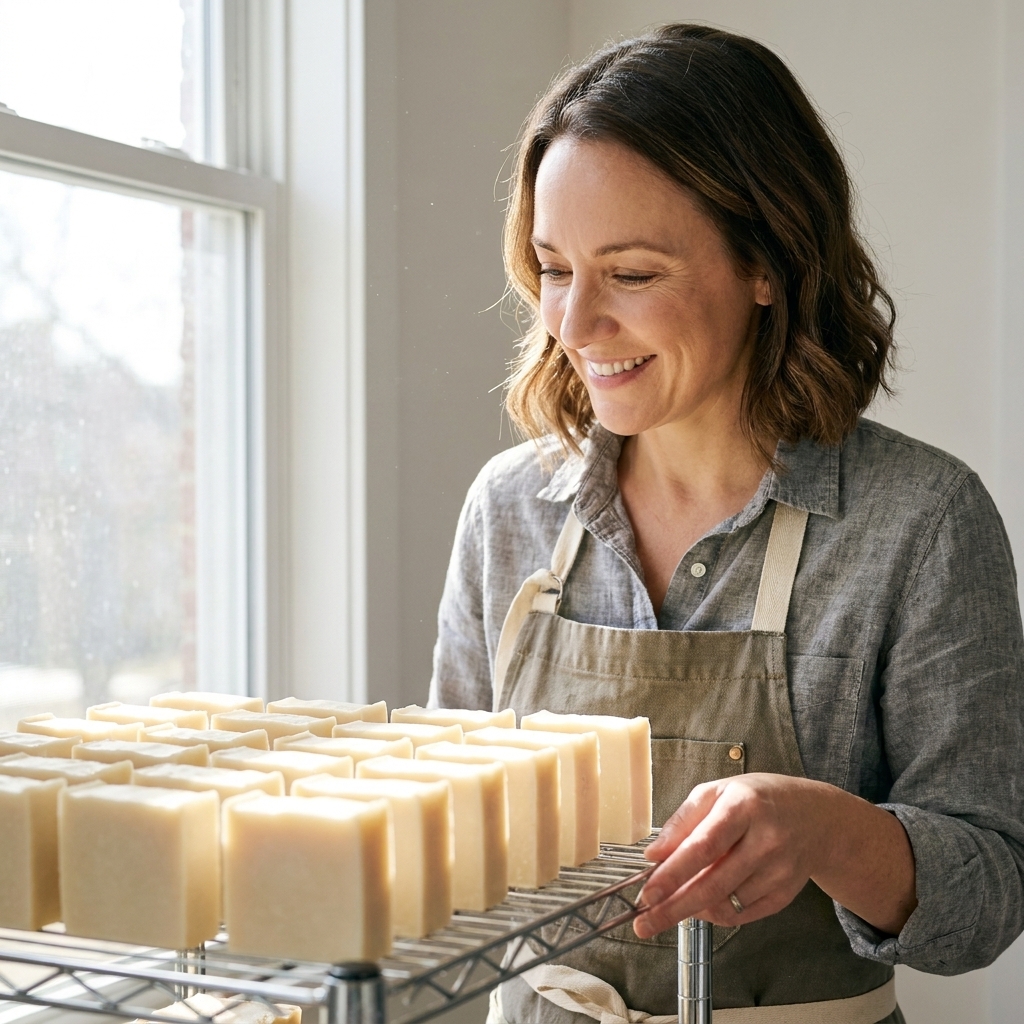
What curing actually does
By the time you unmold and cut cold-process soap, saponification is usually well underway and for many batches it is largely complete within about 24 to 72 hours. That timeline can shift depending on your recipe, temperatures, whether the batch gels, water amount, and additives.
Curing still matters because, over the next several weeks:
- Water evaporates, making the bar harder and longer-lasting.
- The bar stabilizes as moisture leaves more evenly, which tends to improve feel, lather, and overall “finished” performance.
- Surface issues calm down, meaning less tackiness, less warping, and fewer surprises once the soap is in regular use.
In a good curing environment, you are helping water leave the bar slowly and evenly, without trapping dampness or creating a crusty outside with a softer center.
Temperature for curing soap
For most home setups, I treat this as a practical target range:
- 60 to 75°F (16 to 24°C)
Soap can cure outside that range, but extremes tend to cause more headaches:
- Too warm (consistently above about 80°F / 27°C): Bars can dry too fast on the surface while staying softer inside, which can lead to warping or that “case-hardened” feel. Warm rooms can also encourage fragrance to fade faster, especially delicate citrus top notes.
- Too cool (below about 55°F / 13°C): Cure slows down. The outside may feel firm while the inside takes longer to fully harden, especially with slow-hardening formulas.
Where I cure in a typical house
A spare bedroom, office corner, or closet with a louvered door can work beautifully. I avoid the kitchen (steam), laundry room (humidity spikes), and garages (temperature swings). If you are curing where pets or kids can access, treat it like a safety zone and keep it up high and contained.
Humidity for curing soap
Humidity is the make-or-break factor for hard bars. My sweet spot for most batches is:
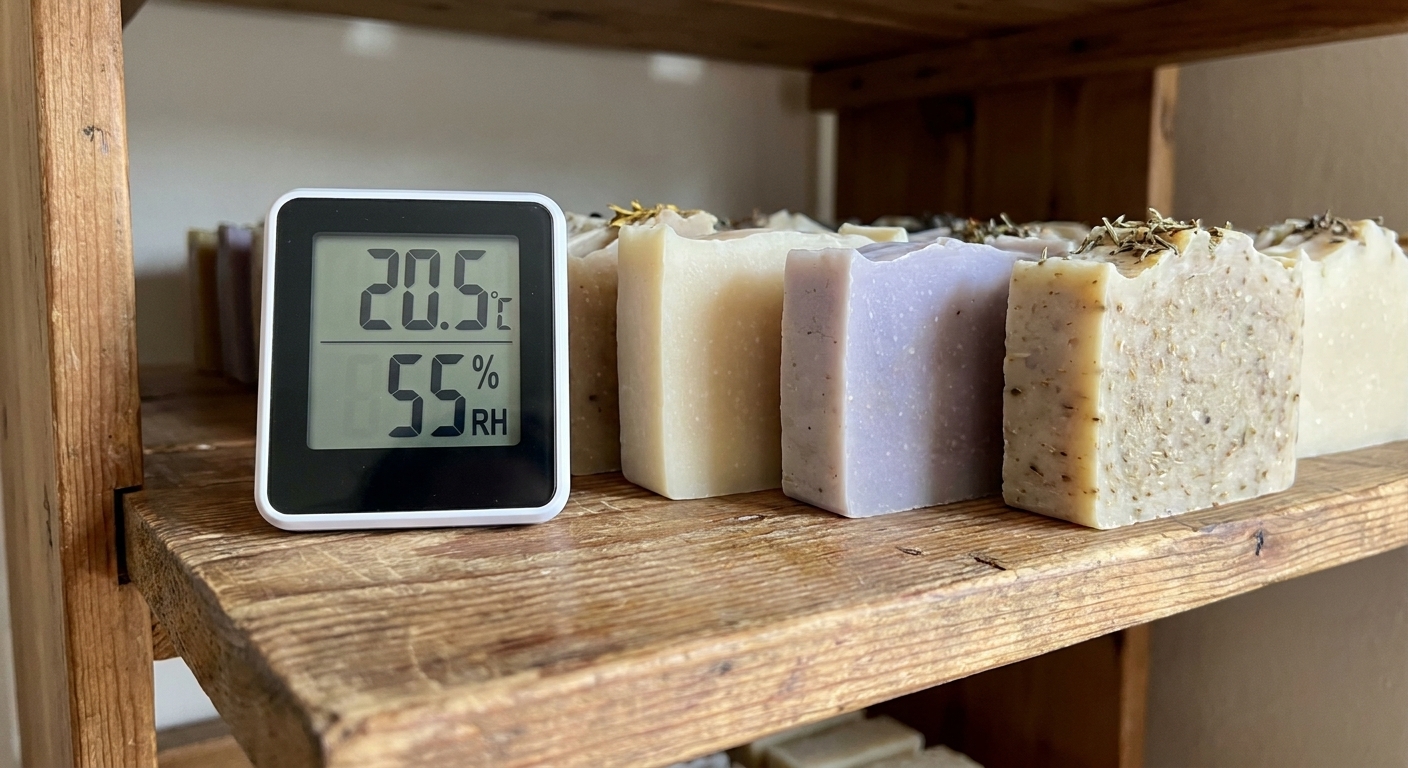
- 40% to 55% relative humidity
Here is how humidity plays out in real life:
- High humidity (above about 60%): Water struggles to leave the bar. Soap can stay tacky, develop sweating (including glycerin dew), and take longer to firm up.
- Very low humidity (below about 30%): Soap can dry too quickly on the outside, increasing the chance of edge cracking or a brittle feel in some formulas.
Use a cheap hygrometer
I consider a small digital hygrometer non-negotiable. It takes the guesswork out of “Does this room feel damp?” and helps you choose the right fix: more airflow, a dehumidifier, or a different spot entirely.
Airflow: gentle and steady
Curing soap needs air exchange, not a wind tunnel. I aim for:
- Open shelving rather than sealed bins
- A calm room with normal circulation
- No direct fan blasting the bars
If you are in a humid climate, a small fan on low pointed across the room (not directly at the soap) can help keep air moving without over-drying the surfaces.
Best racks for curing soap
You can cure soap on almost anything breathable, but some setups are consistently easier, cleaner, and less likely to cause flat, damp bottoms.
1) Wire shelving racks (my favorite)
Chrome wire shelves or coated wire storage racks are sturdy, easy to wipe down, and allow airflow under the bars.
- Pros: Great airflow, scalable, easy to rotate trays or rows.
- Watch-outs: If your soap is very soft in week one, the wire can leave faint lines. A sheet of needlepoint plastic canvas on top fixes that without blocking airflow much.
2) Stackable bakery cooling racks
These work well for small batches and tight spaces.
- Pros: Designed for airflow, easy to clean, readily available.
- Watch-outs: Space is limited, and very fresh soap can stick if the surface is still tacky. Let bars air out 12 to 24 hours after cutting before placing on tight grid racks.
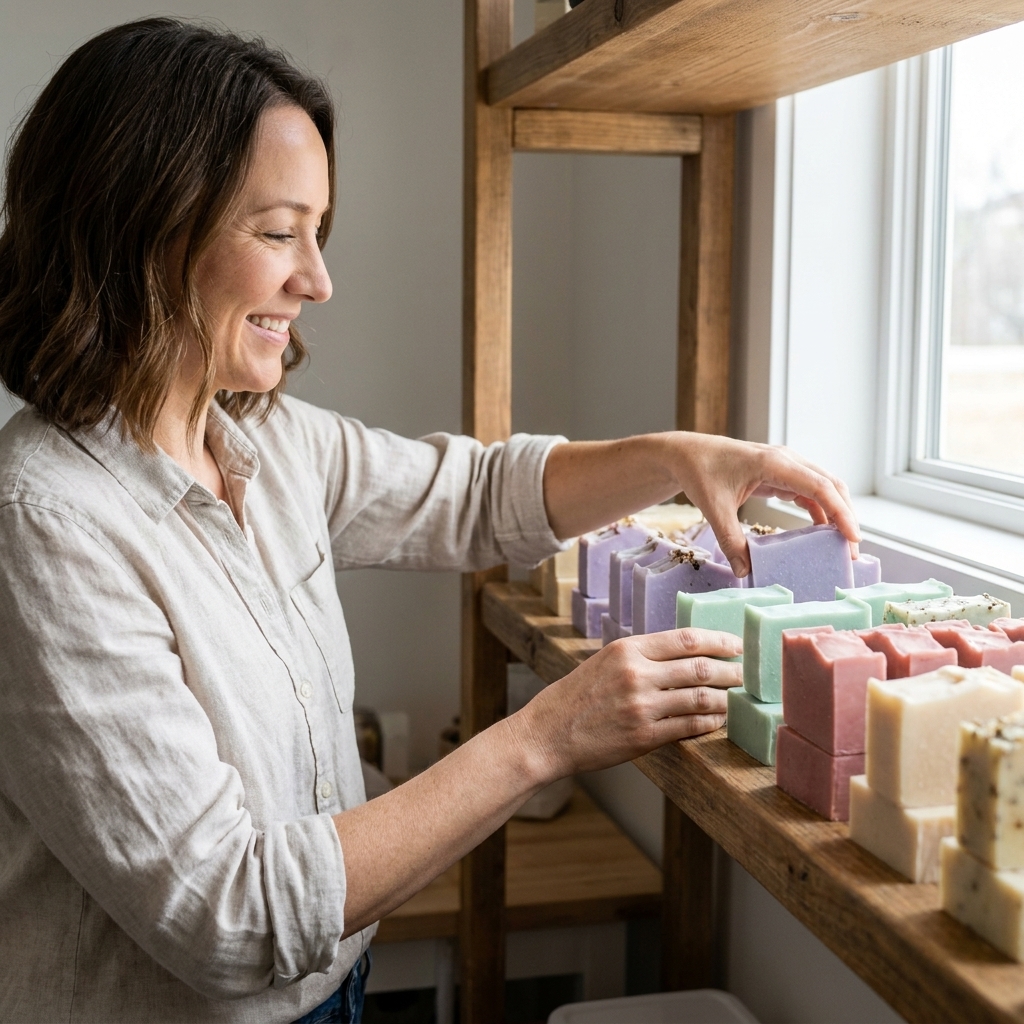
3) Wooden shelves lined with breathable material
Wood can be a lovely option if you line it with something that prevents sticking.
- Pros: Stable temperature, pretty, quiet.
- Watch-outs: Unsealed wood can absorb oils and fragrance over time. Use a removable liner like uncoated paper or plastic canvas and clean regularly.
What I avoid
- Solid plastic trays: They trap moisture under the bars and encourage soft bottoms.
- Cardboard boxes with closed lids: They can hold humidity and invite musty odors.
- Reactive metal surfaces: Plain aluminum is not a friend to fresh soap.
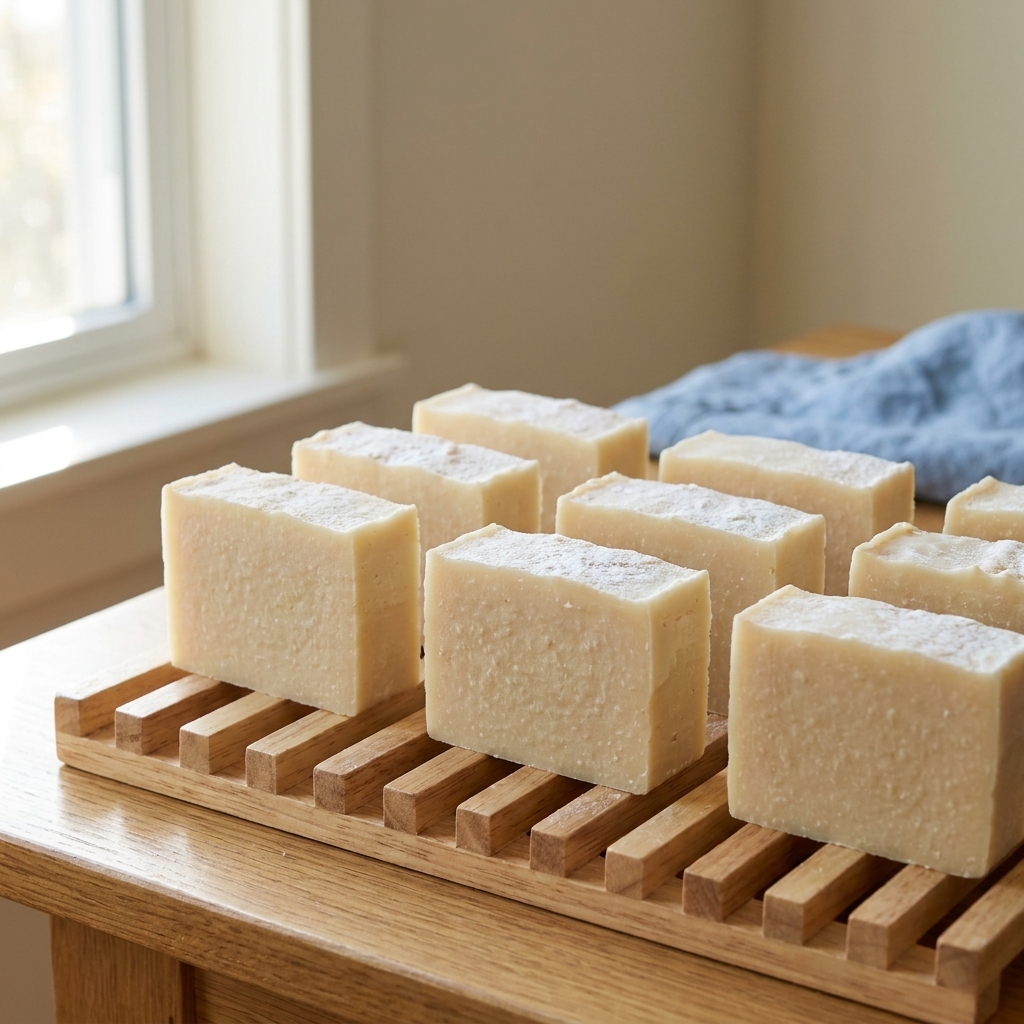
Spacing for even curing
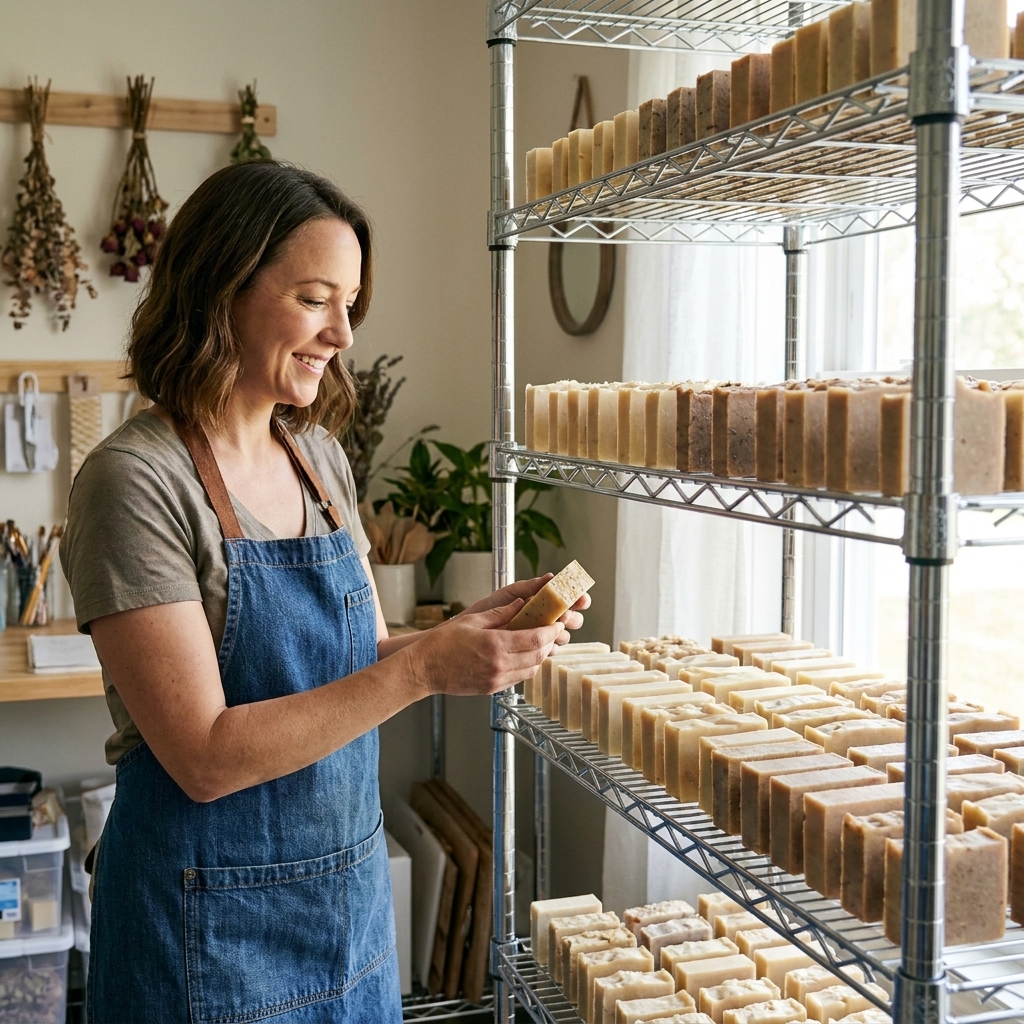
Spacing is your secret weapon. If bars are crowded, moisture gets trapped between them and you end up with uneven cure, sticky sides, or lingering softness.
My spacing rules
- Leave at least 1/2 inch (1 to 2 cm) between bars on all sides.
- Do not stack bars during the first 2 to 3 weeks. After they are firm, you can stack in a crisscross pattern if you must, but airflow should still reach most surfaces.
- Keep fragrance families apart if you are curing multiple scents. Soap loves to “share” aroma. A peppermint bar can politely take over a whole shelf.
Flip schedule
I flip my bars to encourage even drying:
- Week 1: Flip every 2 to 3 days if the bars are soft or if humidity is high.
- Weeks 2 to 4+: Flip weekly, mostly to check progress and keep myself honest.
Light and dust
I also treat curing soap like a “keep it comfortable” situation. Avoid direct sunlight if you can, since it can fade colors and warm the surface unevenly. If dust is a problem, I use a breathable cover like a clean paper tent or a mesh screen set above the bars so air can still circulate.
Set up a curing station
- Pick the room: Aim for a steady, comfortable space, roughly 60 to 75°F and around 40% to 55% RH. Keep it away from showers, cooking steam, and direct sunlight.
- Choose the rack: Wire shelving is ideal. Add plastic canvas if you want a flatter bottom without suffocating airflow.
- Protect the surface: Put a washable mat under the rack in case a soft bar leaves residue early on.
- Place a hygrometer nearby: Check it daily for the first week, then a couple times a week.
- Arrange bars with space: About 1/2 inch gaps, no touching.
- Control humidity if needed: Dehumidifier for sticky summers. If you use a moisture absorber, keep it well away from the soap.
- Label your batches: Recipe, pour date, cut date. It saves so much second-guessing later.
Humidity fixes
If your house is humid
- Use a dehumidifier in the curing room and aim for roughly 45% to 55% RH.
- Increase spacing and avoid curing inside closets with closed doors.
- Choose racks with maximum airflow, like wire shelves.
- Expect a longer cure. A humid 4-week cure can behave more like 6 weeks.
If your house is very dry
- Move soap away from vents or forced-air heat sources.
- Reduce direct airflow. You want circulation, not blasting.
- Use a steadier spot if edges are cracking, even if it means slightly less airflow.
If it is raining for weeks
I treat prolonged rainy periods like a separate season. I cure in the smallest room I can comfortably manage and run a dehumidifier to keep conditions stable. Stability matters more than perfection.
Recipe matters
Two soaps can live on the same rack and still cure at different speeds. A few common patterns I plan for:
- High olive or other high-oleic recipes: Often need more time to feel truly firm and their lather improves with patience.
- High coconut or high salt bars: Can feel hard quickly, but still benefit from a full cure for best longevity and mildness.
- Milk, beer, honey, heavy sugar: These can run stickier in humid weather and sometimes show more surface drama early on. Better airflow and a steadier room usually helps.
- Lots of butters or waxes: May firm up fast, but can still improve in feel over several weeks.
Common problems and fixes
Soap feels sticky after a week
- Likely causes: High humidity, low airflow, or a recipe with lots of soft oils.
- Try this: Increase spacing, switch to a wire rack, and lower room humidity. Then give it time. Some formulas simply need longer.
Bendy bars at 4 weeks
- Likely causes: High water amount, high olive oil content, humidity, or cool curing temps.
- Try this: Extend cure to 6 to 8 weeks, bring the room into the low 70s°F if possible, and keep humidity under about 55%.
Soda ash on the surface
- What it is: Cosmetic sodium carbonate that forms when surface alkalinity reacts with carbon dioxide in the air.
- Try this: Improve airflow and avoid big temperature swings. If it bothers you, steam the bars briefly after cure or plane the top. Ash does not ruin soap.
Warping or cupping
- Likely causes: Uneven drying or curing too warm with strong airflow.
- Try this: Flip more frequently early on and move the batch to a cooler, steadier spot.
Cracking on edges
- Likely causes: Very low humidity, curing near a heat source, or aggressive airflow.
- Try this: Move away from vents, reduce fan use, and let the bars cure more gently.
How long to cure
For most cold-process recipes, 4 to 6 weeks is a reliable baseline. High-olive recipes often shine at 8+ weeks. Some bars feel “ready” earlier, but I still like to give soap time to mature for mildness and longevity.
Signs your soap is ready
- Feels hard and lighter than it did in week one
- Edges are firm, not rubbery
- Lather improves and the bar does not get slimy quickly
A simple weight check
If you love a nerdy, low-effort metric: weigh one bar right after cutting and then weekly. When the weight loss slows dramatically and stabilizes, most of the easy water has left.
About pH and zap
pH strips are not a great “is it cured?” tool. Cure is mostly about water loss and bar performance, not chasing a specific pH number. If you are ever worried a batch is lye-heavy, many soapmakers use a careful zap test as a quick check. If you do not know how to do it safely, skip it and set the batch aside until you can get experienced guidance.
Safety notes
- Fresh soap can be caustic for a period after unmolding, especially in the first 24 to 48 hours. If I am handling very fresh bars, I wear gloves.
- Keep curing soap away from kids and pets. A pretty bar still looks like candy to the wrong audience.
- Do not cure near food or food prep areas. I keep it separate simply to avoid cross-contamination and because fragrances can linger in a space.
Quick checklist
- Temperature: About 60 to 75°F (16 to 24°C)
- Humidity: About 40% to 55% RH
- Rack: Wire shelving or cooling racks, breathable liners if needed
- Spacing: At least 1/2 inch (1 to 2 cm) between bars
- Airflow: Gentle circulation, no sealed containers
- Rotation: Flip every few days early on, then weekly
- Time: 4 to 6 weeks typical, longer for slow-hardening recipes
If you want the most satisfying cure of your life, set your room conditions first, then let the soap do what it does best: quietly transform into a tougher, milder, longer-lasting bar while you plan the next batch.