A beautiful label is the moment your handmade candle or soap stops looking like a craft project and starts looking like a gift someone would proudly display on a vanity or coffee table. It is also where your careful, safety-minded maker brain gets to shine. The goal is simple: pretty, readable, durable.
This is how I design and print labels for my own batches at Candlory, my small-batch candle and soap worktable setup, from choosing the right sticker paper to laying out a clean template and adding the safety information that keeps your gifts responsible and reassuring.

Start with the surface
Before you open a design app, pick your container and wrap style. Labels behave differently on glass, tin, paperboard boxes, and soap bars that breathe and shed a little moisture.
For candles
- Straight-sided glass jars: easiest for full-adhesion labels and crisp edges.
- Curved jars: look best with a shorter label height so it does not buckle at the edges.
- Tins: side labels stick well, but lids are handled a lot. Choose a scuff-resistant material for top labels.
- Textured or matte-coated jars: some adhesives struggle here. Test one label before committing.
For soaps
- Naked bars: expect some sweating in humid rooms, especially with high glycerin content. Waterproof labels or a belly band with a separate tag often work better.
- Wrapped bars (paper, glassine, shrink, boxes): the label sticks to the wrap, not the soap, which makes longevity much easier.
- Oily or heavily butters-based recipes: can migrate oil into paper over time. A coated label stock is your friend.
My quick rule: If the product will meet oil, water, or handling, choose a label material that can take it. Fancy fonts do not matter if the sticker curls up by day three.
Label materials that last
Here are the most common label materials for homemade candles and soaps, with honest pros and cons.
Paper labels (matte or glossy)
- Best for: candle jars, boxes, and soaps that are boxed or shrink wrapped
- Pros: affordable, easy to print at home, lots of finishes
- Cons: can smudge or wrinkle with moisture unless coated or laminated
Waterproof vinyl or polyester labels
- Best for: soap labels, bath products, and anything that will see humidity
- Pros: water resistant, durable, less likely to tear
- Cons: higher cost, some home printers do better than others
Kraft paper labels
- Best for: rustic gifting, boxes, and dry surfaces
- Pros: warm, handmade feel
- Cons: ink can look muted, and kraft shows oil stains easily
Clear labels
- Best for: minimal candle jars where you want the wax to be the star
- Pros: looks sleek and modern
- Cons: every bubble shows, and ink opacity can be a challenge on darker wax
Foil or metallic labels
- Best for: special editions, holiday gifting
- Pros: instant boutique effect
- Cons: can be finicky at home unless you use foil-specific systems or order professionally
Durability tip: “Waterproof label” does not always mean “smear-proof ink.” Many inkjet inks are water sensitive, especially dye inks. If you need labels that can take splashes and steamy bathrooms, pair a waterproof label stock with laser toner, pigment ink, a protective coating, or a simple clear laminate sheet.

Size and placement
The most common label mistake I see is a label that is either too large for the container or too small to read at arm’s length. A good label has breathing room.
Candle placement
- Front label: maker name, scent name, and net quantity. Keep it clean.
- Back label: safety instructions and burn tips. This is where the important but not pretty text can live.
- Bottom label (optional): batch code, fragrance notes, ingredients, or a short message.
Soap placement
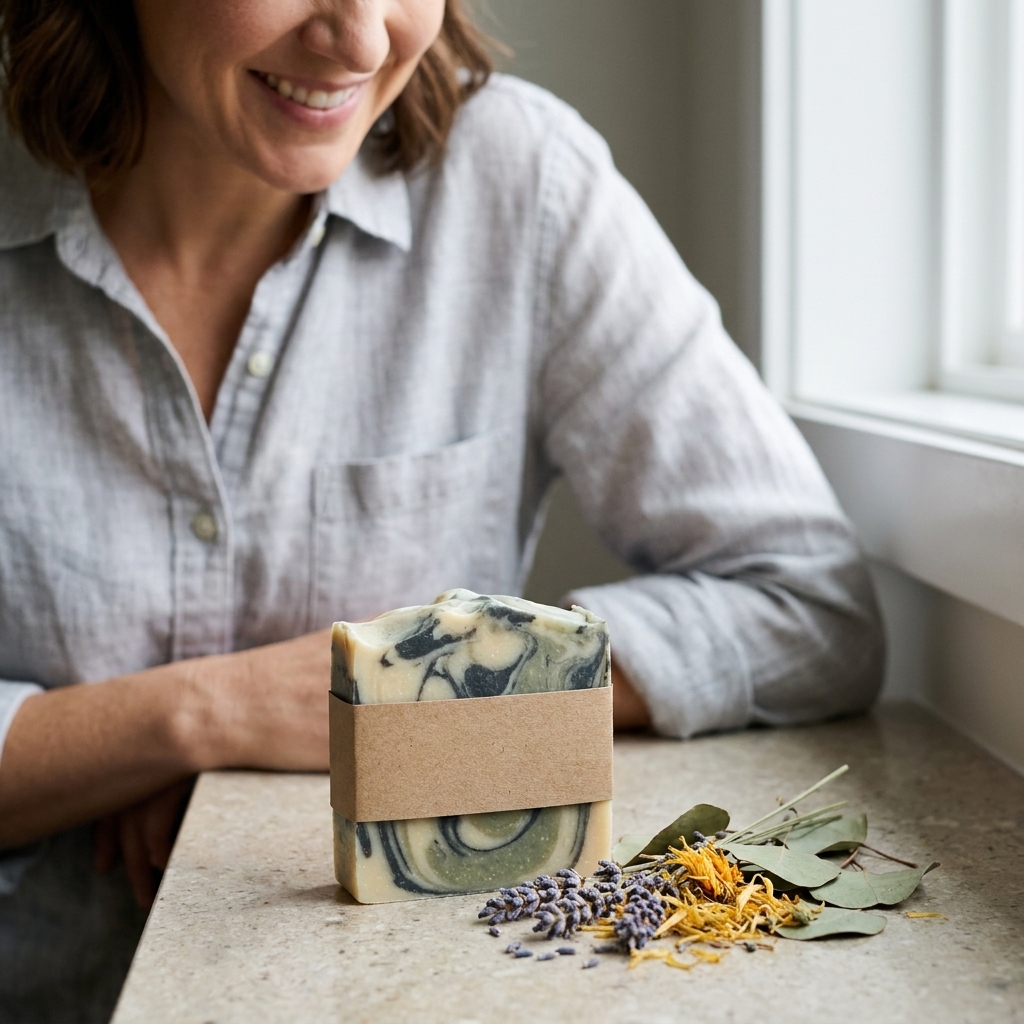
- Belly band: a strip that wraps around the bar, great for showing off swirls and botanicals.
- End label: small label on one end for scent and weight if you want minimal coverage.
- Box label: easiest way to keep labels pristine and readable.
Measuring trick: Wrap a strip of plain paper around your jar or soap box, tape it in place, then mark the safe zone where the paper lies flat. Measure that rectangle and build your label to fit inside it.
Build a reusable template
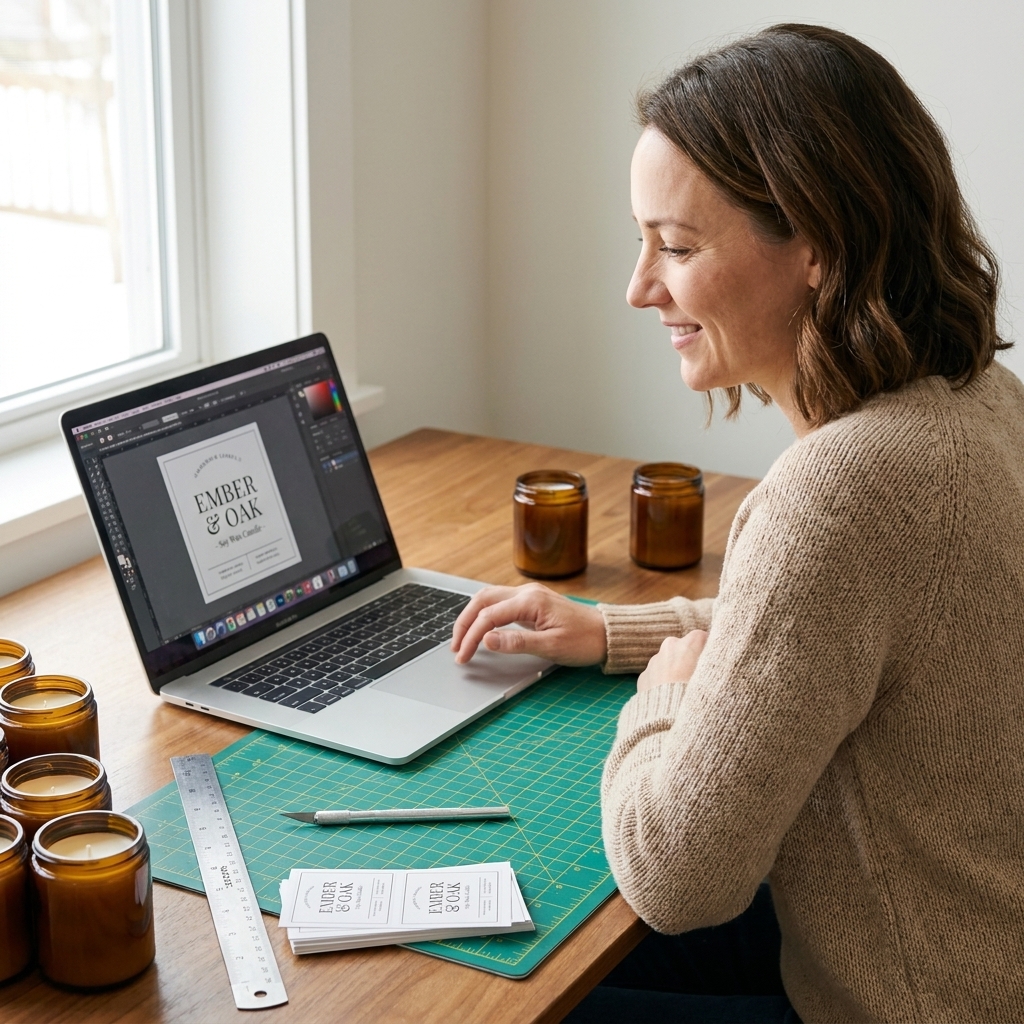
I am meticulous, but I also love a low-stress system. A reusable template means the only thing you change each time is the scent name, color accents, and maybe a tiny illustration or texture. Everything else stays aligned and consistent.
What goes on the front
- Product type: Candle, Soy Candle, Cold-Process Soap, etc.
- Scent name: big and readable
- Maker name: Candlory or your business name
- Net quantity: whatever units and format apply where you live and sell (more on this below)
What goes on the back
- Safety info: for candles, this is non-negotiable
- Ingredients: especially helpful for soaps and anyone with sensitivities
- How to use: burn tips or “how to get the best lather” notes
- Contact details: optional for gifts, important if you sell
Readability rules
- Use 2 fonts max. One for headings, one for body text.
- Do not go tiny. For safety text, I try not to dip below about 7 to 8 pt unless the font is unusually large and open. Better test it in real print than trust your screen.
- High contrast wins. Pale ink on kraft looks dreamy but can disappear in low light.
- Leave margins. Printers can shift slightly. A safe margin keeps text from getting clipped.
My favorite quiet-luxury combo: a simple serif for the scent name, a clean sans serif for everything else, and one small decorative element like a thin border line or a subtle botanical sketch.
Candle safety text
If you only take one thing from this guide, let it be this: candle labels are not just branding. They are user instructions for an open flame.
Core safety elements
- Basic warnings: “Burn within sight” and “Keep away from flammable items” are classics for a reason.
- Keep away from kids and pets: always.
- Wick trimming: many wick makers recommend trimming to about 1/4 inch (6 mm) before each burn, but follow your wick supplier’s guidance and your own burn testing.
- Burn sessions: a common recommendation for container candles is 3 to 4 hours max per session, but use the guidance that matches your jar, wax, wick, and testing results.
- Stop-use point: many makers suggest discontinuing use when about 1/2 inch (13 mm) of wax remains to reduce overheating risk, but again, follow the container guidance and what your testing supports.
- Hot surface note: “Container will be hot” helps prevent surprised fingers.
Important: Requirements vary by region and by where you sell. If you sell your candles, check the rules that apply to your location and sales channels. Your label should match your actual testing and the instructions for that specific candle, jar, and wick system.
Soap label essentials
Soap gifting is intimate. People put it on their skin, on their kids, and in their bathrooms. Clear labeling builds trust, even when you are gifting to family.
What to include
- Product identity: “Cold-Process Soap” or “Handmade Soap”
- Net quantity: many makers label the weight at time of packaging, but follow the rules that apply where you live and sell
- Ingredients: list oils and butters, plus additives like clays, botanicals, milks, honey, colloidal oats, and colorants
- Scent declaration: fragrance oil or essential oil blend, especially helpful for sensitive skin
- Basic use note: “For external use only” and “Avoid eyes” are simple, sensible additions
Ingredient wording that feels calm
You can keep it friendly without being vague. Example: “Ingredients: olive oil, coconut oil, shea butter, castor oil, sodium hydroxide, distilled water, kaolin clay, fragrance.”
That “sodium hydroxide” line can make people nervous, but it is honest. When cold-process soap is properly formulated and fully saponified, there should be no free lye remaining. Including it helps your label be transparent and professional.
If you sell
I am not a lawyer, and I am definitely not your regulator, but I have learned this the hard way: selling moves labeling from nice-to-have to compliance.
- Net quantity rules: some places require metric units, specific placement, or specific wording. Even when ounces are common in practice, your market may require grams.
- Business identity: many jurisdictions require a responsible party name and address (or a specific way to provide contact information).
- Product category matters: soap, cosmetic, and candle rules can differ depending on how your product is defined locally and what claims you make.
- Ingredient naming: for cosmetics in some regions, you may need INCI-style ingredient names rather than casual kitchen names.
- Claims and buzzwords: be careful with terms like “hypoallergenic,” “heals,” “non-toxic,” or medical claims. Keep claims factual and supportable.
- Warning standards: some marketplaces and insurers have specific warning label expectations for candles. Match your label to your testing and the standards you are expected to follow.
If you are selling across borders or through a big marketplace, it is worth doing a quick compliance check before you print 200 labels.
Home print or order
Home printing
Home printing is perfect for small batches, lots of scent variations, and that experimental phase where you keep tweaking your design.
- Inkjet printers: beautiful color, but some inks can smudge on certain stocks. Pigment inks tend to resist water better than dye inks, and dry time matters.
- Laser printers: crisp text and less smearing, but some specialty label papers are not laser-safe.
- Cutting: use pre-cut label sheets for sanity, or use a paper trimmer for clean edges.
Professional printing
Ordering labels can be worth it when you want waterproof materials, specialty finishes, or you are making a large batch of the same scent for an event.
- Pros: consistent cuts, durable coatings, less trial and error
- Cons: you need your final sizes and designs locked in
Happy-medium approach: I often prototype at home, then order professionally once I know the label size, color, and text are exactly right.
Step by step
- Measure your container or wrap. Write down width and height, plus a small margin.
- Pick your label stock first. Paper, waterproof vinyl, clear, or kraft.
- Set up a document at true size. Make the canvas the exact label dimensions.
- Add a safe margin. Keep text comfortably away from edges.
- Build your hierarchy. Scent name largest, then product type, then details.
- Create a back label text block. Safety for candles, ingredients for soaps.
- Print one test sheet. Use plain paper first to check alignment, then print on label stock.
- Do a real-world stick test. Apply to a jar or box and leave it overnight. Check for lifting corners or smudges.
- Batch print and dry time. Let freshly printed labels sit before handling, especially inkjet.
If your label looks slightly off when you first apply it, pause and breathe. Stickers are surprisingly forgiving if you lift slowly and re-place immediately. I have saved many a crooked label moment that way.
Gift-level finishing
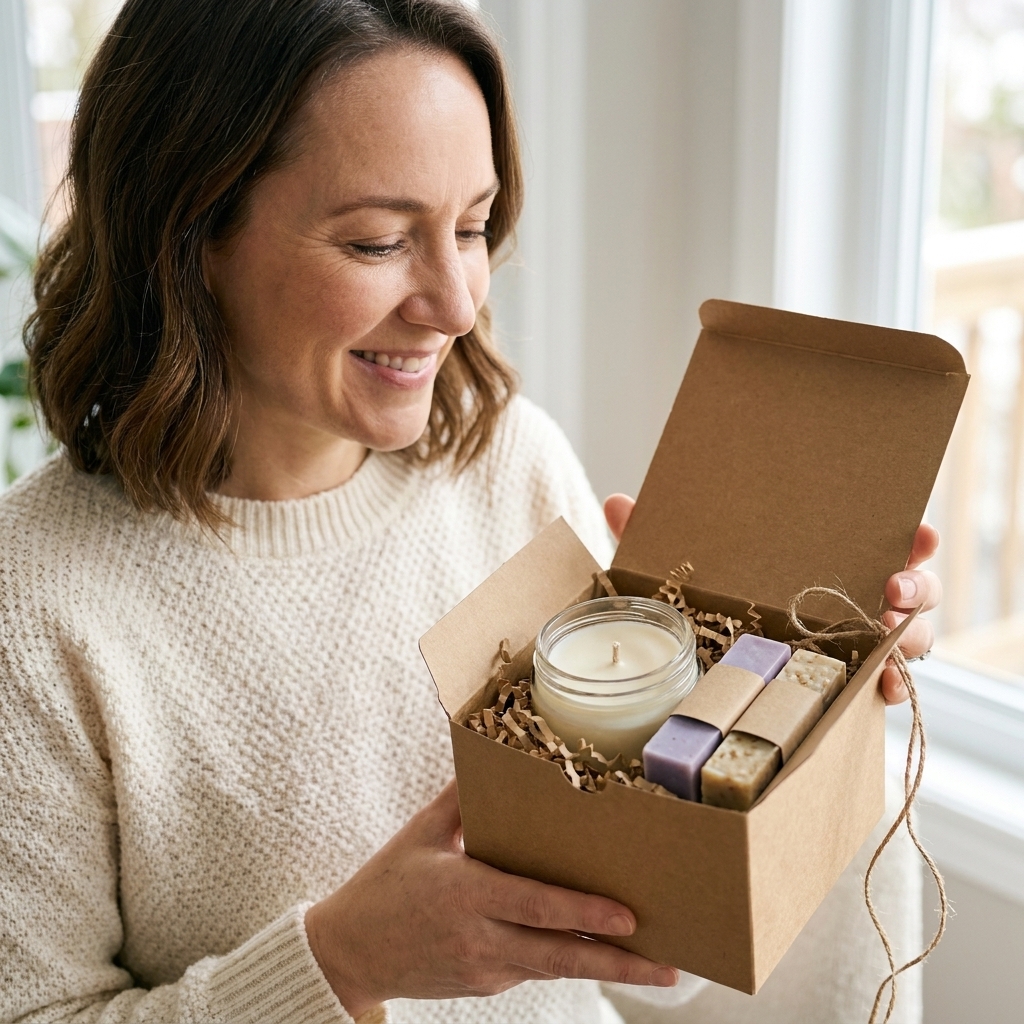
- Pair labels with a simple hang tag: use the tag for a personal note and keep the jar label clean.
- Add a scent story line: one short sentence, like “Warm vanilla with a whisper of toasted coconut.”
- Use a consistent color system: one accent color per scent family makes sets feel curated.
- Seal soap belly bands: a small round sticker can keep bands snug.
- Batch codes for your own sanity: even for gifting, a tiny code helps you remember which recipe and wick you used.
Fix common issues
Edges keep lifting
- Use a smaller label height on curved jars.
- Wipe jars with isopropyl alcohol and let dry before labeling to remove oils and dust.
- Switch to a stronger adhesive stock, especially for tins and textured surfaces.
Ink smears or looks dull
- Make sure your label paper matches your printer type (inkjet vs. laser).
- Increase print quality settings and let sheets dry longer.
- Choose a brighter white stock if your colors look muted.
Soap labels stain or get greasy
- Move the label to the box or wrap instead of directly on paper touching the bar.
- Use coated paper or waterproof label material.
- Give soaps adequate cure time before wrapping to reduce moisture issues.
Text feels cramped
- Split front and back labels.
- Use short bullets for safety and ingredients rather than dense paragraphs.
- Increase label size slightly, or simplify what appears on the front.
Quick checklists
Candle labels
- Maker name
- Scent name
- Net quantity in the required format for your market
- Safety warnings and burn instructions that match your testing
- Wick trimming note
- Max burn session guidance
- Stop-use guidance
Soap labels
- Product identity (handmade or cold-process soap)
- Scent name
- Net quantity in the required format for your market
- Ingredients list (with naming rules that apply where you sell)
- Basic use cautions (external use, avoid eyes)
Once you have a template you love, labeling becomes the calm, satisfying final step. The jar gets its little outfit, the soap gets its name tag, and suddenly your messy weekend experiment looks like the thoughtful gift it truly is.