Some of my best candles started as ugly ducklings. A cratered top, a lumpy skin, a wick tunnel that looks like it tried to drill to the center of the earth. The good news is that most surface flaws are cosmetic, and the even better news is that the fixes are usually simple if you work slowly, keep safety first, and use heat intentionally.
This guide covers the three most common issues I see at Candlory: sinkholes, tunneling, and bumpy tops. I will show you how to diagnose what you are seeing, then repair it with relief holes, a heat gun, and a small repour when needed.
Before you fix anything: quick safety setup
Wax repair is basically controlled melting. That means the same rules as pouring day apply, even if you are only fixing one candle.
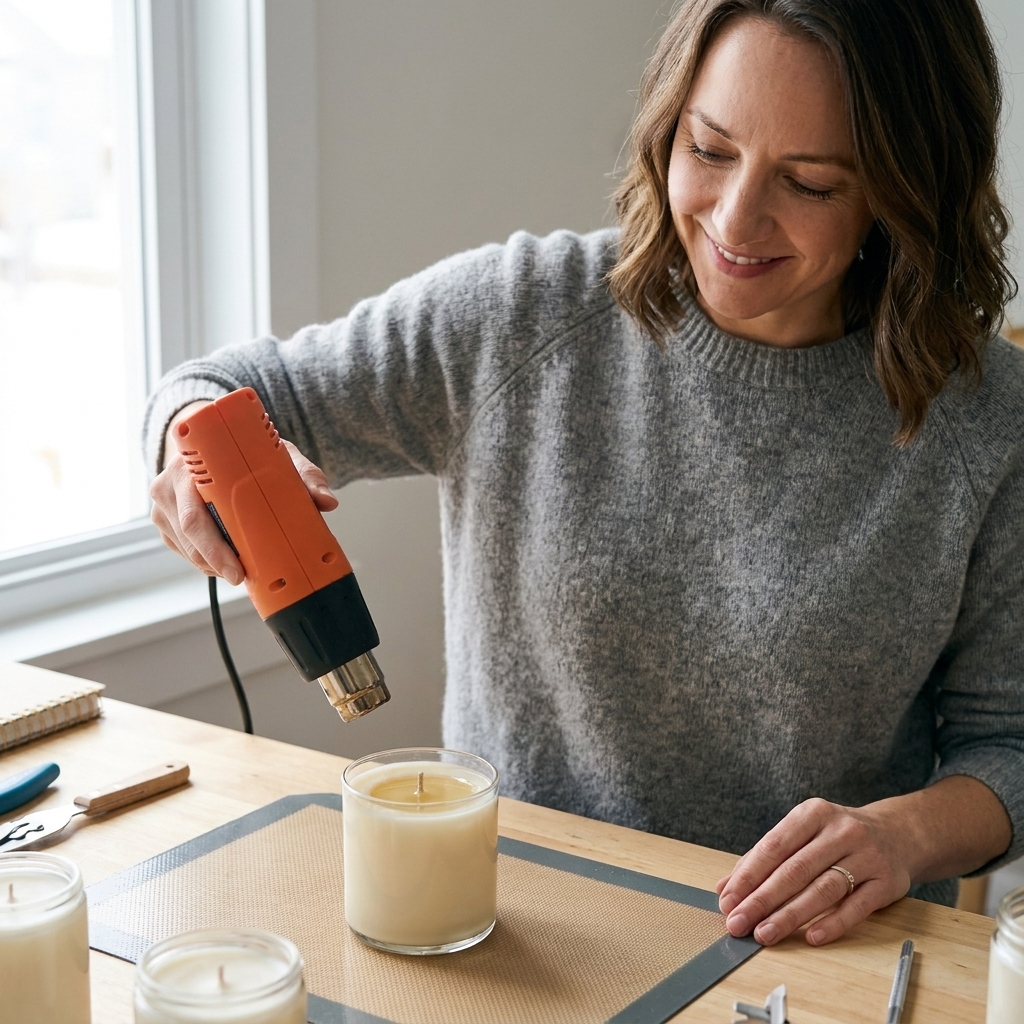
- Work on a heat-safe surface (metal tray, ceramic tile, or a thick baking sheet). Protect counters from heat and drips.
- Ventilation matters. Warm fragrance can get intense quickly. Crack a window and avoid hovering over hot wax.
- Keep flames away. For repairs, I strongly prefer a heat gun over an open flame because it is easier to control and less likely to soot or overheat one spot.
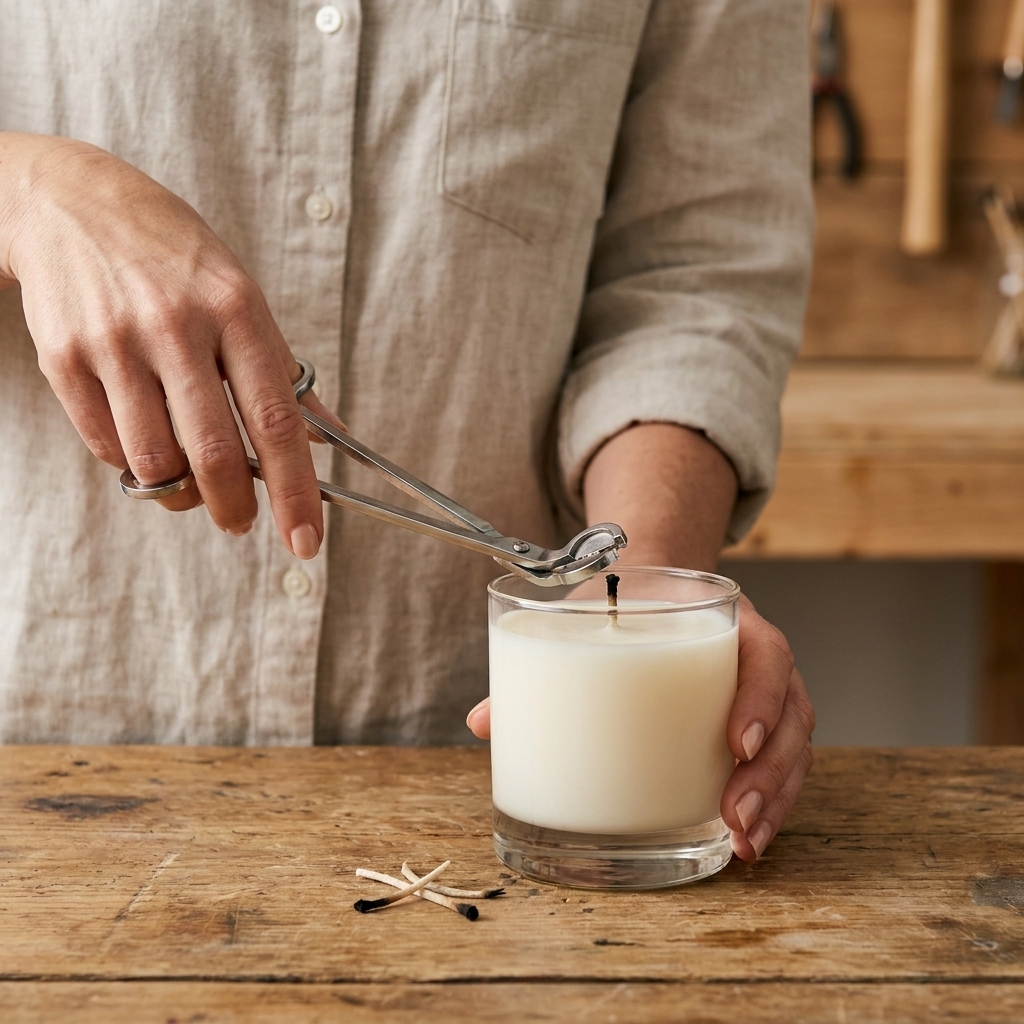
- Wick safety: If the wick is long or bent, trim it to about 1/4 inch before you start so it does not fall into softened wax.
- Container caution: Glass can crack with thermal shock. Warm gently and evenly, and do not aim high heat at one spot for too long.
- Have tools ready: heat gun, wooden skewer or chopstick, thermometer (optional but helpful), paper towels, and a little extra wax for repours.
When not to fix it: If the container is cracked or chipped, if the candle has an unknown wax or fragrance (especially thrifted or unlabelled), or if it has been burning unsafely (very tall flame, heavy soot, wildly hot jar), do not try to rescue it. Dispose of it safely and start fresh.

Diagnose the problem in 30 seconds
Different flaws look similar at first glance, but the fix depends on what is happening under the surface.
Sinkhole
A sinkhole is a depression or crater near the wick, often with hidden voids underneath. It happens as wax cools and contracts, especially if the top cooled before the center did.
Tunneling
Tunneling is a burn issue, not just a surface issue. The candle burns straight down around the wick, leaving a thick wall of unused wax. The cause is usually an undersized wick, not burning long enough on early burns, or wax that needs a different wick series.
Bumpy top, rough top, or “cauliflower” texture
This is a texture problem on the surface. It can come from pouring too cool, temperature swings, certain fragrance oils, or soy wax crystallization. Many bumpy tops are purely cosmetic.
How to fix sinkholes (relief holes)
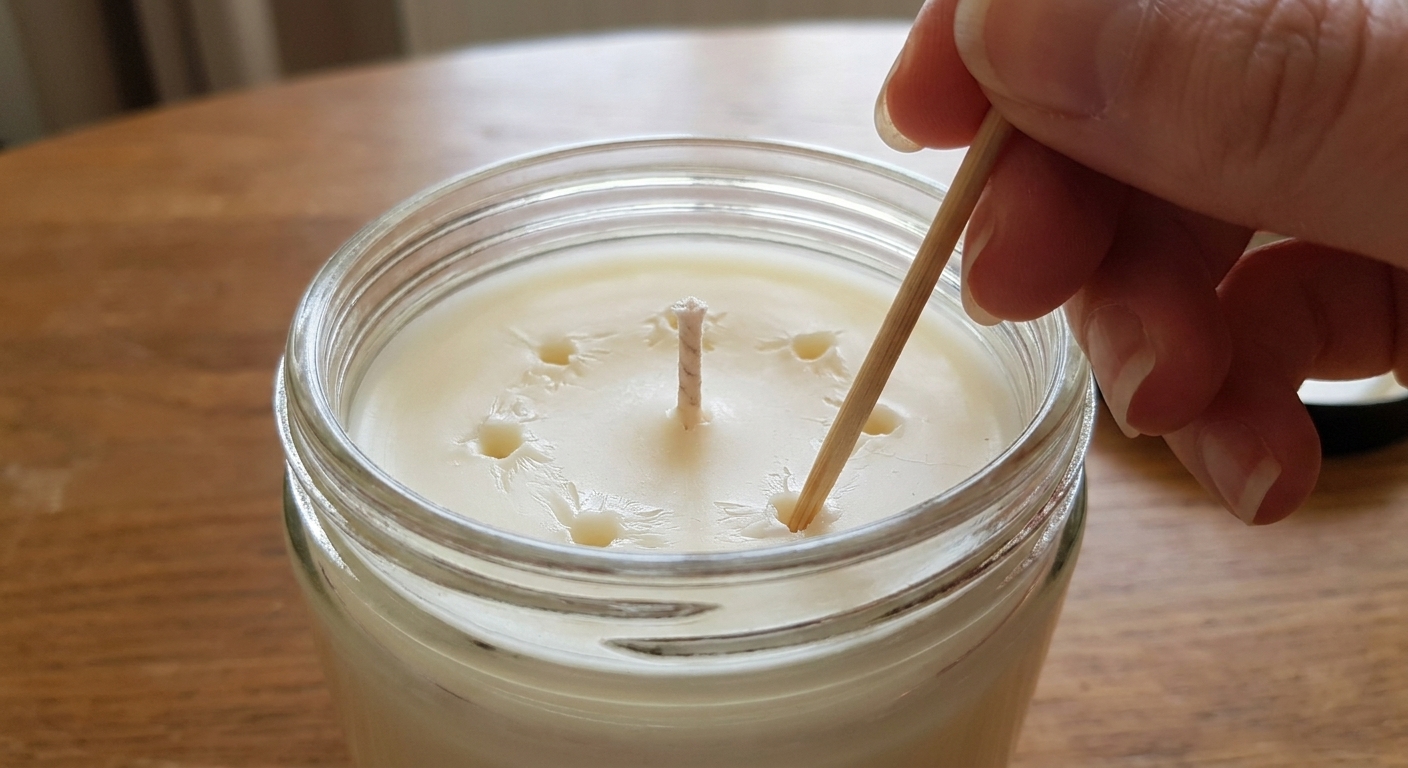
If you only learn one candle rescue trick, make it this one. Sinkholes are usually hiding air pockets. If you just melt the top, you can seal a void in place and end up with a surprise cave later.
What you need
- Wooden skewer or chopstick (wood is gentler on glass)
- Heat gun
- A small amount of matching wax for a repour (optional but often ideal)
Step-by-step
- Let the candle cool completely. If it is still warm inside, you cannot accurately judge the voids.
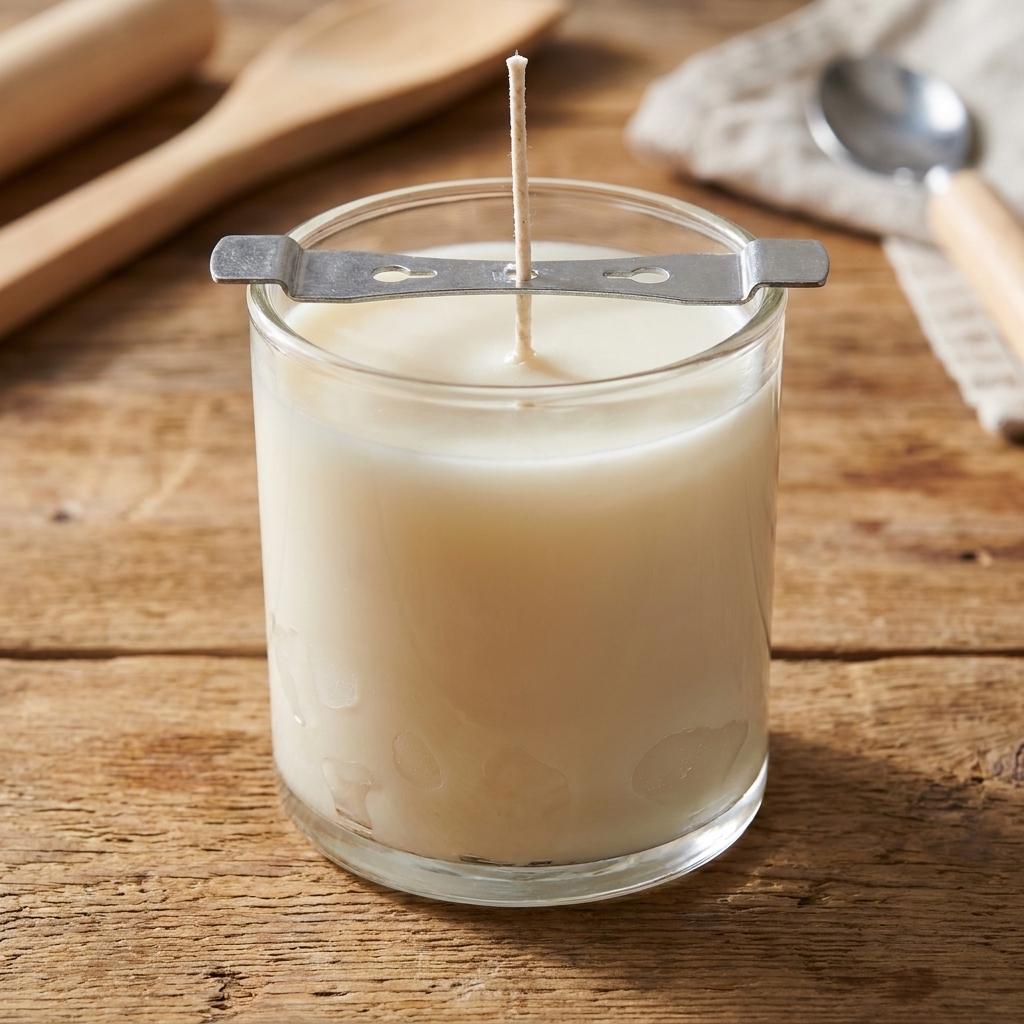
- Poke relief holes around the wick, not through it. I usually do 3 to 6 holes in a loose circle, about 1/2 to 1 inch from the wick. Go down gradually and stop short of the glass bottom. You are creating escape routes and fill paths for trapped pockets, not drilling or prying.
- Gently warm the top with a heat gun from 6 to 10 inches away. Use a slow circular motion. Your goal is to soften and slightly melt, not boil or scorch.
- Watch for the “gulp”. As pockets collapse, you may see the surface sink a bit more. That is good. That means the void is filling.
- Decide: smooth only or repour.
- If the crater is shallow, you can often melt smooth and call it done.
- If the sinkhole is deep or you exposed holes, do a thin repour: melt a small amount of the same wax and let it cool to just above its melt point, basically fluid but not aggressively hot. Then pour just enough to fill and level.
- Cool slowly. Move the candle away from drafts and cold windows. Slow, even cooling reduces repeat sinkholes.
Quick check: After any melting or repour, confirm the wick is still centered and upright. If it drifted while the wax was soft, nudge it straight gently and brace it until the surface sets.
How to fix tunneling (and keep it from coming back)
Tunneling is frustrating because it feels like wasted wax, but it is one of the most fixable problems. Think of it in two parts: fix the current candle, then prevent it in the next one.
Fix a tunneling candle you are already burning
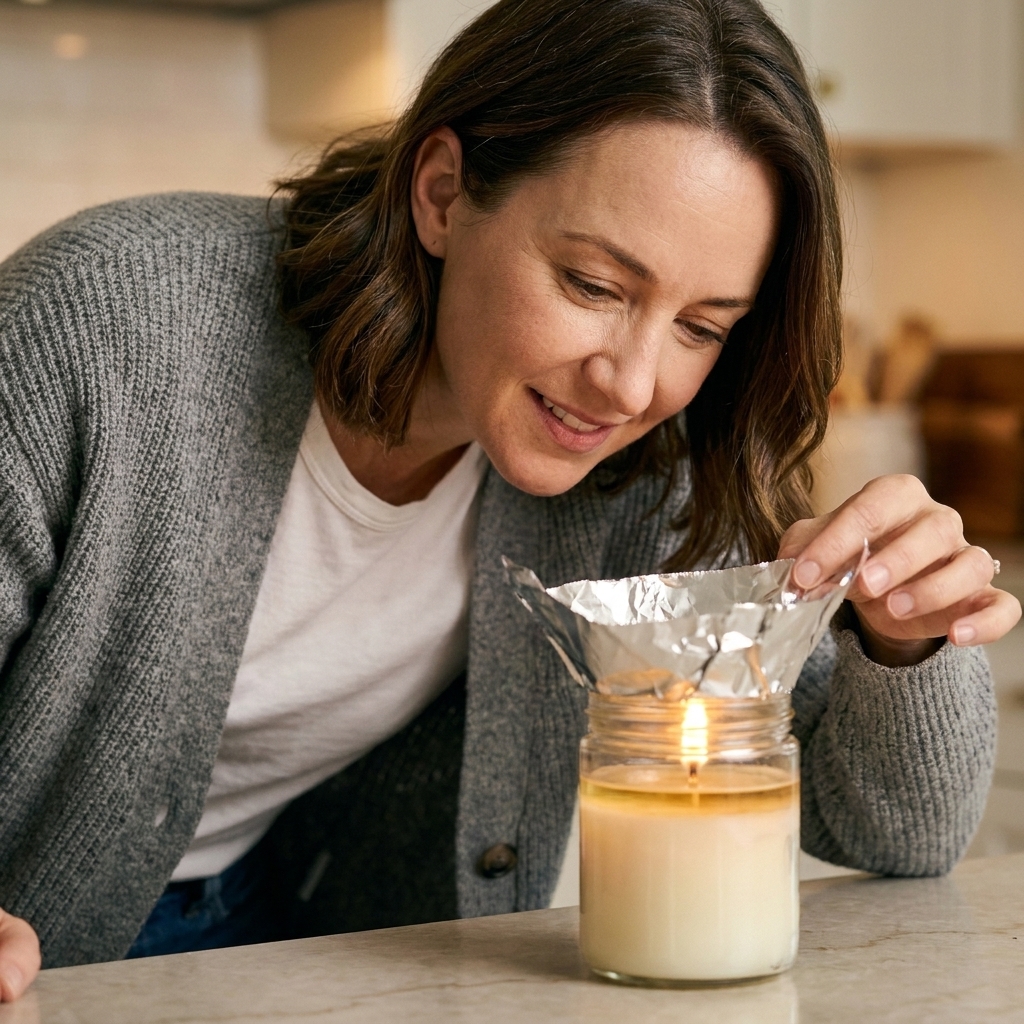
Option A: foil wrap (best first aid)
This method helps the candle build a fuller melt pool by trapping heat near the rim.
- Extinguish the candle and let it cool for 5 to 10 minutes so the wax is not sloshing.
- Wrap aluminum foil around the top like a loose collar. Keep it above the wax line, do not pinch the jar, and make sure the foil does not droop toward the flame.
- Relight and monitor closely. Stay in the room.
- Stop if the jar becomes uncomfortably hot to the touch. Let it cool, then switch to the heat gun method instead.
- Let it burn until the melt pool reaches close to the edges, then remove the foil carefully.
Safety note: Foil can get hot and sharp at the edges. This is a supervised fix only.
Option B: heat gun reset (cleaner, less monitoring)
- Make sure the candle is unlit and the wick is trimmed to 1/4 inch.
- Use a heat gun to melt the top layer until the surface becomes level. Rotate the candle as you warm so the glass heats evenly.
- Let it re-solidify fully before lighting again.
Quick check: Once the top is set, re-check that the wick is centered and standing straight. Re-trim to 1/4 inch if it picked up any wax while you worked.
Prevent tunneling in future batches
If a candle tunnels repeatedly, it is usually telling you the wick is too small for the wax type, jar diameter, dye load, or fragrance load.
- Match wick to diameter: A wider jar generally needs a larger wick or sometimes a different wick series altogether.
- Give early burns enough time: Early burns help establish an even melt pool. Repeated short burns can leave wax on the sides. Aim for a melt pool that reaches the edges, often 2 to 4 hours depending on size. Do not burn longer than your container or wax guidelines allow.
- Fragrance and dye can change wick needs: Heavier fragrance loads can require a different wick size. Test with your exact recipe, not an unscented version.
- Watch for overheating: Oversizing a wick can cause sooting, mushrooming, or a dangerously hot jar. The goal is balanced, not just a fast melt pool.
How to fix bumpy tops, rough tops, and wet spots
Uneven tops are common, especially with soy and some vegetable blends. I know it is tempting to chase a glass-smooth finish every time, but remember: a candle can burn beautifully with a slightly rustic top. Fix it if it bothers you, or if it affects how the wick stands.
Quick fix: heat gun polish
- Place the candle on a protected surface.
- Hold the heat gun 6 to 10 inches away and warm the surface in gentle circles.
- Stop as soon as the top becomes glossy and level. Overheating can make texture return more noticeably later, especially with soy.
- Let it cool in a calm, room-temperature spot.
For persistent roughness: thin top-off repour
If the surface keeps re-texturing after a heat gun pass, a very thin repour can help.
- Melt a small amount of the same wax.
- Let it cool so it is closer in temperature to the candle, basically just fluid and pourable.
- Pour just enough to cover the top, usually 1/8 to 1/4 inch.
- Cool slowly and avoid moving the candle until fully set.
About wet spots (gaps between wax and glass)
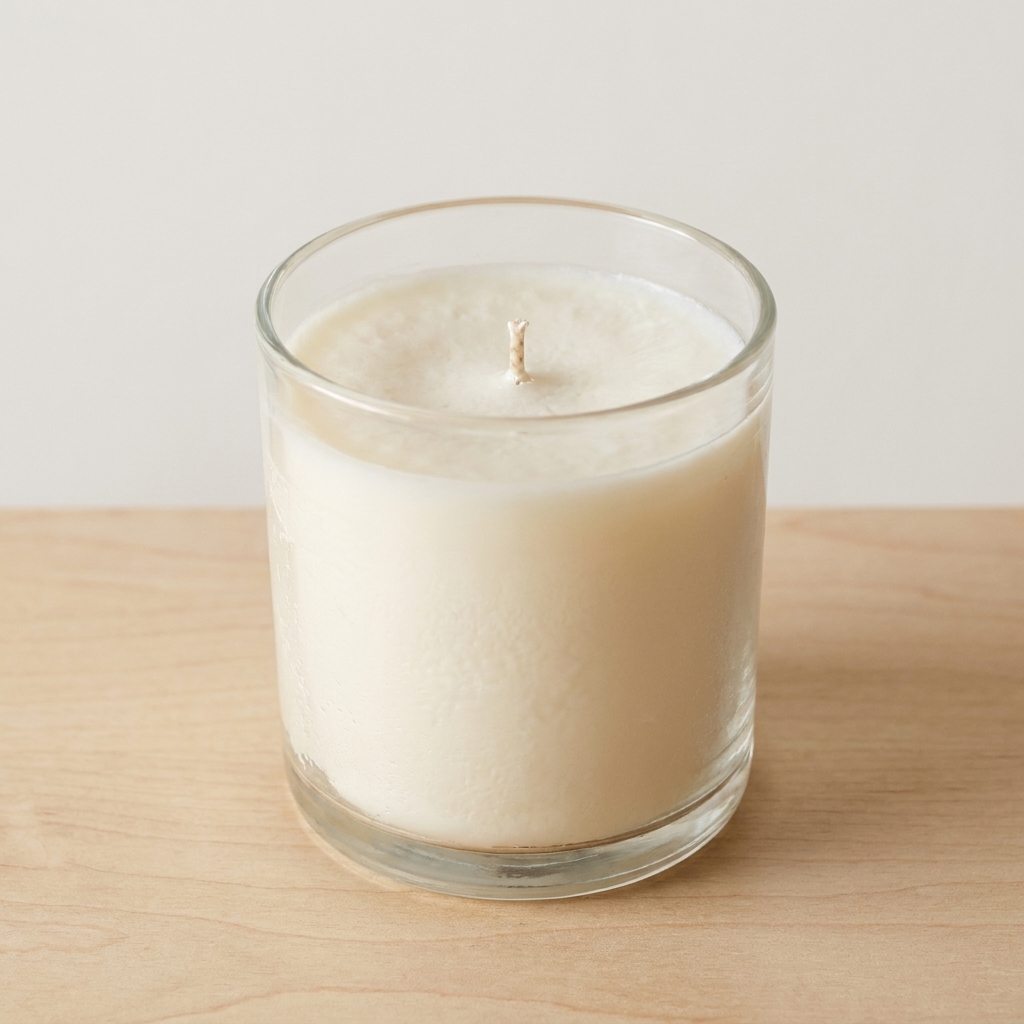
Wet spots are usually cosmetic and common in soy and paraffin blends as wax contracts away from glass. You can sometimes minimize them with gentle warming (heat gun around the container) and slow cooling, but they may come back with temperature swings. If the candle burns well and the wick is stable, I treat wet spots as a normal quirk, not a failure.
Heat gun technique (small details)
A heat gun is my favorite candle eraser, but it is also easy to overdo. Here is what keeps repairs clean and safe.
- Keep it moving: Hovering in one spot can overheat wax and stress glass.
- Start farther away: You can always move closer. You cannot un-scorch fragrance.
- Aim for “just melted”: The moment the surface turns glossy, you are close.
- Know the warning sign: If you see rippling waves or the melt looks deep and sloshy, you are overheating. Pull back, keep moving, and stop sooner.
- Protect wick position: If the wax around the wick liquefies deeply, the wick can drift. If that happens, straighten it gently while the wax is soft and brace it until set.
- Let it fully re-harden: Lighting too soon can reopen a sinkhole because the interior is still soft.
Common causes (so you can avoid repeats)
Sinkholes and craters
- Pouring too hot into a cool container
- Cooling too quickly (drafty room, cold window, chilly counter)
- Single pour in waxes that benefit from a second pour
Bumpy tops and frosting
- Wax cooling too fast or unevenly
- Pour temperature too low for that specific wax
- Natural soy crystallization (especially in cooler seasons)
Tunneling
- Wick too small for the jar diameter or wax blend
- Early burns too short to build an even melt pool
- Additives like heavy fragrance or dye shifting the burn
FAQ
Can I fix a sinkhole without repouring?
Often, yes. If the void is small, relief holes plus a careful heat gun melt can collapse and level it. If the crater is deep or you see holes after melting, a thin repour gives the cleanest finish.
Can I use a hair dryer instead of a heat gun?
A hair dryer can work for very light smoothing, but it is slower and tends to blow dust into soft wax. A craft heat gun gives you more control and less airflow.
Why did my candle look smooth, then turn bumpy again later?
Temperature swings can bring texture back, especially in soy. A heat gun polish is a surface reset, not a permanent guarantee. If the candle burns well, it is okay to embrace a slightly rustic top.
Is tunneling always the maker’s fault?
Nope. Even a well-made candle can tunnel if it is not burned long enough on the first few burns. That said, repeated tunneling in testing is usually a wick sizing issue.
Can I fix a tunneled candle by pouring more wax on top?
Adding wax can make the candle taller, but it does not correct the underlying burn balance. Level the top with a heat gun and focus on improving melt pool behavior with burn habits or wick adjustments in future batches.
A calm finish
My rule is simple: fix what affects safety or burn quality, and only chase cosmetics if it brings you joy. Relief holes solve hidden sinkholes, a heat gun gives you a clean reset, and tunneling almost always improves when you treat those early burns like the candle’s training session.
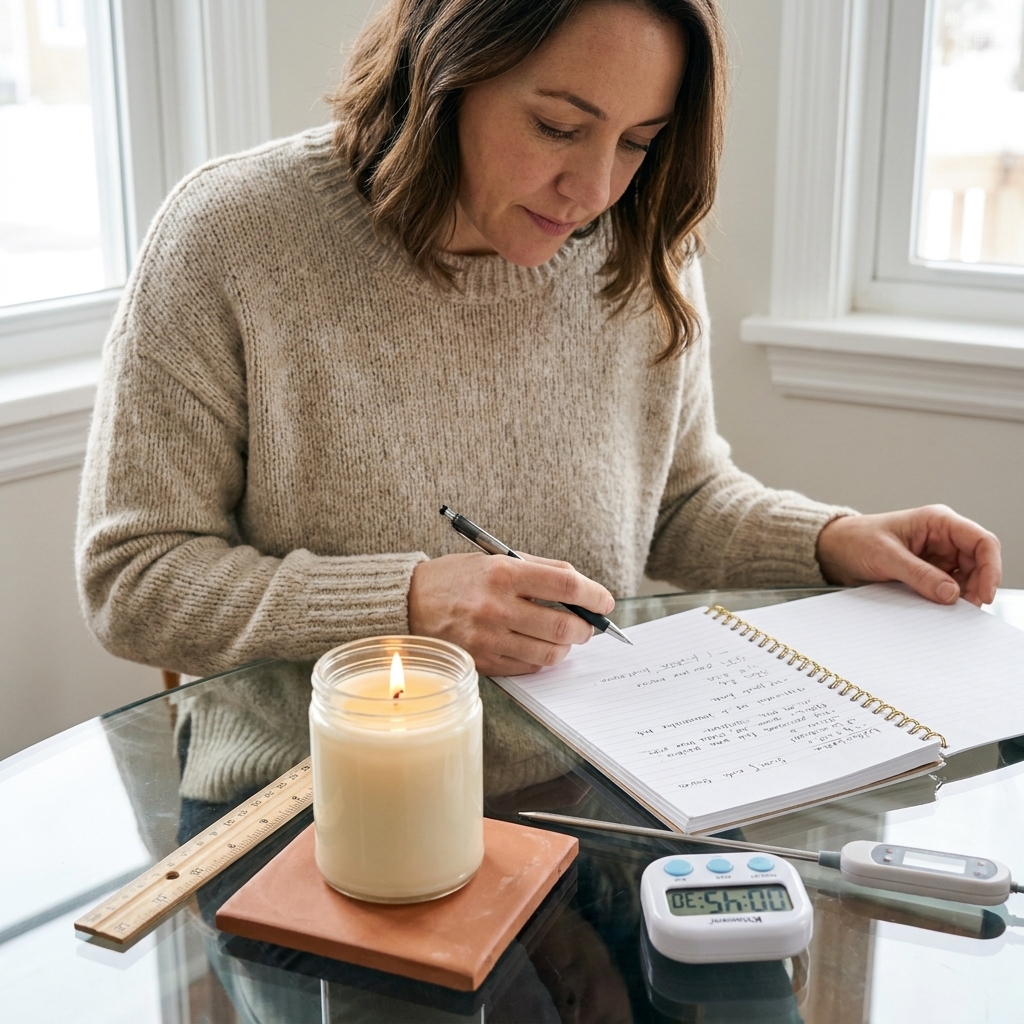
If you want a little homework for your next batch, jot down three notes: wax type, jar diameter, and wick series and size. Those three details make troubleshooting feel less like guesswork and more like a gentle science experiment in your kitchen.