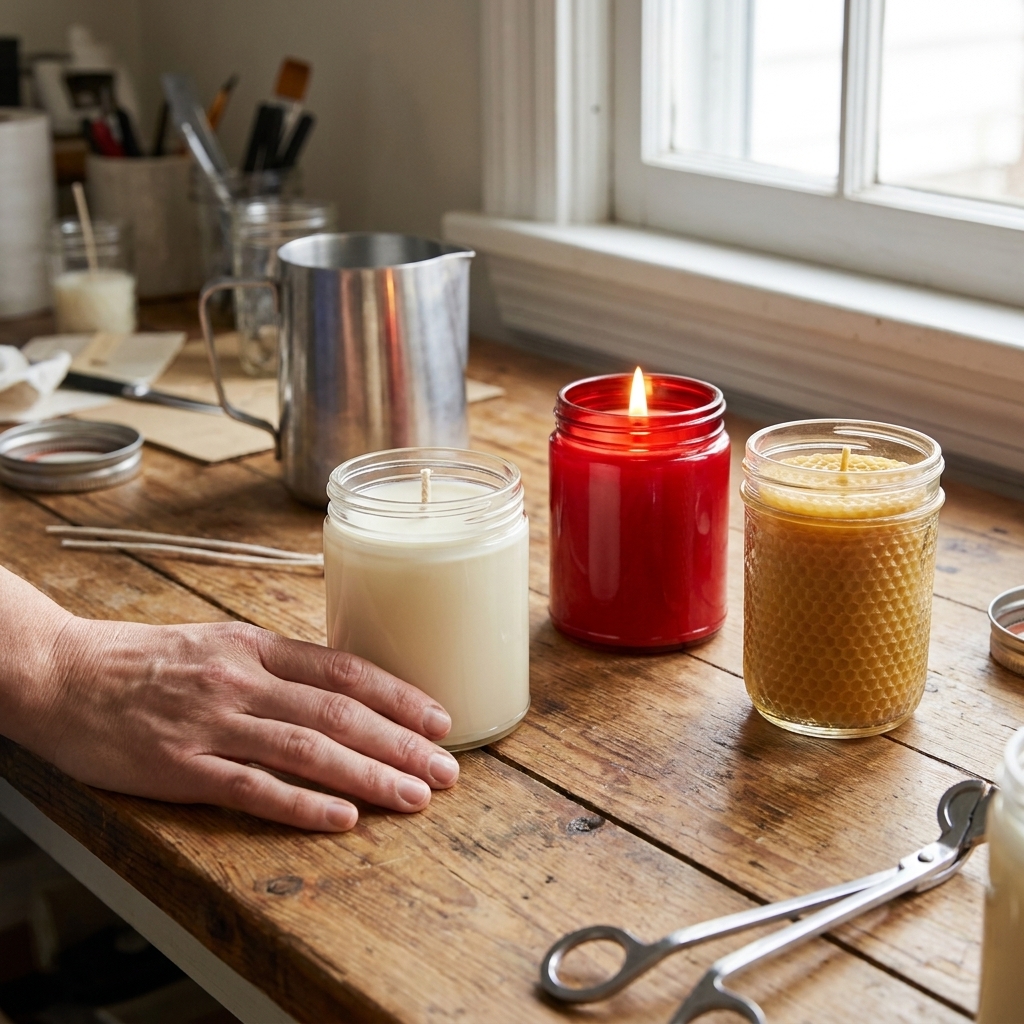
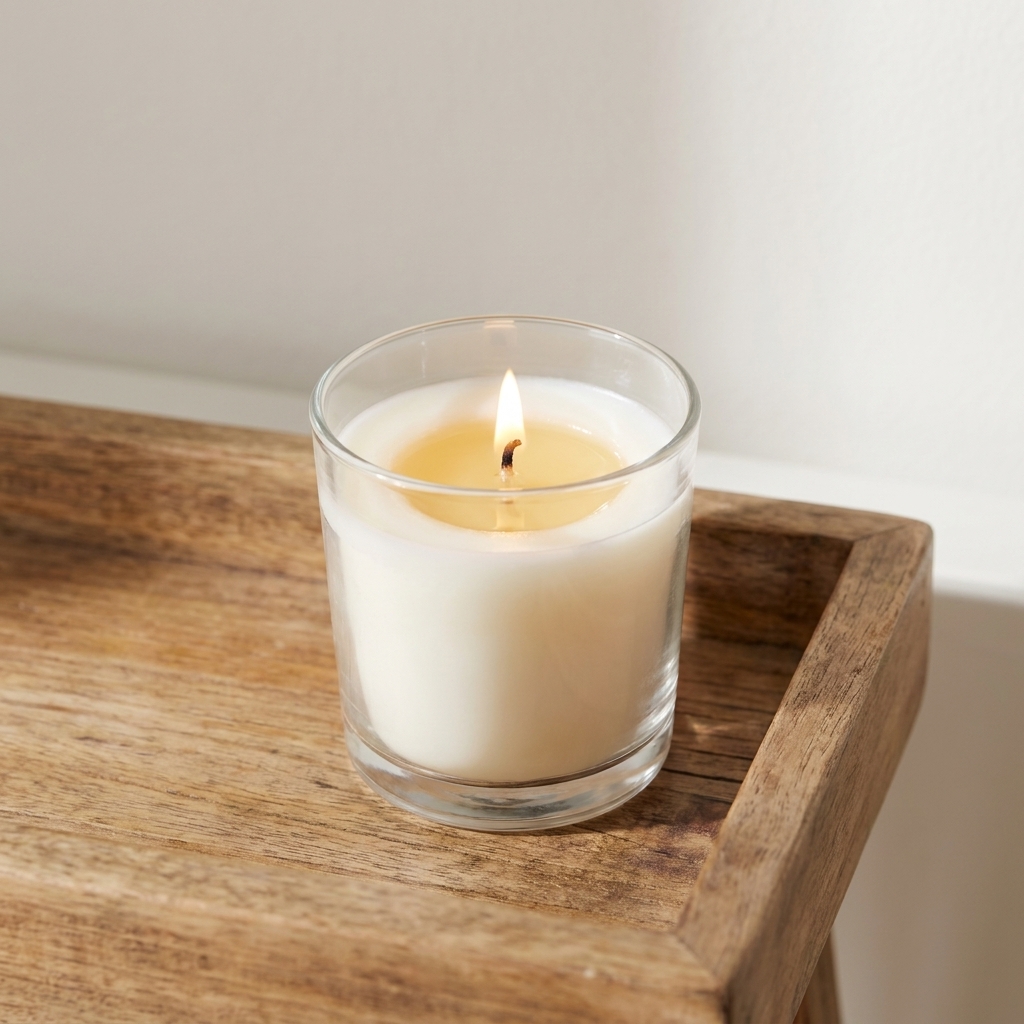
My first soy jar candle attempt looked fine until it cooled. Then it sank like a tiny wax crater and tunneled straight down the middle. I still lit it (because curiosity wins), but that was the moment I realized container candles are all about little details: temperature, timing, and choosing a wick that actually matches your jar.
This is the exact method I use for smooth-topped, clean-burning scented soy candles in glass jars, with the temperatures and fragrance loads that keep things predictable. If you love a happy accident, great. This recipe is for when you want repeatable results.
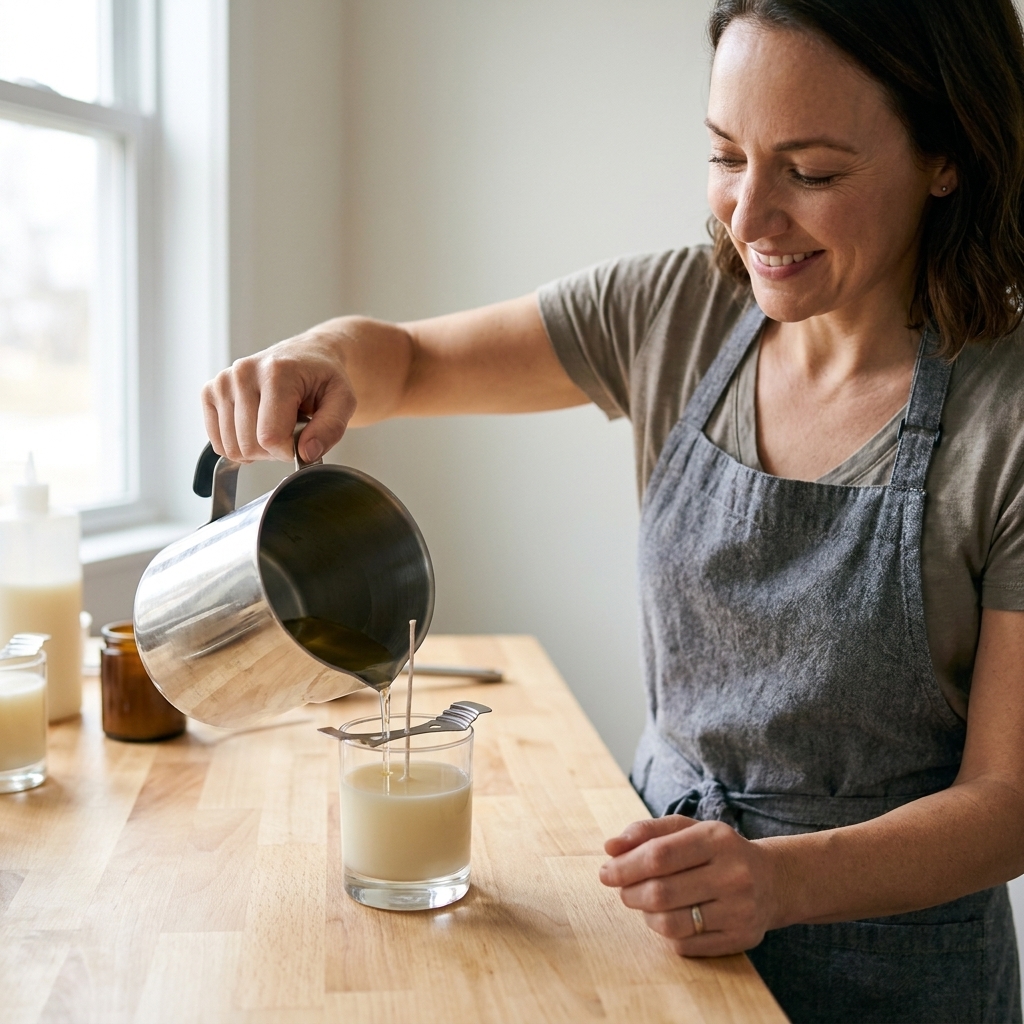
What you will make
Batch size: 2 medium jar candles or 3 smaller jars, depending on your container size.
Best for: smooth tops, strong scent throw, beginner-friendly container candles.
- Wax: container soy wax (softer, designed to adhere to glass)
- Fragrance load: typically 6% to 10% by weight (I usually land at 8% for reliable performance). Always follow your wax supplier’s maximum fragrance recommendation.
- Pour temperature: typically 125 to 145°F (52 to 63°C), adjusted for your wax and room conditions
Safety first (quick but important)
- Work on a protected surface. Wax is easier to prevent than to scrub.
- Never heat wax directly on a burner. Use a double boiler setup.
- Use a thermometer. Guessing makes issues like frosting, sinkholes, and weak scent throw more likely.
- Keep fragrance oils off skin and away from pets and kids. Wipe spills immediately.
- Use only heat-safe containers intended for candle making, with no cracks or chips. Decorative glass is not always candle-safe.
- Burn on a heat-safe surface away from anything flammable. Discontinue use if the jar cracks, the flame is consistently very tall, you see heavy soot or smoking, or the candle clearly overheats.
Supplies and ingredients
Equipment
- Kitchen scale (grams preferred)
- Double boiler or a pot plus heat-safe pouring pitcher
- Thermometer (digital or clip-on)
- Stirring utensil (silicone or stainless)
- Wick stickers or hot glue
- Wick centering tool (or chopsticks, clothespin, or skewer trick)
- Paper towels, rubbing alcohol for wipe-downs
Ingredients
- Container soy wax: 454 g (1 lb) for a small batch
- Fragrance oil: 27 to 45 g depending on load (see examples below)
- Wicks: cotton or cotton-paper core wicks sized for your jar diameter
- Optional: dye formulated for candles (liquid or dye blocks). Skip crayons and food coloring.
Fragrance oil note: Use oils labeled candle-safe and rated for use in candles. If you sell or gift widely, check the supplier’s IFRA documentation and stay within the recommended limits.
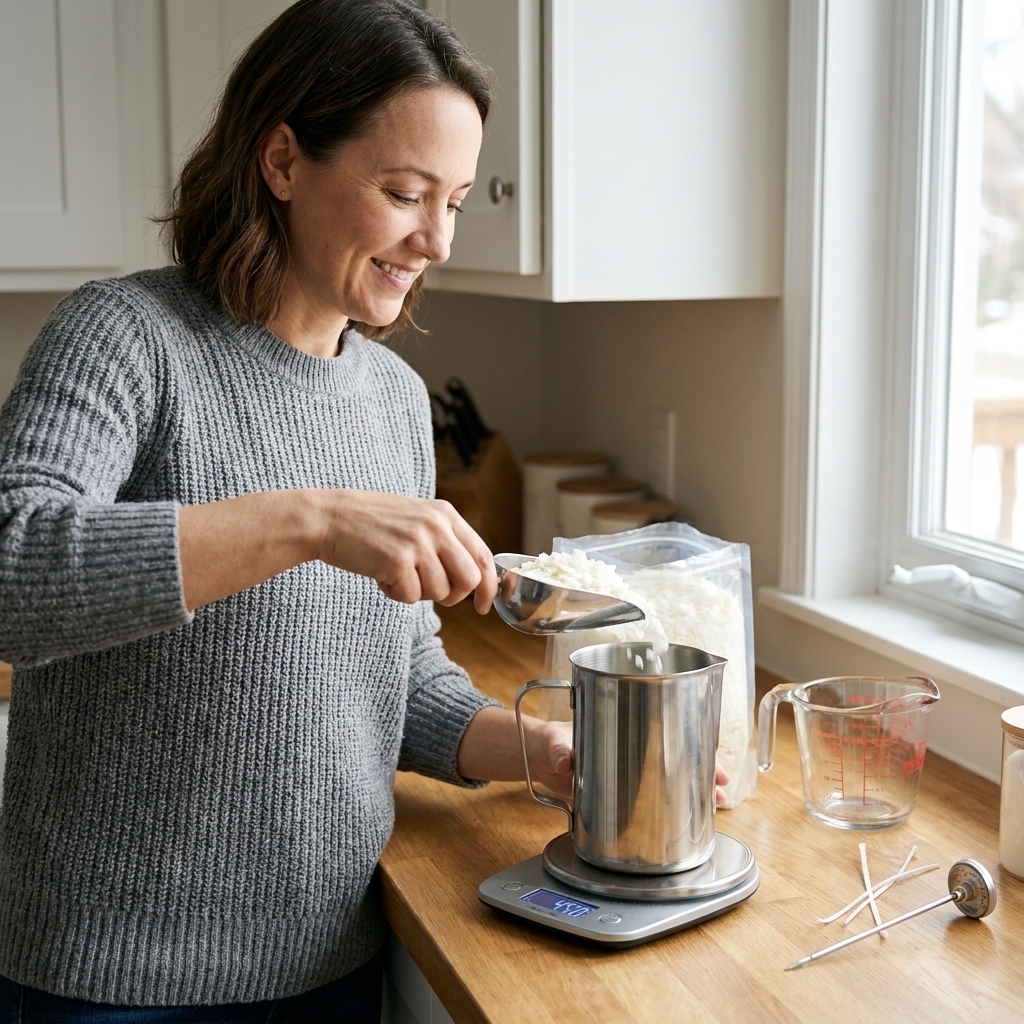
Fragrance load made simple (with exact math)
Many container soy waxes perform well between 6% and 10% fragrance by weight, but it is not universal. Some waxes and some fragrances do better a little lower, and some suppliers cap certain blends at 6% to 8%. More is not always better. Overloading can cause sweating, poor burning, or a candle that smells great in the jar but struggles when lit.
Use this formula
Fragrance (g) = Wax (g) × Fragrance Load
- 6%: 454 g wax × 0.06 = 27 g fragrance
- 8%: 454 g wax × 0.08 = 36 g fragrance
- 10%: 454 g wax × 0.10 = 45 g fragrance
My default: 8% for most fragrances, then I test-burn and adjust wick before I mess with load.
Temperatures that matter
Different soy waxes have slightly different sweet spots, but these temperature targets are a solid, repeatable baseline for many container soy waxes. Your wax supplier’s notes win if they differ.
- Melt to: 170 to 185°F (77 to 85°C). Enough to fully melt and get a uniform, consistent liquid.
- Add fragrance at: 155 to 180°F (68 to 82°C), depending on your wax and fragrance. Many makers use the 160s to 170s. Start with your wax manufacturer’s guidance if you have it.
- Pour at: 125 to 145°F (52 to 63°C). Lower pours often reduce frosting and help tops cool smoother, but too low can cause adhesion issues.
If your tops are rough and bumpy, you often poured too hot or cooled too fast. If your candle pulls away from the glass, your jar was too cold, your room was drafty, or you poured too cool for that specific wax.
Step-by-step
1) Prep jars and wicks
Clean jars with rubbing alcohol and let dry. Attach your wick to the center of each jar using a wick sticker or a dab of hot glue. Keep the wick straight and centered with a wick bar, clothespin, or two chopsticks across the rim.
Tip: Warm your jars slightly if your workspace is chilly. I like to set them near the stove or on a warm (not hot) baking sheet. A cold jar plus hot wax can exaggerate wet spots.

2) Weigh your wax
Weigh wax into your pouring pitcher. If you are filling specific jars, you can estimate wax needed by filling the empty jar(s) with water, weighing the water, then multiplying by about 0.86 to approximate wax weight. This is a rule of thumb, not a lab value. Container shape, wax blend, and temperature can shift the number, so treat it as a starting point and take notes for next time.
3) Melt the wax
Place the pitcher in a double boiler and melt slowly, stirring occasionally. Bring wax to 170 to 185°F. Try not to splash wax onto the sides of the pitcher. Those bits cool fast and can create tiny flakes later.
4) Add dye (optional)
If using dye, add it once the wax is fully melted and stir until completely dissolved. With soy, subtle colors usually look best and burn more predictably.
5) Add fragrance and stir properly
When wax is in your target range (often 155 to 180°F, depending on wax), add your pre-weighed fragrance oil.
Stir gently but thoroughly for 2 full minutes. I actually set a timer. This helps the fragrance distribute evenly so you get consistent hot throw and fewer oily pockets.
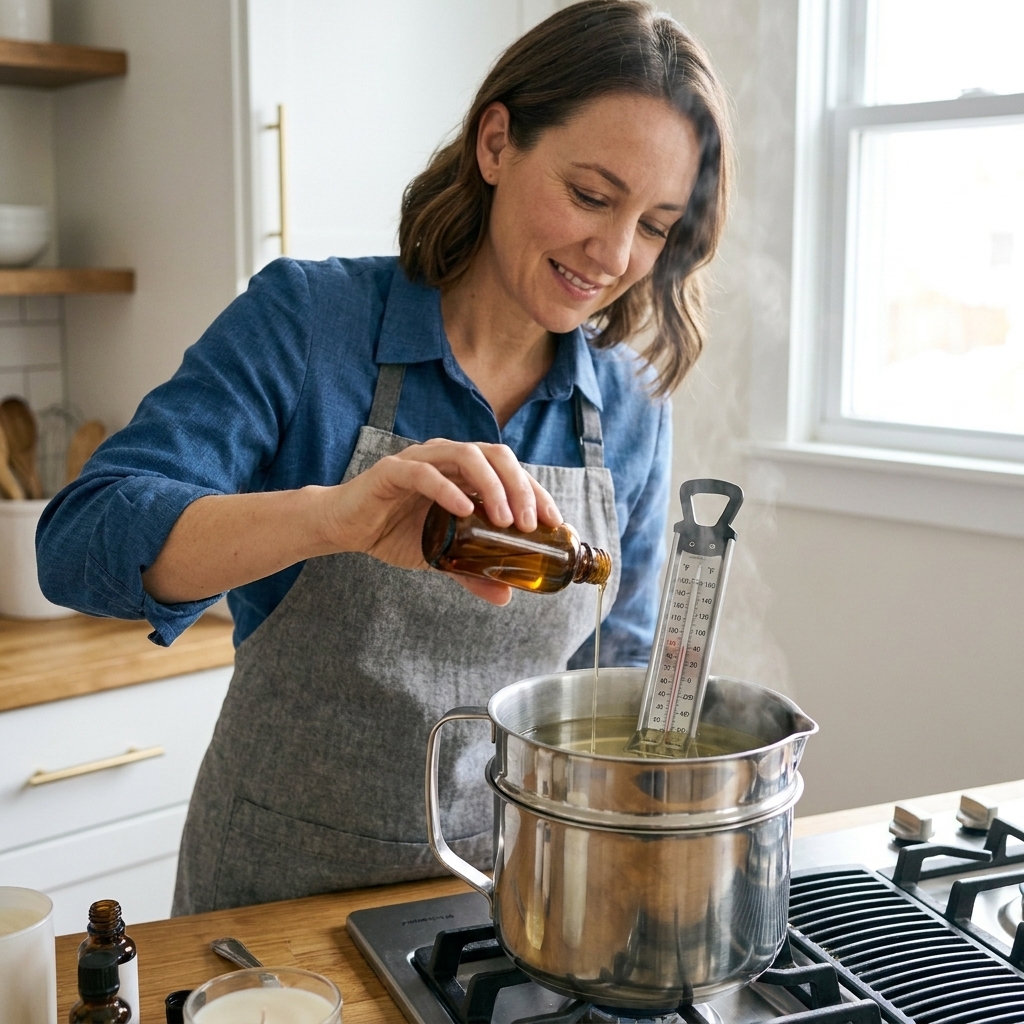
6) Cool to pour temperature
Let the wax cool, stirring occasionally, until it reaches your pour temp. Start with 135°F as a middle-of-the-road target.
- If your room is cool or drafty, aim a touch warmer: 140 to 145°F.
- If you fight frosting or rough tops, try cooler: 125 to 135°F.
7) Pour slowly and keep it calm
Pour in a steady, slow stream down the inside wall of the jar. This tends to reduce bubbles and keeps the wick from getting pushed around. Fill to your desired level, leaving a little headspace for a clean look.
Now the hardest step: leave it alone. Avoid moving jars for several hours. No fans, no open windows, no curious poking. Fast cooling is the enemy of smooth soy tops.
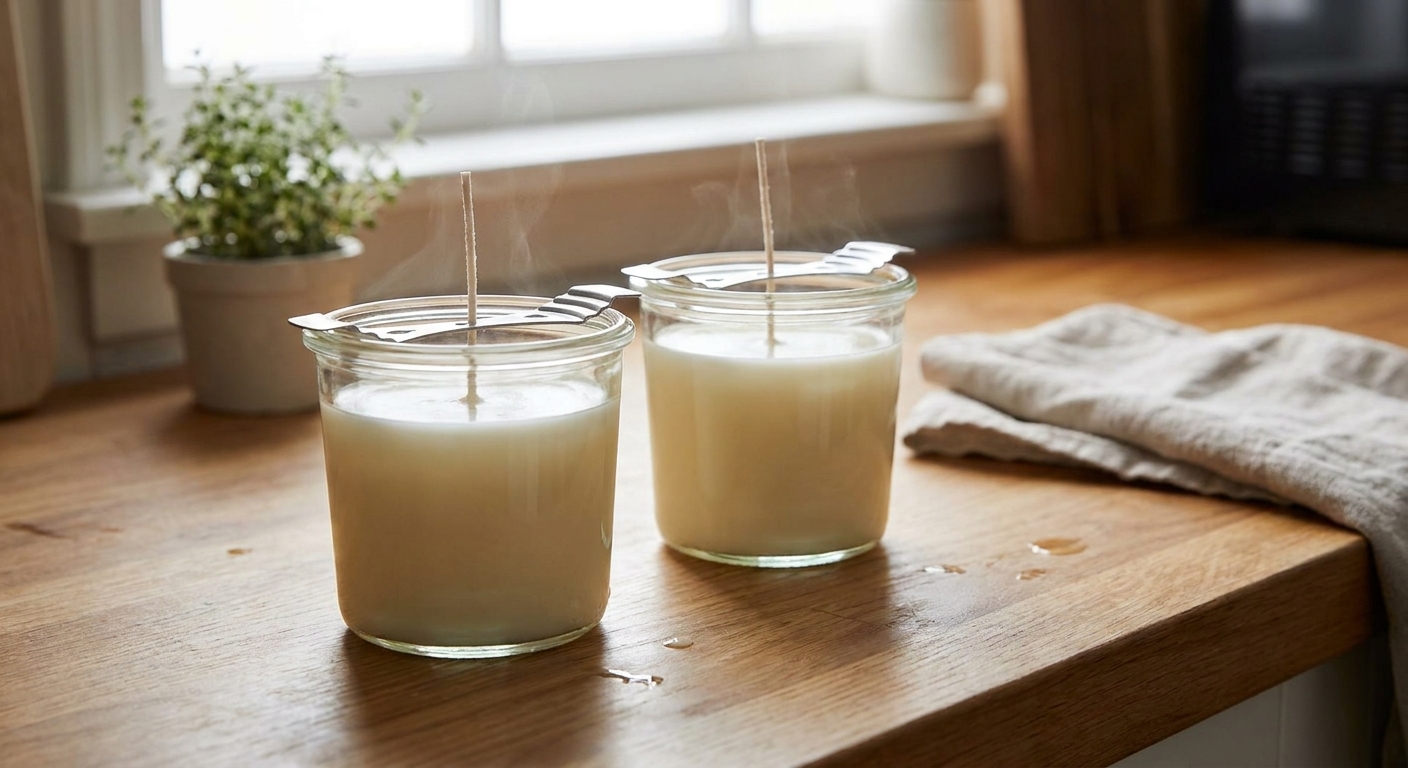
8) Fix the top if needed
If you get a sinkhole or a rough top, you can usually rescue it.
- Minor roughness: use a heat gun to gently melt just the top layer until it turns glossy, then stop.
- Sinkholes: poke 2 to 4 relief holes around the wick with a skewer, warm the top with a heat gun, then add a small amount of leftover wax that is still warm enough to blend and bond. Finish with a quick, light re-melt of the surface if needed to reduce a visible line.
Note: If you frequently get sinkholes, it is often a sign you poured too hot, cooled too quickly, or used a wax that needs a second pour. Some soy blends are simply more sinkhole-prone.
9) Cure for best scent throw
Soy candles need cure time. You can light it sooner, but it will not show you its true scent strength. Cure time varies by wax, fragrance, and even wick choice.
- Typical minimum: 3 to 5 days
- Typical sweet spot: 7 to 14 days
- Some candles improve longer: 2+ weeks, especially with heavier fragrances
Store candles uncovered in a cool, dry spot while curing. Once cured, cap with lids for gifting or storage.
Wick sizing
Wick choice makes or breaks container candles. Diameter matters, but so do fragrance load, dye, and the specific wax blend.
Start with jar diameter
- 2.5 to 3 in diameter: start with a small to medium cotton wick in your chosen series
- 3 to 3.5 in diameter: medium wick
- 3.5 to 4 in diameter: medium-large, or consider a different wick series if mushrooming occurs
Because wick series differ widely between brands, the best method is to pick a wick line (like CD, ECO, or LX) and follow that manufacturer’s container chart as a starting point, then test-burn.
How to know if your wick is right
- Too small: tunneling, weak hot throw, melt pool never reaches the edge by hour 2 to 3.
- Too large: tall flickering flame, sooting, mushrooming, jar gets excessively hot, melt pool gets very deep quickly.
Target: by about the second burn, you want a melt pool that reaches close to the jar edge in 2 to 3 hours, with a steady flame and minimal soot.
Test burn basics
Once cured, trim the wick to 1/4 inch (about 6 mm) before lighting.
- Burn in 2 to 4 hour sessions.
- Trim before every burn. Long wicks are the fastest path to soot.
- If the wick starts to drown, extinguish, let the candle fully cool, then trim and relight.
- Stop burning when about 1/2 inch of wax remains in the bottom of the container.
Troubleshooting
Frosting
- Cause: soy’s natural crystal structure, often triggered by temperature swings or cooling too fast.
- Fix: pour a bit cooler (125 to 135°F), cool candles slowly, avoid drafts, and keep room temps steady.
Wet spots
- Cause: glass adhesion changes as wax cools and contracts, often worse with cold jars or sudden temp drops.
- Fix: warm jars slightly, pour a little warmer, cool slowly. Some wet spots are cosmetic and normal.
Sinkholes
- Cause: wax shrinking around the wick as it cools.
- Fix: pour cooler, cool slower, heat-gun the top and top off if needed.
Weak hot throw
- Cause: underwicked candle, not enough cure time, fragrance not compatible with soy, fragrance added outside your wax’s ideal temp range, or insufficient mixing.
- Fix: cure longer, verify you stirred 2 minutes, try 8% load (or your wax supplier’s max), and test a slightly larger wick before increasing fragrance.
Sooting or mushrooming
- Cause: wick too large, wick not trimmed, high dye load, drafts.
- Fix: trim to 1/4 inch, size down wick, reduce dye, burn away from drafts.
Easy scent blends
If you are new to blending, start with two-note blends. They tend to cure predictably and are easier to troubleshoot.
- Cozy clean: lavender + vanilla (soft, calming, giftable)
- Bright kitchen: lemon + rosemary (fresh without smelling like cleaner when balanced)
- Warm woods: cedar + amber (rich, steady, great in fall)
- Holiday hug: orange + clove (potpourri vibes, but keep clove modest)
Blend tip: Mix your fragrance oils together first, then weigh your total fragrance amount from that blend so your load stays accurate.
FAQ
Can I use essential oils instead of fragrance oil?
You can, but results are often lighter and less consistent in candles, and some essential oils are not ideal for burning or require lower usage rates. If you do use them, research safe candle usage levels for that specific oil, and expect more testing.
Do I need a heat gun?
No, but it is the easiest way to get that smooth, glossy top after cooling and to fix minor sinkholes. A hair dryer can work in a pinch, but it tends to blow dust into the wax and move the wick.
Why did my wick drift off-center?
Usually the wick was not firmly stuck down, or it got tugged while pouring. Press the wick sticker down hard, and pour slowly to avoid creating a current that nudges the wick.
How long should I wait before putting the lid on?
Wait until the candle is fully cool and set, then cure with the lid off for airflow. Once cured, lids are great for storage and gifting.
My best smooth-top habit
If you take just one habit from this tutorial, let it be this: control the cool-down. Soy loves a slow, steady set. I pour, I tidy, and then I let the candles rest like they are doing something very important, because they are.
When you are ready, cure them, trim them, and light one on purpose. That first clean burn with a scent you chose is the whole reason I fell in love with this craft in the first place.