Hand-dipped beeswax tapers are one of those old-school crafts that feels almost like meditation. You are building a candle a whisper-thin layer at a time, watching it go from floppy wick to a warm, honey-colored taper with that unmistakable beeswax glow. It is slower than pouring a jar candle, yes, but it is also wonderfully forgiving. If a dip looks a little lumpy, the next few dips usually smooth it out. Happy accidents are welcome here.

This tutorial walks you through the full process from choosing wick to trimming and straightening your finished pair, all without molds.
Why beeswax burns so well
Beeswax is a dense, high-melt-point wax with a naturally slow, steady burn when it is properly wicked and sized. Compared with many container waxes, it holds its shape better, resists slumping, and makes a taper that feels sturdy in the hand. The scent is subtle and naturally sweet, like sun-warmed honey and clean waxed wood.
- Long burn time: Beeswax often burns slower than paraffin, though burn time still depends on wick size and candle diameter.
- Bright flame: The flame tends to be strong and steady when wick size is right.
- Low-drip potential: A correctly wicked beeswax taper can be nearly dripless in a draft-free room.
- No fragrance needed: Pure beeswax already smells lovely.
Safety first
I know, I know. Safety sections are not the glamorous part. But hot wax is no-joke sticky, and beeswax is flammable at high temperatures. A calm setup is the secret ingredient.
- Never leave melting wax unattended.
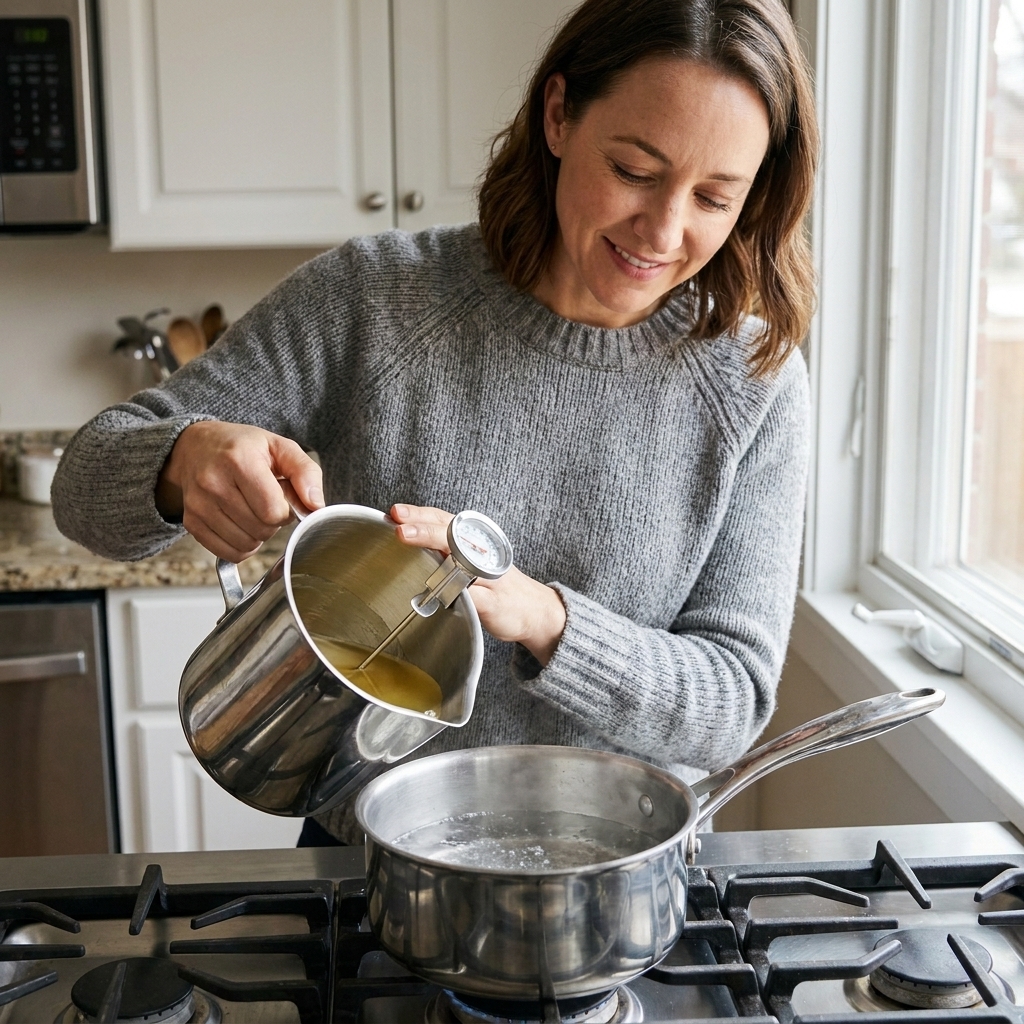
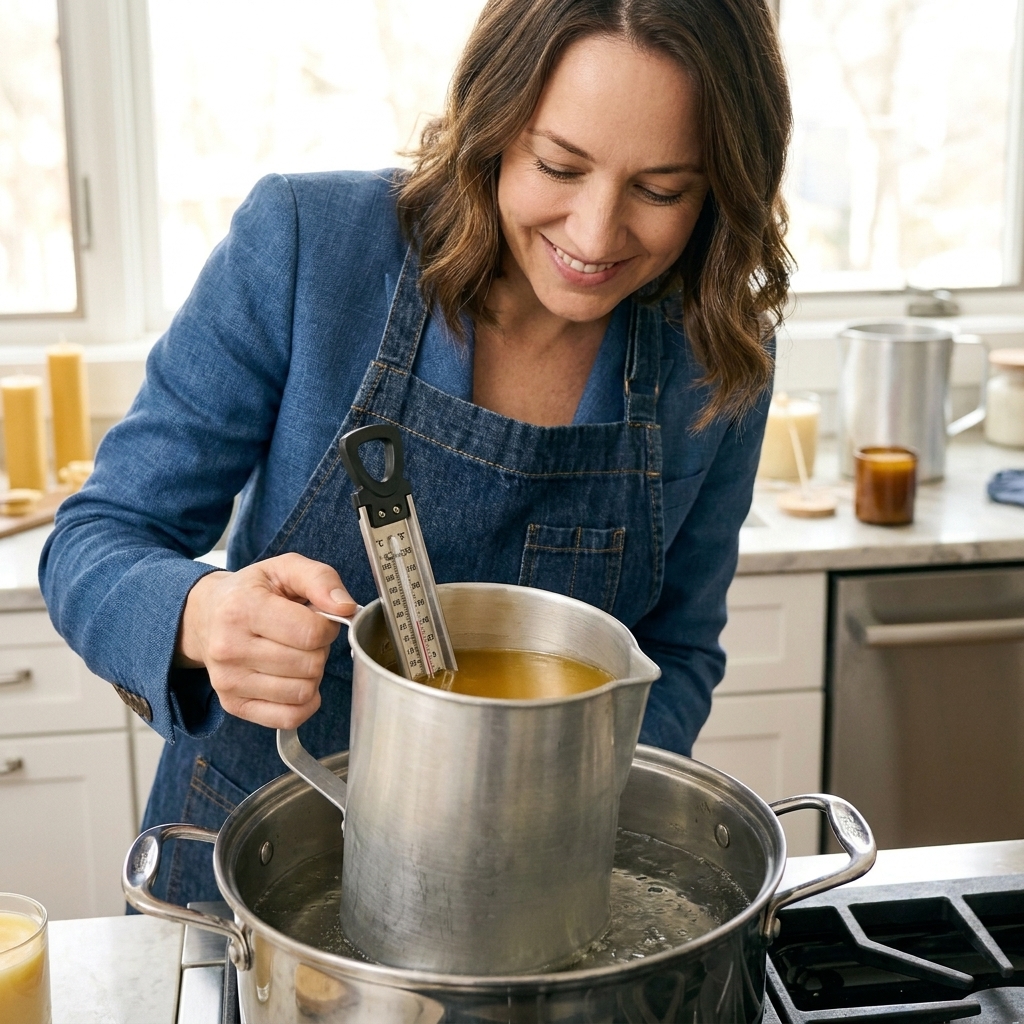
- Use a double boiler. Avoid heating wax directly on a burner. A water bath helps prevent dangerous overheating.
- Use a thermometer. Overheating is how wax becomes a hazard.
- Keep water away from the wax pot. Water can cause splattering and popping.
- Work on a protected surface. Cardboard, a silicone mat, or kraft paper under everything saves your counters.
- Have a lid nearby. If wax ever ignites (rare, but possible when overheated), turn off heat and smother with a lid. Do not use water.
- If you have one, keep an extinguisher handy. A kitchen-rated extinguisher is never a bad idea when you are working with hot materials.
- Ventilation helps. Beeswax is mild, but warm wax and any smoke from overheating should not build up.
What you need
Materials
- 100% beeswax (pellets or blocks)
- Candle wick (more on sizing below)
- Optional: beeswax-compatible candle dye (keep it minimal for best burn)
Tools
- Deep dipping vessel (a tall metal pitcher or narrow wax dipping pot)
- Melting setup: double boiler or a water bath with a sturdy pot underneath
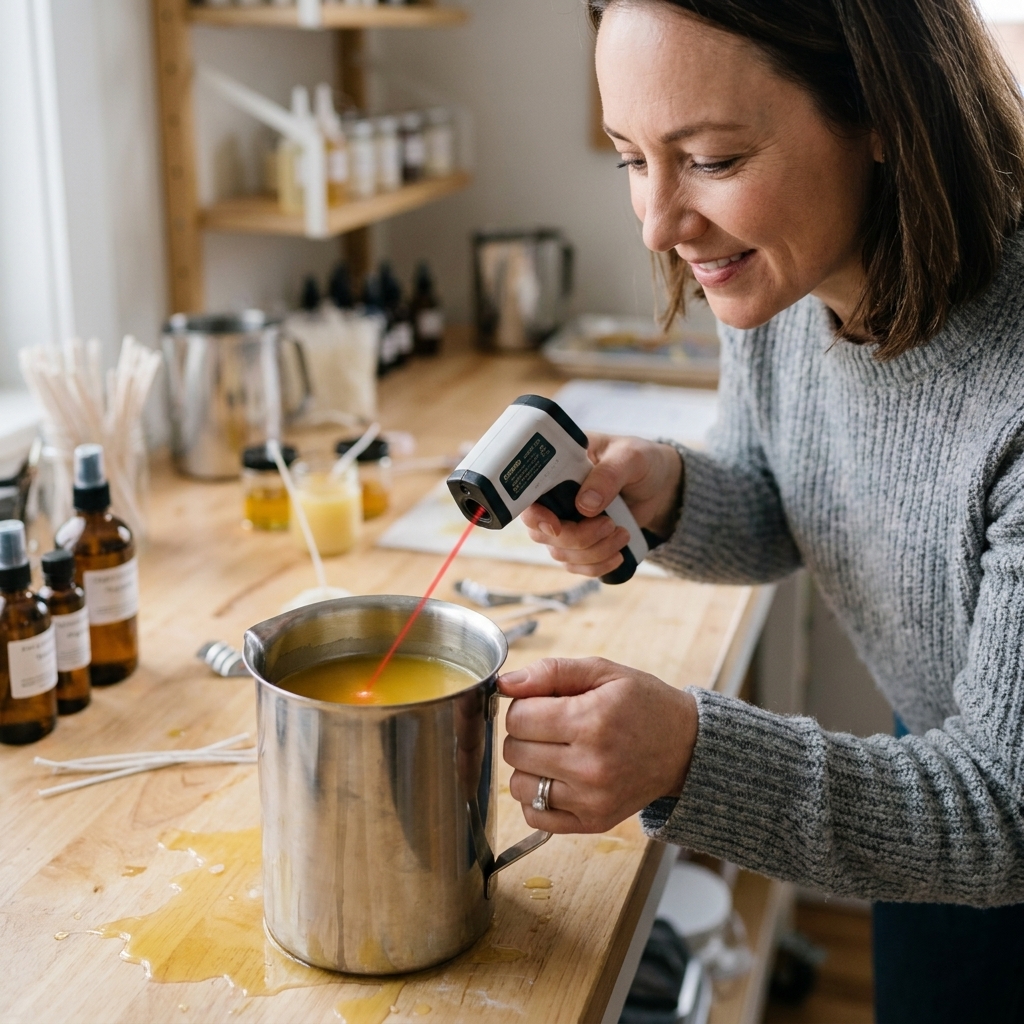
- Thermometer (clip-on or infrared works, but clip-on is easier for constant monitoring)
- Dowel, rod, or hanger bar to suspend pairs between dips
- Scissors for cutting wick
- Weight or clothespin to keep wick ends taut if needed
- Wax paper or cardboard to catch drips
- Optional but helpful: heat gun for tiny touch-ups, a ruler, and a tall vase filled with rice for cooling and straightening
Clean wax matters
If you are working with raw or home-rendered beeswax, take a minute to clean it up before you dip. Debris can clog the wick, cause extra smoking, and leave specks in your finished tapers.
- Strain it: Melt the wax in a double boiler and pour it through a fine metal strainer or cheesecloth into a clean container.
- Let it settle: If you see sediment, let the wax cool into a block, then scrape the bottom where the grit collects.
If your beeswax is already clean, filtered, and ready for candle making, you can skip this and go straight to the fun part.
Choosing the right wick
Wick is everything with beeswax. Too small and the flame tunnels and struggles. Too large and you get smoke, drips, and an overactive flame.
Best wick styles
- Square braided cotton wick is the traditional choice for beeswax tapers. It is made for pillars and tapers and tends to curl slightly as it burns, which helps with self-trimming.
- Flat braided wick can work too, but many makers find square braid easier to dial in for beeswax.
How to size it
Because taper diameter varies by how long you dip, it is easiest to aim for a common taper size and wick to match:
- For a standard dinner taper around 7/8 inch to 1 inch diameter at the base, start with a medium square braid intended for beeswax tapers.
- If you plan very slender tapers (around 1/2 inch), go down a size.
- If you plan chunkier, rustic tapers (over 1 inch), go up a size.
If you are unsure, make one small test pair first. Beeswax is too precious to guess wildly. A single test burn will tell you more than any chart.
Prep your station
Good dipping is mostly about rhythm, and rhythm is easiest when your space is set up before the wax is hot.
1) Set up your cooling area
- Lay down cardboard or kraft paper under your hanging area.
- Place your dowel or rod across two sturdy supports so you can hang the taper pair between dips.
- Leave enough vertical space so the candles can hang freely without brushing anything.
2) Cut and tie wick pairs
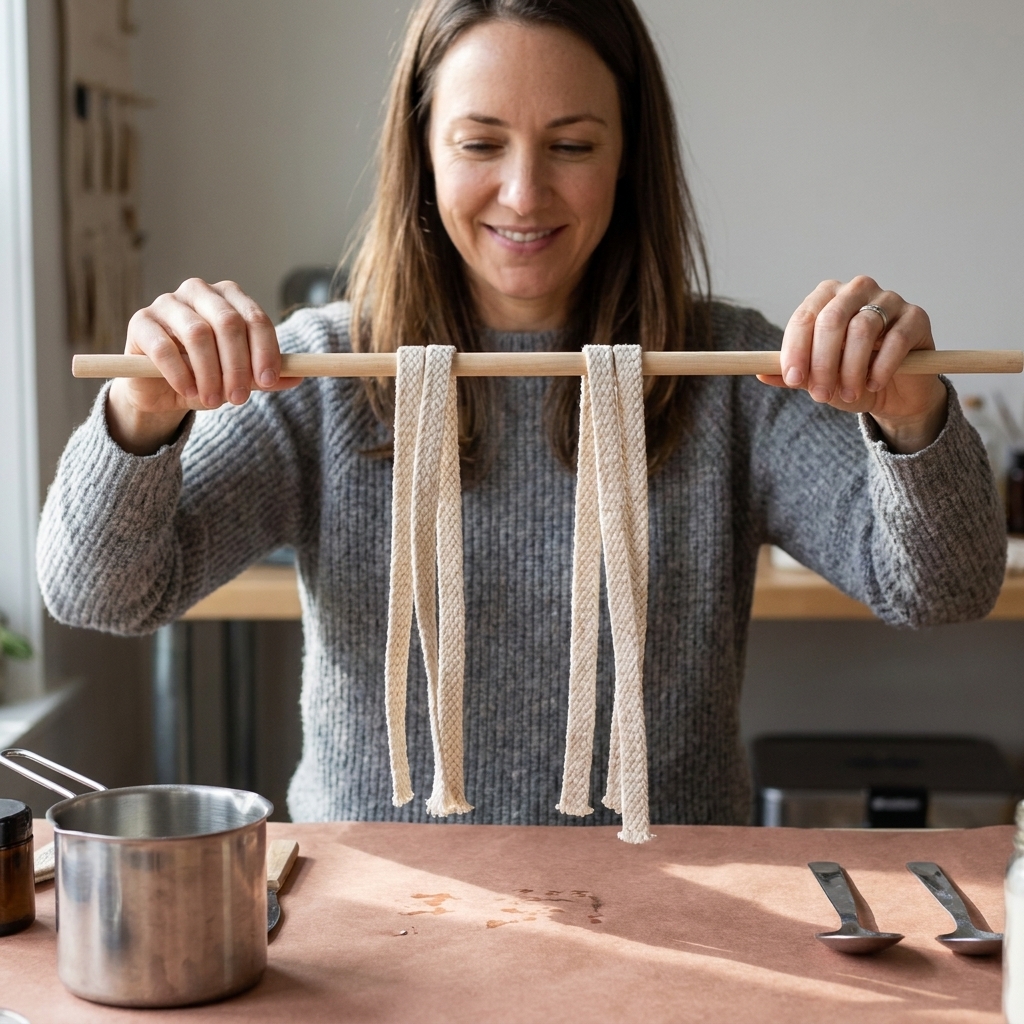
Traditional hand-dipped tapers are made in pairs over a bar. Cut a length of wick long enough for two candles plus extra for tying and handling.
- A good starting point is 28 to 36 inches of wick per pair for 10 to 12 inch tapers.
- Fold the wick in half over the dowel. The folded top becomes your hanging loop.
- Make sure both sides are equal length so the pair grows evenly.
Melt beeswax
Beeswax typically melts around 144 to 147 F (about 62 to 64 C), but dipping works best when the wax is a bit hotter than “just melted.” Too cool and you get thick, lumpy layers. Too hot and the layers slide off or stay frustratingly thin.
Starting temperature range
- Many makers start around 160 to 175 F (71 to 79 C), then adjust up or down based on how the layers are building in their space.
What matters most is consistency. A steady temperature gives you even layers and fewer surprises.
Your dipping vessel
A taller, narrower container helps you create longer tapers because you can submerge more wick. If your container is short and wide, you will still get beautiful candles, they just may be shorter or require some creative angling.
How to hand-dip tapers
This is the heart of it. Put on music, take a breath, and let the layers build.
Step 1: Prime the wick
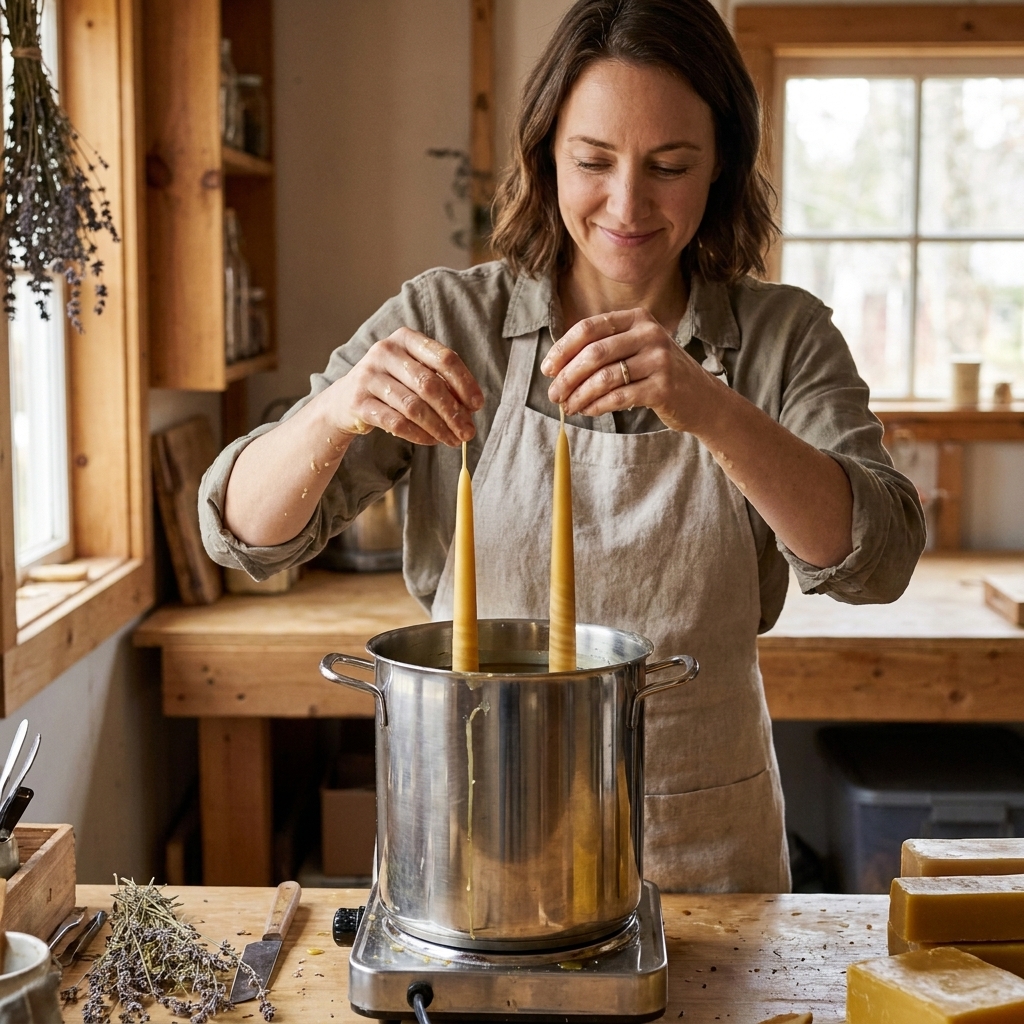
Your first few dips are about saturating the wick and creating a base layer that future wax can grab. Some makers do a slightly longer first dip. Either way, you are aiming for fully waxed, evenly coated wick before you get picky about smoothness.
- Lower the wick pair into the wax until both sides are submerged to the same depth.
- Hold for 2 to 5 seconds (up to about 10 seconds for the very first dip if your wick feels especially dry).
- Lift out smoothly and let excess drip back into the pot for a moment.
- Hang the pair on the dowel to cool until the surface looks set, usually 30 to 60 seconds.
Step 2: Find your rhythm
Dip, drip, cool. Repeat. The cooling time controls how much wax stays on the candle. If you dip again too soon, you can get ripples or sliding layers. If you wait too long, layers can get bumpy as they stack.
Step 3: Keep the pair even
Every few dips, check that both tapers are growing at the same rate and staying straight. If one side looks thicker, you can:
- Do an occasional quick dip for only the thinner candle, then return to dipping the pair together, or
- Adjust your angle slightly so the thicker one spends a hair less time submerged.
Step 4: Build thickness
Most tapers take 20 to 40 dips depending on wax temperature, cooling time, and how thick you want them. You can stop when the base diameter looks right for your holders. Standard taper bases are often around 7/8 inch, but rustic tapers can be a bit more generous.
If you like having a rough target, many home setups land in the neighborhood of:
- About 20 to 25 dips for a slimmer, more delicate taper
- About 30 to 40 dips for a sturdier dinner taper
Consider those numbers a starting point, not a promise. Your wax temperature, room temperature, and dipping depth change everything.
Step 5: Shape the taper
To encourage that classic taper silhouette:
- Dip to the same depth each time for a straighter “column.”
- Or gradually dip a tiny bit less deep every few rounds so the upper section stays slimmer than the base.
Cool and finish
Let them cool
Once you are happy with thickness, hang the pair for 10 to 20 minutes until they feel firm all the way through.
Separate the pair
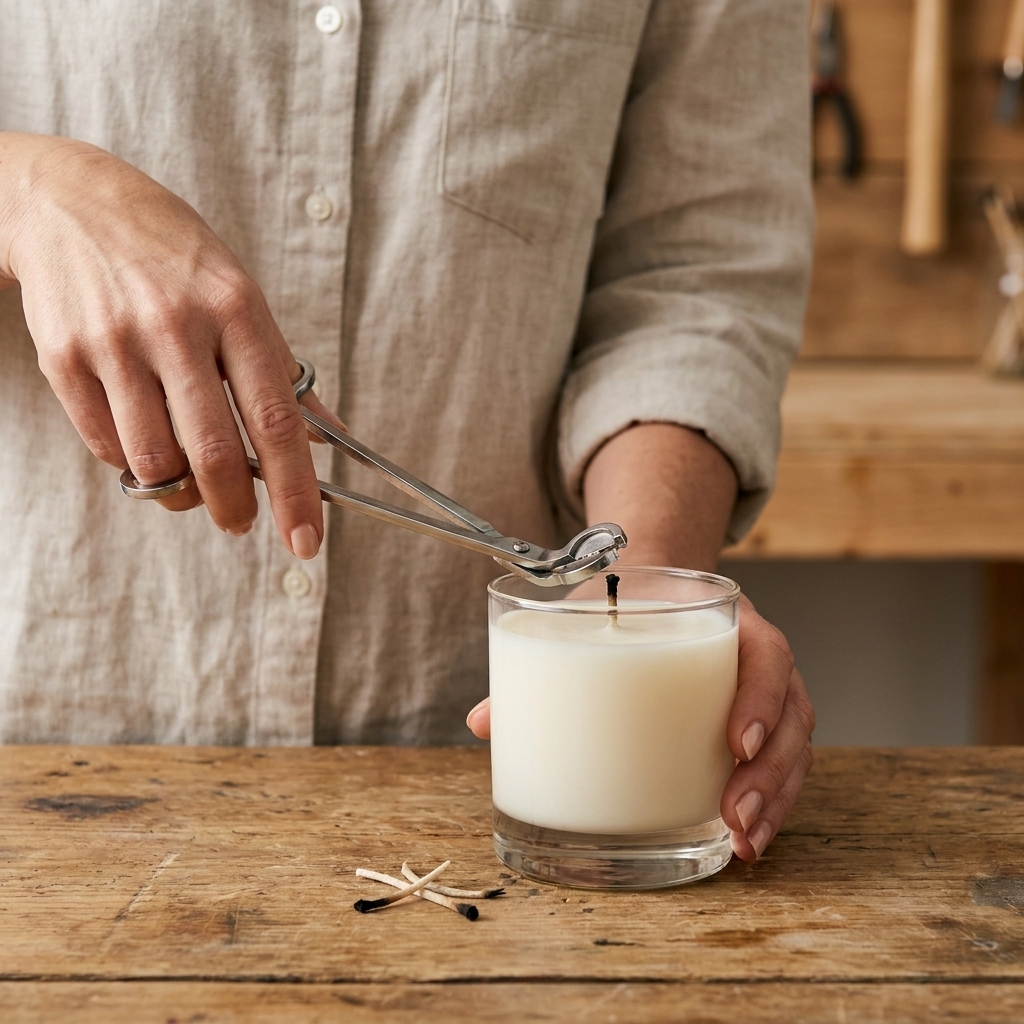
Cut the wick at the top loop to separate into two candles. Leave about 1/4 inch wick at the top for lighting.
Flatten the bottoms
For a stable taper that sits nicely in a holder, you want a flat base.
- Use scissors to trim any dangly wax “icicles.”
- Gently press the base on a slightly warm surface (like a plate warmed with hot tap water and dried well) for a second to level it, then lift straight up. Do not use anything oven-hot.
Fit the base to your holder
Hand-dipped tapers are charmingly imperfect, but the base still needs to fit. If your candle is too wide:
- Warm the base slightly with your hands or a quick pass near gentle heat.
- Roll the base lightly on wax paper to compress and smooth.
- Or carefully shave tiny curls off the base with a craft knife, working slowly.
Straighten a bent taper
If a candle dries with a gentle curve, it is usually fixable:
- Warm the candle very slightly, either by holding it in a warm room or using a heat gun from far away for a few seconds.
- Lay it on a flat surface and roll it gently until it looks straight.
- Let it cool straight. A tall vase filled with rice can help hold tapers upright while they firm up.

Troubleshooting
Layers look bumpy
- Likely cause: Wax temperature is a bit low, or you are waiting too long between dips.
- Fix: Raise wax temp slightly within a safe range and shorten your cooling time a touch.
Wax slides off
- Likely cause: Wax is too hot, or the candle is still too warm when redipped.
- Fix: Lower temp slightly and let the candle set longer between dips.
One candle is thicker
- Likely cause: Uneven dunk depth or a tilt when dipping.
- Fix: Mark a consistent depth on your dipping pot with a binder clip or a piece of tape on the outside and aim for that line each time.
Tapers crack while cooling
- Likely cause: Cooling too fast in a cold or drafty area.
- Fix: Cool at room temperature away from strong drafts. Slow cooling helps.
Taper drips when burning
- Likely cause: Wick is too large, there is a draft, or the taper is too wide for the wick.
- Fix: Test burn in a draft-free spot, trim wick to about 1/4 inch, and consider trying one wick size down for the next batch.
Flame is tiny and tunnels
- Likely cause: Wick is too small for the taper diameter.
- Fix: Go up one wick size or dip slimmer tapers for that wick.
Optional touches
Polish
Once fully cooled, buff the candle gently with a soft cloth. Beeswax takes on a beautiful, satiny glow.
Add color
If you want a tinted beeswax taper, use a dye specifically made for candles (chips or blocks formulated for wax are easiest) and keep the load light. Heavy dye can affect burn, especially in narrow tapers. Crayons are tempting, but they are not a great substitute and can lead to clogging and soot.
Keep them rustic
My favorite hand-dipped tapers have small quirks. A tiny drip line, a slightly uneven taper, that handmade look. It is the point.
How to store tapers
- Store cool and dry, away from direct sun or heat sources.
- Keep them dust-free in a box or wrapped in paper.
- Avoid strong odors nearby. Beeswax can pick up scents over time.
FAQ
How long does it take?
Plan for about 60 to 120 minutes for a first-time batch, including setup and melting time. Once you find your rhythm, the dipping itself feels faster.
Do I need to pre-wax wick?
Not necessarily. Hand-dipping naturally primes the wick in the first several dips. Pre-waxed wick can make the first dips a little easier, but it is not required.
Can I scent beeswax tapers?
You can, but I usually do not recommend it. Beeswax already has a gentle aroma, and adding fragrance oil can affect burn, especially in a taper where the wick-to-diameter balance is delicate.
What makes a taper low-drip?
Mostly proper wicking and no drafts. Even a well-made taper can drip if it is in the path of a fan, open window, or frequently opened door.
Can I reuse wax drips?
Absolutely. Peel drips off your paper and remelt them in your next batch.
How long will they burn?
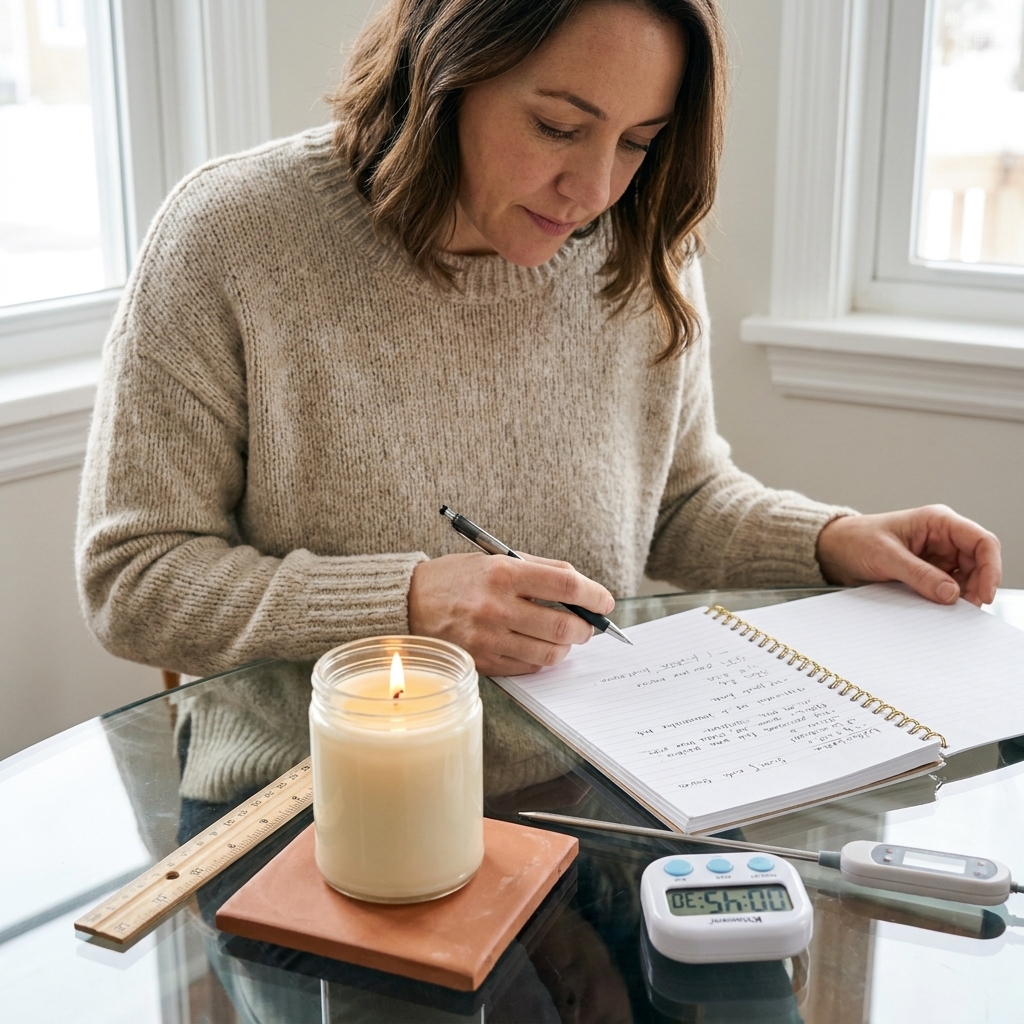
Burn time depends on diameter, wick size, and airflow, but many dinner-size beeswax tapers burn for several hours. The most helpful thing you can do is a test burn with your wick and your preferred taper thickness, then adjust from there.
A final cozy note
Your first pair might be a little wonky. Mine definitely were. But when you light a candle you built layer by layer, the flame feels different. Slower. Warmer. More yours. If you make a batch, keep one for yourself and gift the rest. That is my favorite rule.