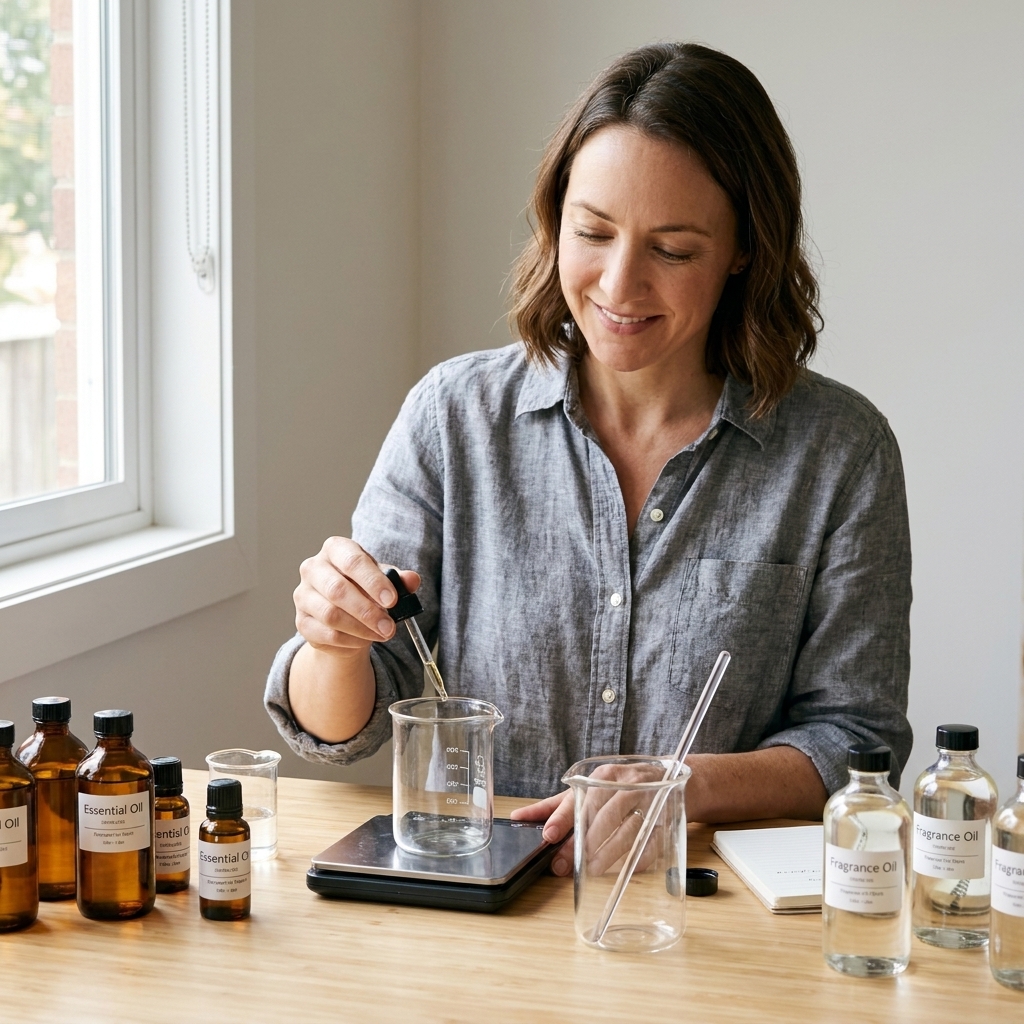
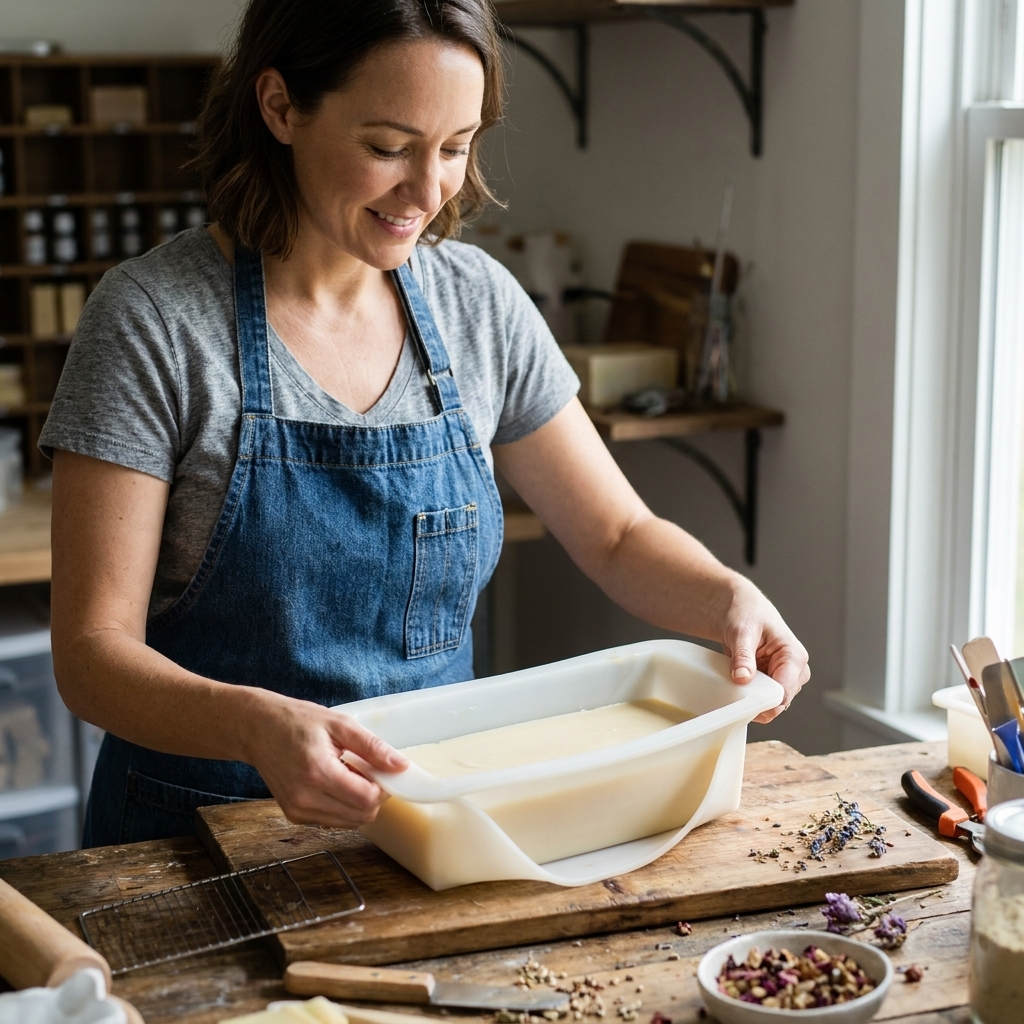
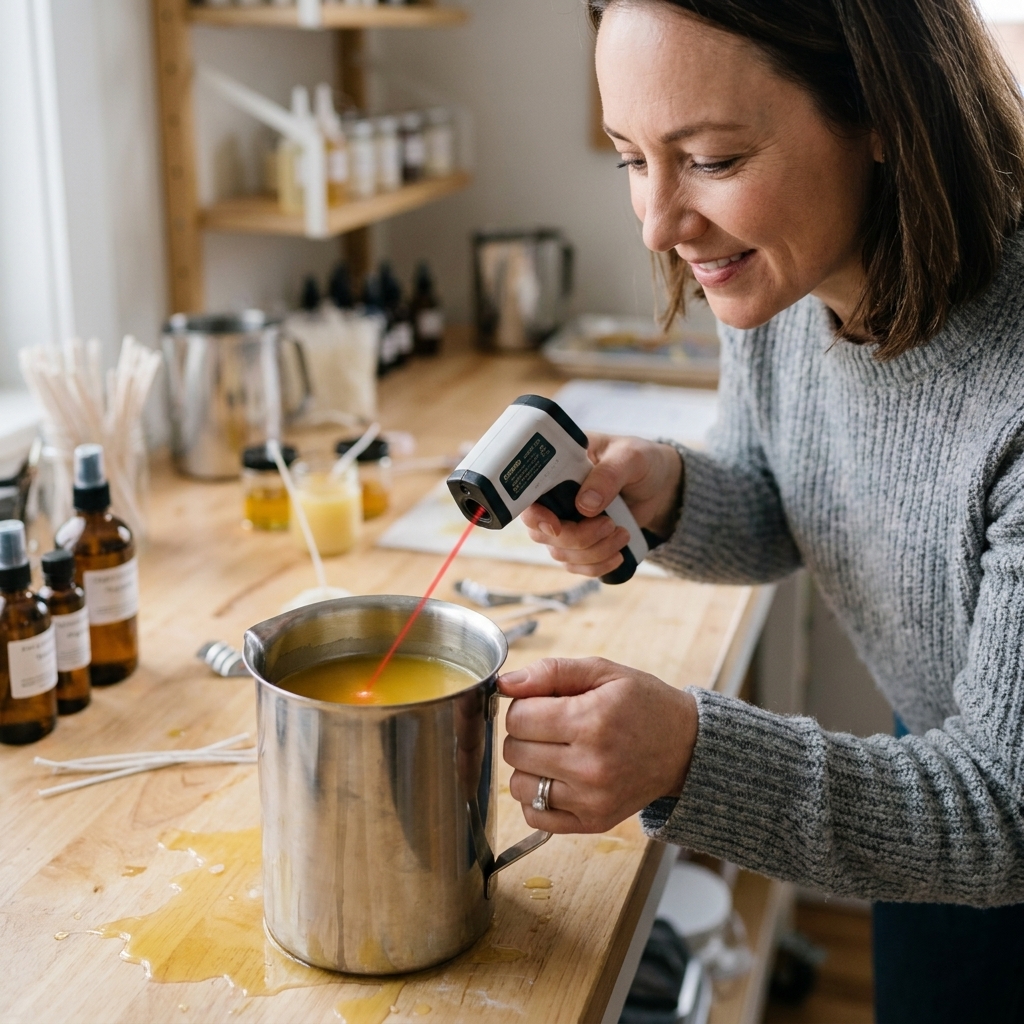
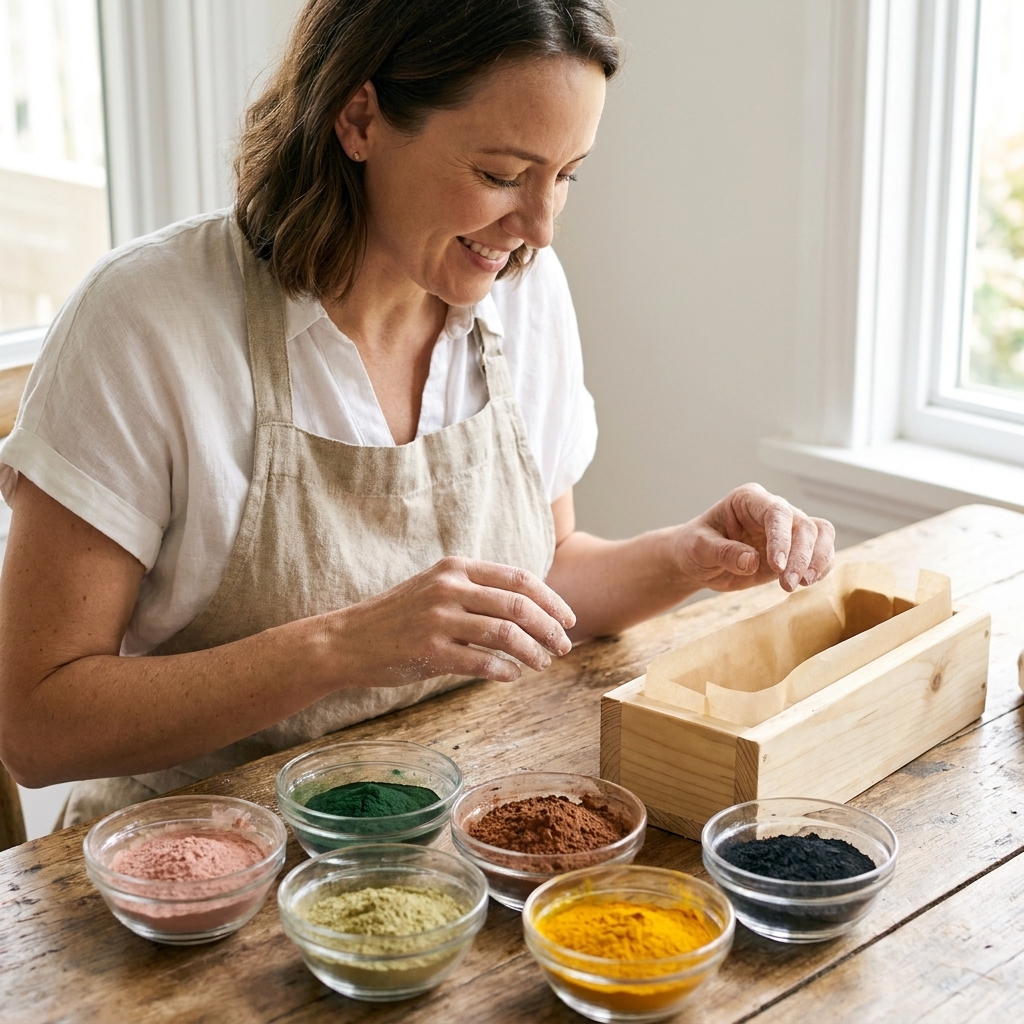
These loofah soap slices are my favorite kind of “instant fancy” project. You get a juicy, wake-me-up citrus scent and a built-in scrubber, all from a simple glycerin melt-and-pour base. They look like something you would spot in a spa boutique, but they are surprisingly forgiving, especially if you follow a couple of small tricks for keeping the loofah centered and the soap nice and clear.
Today’s recipe is bright and clean: sweet orange with a squeeze of lemon and a tiny herbal twist (optional) that makes it smell like a freshly zested cocktail garnish.
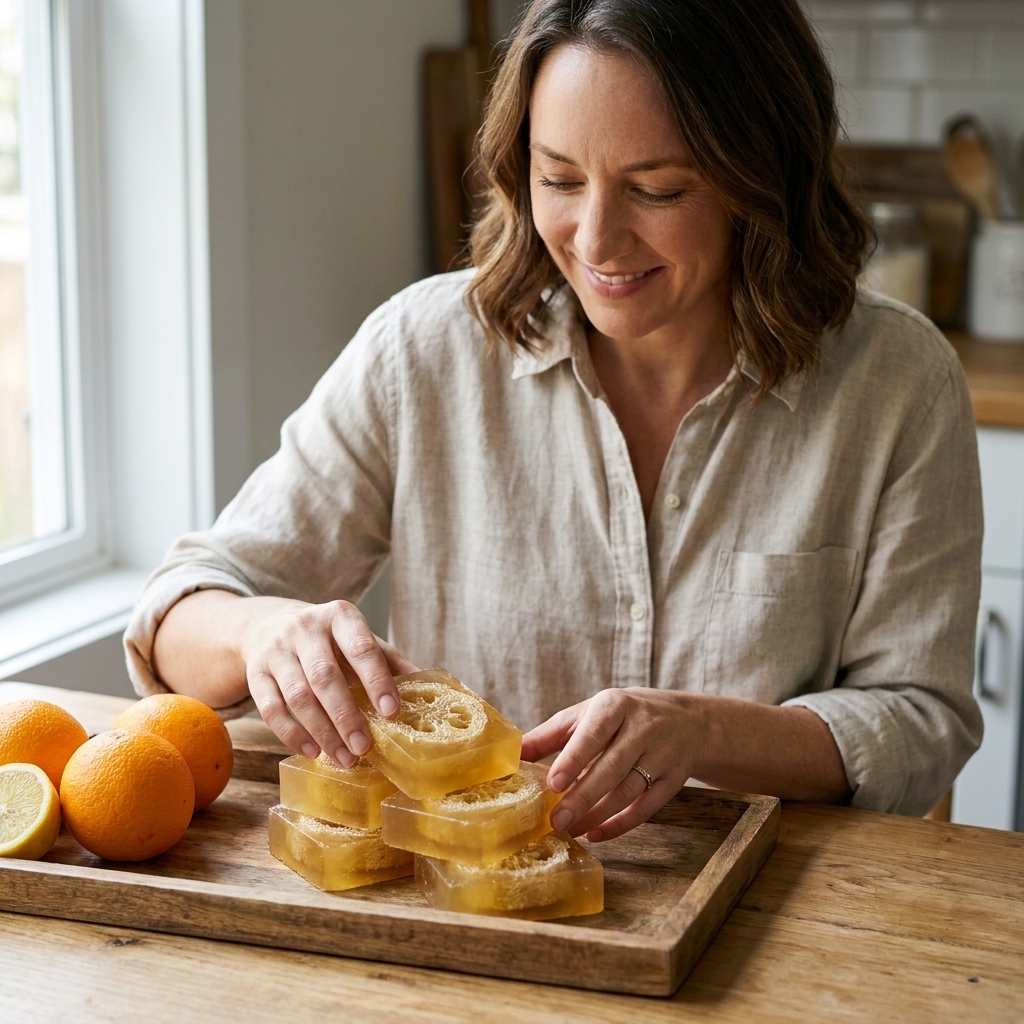
Why these work
- Built-in exfoliation: The loofah gives gentle scrub without needing added exfoliants that can sink or feel scratchy.
- Easy melt-and-pour win: No lye, no cure time, and you can use them the same day once fully hardened.
- Less shower mess: You are not dealing with a separate loofah that stays soggy and mildews faster.
- Perfect for gifts: One batch makes a tidy stack of uniform slices that wrap beautifully.
Ingredients and supplies
Soap ingredients (makes about 8 to 12 slices)
- 1 lb (454 g) clear glycerin melt-and-pour soap base (clear shows the loofah best)
- 0.25 to 0.35 oz (7 to 10 g) citrus fragrance oil that is skin-safe and melt-and-pour friendly (roughly 1.5% to 2% of base weight, or follow your base and fragrance maximum load guidelines)
- Color (optional): a pinch of yellow mica or a tiny shaving of orange melt-and-pour color block
- Isopropyl alcohol (91% or 99%) in a spray bottle (for bubbles and helping layers stick)
Loofah
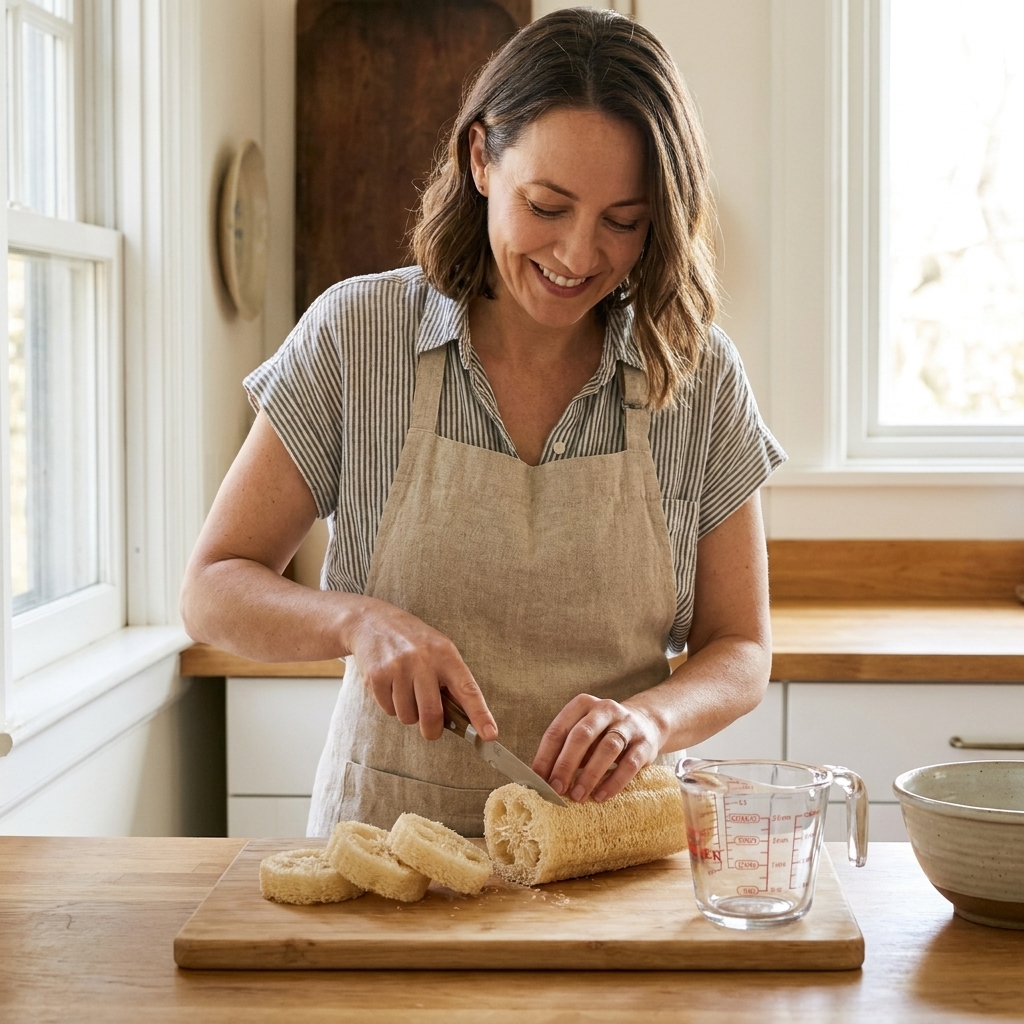
- Natural loofah sponge (pre-cut rounds, or one loofah you slice yourself)
Tools
- Heat-safe measuring cup (2 cup or larger) or a microwave-safe pitcher
- Knife and cutting board (for trimming loofah and slicing finished soap)
- Silicone loaf mold or rectangular container mold (my go-to for easy slicing)
- Digital scale (best for consistent scent strength)
- Infrared thermometer or instant-read thermometer (optional but helpful)
- Paper towels
Yield and mold size
The exact number of slices depends on your mold and how thick you cut them. As a real-world example, a standard silicone loaf mold that is about 10 inches long makes roughly 10 to 12 slices when cut at 3/4 inch thick. A shorter mold or thicker slices will land closer to 8.
Citrus scent that lasts
Citrus can be notoriously “flighty” in some soap styles. Melt-and-pour often holds onto those bright notes well, but the base and fragrance composition still matter.
- Choose a fragrance oil designed for soap (not a candle-only fragrance).
- Look for notes that anchor citrus: petitgrain, basil, rosemary, ginger, neroli, or light woods.
- Stay within safe usage rates from the supplier documentation, and also check your melt-and-pour base’s maximum fragrance load.
My “Bright Citrus” blend idea: sweet orange forward, lemon peel sparkle, and a whisper of herb. If you only have one citrus fragrance oil, use it solo and keep the project simple. It will still smell delicious.
Prep the loofah
1) Cut to size
If your loofah rounds are wider than your mold, trim them so they sit flat without bowing. Bowed loofah likes to float and shift.
2) Rinse and dry
Natural loofah can be dusty. Give the rounds a quick rinse, squeeze, and then air-dry until crisp-dry. I usually leave them out overnight. Do not embed damp loofah, since extra water can cloud the soap and weaken the bond.
3) Quick spritz or dip
Right before embedding, spritz the loofah with isopropyl alcohol (or do a fast dip and shake off the excess). This helps reduce trapped bubbles in the fibers. For the strongest bond, you will also spritz between soap layers.
Step-by-step
1) Set up your mold
Place the loaf mold on a flat tray or cutting board so you can move it without sloshing. Have your isopropyl alcohol spray bottle ready.
2) Melt the soap base gently
Cut the melt-and-pour base into small cubes for even melting. Microwave in short bursts (15 to 30 seconds), stirring between each, until just melted. Overheating can create more bubbles and haze, and it can make the base more prone to sweating in humid conditions.
If you are using a thermometer, a good working range for many clear melt-and-pour bases is about 125 to 140 F (52 to 60 C). Always defer to your base manufacturer’s guidance. You do not need a rolling hot liquid. Just melted is perfect.
3) Add color (optional)
For a clean citrus look, use a tiny amount. You can always add more, but you cannot take it out. Stir slowly to avoid frothing.
4) Add fragrance
Let the base cool a minute or two, then stir in fragrance oil. Stir gently but thoroughly for about 20 to 30 seconds.
5) Pour a thin base layer
Pour just enough soap into the mold to cover the bottom by about 1/8 to 1/4 inch (3 to 6 mm). Spritz with isopropyl alcohol to pop surface bubbles.
6) Place the loofah rounds
Lay the loofah rounds in a neat line, gently pressing so the bottom of each round contacts the warm soap layer. Leave a little breathing room so your slices stay strong, about 1/4 inch between rounds works well. Spritz the tops of the loofah lightly with isopropyl alcohol.
Tip for centering: If your loofah wants to float, wait 1 to 2 minutes so the base layer thickens slightly, then press the loofah in again.
7) Fill the mold slowly
Pour the remaining soap base down the side of the mold or over a spatula so it flows in gently. This reduces bubbles around the loofah fibers. Spritz the top again with isopropyl alcohol.
8) Cool and unmold
Let the loaf cool at room temperature until fully firm, usually 2 to 4 hours depending on mold size and room temperature. Avoid the freezer unless you are in a rush, since rapid temperature changes can encourage sweating later.
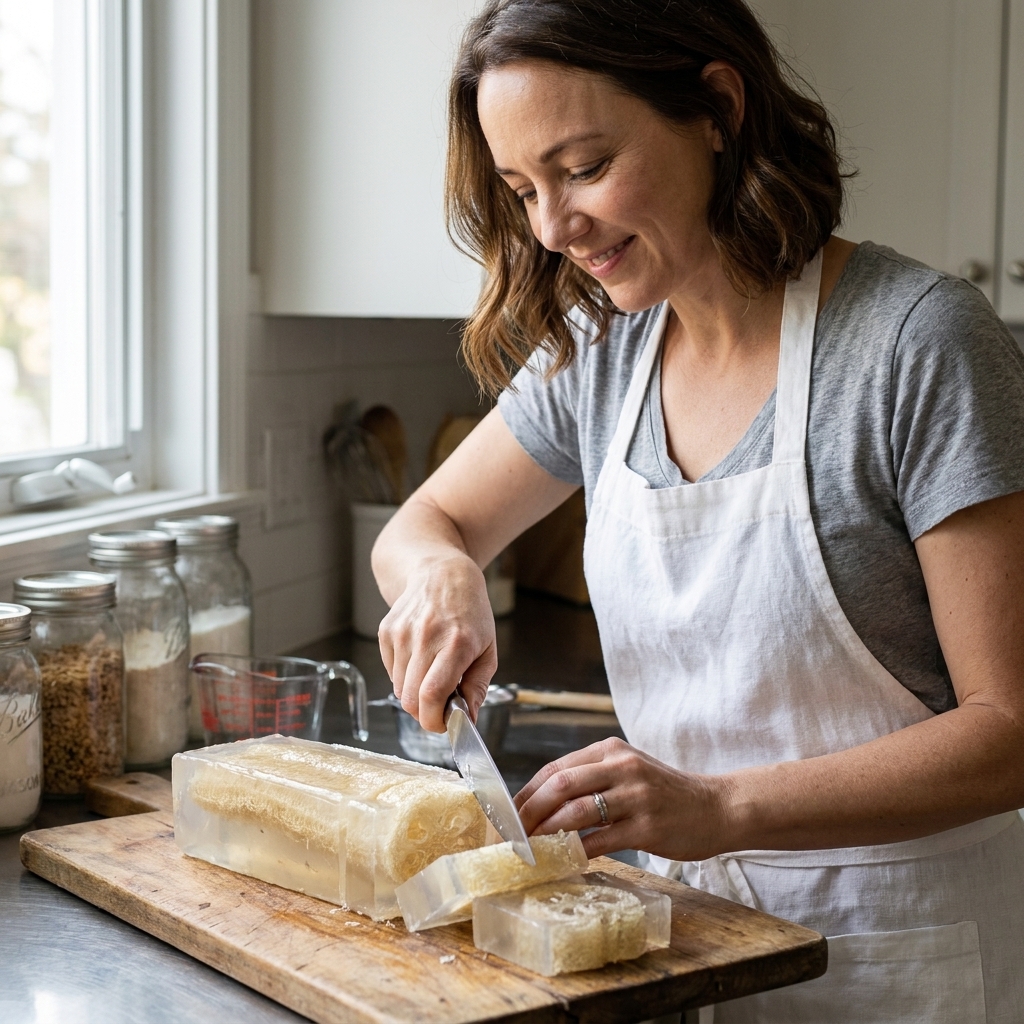
9) Slice cleanly
Unmold and slice with a sharp non-serrated knife. I like slices about 3/4 inch thick for a good hand-feel. Wipe the blade between cuts for crisp, pretty edges. If you want ultra-even slices, a simple soap cutter or a miter box can help.
How to use
Wet the slice and rub it between your hands for a creamy lather, then use the loofah side to massage elbows, knees, heels, and any rough-patch areas. Use a lighter touch for sensitive skin. Avoid broken or irritated skin, and if you are exfoliation-sensitive, do a quick patch test on a small area first.
Best storage in the shower: a draining soap dish, a wire rack, or a soap saver pad. The drier it stays, the longer it lasts and the fresher it smells.
Troubleshooting
My loofah floats to the top
- Pour a slightly thicker base layer first and let it set up for 1 to 3 minutes before placing loofah.
- Press the loofah down gently, then pour the remaining soap slowly.
- Trim loofah thinner if it is very buoyant.
I have big bubbles stuck in the loofah
- Spritz or quickly dip the loofah with isopropyl alcohol right before embedding.
- Pour slowly along the side of the mold, not directly onto the loofah.
- Tap the mold lightly on the counter after pouring to release trapped air.
My soap is cloudy
- Overheating can cause haze. Melt gently and stir slowly.
- Too much mica can reduce clarity. Use a tiny pinch.
- Some clear bases are more translucent than glass-clear. A quality base makes a big difference.
The loofah separates when I slice
- Spritz the base layer with isopropyl alcohol before placing loofah, then spritz the loofah before the final pour.
- Do not wait too long between layers. If the first layer fully hardens, the bond is weaker.
My bars sweat or feel sticky
- Glycerin soap attracts moisture, especially in humidity. Wrap slices tightly once fully cooled.
- Avoid rapid chilling and big temperature swings.
- Store finished soap in a cool, dry spot until gifting or use.
Gift wrapping ideas
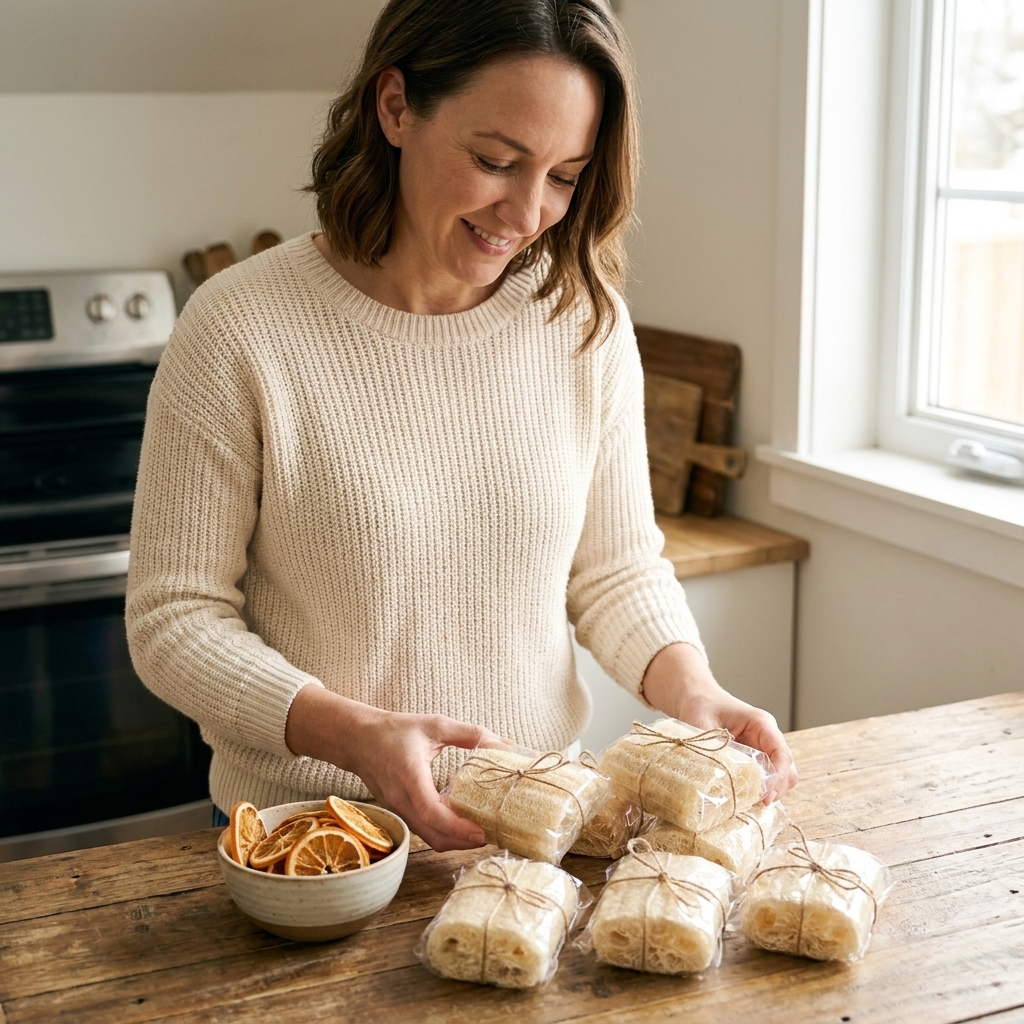
These slices look gorgeous with simple packaging, especially when the loofah center is visible.
- Cling wrap or shrink wrap: best for preventing glycerin sweat and scent loss.
- Glassine bag + label: pretty, but add an inner wrap if you live in a humid area.
- Twine and dried citrus: a thin dried orange slice tied to the outside is adorable, just keep botanicals outside the soap to avoid discoloration and spoilage.
Variations
- Pink grapefruit and mint: bright and spa-like, especially in a pale peach tint.
- Lemongrass and ginger: zingy and grounding.
- Orange and vanilla: creamsicle vibes, great for winter gifting.
- Oat milk base swap: use a goat milk or oatmeal melt-and-pour base for a more moisturizing feel, but expect a more opaque look.
Safety notes
- Use only skin-safe fragrance oils at approved rates. If you choose essential oils, follow dermal limits and phototoxicity guidance, especially with citrus.
- Hot melt-and-pour can burn. Handle melted soap carefully and keep it away from kids and pets.
- Fragrance oils can linger on hands and surfaces. Wipe spills promptly, wash hands after measuring, and keep fragrance away from porous counters.
- Clean tools with paper towels while soap is still warm, then wash with hot, soapy water.
FAQ
Can I use essential oils instead of fragrance oil?
You can, but citrus essential oils have extra safety considerations, and some are phototoxic. For a beginner-friendly, consistent result, a tested soap-safe citrus fragrance oil is my recommendation.
Do I need to sanitize the loofah?
If it is dusty, rinse and dry it until crisp-dry. You can also spritz it with isopropyl alcohol right before embedding. The key is starting with fully dry loofah so the soap bonds well.
How long do these last?
It depends on how wet they stay between uses. On a well-draining dish, I typically get 1 to 2 weeks from a slice with daily use. If it sits in a puddle, it will dissolve much faster.
Can I make these in individual round molds?
Yes. Put a thin pour in the bottom, place a loofah round, then fill. Individual cavities cool faster, so work in smaller batches and spritz with isopropyl alcohol between steps.