There is something ridiculously satisfying about peeling back a silicone mold and seeing clean color bands hugging every swirl and petal. Multicolored pillars look fancy, but the process is basically a rhythm: pour, set, pour again, with a few temperature and timing tricks that keep your layers sharp instead of slippery.
This tutorial is written for freestanding pillars in intricate silicone molds using paraffin pillar wax or a soy-paraffin pillar blend. Pure soy container wax usually stays too soft for a crisp pillar, so if you only have soy, make sure it is labeled for pillars or votives.
One important note before we start: wax brands vary a lot. Always default to your wax manufacturer’s melt, dye, fragrance, and pour temperature ranges, then use the numbers below as common starting points to dial in your own setup.

Safety and setup first
I am all for happy accidents, but hot wax is not the kind you want. Take two minutes to set yourself up safely.
- Ventilation: Especially if you are using fragrance oils and heating paraffin.
- Heat protection: Long sleeves, closed-toe shoes, and heat-resistant gloves for handling pitchers.
- Dedicated tools: Use candle-only pitchers, spatulas, and thermometers.
- Stable workspace: Your mold should sit level and undisturbed for the full cooling cycle.
If you are working with fragrance oils or dyes, follow the supplier’s usage rates and safety data sheets. Overloading fragrance can cause sweating, smoking, or poor burns, so when in doubt, stay within your wax maker’s recommended range.
What you need
Materials
- Silicone pillar mold (detailed molds work beautifully for this)
- Pillar wax: paraffin pillar wax or a soy-paraffin pillar blend
- Wick: braided cotton wick sized for your mold’s widest diameter
- Wick sustainer (optional, mainly for molds designed for them)
- Wick pin (or a skewer) if your mold uses a pin method
- Wax dye: liquid dye or dye blocks/chips formulated for candles
- Fragrance oil (optional, candle-safe)
- Mold release (optional, silicone often does not need it, but it can help with very intricate designs)
- Rubber bands or mold straps (if your mold has a seam)
- Tack putty or a mold base to keep the mold upright
Tools
- Pouring pitcher(s) and a double boiler setup
- Accurate thermometer (digital probe is my favorite)
- Scale for weighing wax and fragrance
- Stir stick or silicone spatula
- Heat gun (highly recommended for fixing tops and adhesion)
- Paper towels and isopropyl alcohol for cleanup
Quick wick reality check: wick choice is the biggest performance variable. Start with your wick manufacturer’s chart for pillar diameter, then test burn and adjust. Dye load, fragrance load, wax type, and heavy mold texture can all push you up or down a wick size.
Quick cheat sheet
- Layer readiness: “dent but not smear” when touched with a gloved fingertip or craft stick
- Clean lines: cooler pours and firmer set between layers
- Better bonding: slightly warm surface, brief heat gun gloss, then pour
- If you get separation: pour sooner or warm the surface more
- If you get color bleed: wait longer and pour cooler
Before you melt wax
Multicolored pillars look best when your plan matches the mold’s shape.
- Bold stripes: Great for geometric molds and smooth-sided designs. In highly detailed molds, stripes become “contour lines” that can look gorgeous.
- Ombre gradient: Same color family, increasing dye amount each layer.
- Two-tone flip: Pour one color halfway, then the second color. Simple and dramatic.
- Marbled layers: A base pour plus a quick “ribbon” pour of a second color, swirled lightly.
Tip: If your mold has deep undercuts and high relief (think flowers and scrollwork), slightly higher contrast between colors reads better once the candle is burning and casting shadows.
Step-by-step
1) Prep the mold
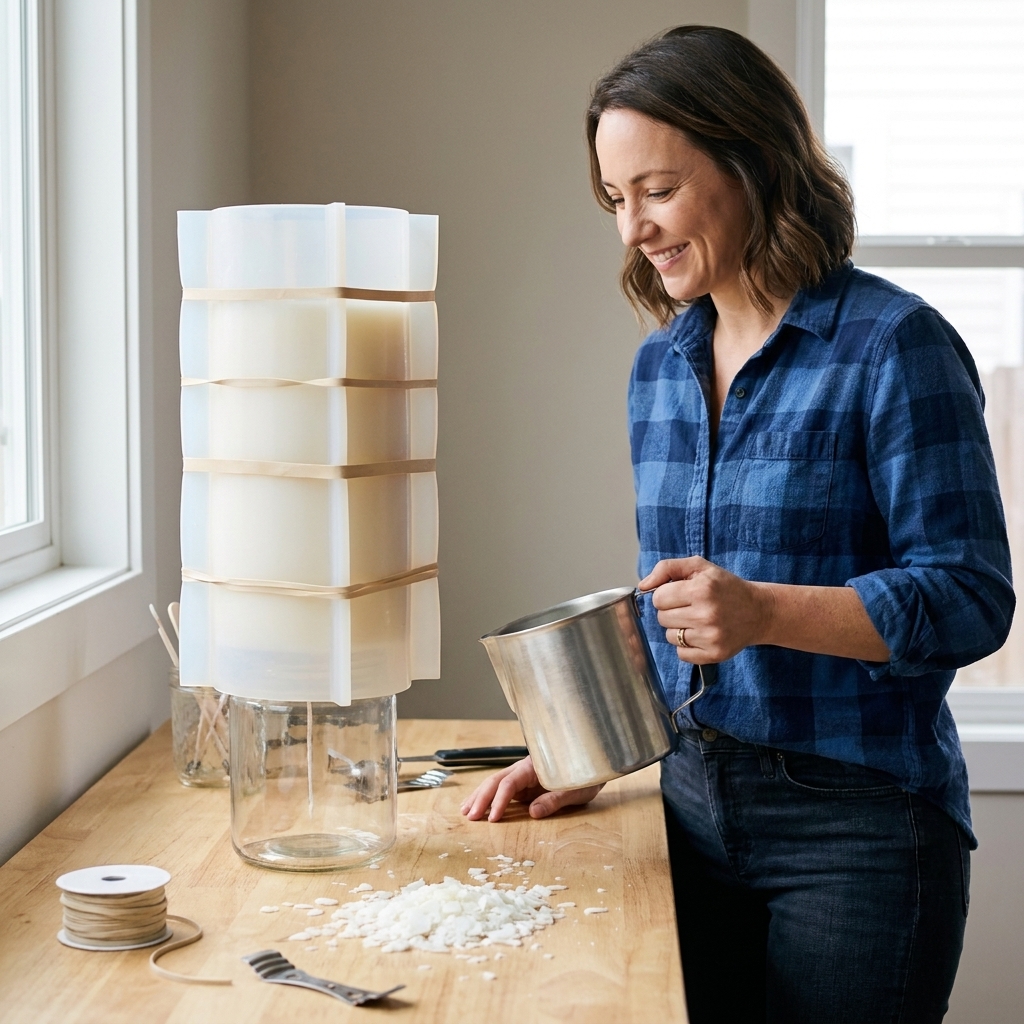
Make sure your mold is clean and totally dry. If it is a two-piece silicone mold, align the seam carefully and secure it with rubber bands or the manufacturer’s shell.
- Seal the bottom: If the wick exits through a hole, seal around it with tacky putty so wax cannot leak.
- Stabilize: Set the mold into a cup or rice-filled container so it stays upright.
2) Wick the mold
Thread your wick through the wick hole, pull it taut, and secure it at the top with a wick bar, chopstick, or skewer. The goal is a centered wick with gentle tension.
- If your mold uses a wick pin, insert it now and you will wick after unmolding.
- Trim stray fibers and keep the wick straight. A crooked wick makes a crooked melt pool, and a multicolor candle deserves better.
3) Melt wax and prep colors
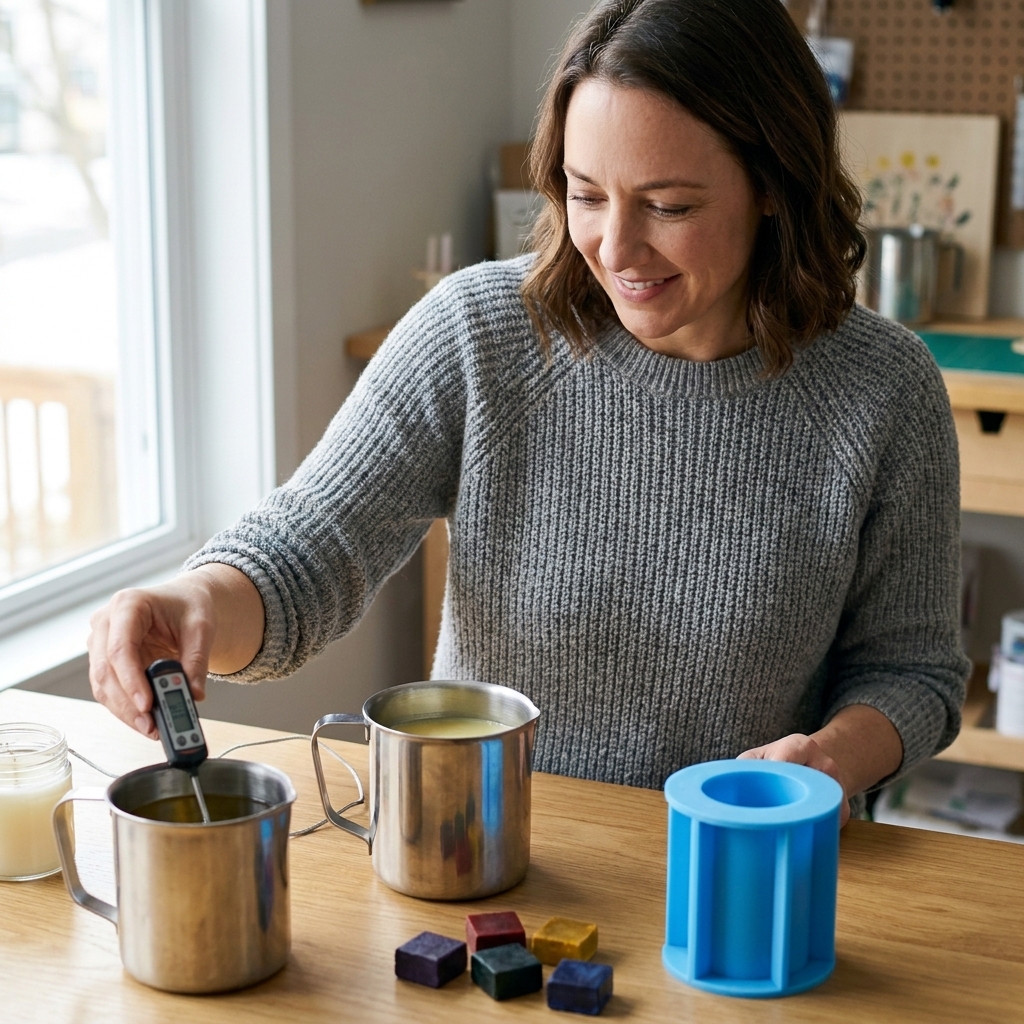
Weigh your wax. For layering, I like to melt the full batch, then split it into smaller pitchers for each color. This keeps scent load consistent and makes your layers more predictable.
Temperature targets (common starting ranges):
- Paraffin pillar wax: melt around 170 to 190°F (77 to 88°C)
- Soy-paraffin pillar blends: melt around 160 to 185°F (71 to 85°C)
Add dye once fully melted. Add fragrance (if using) after the wax cools slightly, often around 160 to 175°F (71 to 79°C), or per your supplier. Stir slowly for 1 to 2 minutes so you do not whip in bubbles.
Keeping pitchers ready between layers: set your color pitchers in a warm water bath off the heat, or rewarm in short bursts as needed. The goal is steady, controlled temps, not repeated overheating.
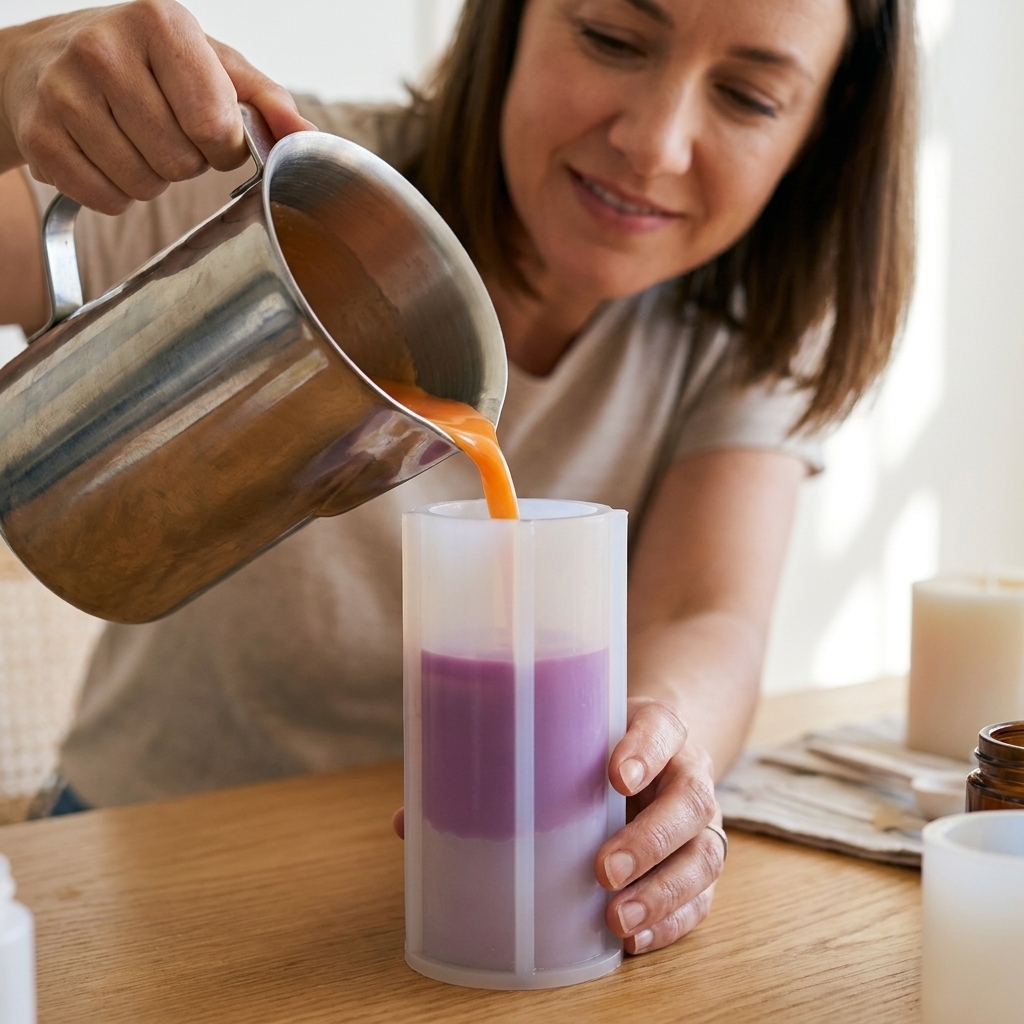
4) Pour the first layer
For clean layers, you want the first pour warm enough to flow into details, but not so hot that it causes later layers to sink or bleed.
A good starting point for many pillar waxes is pouring around 150 to 165°F (66 to 74°C), then adjusting based on your wax behavior, fragrance load, and mold detail.
- Pour slowly down the side of the mold or over a spoon to reduce air pockets.
- Tap the mold gently to encourage bubbles to rise.
- Let the layer set until it is firm but still slightly warm.
The “sweet spot” test: Touch the surface with a gloved fingertip or a craft stick. If it leaves a faint dent but does not stick or smear, you are ready for the next layer.
5) Get layers to bond
The most common heartbreak with layered pillars is a candle that splits cleanly between colors like a wax sandwich. To help layers bond:
- Do not wait until the layer is ice-cold. Slight warmth helps welding.
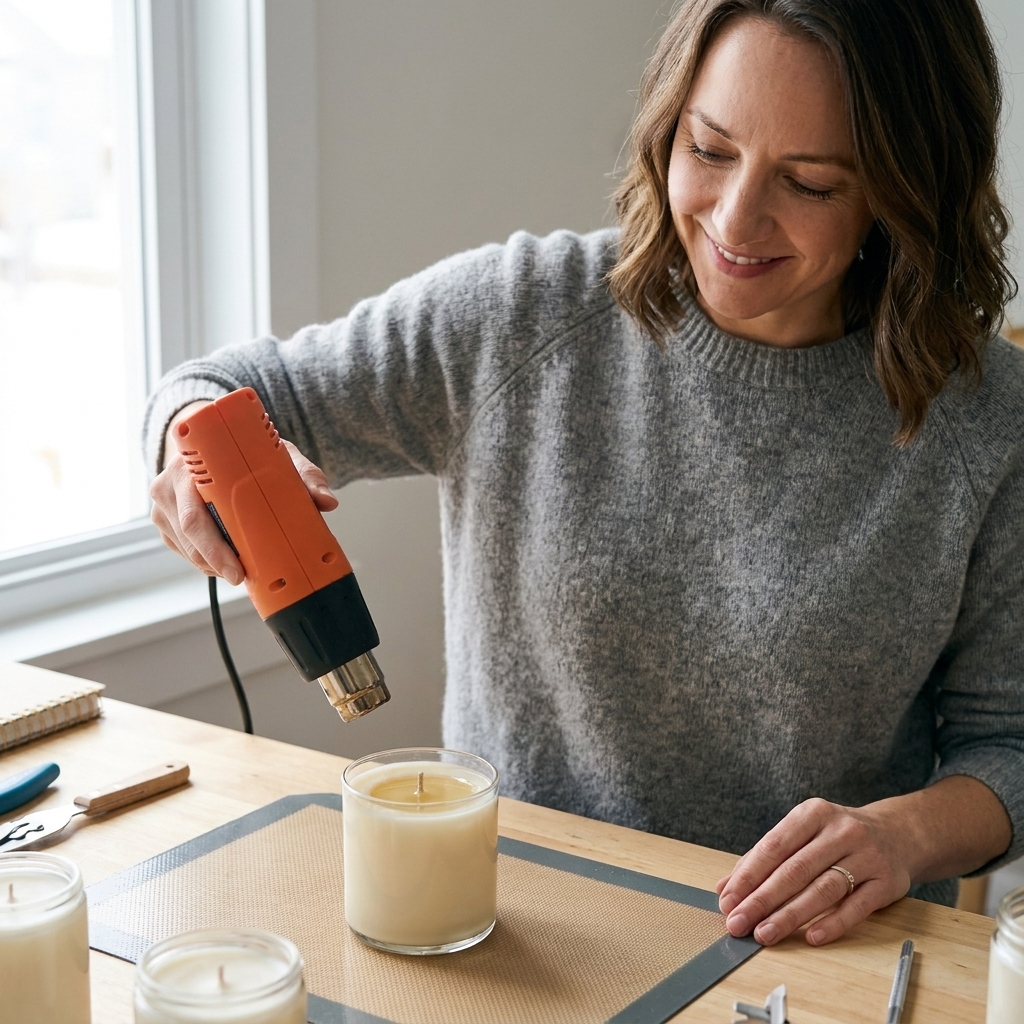
- Lightly warm the surface with a heat gun for a few seconds right before the next pour. You want it glossy, not liquid.
- Adjust your next pour temperature based on what is going wrong: If you are getting separation, many makers have luck pouring the next layer about 5 to 10°F (3 to 6°C) warmer than the prior pour as a starting experiment. If you are getting bleed or softened lines, do the opposite and pour a bit cooler, and let the previous layer firm up longer.
6) Pour the next layer
Pour your second color at a controlled temperature and the same slow pace. Keep the wick centered as you go, especially in tall molds where the wick can drift.
Repeat until you reach the top. For a tall pillar, I usually do 3 to 6 layers. Thin layers look crisp, but they also cool faster, so you may need to work in smaller batches to keep wax in the right temperature window.
7) Fix sinkholes and finish the top
Pillar waxes shrink as they cool, which can create a sinkhole around the wick. The taller and thicker the candle, the more likely you will need a second pour.
- Poke relief holes: When the top skin forms, poke 2 to 4 holes near the wick with a skewer to release trapped air.
- Top off: Reheat a small amount of your last color and pour a thin top-off once the top skin is firm and a sinkhole starts to appear.
- Smooth the top: A quick pass with a heat gun can level minor imperfections.
Pro tip: reserve a little of your final color for the top-off. It helps you match shade, and it avoids muddying your crispest layer line right at the end.
If you want a perfectly flat base (important for freestanding pillars), aim to make the bottom of the mold the “show” base when possible, or be prepared to level the candle base after unmolding.
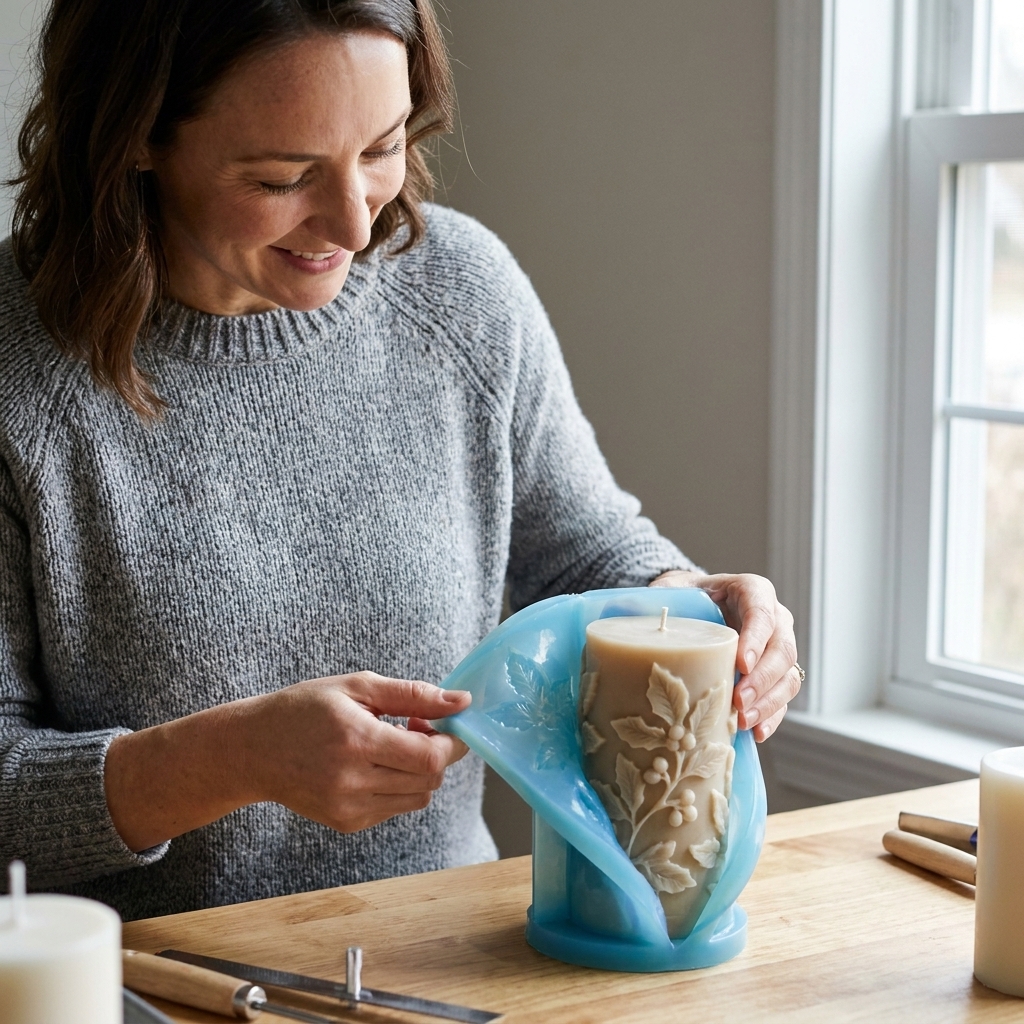
8) Cool, then unmold
Patience is your friend here. Let the candle cool at room temperature until it is completely firm. Rushing unmolding is how you get fingerprints, drag marks, or warped details.
- For many pillars, overnight is a good minimum. Thin pillars may release sooner, but thick pillars often do best with 12 to 24 hours in the mold, sometimes longer.
- To unmold, gently peel the silicone away from the wax rather than pulling the candle out by force.
- If it clings, try 10 to 20 minutes in the freezer. Silicone releases beautifully with a short chill. To reduce condensation, you can place the mold in a sealed bag before chilling. Do not forget it in there for hours, or moisture can spot the surface once it warms.
9) Trim, cure, and test burn
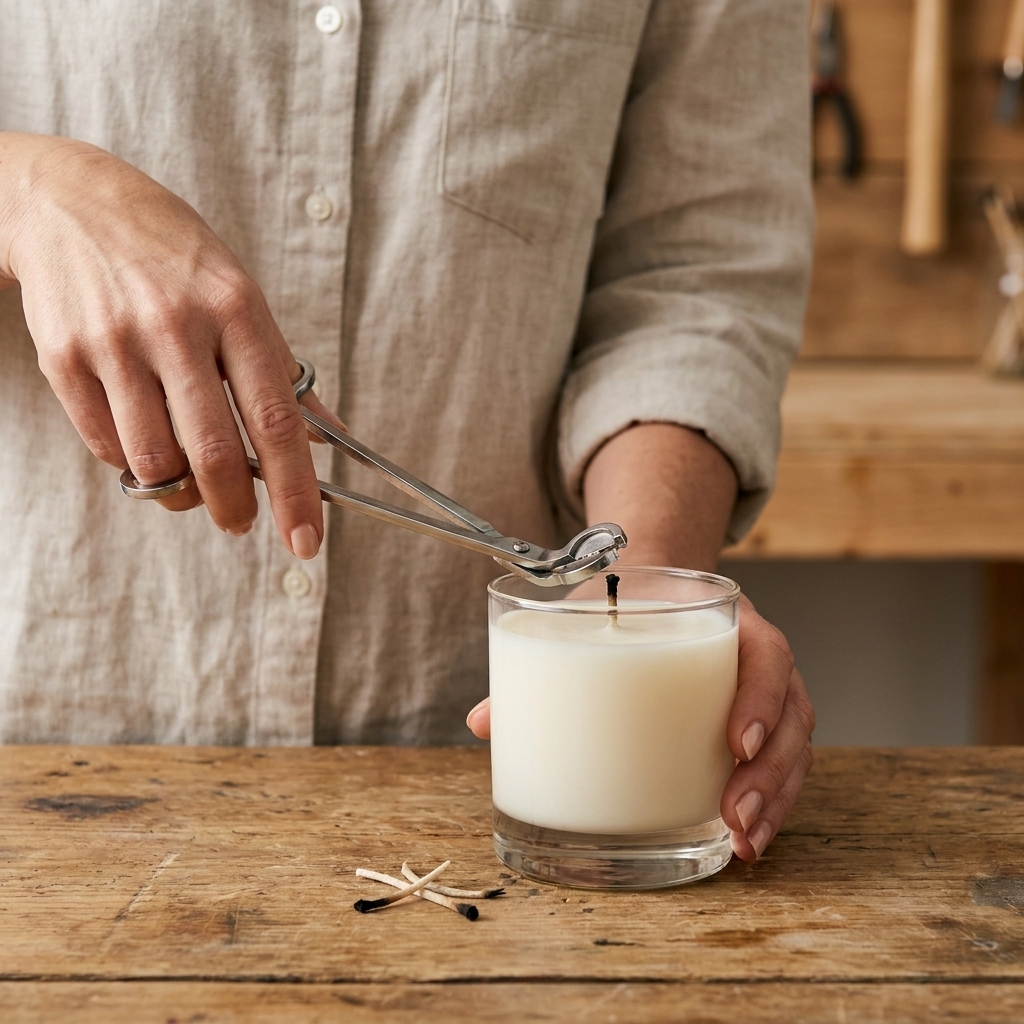
Trim the wick to about 1/4 inch (6 mm). Even paraffin pillars benefit from a little rest so the structure settles and the fragrance (if used) evens out.
- Rest time: 24 to 48 hours is a nice minimum. For strongly scented candles, many makers find 3 to 7 days can improve throw.
- Test burn: Test your wick size with a full burn session (at least 2 to 3 hours per session) on a heat-safe plate. Pillars can drip, and detailed molds can burn differently than smooth ones because ridges and undercuts affect airflow.
- Basic burn safety: Do not burn unattended. Keep away from drafts and combustibles. Trim the wick before each burn, and stop burning when the flame gets too close to the base or the candle becomes unstable.
Design variations
Crisp stripes
For sharp stripes, keep each layer fairly thin and pour at consistent temperatures. If you want the stripe to land at a specific point in the design (like the top of a rose), mark the outside of the mold with small bits of tape.
Ombre gradient
Use one dye color and increase the amount each layer. For example, start with one drop of liquid dye, then two, then three. Keep notes. Your future self will thank you.
Marble ribbon layers
Pour your main layer color, then drizzle a thin stream of a contrasting color and give one gentle swirl with a skewer. Stop before it turns muddy. Marble wants restraint.
Metallic highlights
After unmolding, dry-brush mica onto raised details with a soft brush. This is a surface treatment, not a wax dye. It makes ornate molds look carved.
Troubleshooting
My layers separated
- Cause: Previous layer cooled too much, or the next layer was poured too cool to bond.
- Fix next time: Pour the next layer while the surface is still slightly warm, warm the surface briefly with a heat gun, and keep pour temps consistent.
Colors bled into each other
- Cause: Pouring too hot or pouring the next layer before the previous one was firm enough.
- Fix next time: Lower pour temperature by 5 to 10°F, and wait for the “dent but not smear” stage. If needed, skip the “warmer next layer” experiment and go the other direction.
Air bubbles in fine details
- Cause: Pouring too fast, wax cooling too quickly, or air trapped in the mold’s tiny pockets.
- Fix next time: Pour in a thin stream, tap the mold, and aim for a slightly warmer first pour so wax can flow into details before setting.
Sinkholes and craters near the wick
- Cause: Normal shrinkage in pillar wax.
- Fix next time: Poke relief holes and plan a top-off pour. Large pillars almost always need one.
Frosting or dusty patches
- Cause: More common with soy blends, often from temperature swings during cooling.
- Fix next time: Cool in a draft-free spot, avoid moving the mold, and consider slightly warmer pours for soy blends. A gentle heat gun pass can cosmetically improve light frosting.
The candle is soft or bends
- Cause: Wax is too soft for pillars (often container soy), or the candle is still warm inside.
- Fix next time: Use a true pillar blend, let it cool longer, and consider a pillar additive only if recommended by your wax supplier.
Frequently asked questions
Can I do this with pure soy wax?
Only if it is a soy pillar wax or a soy blend designed for pillars. Most container soy waxes are too soft for freestanding candles and detailed unmolding.
Do I need mold release for silicone?
Often no. Silicone is naturally nonstick. For extremely detailed molds or stubborn waxes, a very light mist can help, but too much can dull detail or cause surface imperfections.
How thick should each layer be?
For bold stripes, 1/2 to 1 inch layers are easy and forgiving. For intricate “candy stripe” looks, go thinner, but know you will be working faster because thin layers set quickly.
What is the best way to keep colors consistent?
Weigh your dye when possible (especially with dye blocks), stir thoroughly, and keep notes on drops or grams per pound of wax. Consistent pour temperatures also help the same color read the same from layer to layer.
My best tip
Layered pillars are one of those crafts where tiny tweaks create huge improvements. Write down your wax type, pour temps, set time between layers, dye amounts, fragrance load, and wick choice. Your next batch will look like you meant to do it that way all along.
If you try this tutorial, start with two colors first. Once you feel the timing of your wax, add more layers and play with gradients. The mold will teach you what it likes, and honestly, that is half the fun.