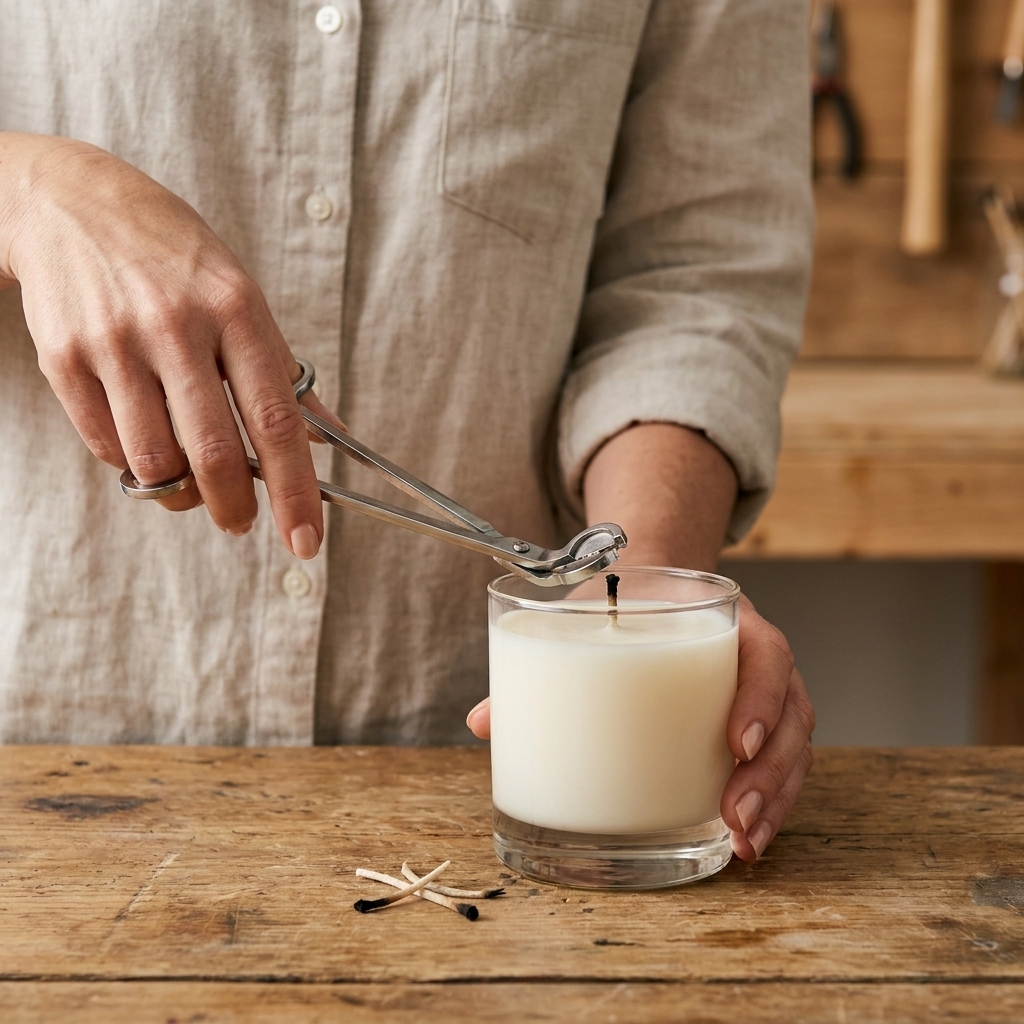
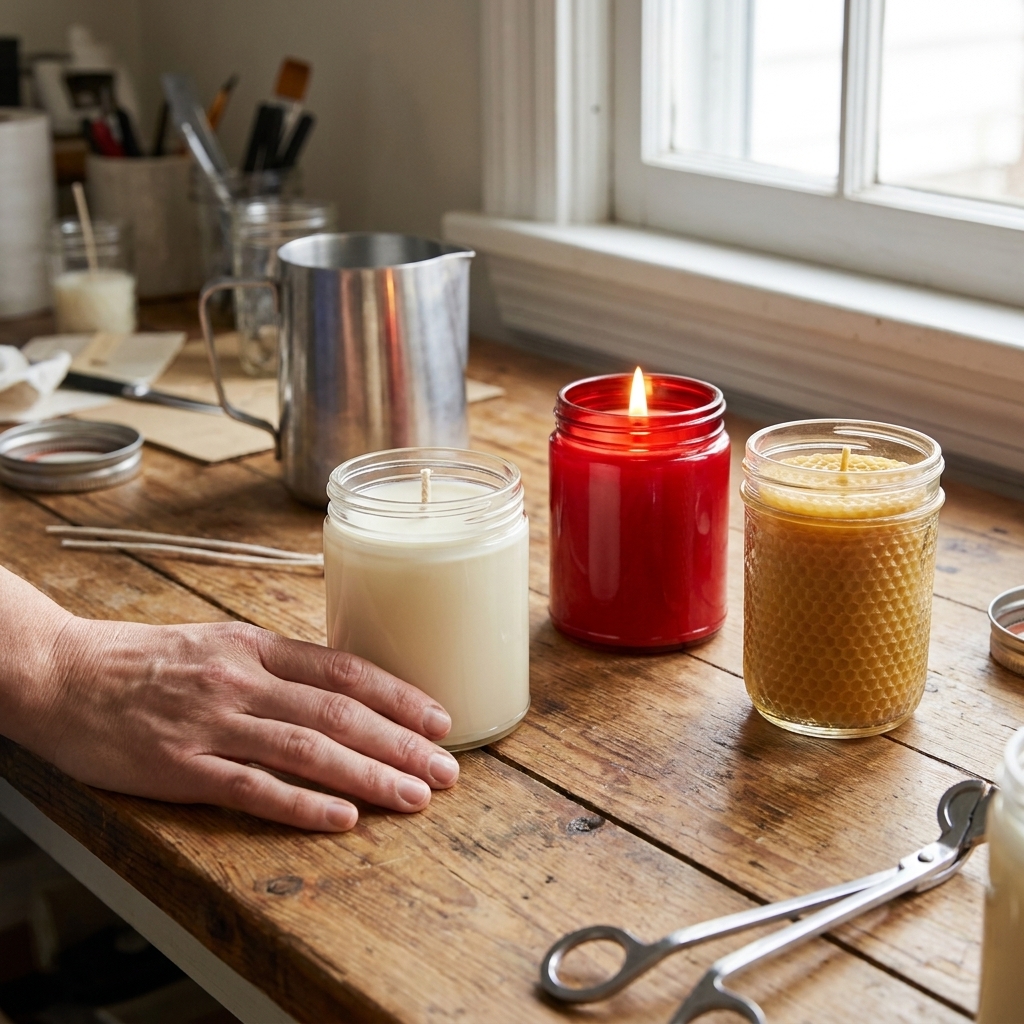
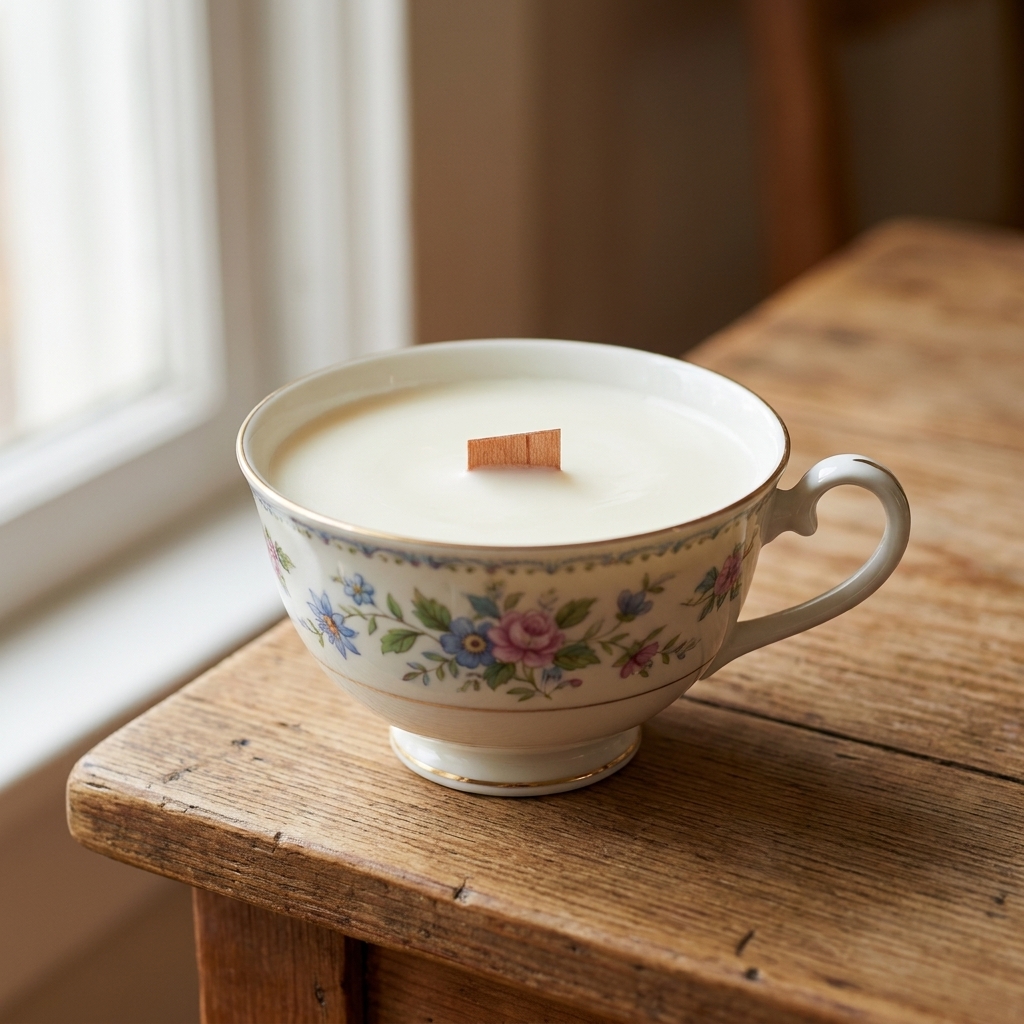
There is something extra comforting about a candle that crackles like a tiny fireplace. Pair that sound with a thrifted teacup and you have the coziest upcycle I know: a crackling wooden wick teacup candle that looks heirloom-level fancy but is absolutely doable at your kitchen counter.
I will walk you through choosing a teacup with safety in mind, picking a wax that behaves in small vessels, sizing a wooden wick so it actually stays lit, and setting yourself up for a clean, steady burn. Teacups are adorable, but they are not automatically candle-safe, so we are going to treat them with the respect they deserve.
Before you start: choosing a safe teacup
When you are upcycling vintage pieces, the teacup is the whole vibe. It is also the container, so safety comes first.
Quick reality check: vintage cups are inherently a higher-risk choice than purpose-made candle jars. Old glazes, unknown manufacturing, and decades of wear mean you are not working with something that was tested for repeated open-flame use. You can still do this responsibly, but treat each cup like a one-by-one decision, not a guarantee.
Best teacups for candles
- Porcelain or bone china in excellent condition (no hairline cracks).
- Thicker ceramic cups that feel substantial in your hand.
- Flat, stable base so the candle cannot tip easily.
Skip these
- Any cup with cracks, crazing you can feel, or chips around the rim or base. Heat stress can make small flaws become big problems.
- Very thin, delicate cups that feel almost translucent or extremely lightweight.
- Cups with metallic trim you care about if you plan to clean with very hot water later. Some gold rims dislike heat and scrubbing.
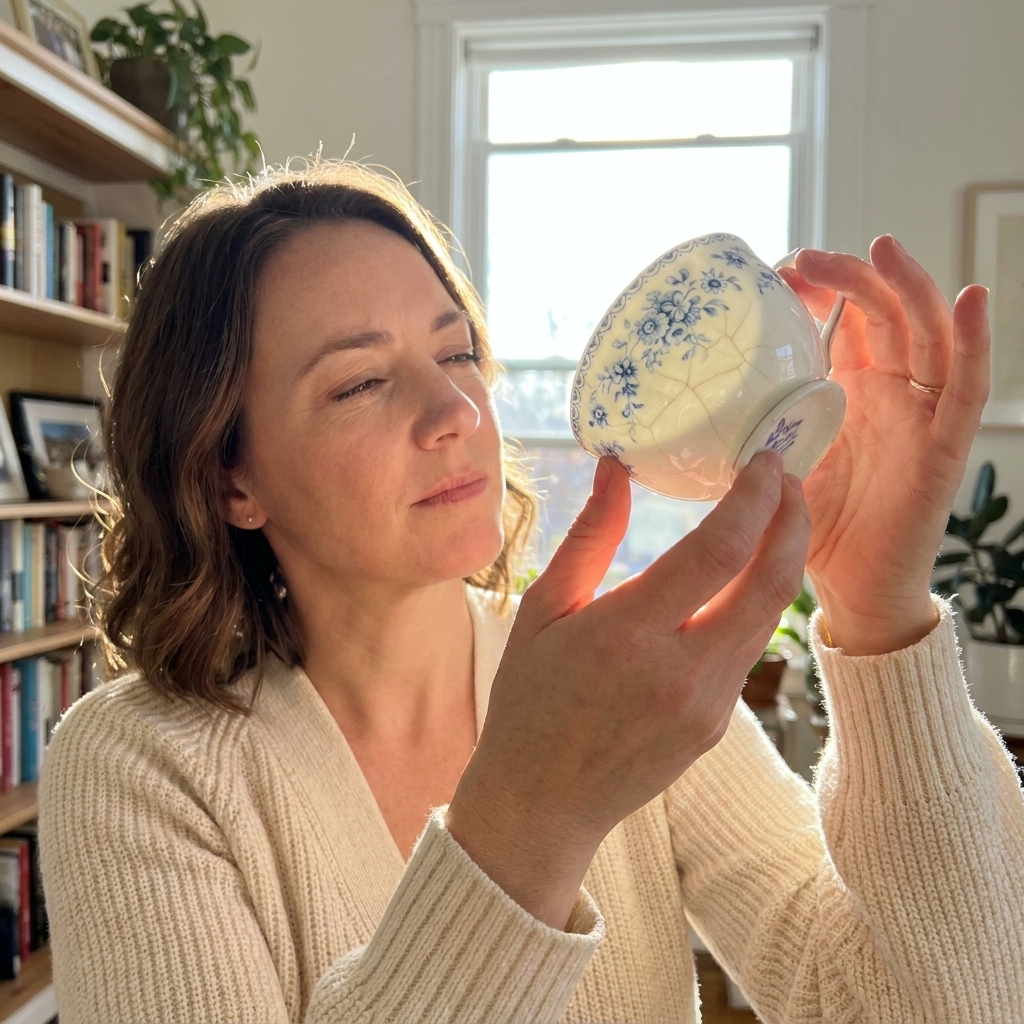
Quick teacup check
Wash and dry your teacup, then shine a bright flashlight through it and inspect closely. If you see a crack line, retire it to display only.
Supplies and ingredients
What you need
- Vintage teacup (clean and fully dry)
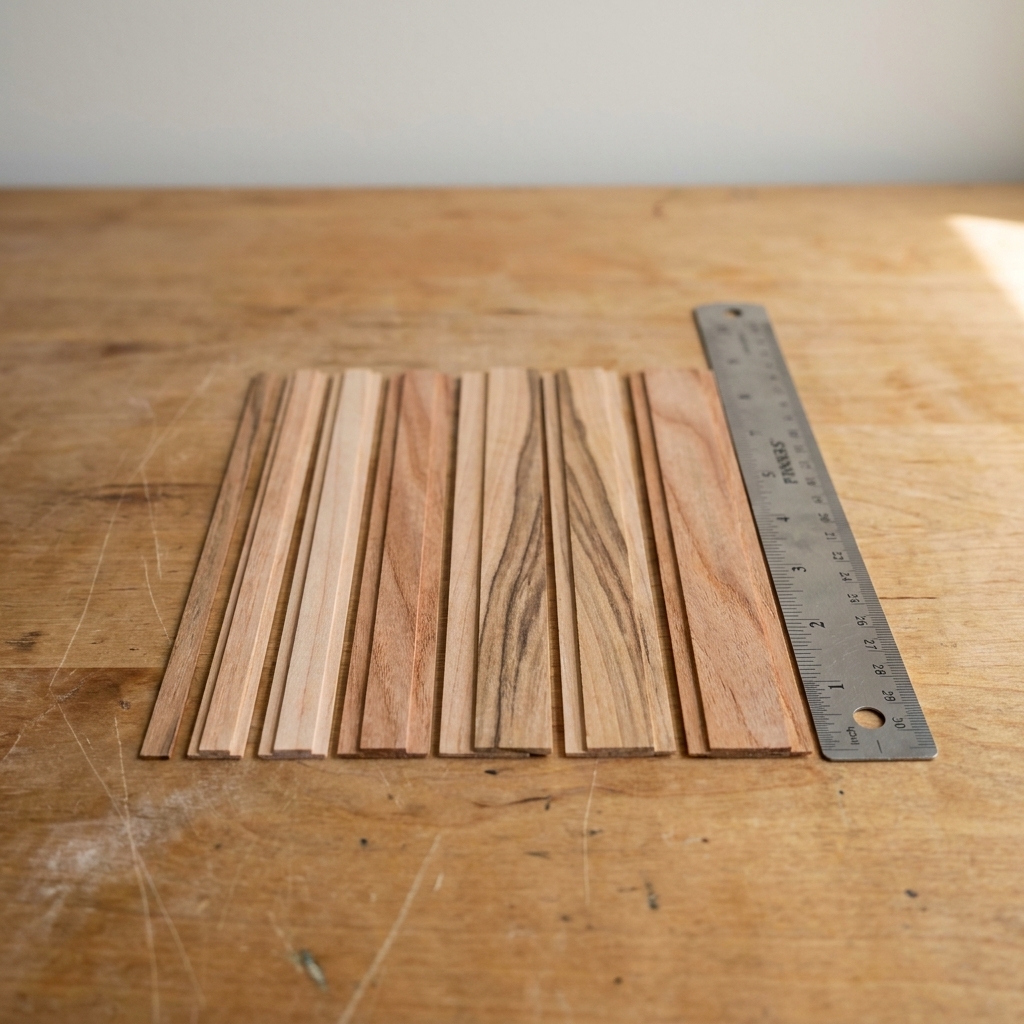
- Wooden wick (single ply is usually best for small vessels) and a compatible wick clip
- Wax (see wax section below)
- Fragrance oil (use candle-rated fragrance from a reputable supplier)
- Wick sticker or a high heat adhesive (or a tiny dot of hot glue in a pinch)
- Heat-safe pouring pitcher
- Scale (please do not measure fragrance by volume)
- Thermometer
- Stir tool
- Optional: dye made for candles
Nice-to-haves
- Heat gun for smoothing tops
- Insulating box or towel to slow cooling if your wax likes it
- Painter’s tape or chopsticks to help keep the wick centered
Wax for teacup candles
Teacups are smaller, often narrower at the base, and their capacity varies wildly. Some hold only a few ounces, some are surprisingly roomy, so measure your actual cup and do not guess.
Because teacups are small vessels, you want a wax that performs well in containers and does not demand aggressive heat to behave.
My favorite wax choices
- Container soy wax: Creamy look, good scent throw when wicked correctly, easy cleanup. Expect some natural character like frosting in cool rooms.
- Coconut soy blend: Beautiful smooth tops, strong throw, and tends to burn softly. Usually my top pick for a giftable teacup candle.
- Container-formulated beeswax blend: Gorgeous warm glow and natural honey notes, but it can be harder to wick unless it is designed for containers.
Waxes I avoid for most teacups
- Pillar waxes (high melt point blends): They can shrink away from the sides and behave unpredictably in narrow vessels.
- Pure beeswax in a teacup: It often needs a larger wick and more heat than a small vintage cup likes. If you love beeswax, choose a container-formulated blend and test burn carefully.
How much wax do you need?
Place your empty teacup on a scale, tare to zero, then fill it with water to the level you want your wax. Note the grams of water.
To estimate wax grams, multiply the water grams by about 0.85 to 0.92, depending on your wax blend (wax is lighter than water, but densities vary). If your wax supplier lists density or fill weight guidance, use that. And always dry the cup completely before pouring wax.
Wooden wick sizing
Wooden wicks are picky in the most dramatic way. They need a wide, steady melt pool and the right trim to stay lit. Too small and it drowns. Too big and it can get sooty or burn too hot.
Teacups add one more twist: many are wider at the top than the bottom, so the melt pool changes as the candle burns down.
Measure the inside diameter
Measure your teacup’s inside width at the widest point where the melt pool will form near the top. Most teacups land around 2.5 to 3.5 inches, but your ruler gets the final vote.
General sizing guidance
- 2.25 to 2.75 inches: start with a small single ply wooden wick.
- 2.75 to 3.25 inches: start with a medium single ply.
- 3.25 to 3.75 inches: you may need a wide single ply or a booster (two thin wicks used together as a set). Test carefully because teacups can heat up quickly.
Different wick brands label sizes differently, so always cross-check with the manufacturer’s guide for your exact wicks and wax type. If you can, buy a small assortment and test burn with the same wax and fragrance you plan to use.
Fragrance load, without drama
Wooden wicks can struggle if wax is overloaded with fragrance or heavy additives. Many container waxes do well around 6 to 9 percent fragrance by weight, but some max at 6 percent and others can handle 10 to 12 percent. Always follow your wax’s stated maximum and your fragrance supplier’s guidance.
Step by step
1) Prep the teacup
Make sure it is clean, dry, and room temperature. If your teacup is chilly, warm it slightly with your hands or let it sit in a warm room.
A cold cup can encourage wet spots and pull-away (cosmetic gaps where wax cools and pulls from the vessel).
2) Secure the wooden wick
Insert the wooden wick into its metal clip, then attach the clip to the bottom of the teacup using a wick sticker or high heat adhesive. Press firmly for 20 to 30 seconds.
Centering matters a lot in a teacup because the shape is often not perfectly symmetrical. Step back and eyeball it from a few angles.
3) Check wick height
Before you pour, make sure the wick stands straight and extends above where your wax level will be. You want enough exposed wood to light cleanly later, then you will trim it down before the first burn.
4) Melt the wax
Melt your wax in a pouring pitcher using a double boiler setup. Heat slowly and stir gently. Avoid splashing water into the wax.
5) Add fragrance at the right temperature
Once the wax is fully melted, let it cool to the recommended fragrance-add temperature for your wax. This varies by wax type and brand. Stir in fragrance for about 2 minutes with slow, steady mixing to bind it well.
6) Pour
Pour slowly down the side of the cup to reduce bubbles. Leave about 1/2 inch of space under the rim. Teacups look prettiest when the wax level sits a little lower than the edge.
7) Keep the wick centered while it sets
Use a wick centering tool, chopsticks, or a small piece of painter’s tape across the top to keep the wooden wick upright.
8) Cool and cure
Let the candle cool undisturbed. Many container soy and coconut blends benefit from at least a 48 hour cure, and often perform best after 5 to 14 days, depending on the formulation. If your wax brand gives a cure recommendation, follow that.

Getting the crackle
That cozy crackle comes from the wooden wick itself as it burns, plus tiny variations in wood grain and how the wick is fed by the wax. You will get the most reliable crackle when:
- The wick is sized correctly for the vessel diameter.
- The wick is trimmed properly before lighting.
- The wax is not overloaded with fragrance or additives that clog the wick.
- The first burn creates a stable melt pool without drowning the wick.
Test burn basics
If you are using a vintage teacup, do yourself a favor and treat your first burn like a mini experiment.
- Stay with it for the first 1 to 2 hours.
- Watch the flame: steady is good. Excessive smoking, wild flickering, or a flame that feels too tall means stop the burn, trim, and reassess.
- Check the cup temperature: it will get warm, but it should not become so hot you cannot comfortably touch it. If it does, discontinue use.
- Listen to the vessel: a little wick crackle is normal. Any sharp pinging from the cup itself is a stop sign.
Burn safely
Teacups are heat tolerant, but they can still get hot. Treat these like a real open flame, because they are.
Best practices
- Always place on a heat-safe surface like a ceramic plate or a small tray.
- Trim the wooden wick to 1/8 inch before each burn. If you leave a long charred shelf, the flame can get too tall and smoky.
- First burn matters: burn long enough to melt close to the edges of the top surface, often 1 to 2 hours for a teacup. Do not force it into an all-day marathon.
- Do not burn more than 3 to 4 hours at a time. Small containers heat up fast.
- Stop burning when 1/2 inch of wax remains. The bottom can overheat, especially with a wick clip sitting near the base.
- Keep away from drafts. Wooden wicks hate gusty air and can tunnel or flicker wildly.
- Never move a lit candle, and do not pick up the teacup while the wax is molten. The cup can be hot enough to surprise you.
Antique and sentimental cups
If the teacup is truly irreplaceable, I recommend using it as a display piece and pouring your candle into a modern, tested heat-safe vessel instead. I love the romance of vintage china, but I love safety more.
Troubleshooting
The wick keeps going out
- Likely cause: Wick is too small, the wick is not trimmed correctly, or the melt pool is not established yet.
- Try: Trim to 1/8 inch, relight, and burn long enough to form a stable melt pool. If it still struggles, size up the wick on your next pour.
The flame is weak and lazy
- Likely cause: Wick is a bit undersized, or wax is overloaded with fragrance or additives.
- Try: Reduce fragrance load next batch and keep additives minimal. If you are already conservative, test the next wick size up.
It is sooting or the flame is too tall
- Likely cause: Wick is too large, wick is not trimmed, or burning in a draft.
- Try: Trim, move to a draft-free spot, and shorten burn sessions. If it still soots, size down the wick next time.
Tunneling (wax left on the sides)
- Likely cause: First burn was too short, or wick is too small.
- Try: On the next burn, allow a full melt pool near the edges. If it repeatedly tunnels, adjust wick size.
Rough or sunken tops
- Likely cause: Pour temperature and cooling conditions.
- Try: Pour a little cooler, cool more slowly, or smooth the top with a heat gun once fully set.
Make it gift-ready
This is the part where I let myself be a little extra.
- Pair with a saucer as a built-in coaster and heat barrier.
- Wrap simply: kraft paper and twine looks sweet with vintage china.
- Add a care card with wick trimming and burn-time rules so your recipient gets the best crackle and the safest burn.

FAQ
Can I use essential oils instead of fragrance oil?
Sometimes, but results vary a lot. Not all essential oils are suitable for burning, and performance depends on the specific oil, the concentration, and your wax. If you want reliable scent throw and more predictable behavior, use a candle-tested fragrance oil and follow supplier guidance.
Do wooden wicks need to be primed?
Most pre-made wooden wicks sold for candle making do not require separate priming. The key is correct sizing, a proper trim, and a strong first burn.
Is it safe to burn candles in vintage teacups?
It can be, if the teacup is in excellent condition and you follow safe burn practices. Avoid cracked or very thin pieces, do not burn past 1/2 inch of remaining wax, and always burn on a heat-safe surface. Vintage cups are not tested candle vessels, so proceed thoughtfully and discontinue use if the cup overheats or shows any signs of stress.
How do I clean out the teacup to reuse it?
My gentlest method is the hot water bath: place the teacup in a bowl or sink, pour hot water around it (not directly into it if it is delicate), and let the wax soften so you can pop it out. Remove the wick clip and wipe with paper towels, then wash with warm soapy water.
I do not recommend microwaving vintage china. Metallic trim can spark, and unknown materials plus uneven heating can cause thermal shock.
My favorite part
When you light a wooden wick for the first time and it catches cleanly, you will hear that little whispery crackle and suddenly the whole room feels warmer. That moment never gets old for me. If your first one is not perfect, do not worry. Wooden wicks are a craft relationship. You learn each other, and then you make magic together.