Wax melts are my favorite “happy accident” craft: all the fragrance joy of a candle, none of the wick drama. If you have ever fought tunneling, mushrooming, or that one wick that just refuses to behave, melts feel like a deep breath. In this tutorial, I will show you how I formulate highly scented botanical soy wax melts that pop cleanly out of the mold and perfume a room fast in an electric or tealight warmer.
The key is balance: enough fragrance for bold throw, the right wax for snap and release, and botanicals used in a way that is pretty and safe. Let’s make a batch that looks like a tiny flower garden and smells like you opened a freshly blended essential oil drawer.
Before you start: botanicals and warmer safety
I love dried flowers, but I love a safe craft table more. Here is the honest truth: dried botanicals can scorch if they sit too close to a heat source, especially in warmers that run hot or have shallow dishes.
Electric warmers are often steadier than tealights, but they are not automatically “cooler.” Some electric warmers run very hot depending on wattage and design. Whatever you use, choose a quality warmer (UL or ETL listed is a nice bonus), follow the warmer manufacturer’s instructions, and never assume heat output.
My rules for dried flowers in wax melts
- Decorate the top only and keep pieces small and sparse. Think “sprinkle,” not “salad.”
- Avoid placing botanicals on the underside of the melt where they will sit directly on the warmer dish.
- Use the “float” method (below) so petals stay near the surface instead of sinking toward the heat.
- Never leave warmers unattended. This goes double when botanicals are involved.
- Skip highly flammable add-ins like loose, papery petals in heavy amounts, or anything with glitter not rated for candles.
Supplies
Equipment
- Digital scale accurate to 0.1 g
- Heat-safe pouring pitcher or glass beaker
- Double boiler setup (or a wax melter)
- Thermometer (infrared or probe)
- Silicone melt mold, clamshell, or tart mold
- Stirring utensil (silicone spatula works great)
- Small cups for pre-mixing colorants
- Isopropyl alcohol in a spray bottle
Ingredients
- Soy wax for melts (a tart specific soy or soy blend designed for clamshells)
- Fragrance oil formulated for candles and wax melts
- Colorant (wax dye, dye blocks, or oil-dispersible mica approved for candles)
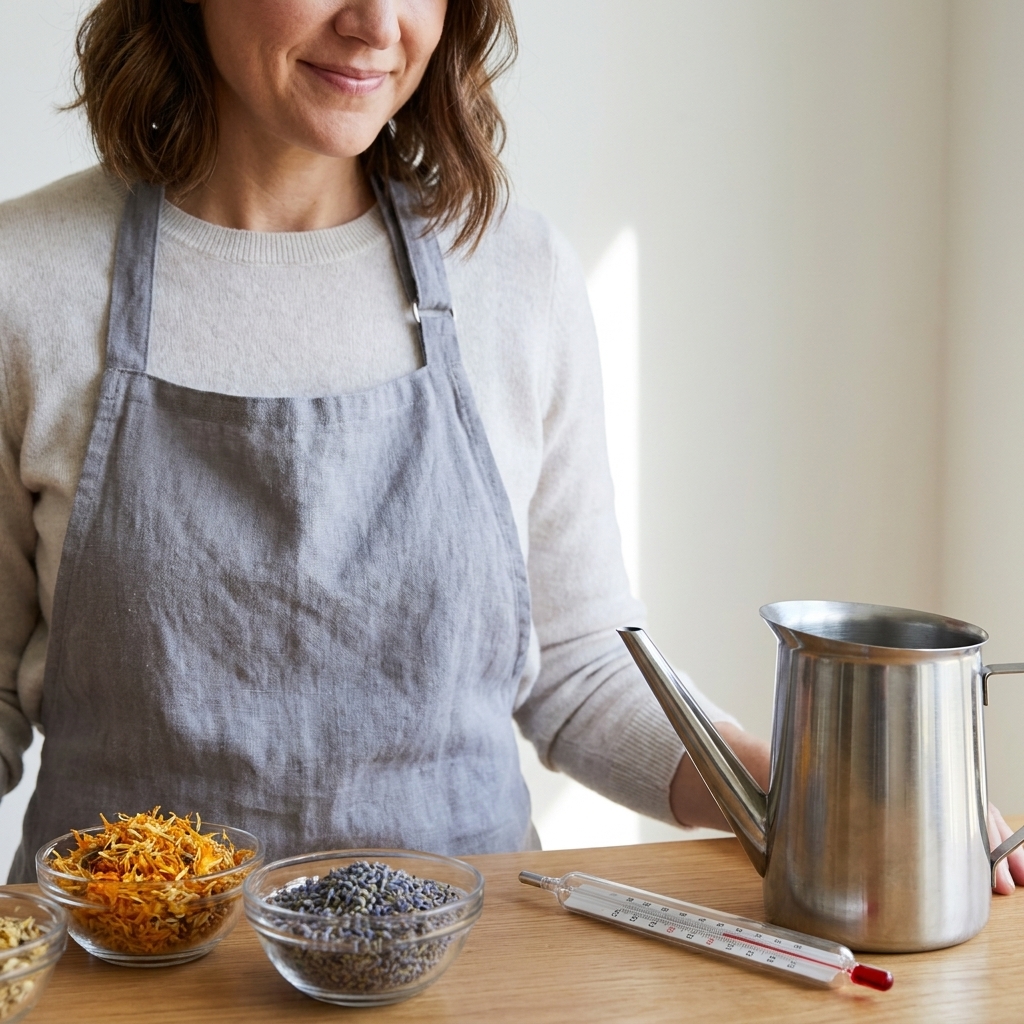
- Dried botanicals (calendula petals, rose petals, lavender buds, cornflower petals, chamomile)
- Optional: soy wax additive for harder melts (only if your wax manufacturer recommends it)
Quick alcohol note: I keep isopropyl alcohol around to wipe down cool tools and work surfaces, and to remove dust or oils from molds before pouring. Keep it away from heat and flame, and never add it to wax.
The formula (with fragrance load you can trust)
Different soy waxes have different max fragrance loads. Many melt specific soy waxes land somewhere around 6 to 12% fragrance by weight, but your wax datasheet is the final word. If you push past what the wax can hold, you risk sweating, soft melts, and scent that actually performs worse.
Batch size: 12 cavity clamshell (about 70 g total)
- Wax: 62 g
- Fragrance oil: 8 g (this is about 11.4% of the finished batch)
- Colorant: a tiny amount, typically 0.01 to 0.10 g depending on type and strength
- Dried botanicals: about 0.2 to 0.8 g total, used as a light top decoration
Easy scaling (my kitchen math)
Decide your total batch weight, then multiply by your fragrance percentage.
- Fragrance (g) = total batch (g) × fragrance %
- Wax (g) = total batch (g) − fragrance (g)
Example: 300 g batch at 10% fragrance. Fragrance = 30 g, wax = 270 g.
Picking a scent that throws in melts
Wax melts are fantastic for quick, bold fragrance, but not every oil behaves the same in soy. Here are scent families that usually perform beautifully for melts in my studio:
- Gourmands: vanilla, caramel, bakery blends
- Resins and woods: amber, sandalwood, cedar
- Fresh spa: eucalyptus blends, clean linen types
- Citrus with backup: citrus anchored with herb, wood, or musk
Pure citrus can be bright but sometimes fades faster in hot throw. If you love citrus, pair it with something that clings to the wax like basil, thyme, ginger, amber, or a soft musk.
My favorite botanical pairings
- Lavender buds + vanilla lavender or lavender cedar
- Calendula petals + honeyed chamomile
- Rose petals + rose, geranium, or rosewood blends
- Cornflower petals + fresh linen or soft amber
Coloring wax melts
For botanical melts, I like sheer, natural looking color. Heavy dye can make petals look dull. You have a few good options:
- Wax dye (best control): clean color, minimal speckling
- Mica (sparkle option): use sparingly so it does not overwhelm the botanicals
- Clays and botanicals: clays are better for soaps, but tiny amounts can tint wax. They can settle or look dusty, so test first.
Tip: Pre-melt dye in a teaspoon of hot wax in a small cup, then add it back into your main pitcher. This prevents surprise dye freckles.
Step-by-step: pour botanical soy wax melts
1) Prep your mold and botanicals
Set your mold on a flat tray you can move easily. Pinch botanicals into smaller pieces so they look intentional, not chunky.
- For clamshells: a light sprinkle per cavity is plenty.
- For silicone molds: keep botanicals away from the lowest point that will sit on the warmer.
2) Weigh wax and melt gently
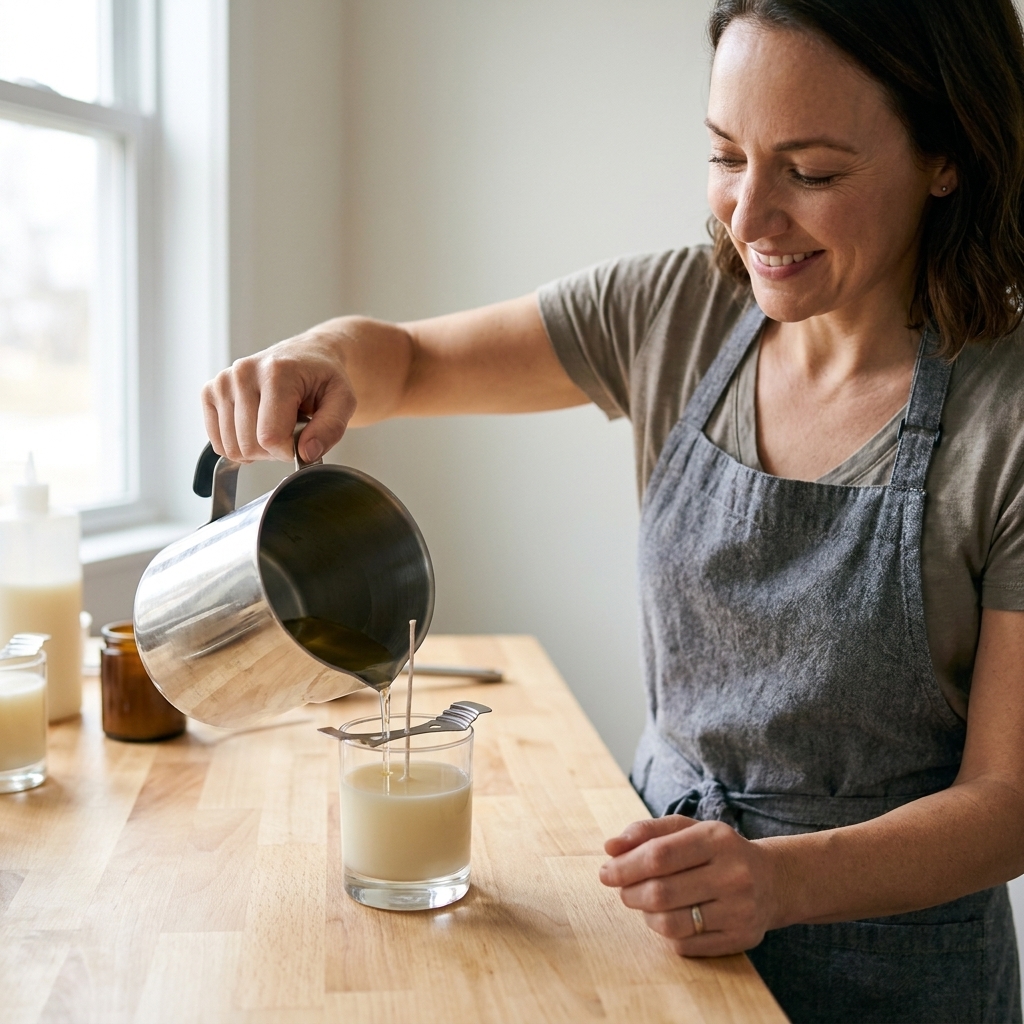
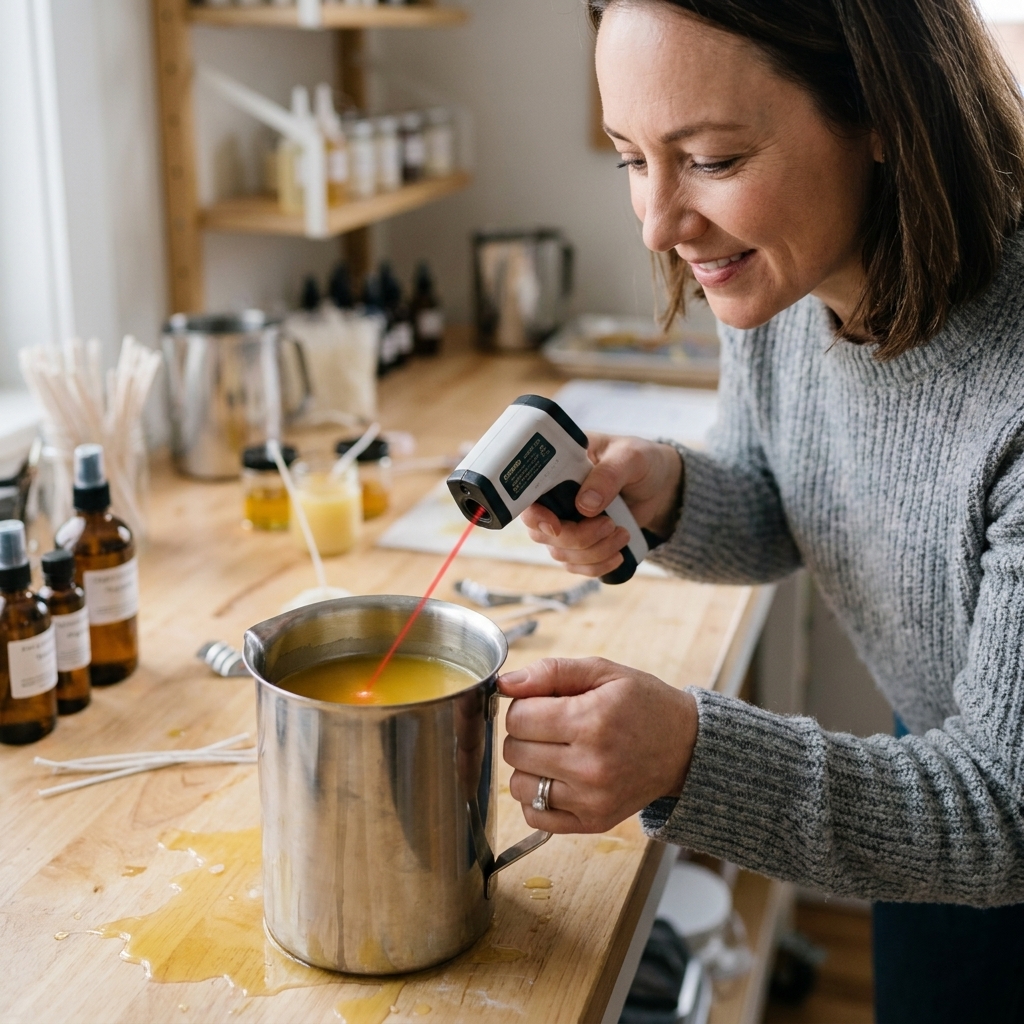
Weigh your wax into a pouring pitcher. Melt using a double boiler and bring it to the wax manufacturer’s recommended melt temperature. For many soy melt waxes, this is often in the neighborhood of 170 to 185°F (77 to 85°C), but follow your wax specifics.
Heat slowly. Overheating soy can increase frosting, discoloration, and shrinkage, and it can also make your tops more finicky.
3) Add color (if using)
Add your pre-mixed dye and stir slowly but thoroughly. I stir for about 60 to 90 seconds, scraping the sides and bottom.
4) Cool to your fragrance temperature
Let the wax cool before adding fragrance. Many soy waxes do well when fragrance is added around 150 to 165°F (65 to 74°C), but some waxes bind best higher or lower. Your wax and fragrance supplier guidance wins here.
5) Add fragrance and stir gently
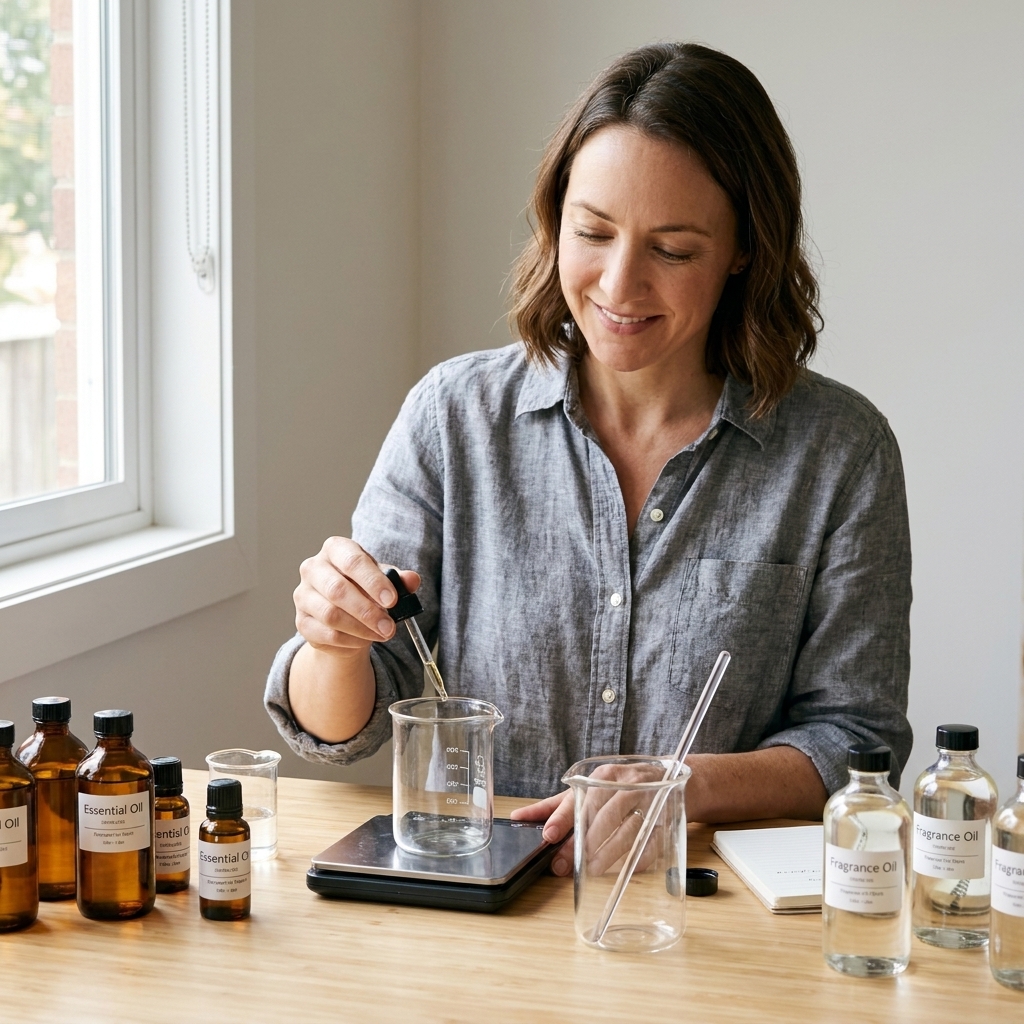
Weigh your fragrance oil, add it to the wax, and stir for 2 full minutes. Go steady and calm. You want thorough mixing without whipping in air, which can create bubbles and rough tops.
6) Pour at the right temp for smooth tops
Pour temperature depends on your specific wax and room conditions. A common sweet spot for soy melts is around 135 to 150°F (57 to 66°C), but some tart waxes prefer a warmer or cooler pour. If your wax is prone to sinkholes, slightly warmer can help. If you get frosting, slightly cooler can help.
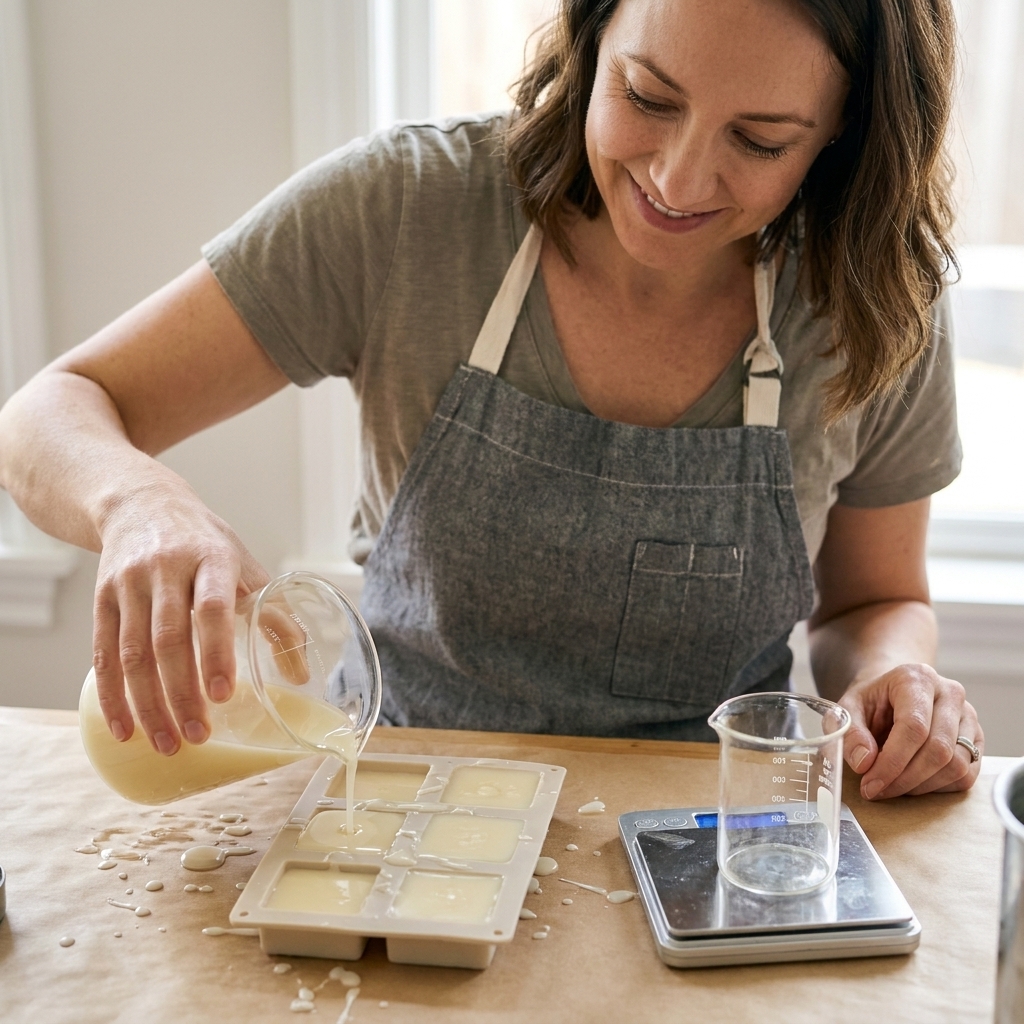
Pour steadily into each cavity.
7) Use the “float” method for botanicals
This is the decorative option that keeps botanicals where you can see them, and farther from the hottest surface.
- Wait for the skin stage: Let the surface turn slightly opaque and thicker, like it is forming a soft skin.
- Sprinkle lightly: Add a small pinch of botanicals so they sit on top instead of sinking.
- Optional top seal: If you want extra hold, drizzle just a teaspoon of warm wax over the petals in each cavity. This creates a thin “cap” that helps keep pieces in place while still looking botanical.
Too early and petals sink. Too late and they bounce off and will not adhere.
8) Cool undisturbed
Let melts cool at room temperature away from drafts. Resist the urge to move the mold while the wax is setting. Drafts are frosting’s best friend.
9) Unmold and cure
Unmold when fully cool. Many soy melts smell better after a short cure. I recommend 24 to 72 hours before judging the throw, and up to a week for the best performance with some fragrance oils.
How to use botanical wax melts
Electric warmers
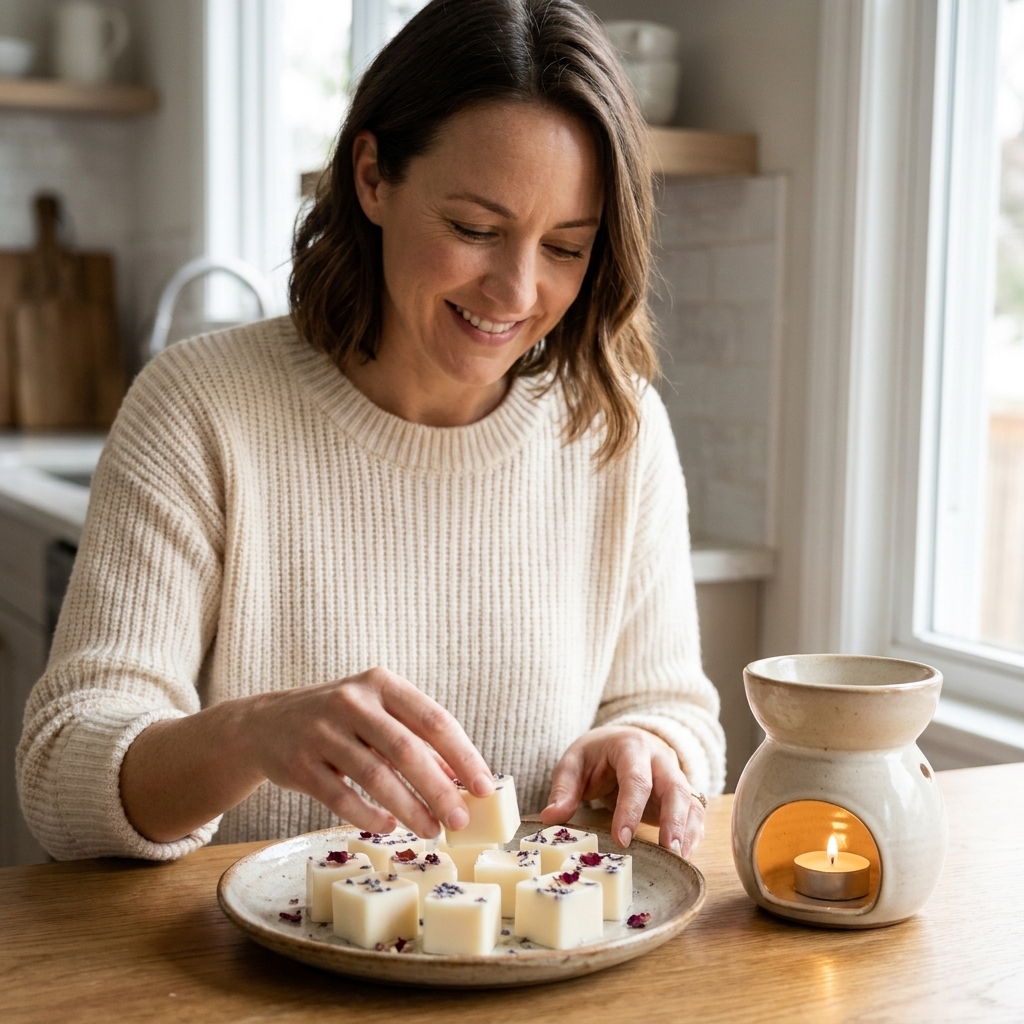
Use 1 to 2 cubes, depending on your warmer dish size and room. When scent fades, let the wax cool and harden, then pop it out to replace. If it does not release easily, warm the dish for 15 to 30 seconds to loosen the edges, then lift the wax out with a paper towel.
Tealight warmers
Use a conservative amount of wax and keep botanicals minimal. Trim any stray botanical bits that hang over the edge of the melt. Always place the warmer on a heat-safe surface and never leave it unattended.
Cleanup tip: To remove spent wax, warm just until the edges loosen, then lift out with a paper towel. For residue, the cotton ball method works well: set a cotton ball in the warm dish for a minute to soak up leftover wax, then wipe clean. Do not pour wax down the drain.
Troubleshooting
My melts are soft or greasy
- You may be over the wax’s fragrance load. Reduce fragrance by 1 to 2%.
- Confirm your wax is intended for melts. Container soy can be too soft.
- Stir fragrance for the full 2 minutes for better binding.
Frosting or white crystals showed up
- Classic soy behavior. It is cosmetic.
- Pour a bit cooler and cool away from drafts.
- Try warming your mold slightly (not hot, just not cold).
Weak scent throw
- Give it more cure time, especially with bakery or resin notes.
- Try a different fragrance oil. Some are simply not strong in soy.
- Use a smaller room to test first. Big open spaces eat fragrance.
- Make sure your warmer is getting hot enough to fully melt the pool.
Botanicals sank
- Add them later at the skin stage, or use the top seal drizzle.
- Use smaller pieces and fewer of them.
- For extra control, pour most of the wax first, let it set slightly, then add a thin top layer and place botanicals into that layer.
The tops look bumpy
- This can happen if you sprinkle botanicals too aggressively. Try placing petals gently with tweezers.
- Stir gently to avoid aeration, and pour steadily without splashing.
- Pour a touch warmer next time for a smoother surface.
Storage and packaging
Wax melts love cool, dark, and dry storage. Heat and sunlight can soften them and fade fragrance over time.
- Clamshells: great for scent retention and easy labeling.
- Glass jars: pretty for gifting, but avoid storing in warm windows.
- Keep botanicals dry: store botanicals in airtight containers away from humidity so they stay crisp.
If you gift or sell
Add basic safety language: keep out of reach of children and pets, do not ingest, and melt only in an approved wax warmer on a heat-safe surface. And because botanicals are involved, “do not leave unattended” is worth repeating.
Quick FAQ
Can I use essential oils instead of fragrance oil?
You can, but performance is usually lighter, and not every essential oil is a good choice for prolonged heating. Stick to reputable suppliers, avoid mystery oils, and keep totals conservative. It also helps to consider airborne sensitivity factors like asthma triggers, pet or pregnancy sensitivities, and ventilation. If IFRA guidance is provided by your supplier, follow it where applicable. For strong, reliable throw in melts, I typically reach for a high-quality candle-safe fragrance oil.
What soy wax should I buy?
Look for a soy wax specifically formulated for tarts or clamshell melts. These are designed to be harder and release cleanly. If you only have container soy on hand, expect softer melts and consider testing a lower fragrance load.
Do dried flowers affect scent throw?
Not much at the small amounts used for decoration. The bigger throw factors are your wax type, fragrance oil choice, fragrance load, warmer heat, and cure time.
How long do melts last?
It depends on the fragrance oil, warmer temperature, and room size. I usually get several hours of strong throw per cube, then a few more hours of softer background scent.
A simple scent blend to try
If you want a blend that feels like clean linens drying near an herb garden, try:
- 70% fresh linen type fragrance
- 30% lavender or lavender cedar fragrance
Top with a tiny pinch of lavender buds and a few calendula petals for that warm, sunlit look. It is gentle, pretty, and makes the whole room feel freshly put together.