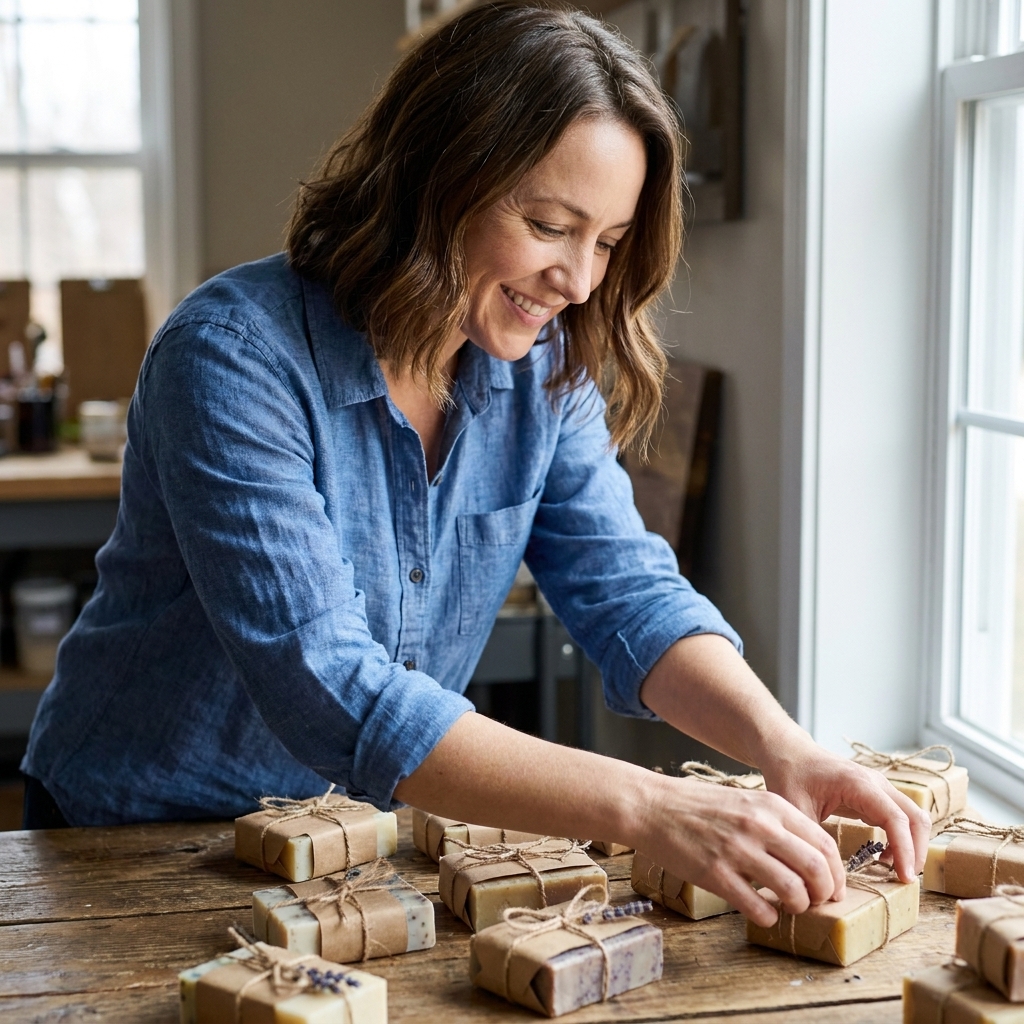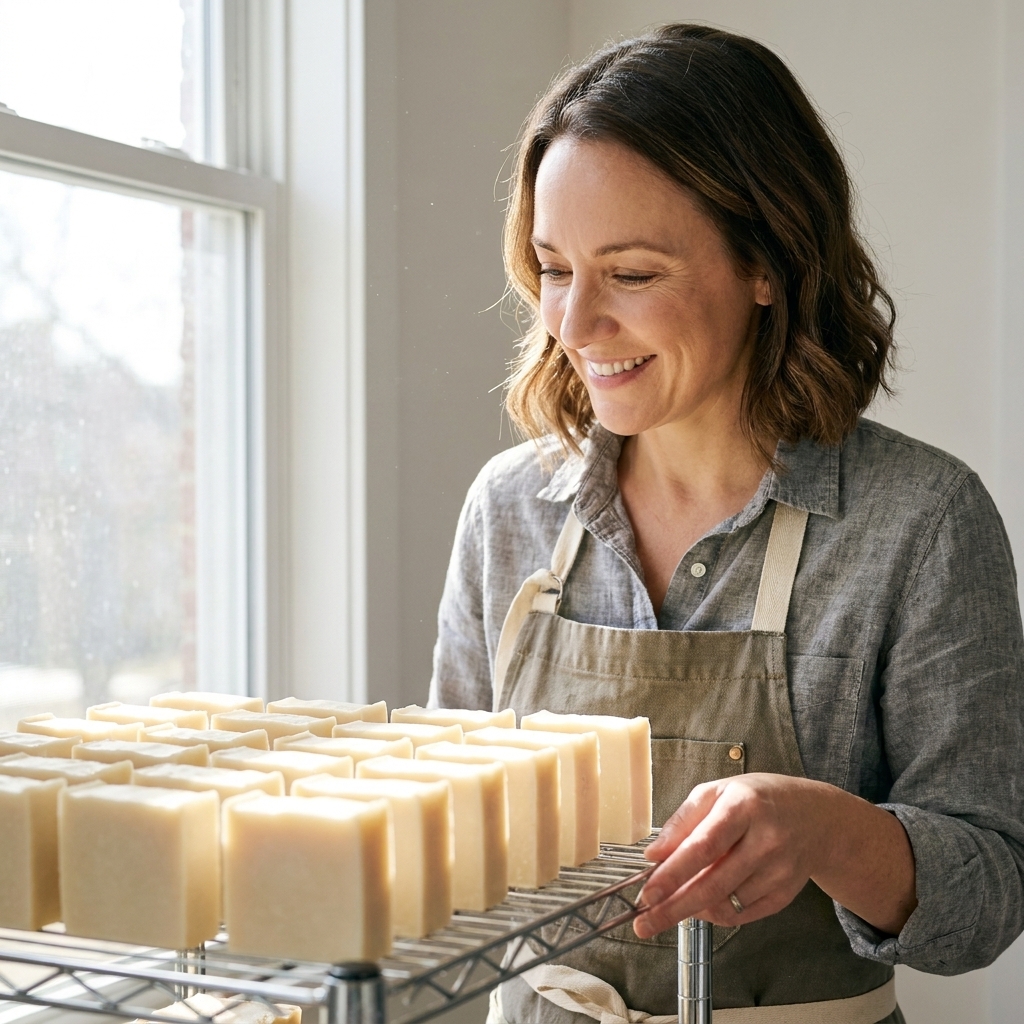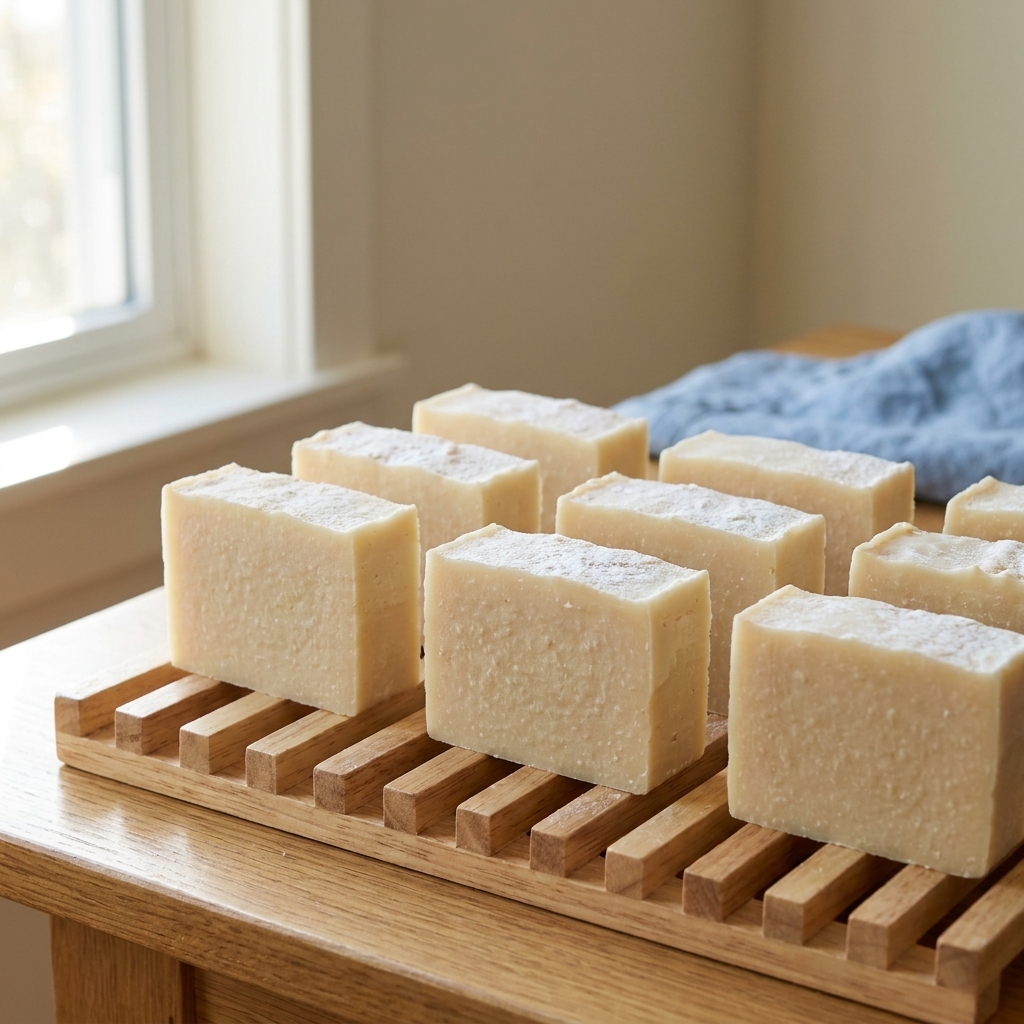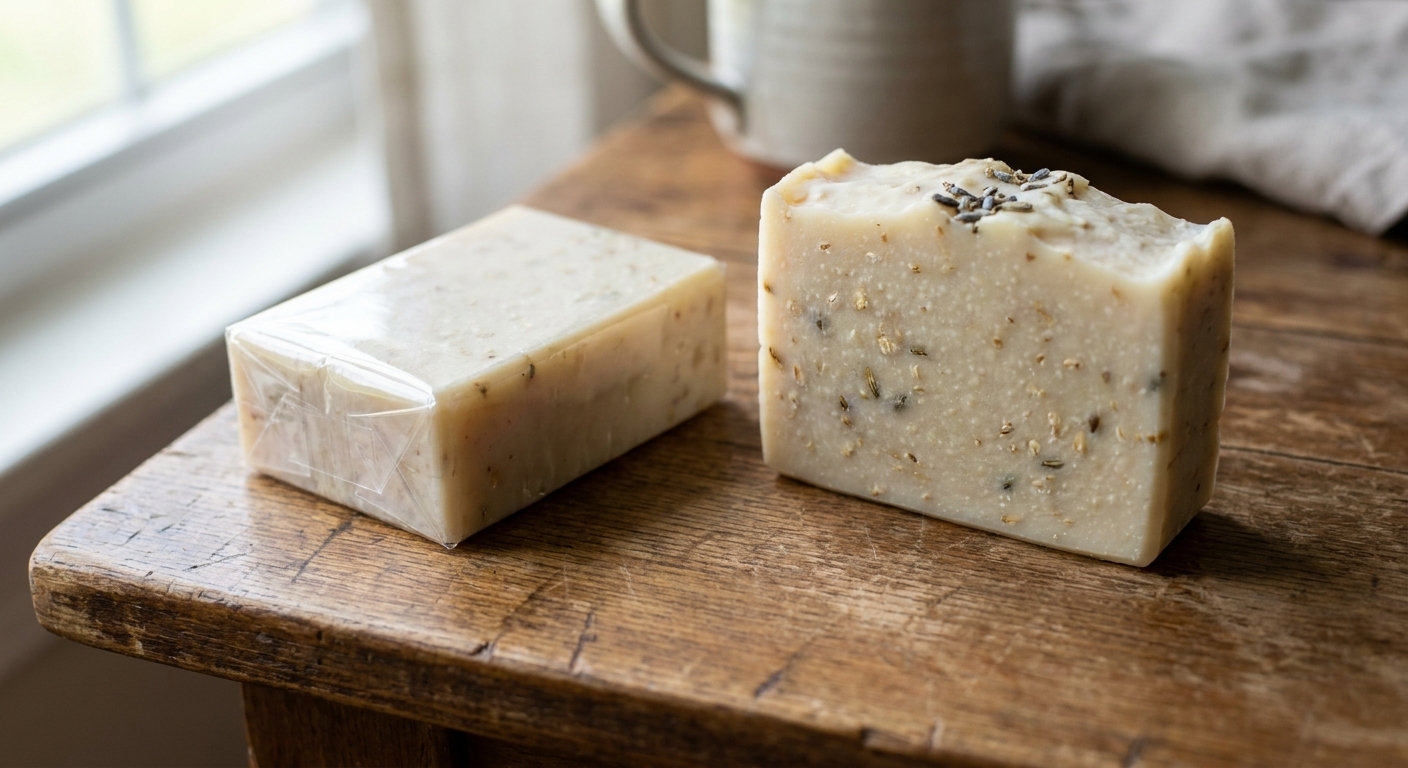
I love a naked bar of soap on a curing rack as much as anyone, but once it is ready to gift or sell, I want it protected. Humidity can make glycerin-heavy bars sweat, dust can cling to fresh-cut edges, and fragrance can slowly drift off into the air. Shrink wrapping is one of the simplest ways to keep soaps clean, crisp, and gift-ready without turning your whole packaging setup into a factory line.
This guide walks you through shrink wrapping handmade soaps using Biolefin and a heat gun, right at home. I will keep it practical, safety-first, and very doable in a small craft space.
Why Biolefin works well
Biolefin is a polyolefin shrink film many soap makers choose for its clarity and easy shrink. You will also see it marketed as a lower-impact option than some conventional shrink films, but recycling and sustainability claims depend on the exact film and what is available where you live.
- Beautiful clarity: it shows off swirls, botanicals, and clean edges.
- Strong but not brittle: it shrinks smoothly without that crackly, stiff feel.
- Great seal strength: the seams stay put, even if the bar gets handled a lot.
- Works well with a heat gun: you do not need a shrink tunnel to get a tight finish.
Quick reality check: shrink wrap is still plastic film. And while some polyolefin films may be accepted in certain store drop-off film programs, many curbside programs do not accept film at all. If recyclability matters to your brand, check the manufacturer specs for your specific Biolefin product and confirm what your local program accepts. I like Biolefin when I need moisture and dust protection, and I pair it with a paper belly band, a recycled paper label, or a simple jute tie so the packaging still feels handmade and not overly shiny.
When to use shrink wrap
You do not have to wrap every bar. I reach for Biolefin most often when:
- I am gifting soap and want it to arrive spotless and lint-free.
- I live in a humid season and some bars are prone to surface moisture.
- I am packaging for markets where customers will touch and sniff everything.
- I am storing cured bars for a while and want to slow scent loss.
If you are intentionally curing in open air for airflow, keep bars unwrapped until cure is complete. Shrink wrap is for after cure, not as a curing shortcut.
Tools and supplies
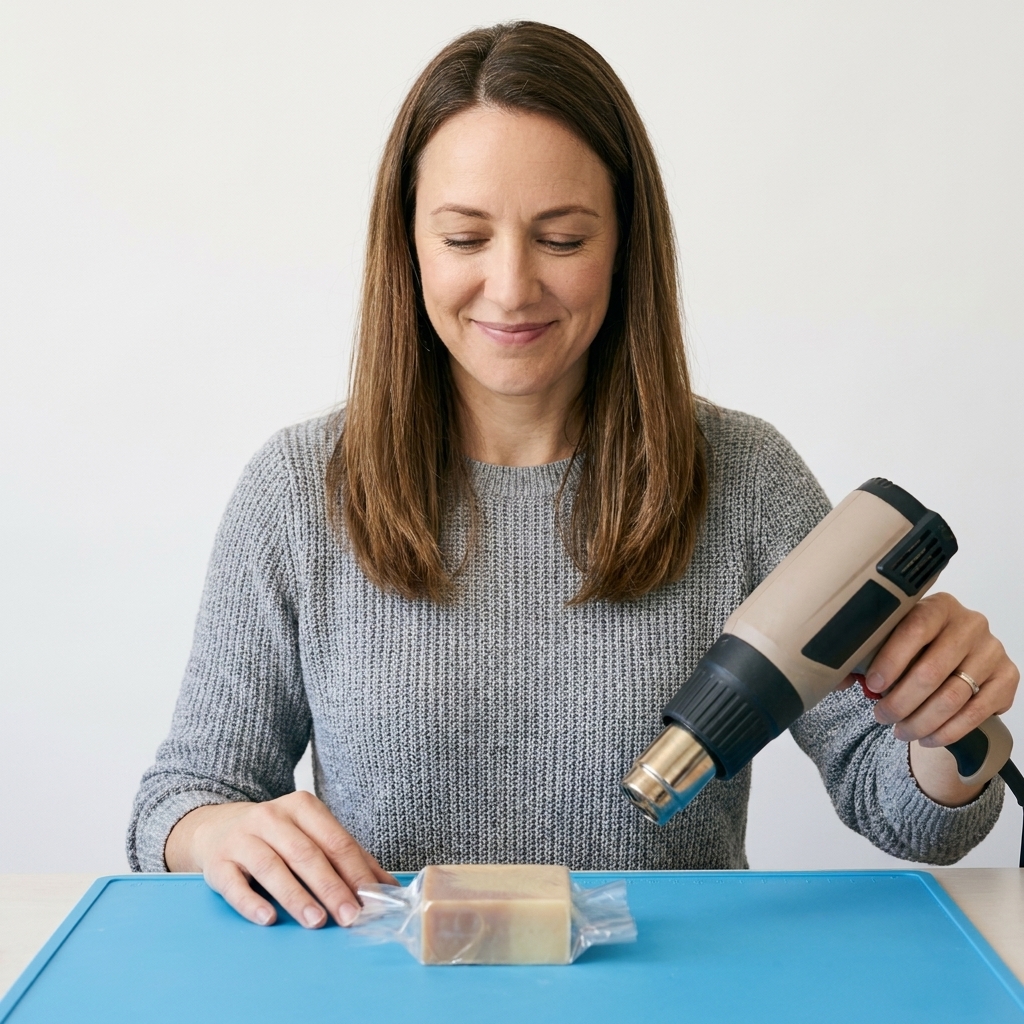
- Biolefin shrink bags sized to your bars, or centerfold Biolefin film if you prefer to cut and seal your own sleeves.
- Heat gun with at least a low setting. A basic craft heat gun works well.
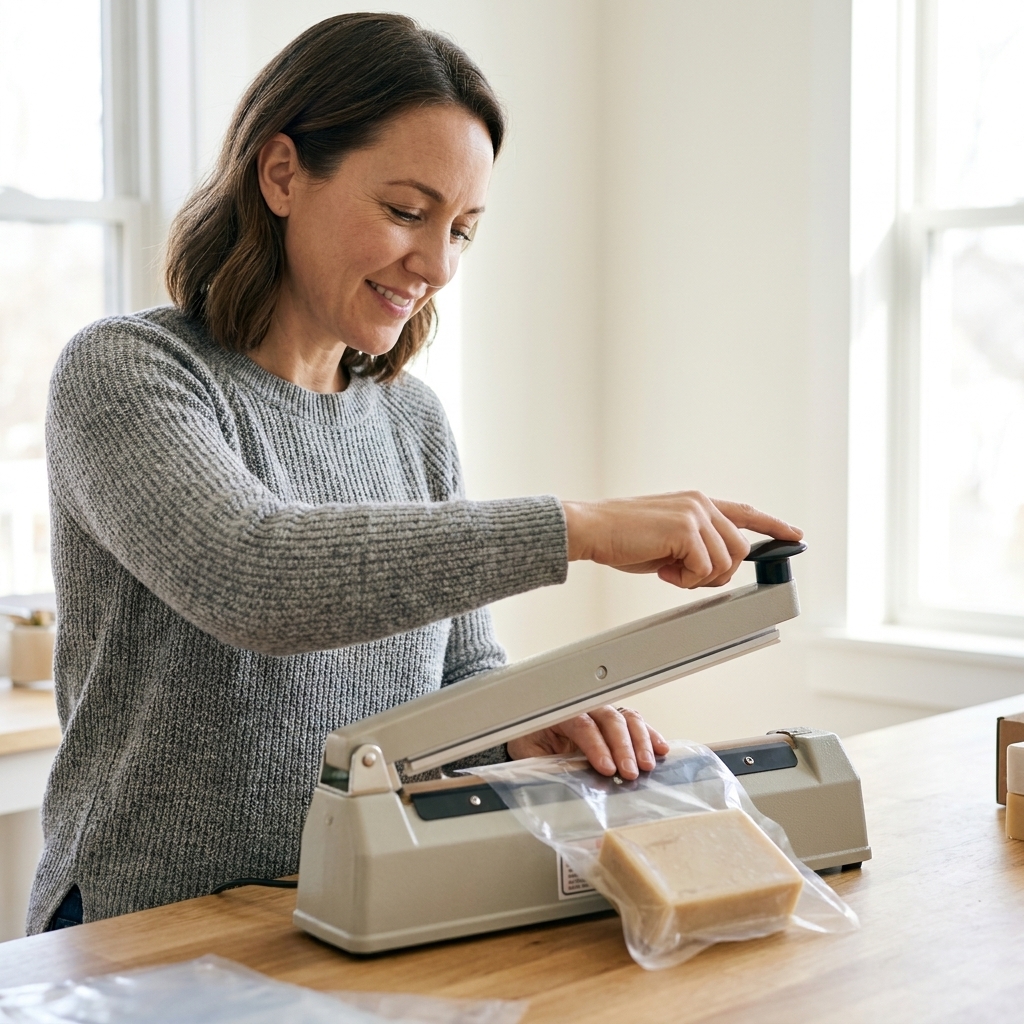
- Impulse sealer (best for consistent seams). If you are using pre-made bags, you still need to seal the open end.
- Vent tool like a pin, needle, or clean pushpin for micro holes.
- Heat-safe surface such as a silicone mat, ceramic tile, or metal tray.
- Scissors or rotary cutter for trimming excess film.
- Optional: paper bands, labels, or hang tags.
Safety notes I follow: keep the heat gun moving, keep fingers away from fresh seals, and do not heat film over open flame. Work in a ventilated space and do not aim hot air at your curing racks, fragrance oils, or anything meltable.
Film thickness and sizing
Most makers get great results with shrink bags in the neighborhood of 60 to 100 gauge (roughly 15 to 25 microns). Thinner film can be fussier around sharp corners. Thicker film can look slightly heavier and may need a touch more heat. If your supplier lists “gauge” or “microns,” that is the number you are looking for.
Bag sizing is the difference between “smooth, tight, boutique finish” and “wrinkly, frustrated sigh.” You want:
- A little breathing room: the bar should slide in without scraping the corners.
- Not too much extra film: excess film gathers into thick seams that look bulky.
- Enough length to seal: plan for about 1 to 1.5 inches of extra film on the open end so you can seal cleanly and still have room for shrink.
Quick measuring tip: measure your bar’s width, height, and length. Choose a bag width that comfortably fits the bar’s width plus height (with a little ease), and a bag length that fits the bar length plus your sealing allowance. If you are between sizes, I usually size up slightly and then trim after sealing. It is easier to remove extra than to fight a bag that is too tight.
Step-by-step wrapping
1) Start with fully cured, clean soap
Wrap only fully cured cold-process soap. If the bar is still losing water rapidly, you can trap moisture and end up with condensation inside the film.
Before wrapping, gently wipe the bar to remove soda ash dust or mica drift. Any speck will look ten times bigger once the film tightens.
2) Slide the bar into the bag
Center it so you have an even border of film around the bar. If the bar is very textured on top, place the textured side facing up so the seam lands on the bottom or back where it is less noticeable.
3) Seal the open end
With an impulse sealer, make a straight seal about 0.5 to 1 inch from the soap. Then trim the excess, leaving a neat margin. If you are aiming for a nearly invisible finish, trim closer, but do not cut into the seal line.
4) Add vent holes
Use a pin to poke 1 to 3 tiny holes on the back side of the package, near a corner. These micro vents let trapped air escape while shrinking and help prevent ballooning and puckers. They are for shrinking, not for curing.
Keep holes tiny. You want air to move, not dust to move in. Also note that vent holes can slightly reduce the moisture barrier, so store wrapped soaps in a clean, dry place.
5) Shrink with the heat gun
Set your heat gun to low if you have it. Hold the gun several inches away and keep it moving in small circles.
- Start with the seams: gently tack them down so they lie flat.
- Move to the broad faces: heat the front and back panels until they go glassy-tight.
- Finish the edges: quick passes around corners prevent over-shrinking one spot.
Rotate the soap as you go. I like to heat for a few seconds, rotate, heat again, and repeat. The film shrinks fast, and the goal is even heat, not maximum heat.
6) Cool, then label
Give it 30 seconds to cool before adding labels or belly bands. Warm film can stay slightly soft, and you will get bubbles under stickers if you rush.
Finish tips
These are the little tweaks that made the biggest difference for me:
- Keep the seam on the back: rotate the bar in the bag before sealing so your best face stays uninterrupted.
- Do not overheat corners: corners shrink first. If you blast them, the film can thin out and look wavy.
- Use short heat passes: think toasting rather than melting.
- Trim after sealing: a tidy edge makes the final wrap look intentional.
- Work in batches: seal five to ten bars first, then vent, then heat-shrink them all. Your results will be more consistent.
Cold-process vs melt-and-pour
Cold-process soap
Cold-process bars are usually happiest with shrink wrap once they are cured and stable. Shrink wrap reduces airflow around the bar, which often helps slow fragrance fade and keeps the bar looking fresh. It is not an airtight vault though. Fragrance can still migrate through many films over time, and heat speeds that up, so storage still matters.
Melt-and-pour soap
Melt-and-pour is the big reason shrink wrap became standard in so many makerspaces. Many MP bases attract moisture from humid air and sweat easily. Wrapping after the bars fully cool, dry, and harden (and before they sit out in humidity) can dramatically reduce sweating.
Extra MP tip: make sure the soap is completely dry on the surface before sealing. If you wrap while it is still slightly damp, you can trap that moisture and get foggy film. Also avoid shrink wrapping MP that is still a little soft. Too much heat too soon can leave finger dents or edge warping.
Troubleshooting
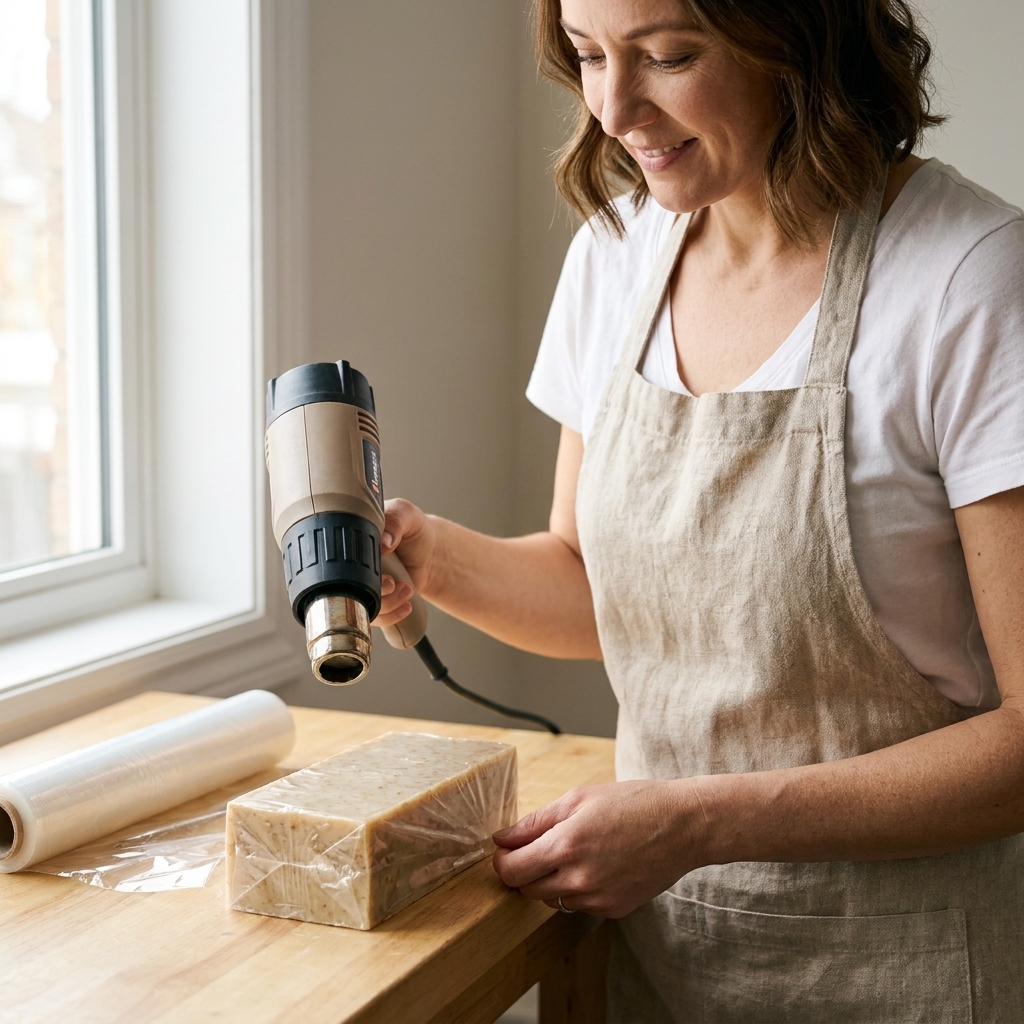
Wrinkles or loose film
- Cause: not enough heat, heat too far away, or too much excess bag.
- Fix: go back with quick, gentle passes and rotate the bar. Next time, use a better bag size and trim closer after sealing.
Burnt, cloudy, or overly tight spots
- Cause: heat held too close or too long in one area.
- Fix: you cannot un-burn film. Rewrap the bar. For the next one, lower the heat setting and keep the gun moving.
Air bubbles that will not leave
- Cause: no vent holes, or holes too far from the trapped air.
- Fix: poke a tiny pinhole on the back near the bubble, then warm lightly so the air can escape.
Seam pops open
- Cause: weak seal, sealing through wrinkles, or sealing too close to the soap so shrink tension pulls the seam.
- Fix: reseal with a clean, flat edge. Leave a bit more headroom above the bar before sealing.
Condensation inside the wrap
- Cause: wrapping before cure is complete, or wrapping soap that is cooler than the room while the room is humid.
- Fix: unwrap and let the bar equilibrate in a dry space. Rewrap later. Avoid moving soap from a cool basement to a warm, humid room and wrapping immediately.
Botanicals discoloring under wrap
- Cause: some botanicals brown over time and shrink wrap can make it more noticeable by trapping oils and limiting airflow.
- Fix: consider using infused oils, clays, or stable colorants instead of fresh botanicals on the surface, or keep botanicals minimal on wrapped bars.
Humidity and storage
Shrink wrap helps a lot, but storage still matters.
- Store cool and dry: a closet shelf beats a steamy bathroom every time.
- Avoid direct sun: sunlight can fade colorants and speed fragrance loss.
- Keep scents separated: even wrapped bars can share fragrance over time if stored tightly together. Use bins or dividers for strongly scented batches.
- Do not trap heat: freshly wrapped bars can be slightly warm. Let them cool before stacking so you do not create little humid pockets.
Eco-minded touches
If you are choosing Biolefin for its lower-impact angle, you can keep the rest of the packaging aligned with that goal:
- Add a paper belly band: it gives you space for ingredients and branding without a full plastic label.
- Use a small kraft hang tag: tie with cotton string or raffia for a handmade feel.
- Print minimal labeling: clear, readable, and not wasteful.
My favorite look is a crystal-clear wrap with a warm-toned paper band. It is clean, simple, and you still get that ooh, look at the swirl moment.
Labeling notes for sellers
If you sell at markets or online, check your local requirements for soap labeling. Rules vary, but you may need some mix of ingredients, net weight, business name and contact info, and any required product statements depending on how the product is classified where you live. A belly band makes this easy without covering the whole bar.
FAQ
Do I need a shrink tunnel?
No. For small batches, a heat gun is plenty. A tunnel is nice if you are wrapping large volumes and want speed and extreme consistency, but it is not required for crisp results.
Can I shrink wrap soap that still has soda ash?
You can, but you will lock in the look of that ash. If it bothers you, gently steam or wipe it off first, then let the bar dry completely before wrapping.
Will shrink wrap stop fragrance from fading?
It helps, especially compared to unwrapped bars exposed to open air. It is not a perfect seal forever, and fragrance can still migrate through many films over time. Cool, dry storage makes a big difference.
How many vent holes should I add?
Usually 1 to 3 pinholes on the back is enough. If your film keeps ballooning, add one more tiny hole near where air collects.
Is it safe to heat shrink wrap around soap?
Yes, as long as you use a heat gun correctly. Keep the airflow moving, do not overheat one spot, and work on a heat-safe surface. The goal is shrinking the film, not heating the soap.
My batch workflow
If you want a rhythm that feels calm instead of chaotic, try this:
- Line up cured bars and wipe them clean.
- Bag and seal all bars first.
- Poke 1 to 3 vent holes on the back of each package.
- Shrink in the same order every time: seam, front, back, edges.
- Cool, then label or band.
Once you wrap a dozen bars this way, your hands learn the timing. It becomes one of those soothing, satisfying tasks, like unmolding a perfect loaf, but with less lye and more crisp edges.