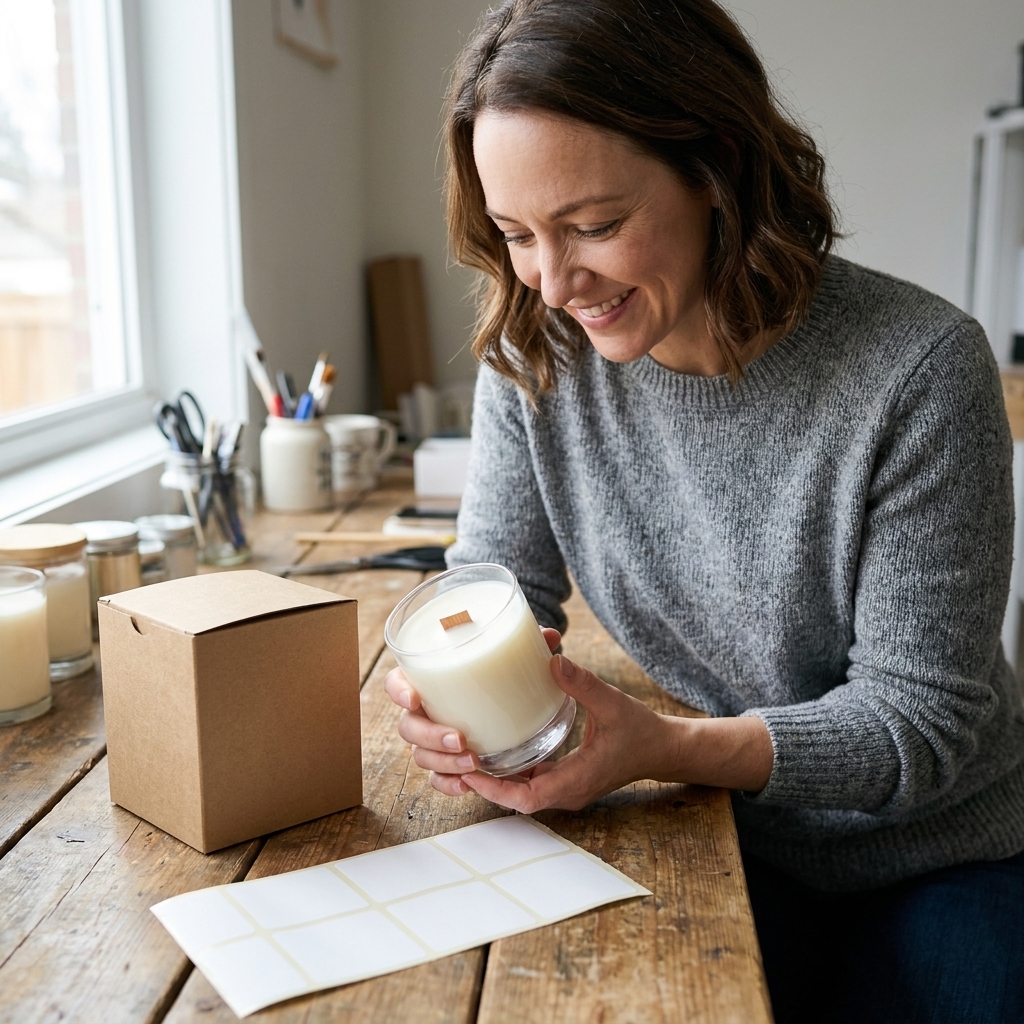
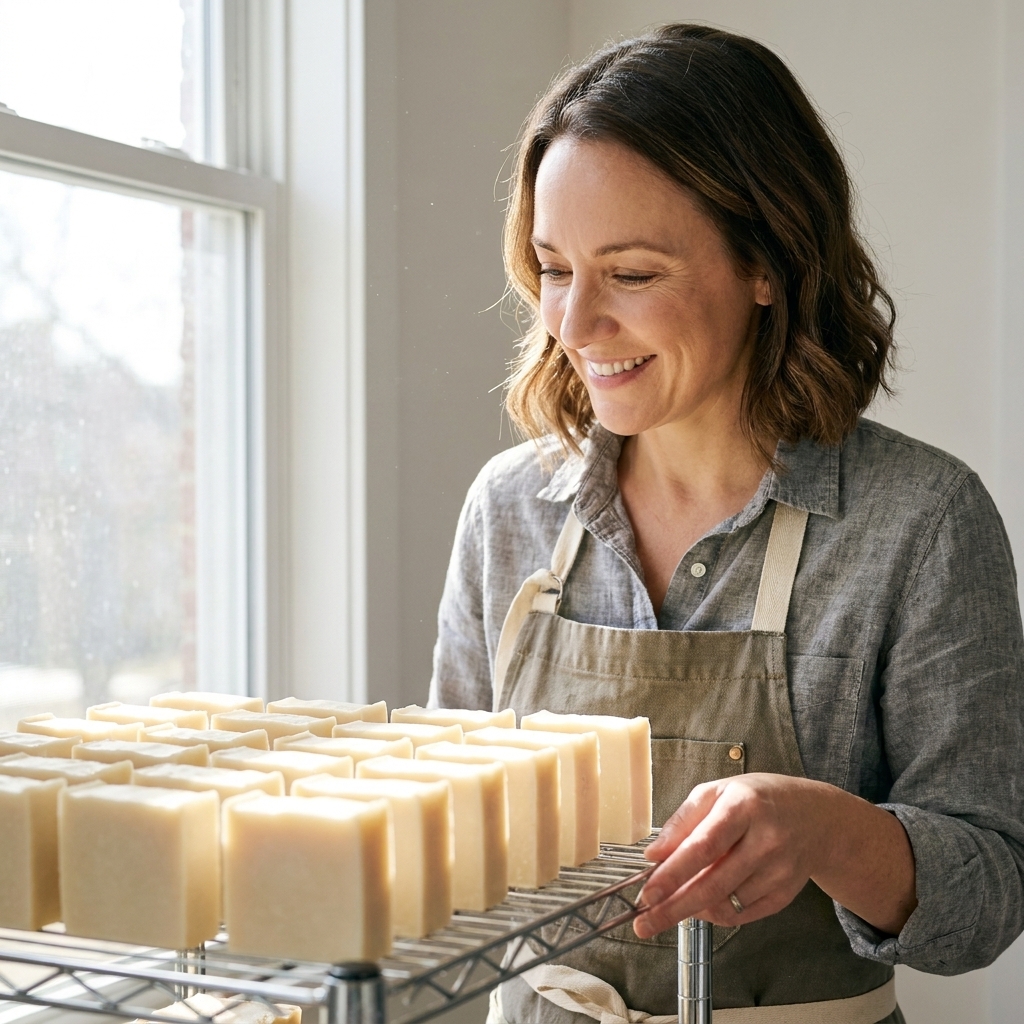
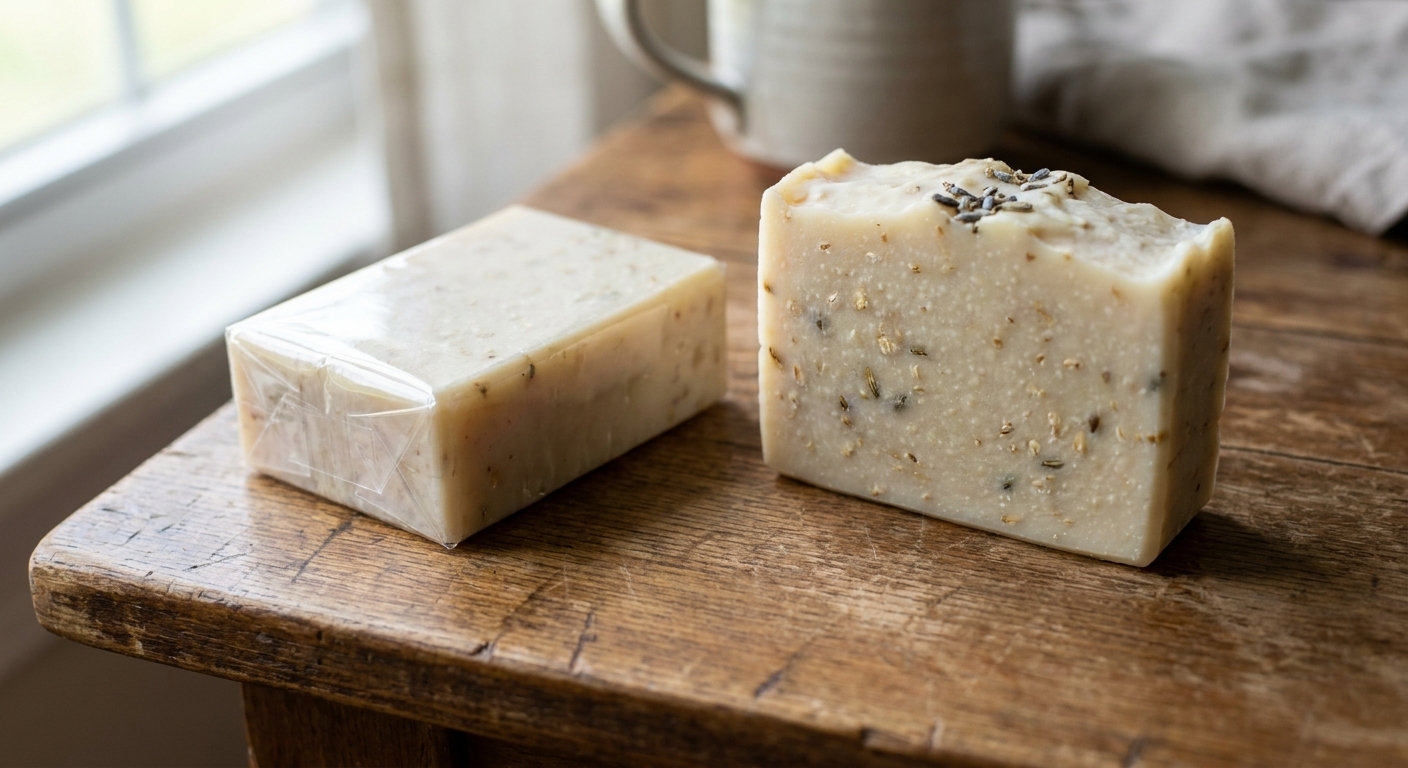
There is something deeply satisfying about a perfectly cured bar of cold process soap: crisp edges, a gentle sheen, and that clean, “this came from a real maker” feel. A simple paper cigar band gives you that boutique finish without sealing the whole bar in plastic. It is fast, affordable, and it still lets your soap breathe.
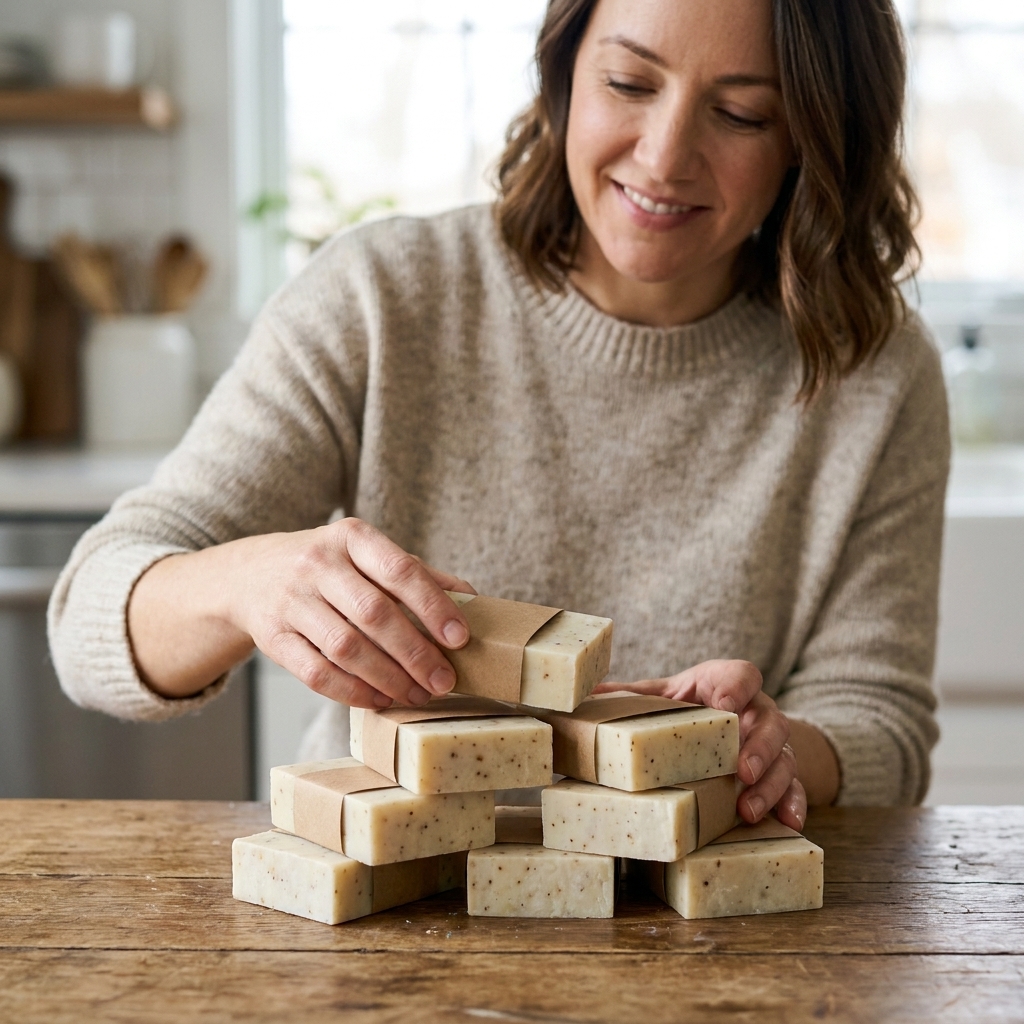
Why cigar bands work
- Breathable: Even after the bar is safe to use, it can still lose a little water over time and continue to firm up. Airflow helps it stay drier and harder, which also helps packaging look better, especially in humid climates. Bands cover the center and leave the ends open.
- Professional look: Even a plain kraft band makes a bar feel intentional and giftable.
- Flexible sizing: One band template can work across multiple batches if your cutter is consistent.
- Easy to update: Seasonal paper and a different stamp can transform the vibe in minutes.
Before you start
Paper bands and fresh soap are not friends. If your bars are still losing a lot of water, the paper can ripple or pull moisture and end up wavy.
- Best timing: Add bands after a full cure. For many cold process recipes, that is often 4 to 6 weeks, but water amount, recipe (hello, high-olive bars), and humidity can push that longer.
- Quick check: The bar should feel hard, not tacky, and the weight should be fairly stable from week to week.
- Storage tip: If your curing area is humid, give the bars a few extra days in a drier room before banding.
Prep the surface
Before you wrap anything, give your bars a quick once-over. Dust, soda ash, and little crumbly bits love to hitch a ride onto paper.
- For dust: Wipe with a clean, dry cloth.
- For soda ash: A quick steam pass can knock it back, or you can rinse very briefly and let the bar dry fully again before banding. The goal is a dry, clean surface so the band stays crisp.
Supplies
You can keep this delightfully simple, or go full “packaging goblin” and collect tools. Here is the sweet spot that works every time.
Paper and adhesives
- Paper: 65 to 110 lb cover cardstock (roughly 175 to 300 gsm) is my go-to. Lighter paper can wrinkle. Very heavy paper can crack on sharp corners.
- Adhesive: Double-sided tape or a glue stick. I avoid wet liquid glue unless I am using a very thick cardstock because it can warp.
- Optional: Small round label stickers for the overlap seam if you want extra hold and a cute finish.
Tools
- Ruler or measuring tape
- Pencil
- Paper trimmer (or sharp scissors and a cutting mat)
- Bone folder, old gift card, or the back of a spoon for crisp folds
- Corner rounder punch (optional, but it instantly looks “store bought”)
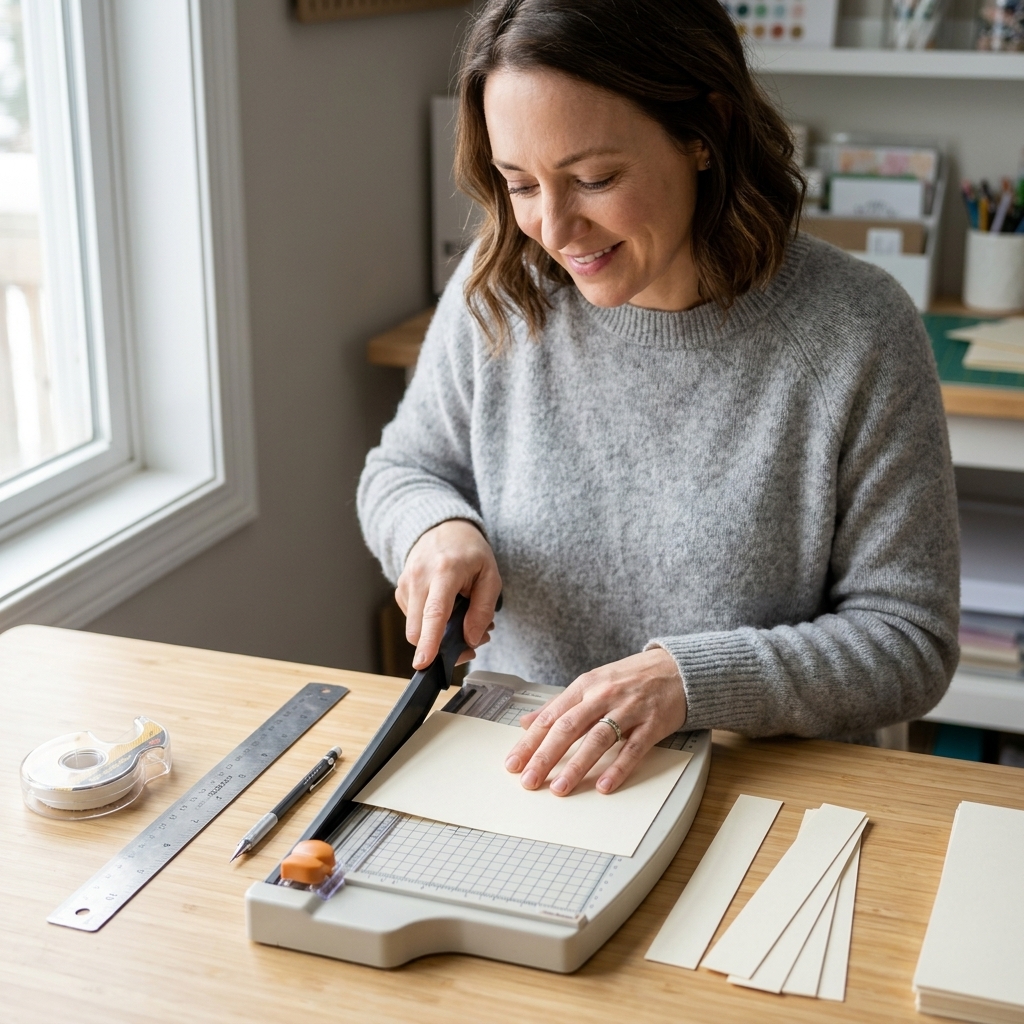
Step 1: Measure your soap
You need two measurements: band height and band length. I measure one bar from the batch, then spot-check a second bar just to be safe.
Band height
Decide how much of the bar you want covered. Common heights are:
- 1.5 to 2 inches: Classic cigar band look, shows off swirls and tops.
- 2 to 2.5 inches: More space for an ingredient list and a logo.
Measure the height of your bar (top to bottom) and choose a band height that leaves a little soap showing above and below.
If your bar is shorter, a taller band may creep onto the front and back faces a bit once it wraps around. That is not wrong, it is just a look. If you want the faces fully visible, choose a shorter band height.
Band length
Wrap a strip of scrap paper around the middle of the bar, snug but not tight, and mark where it overlaps. This little trick beats math when bars have bevels or slightly rounded edges.
- Cut a scrap strip about 2 inches tall and longer than you think you need.
- Wrap it around the bar’s middle.
- Mark the overlap point with a pencil.
- Unwrap and measure the full length.
Add overlap: Add 0.5 to 0.75 inches for the seam overlap so your tape has room to grip.
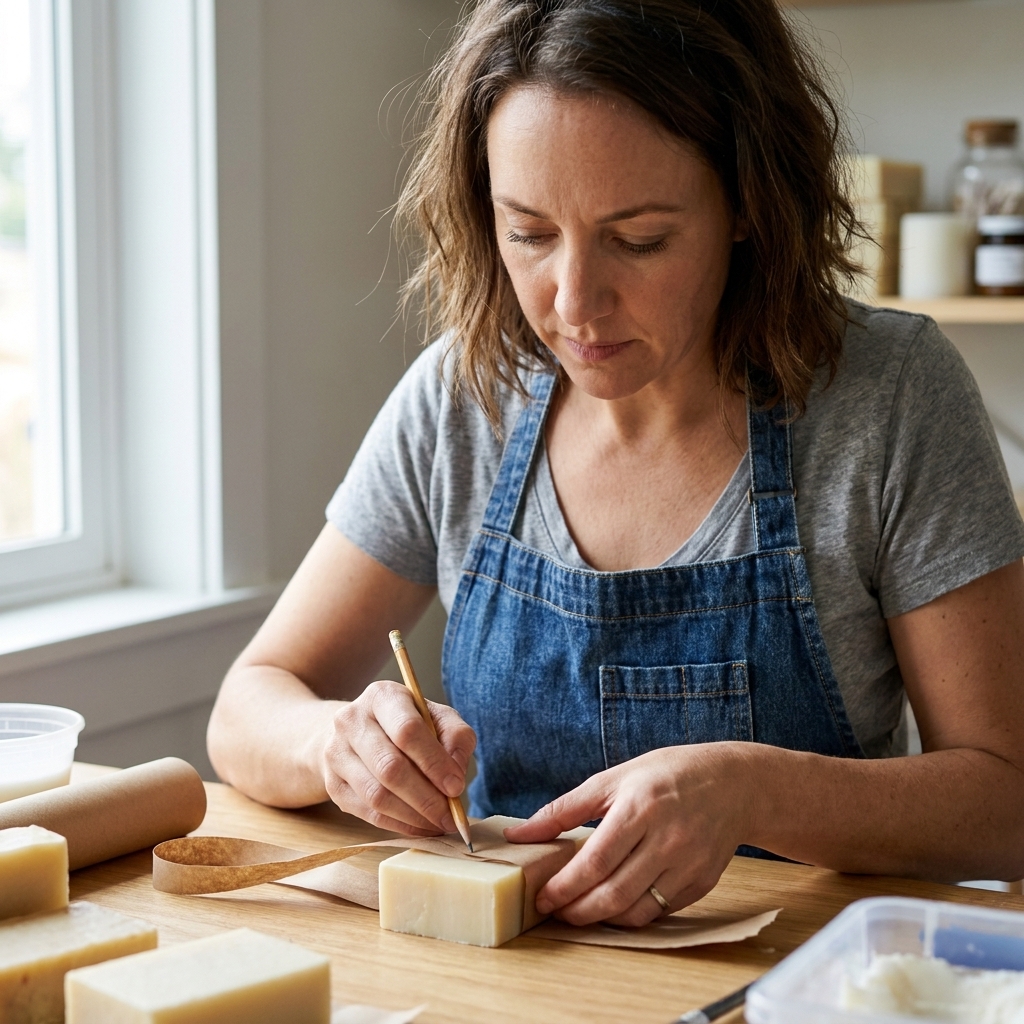
Step 2: Make a template
If you make soap regularly, a reusable template saves so much time. Once you find your perfect size, cut a sturdy template from thin chipboard or an old cereal box.
- Mark your band height and band length plus overlap on the template.
- Note the soap size on it, like “3.5 x 2.5 x 1 in bar” or the cutter setting you used.
- Keep it with your soap cutter or labels so it never goes missing.
Step 3: Cut clean strips
A clean cut is the difference between “handmade in the best way” and “I wrestled with scissors at midnight.” A paper trimmer gives the sharpest edges.
- Cut long strips to your chosen height first.
- Then cut each strip into individual bands using your measured length.
- If you want rounded corners, punch them now before you wrap.
Batching tip: Cut 5 to 10 extras. You will inevitably decide one band needs to be reprinted, re-stamped, or re-cut, and future you will feel very loved.

Step 4: Pre-crease
This is my favorite tiny step. A light crease makes the band sit flat and look polished.
- Center the band on the soap and wrap it gently to find where the corners will land.
- Use a bone folder or gift card to press a soft crease along the edges.
- Do not overfold. You want a guide crease, not a hard bend that can crack printed paper.
If your bars have beveled edges, crease lightly and let the paper float over the bevel instead of forcing a sharp corner.
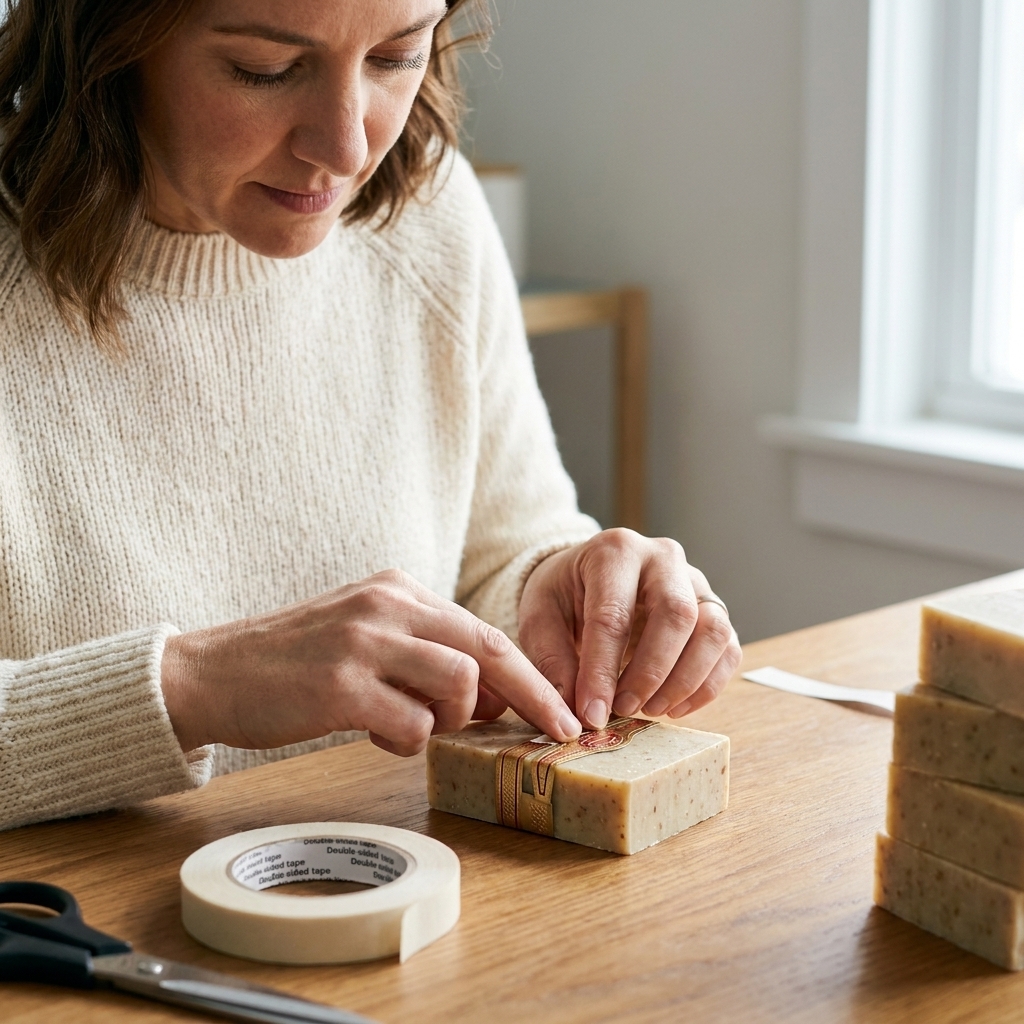
Step 5: Attach the band
I like to keep the seam on the back of the bar, centered, so the front looks uninterrupted.
Option A: Double-sided tape
- Place a strip of double-sided tape on the inside of the overlap end, close to the edge.
- Wrap the band around the soap, keeping it level.
- Press the overlap down firmly for a few seconds.
Why I love it: No drying time, no paper warping, and it holds beautifully.
Option B: Glue stick
- Apply glue to the overlap area only, using a light but even coat.
- Wrap and press the seam.
- Hold for 10 to 20 seconds.
Tip: If your glue stick is very soft, apply glue, wait 10 seconds, then attach. That little pause reduces slip.
Option C: Sticker seal
Wrap the band, then place a small label sticker across the seam on the back. This works especially well for textured papers that tape does not love.
Design details
Match paper to the soap
- Kraft cardstock: Rustic, apothecary, farmers market energy.
- Bright white matte: Clean, modern, minimal.
- Speckled or cotton paper: Soft, handmade, boutique.
Finish the edges
- Corner rounding: Tiny upgrade, big payoff.
- Ink the edges: A light swipe of dye ink can hide paper core and add warmth.
Keep text readable
If your hands will be lotion-y or you are gifting to someone who will use the soap in the shower, choose a finish that resists smudging. Laser prints are often more smear-resistant than inkjet prints on some papers, but it depends on paper coating, humidity, and how oily your fragrance blend is.
Printing tips
A few quick printing habits can save you from smudges, fingerprints, and that one band that looks inexplicably darker than the rest.
- Inkjet: Use paper that is inkjet-friendly, and give printed sheets plenty of dry time before cutting and wrapping. Overnight is safest in humid weather.
- Laser: Toner can still rub off on some textured stocks. If your band will get handled a lot, do a quick rub test before you commit to a full batch.
- Color planning: Very dark, solid backgrounds show scuffs and glue smears more easily. Light backgrounds hide handling better.
Coatings and sealants
A quick heads-up before you reach for laminating sheets or spray sealants. Most coatings reduce breathability and can also make moisture issues more obvious in humid climates. If you love a coated look, try one bar first and let it sit banded for a few days to see if you get rippling, sticking, or condensation under the paper.
What to include
What you need depends on where and how you gift or sell, but here is the practical maker-friendly list.
Gift basics
- Soap name or scent
- Key notes (example: lavender, cedar, vanilla)
- Your maker name or “Handmade by…”
- Cure date or batch code (optional, but helpful)
If you sell
Regulations vary by country and sometimes by region. In the United States, for example, whether something is regulated as “true soap” or as an FDA cosmetic or drug depends on what it is made of and what you claim it does. Claims like moisturizing, deodorizing, antibacterial, acne, eczema, or healing can change how your product is regulated.
Common label elements to look for in your local rules:
- Product identity: what it is (soap, cleansing bar, etc.)
- Net weight: typically on the main display panel
- Ingredients: required for many cosmetics; “true soap” rules can differ. When ingredients are required, they are often listed in descending order by weight using the naming system your jurisdiction expects (many makers use INCI where applicable).
- Business name and contact: business name plus address or other accepted contact method, depending on jurisdiction
- Batch or lot code: not always required, but very smart for traceability
Troubleshooting
Bands are rippling
- Your soap may still be releasing moisture. Give it more cure time, or let bars sit unwrapped in a drier space for several days.
- Switch to thicker cardstock.
- Avoid wet glue. Use tape or a sticker seal.
Band slides off
- Shorten the length slightly so it hugs the bar more snugly.
- Increase seam overlap to 0.75 inches.
- Use stronger tape, or add a sticker seal over the seam.
Paper cracks
- Use a lighter crease and do not force sharp folds.
- Try a slightly thinner cardstock or a paper with more cotton content.
- Round the corners of the band to reduce stress points.
Ink smears
- Change paper to one made for your printer type.
- Give the print more dry time before cutting and wrapping, especially with inkjet.
- Consider a stamp for the front and print only on the back where it gets less friction.
Packaging add-ons
Cigar bands look lovely on their own, but they also play well with simple gift packaging.
- Glassine bags: May be more breathable than poly bags depending on thickness and coating, and they look tidy, but they still create a barrier. Test in your climate if humidity is high.
- Bakery boxes: Perfect for gifting multiple bars.
- Jute twine: One wrap around the band adds instant charm.
- Dried botanicals: Tuck a small sprig under the band, but keep it decorative and away from wet use.
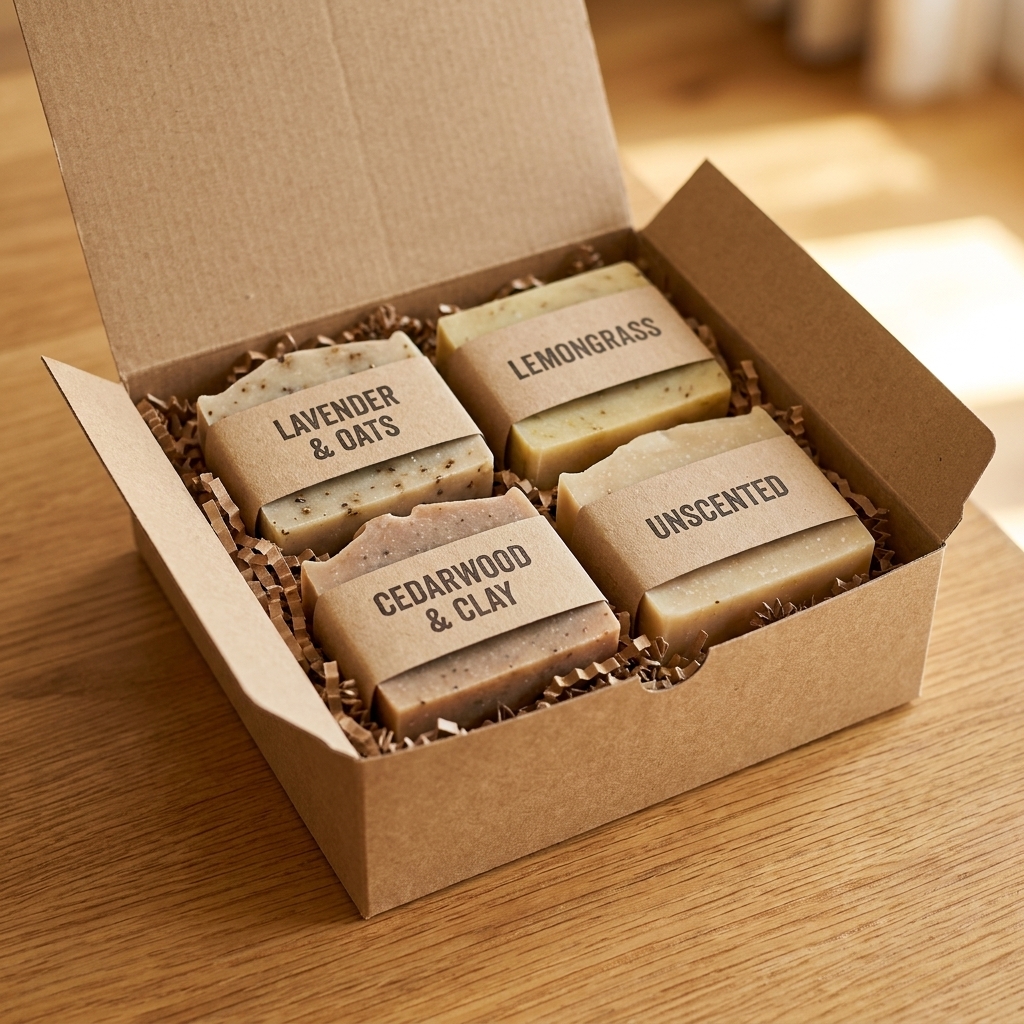
Scent storage tip
If you are storing banded soaps before a market or a gift swap, strong scents can mingle. Florals, mints, and some fragrance oils love to share. Keep different scents in separate bins or boxes, and if you need to fully prevent scent transfer, this is one of the situations where shrink wrap (after a full cure) can be worth it.
Quick method
If you just want to label a fresh cure without setting up a full craft session:
- Cut bands 2 inches tall.
- Use the scrap paper wrap method to measure length plus 0.5 inch overlap.
- Round corners if you have the punch.
- Tape the seam on the back.
Ten minutes later, your soaps look ready for a holiday basket, a thank-you gift, or that “just because” drop-off that makes someone’s whole week.
FAQ
Should I shrink wrap instead?
For gifting, cigar bands are usually enough and they let the soap breathe. Shrink wrap is helpful if you need extra protection from scuffs, scent mixing, or very humid environments. If you do shrink wrap, make sure the soap is fully cured first.
How wide should a cigar band be?
Most makers land between 1.5 and 2.5 inches tall. I personally love 2 inches for a balanced look that still shows off the top and bottom of the bar.
Can I band soaps with textured tops?
Yes. Just wrap around the smoothest midsection. If the top is very textured, keep the band away from the highest points so it does not catch or tear.
Will the band stick to the soap?
If the soap is fully cured and dry, it should not. If you notice sticking or damp spots under the band, the bar likely needs more cure time or a drier storage spot before packaging.