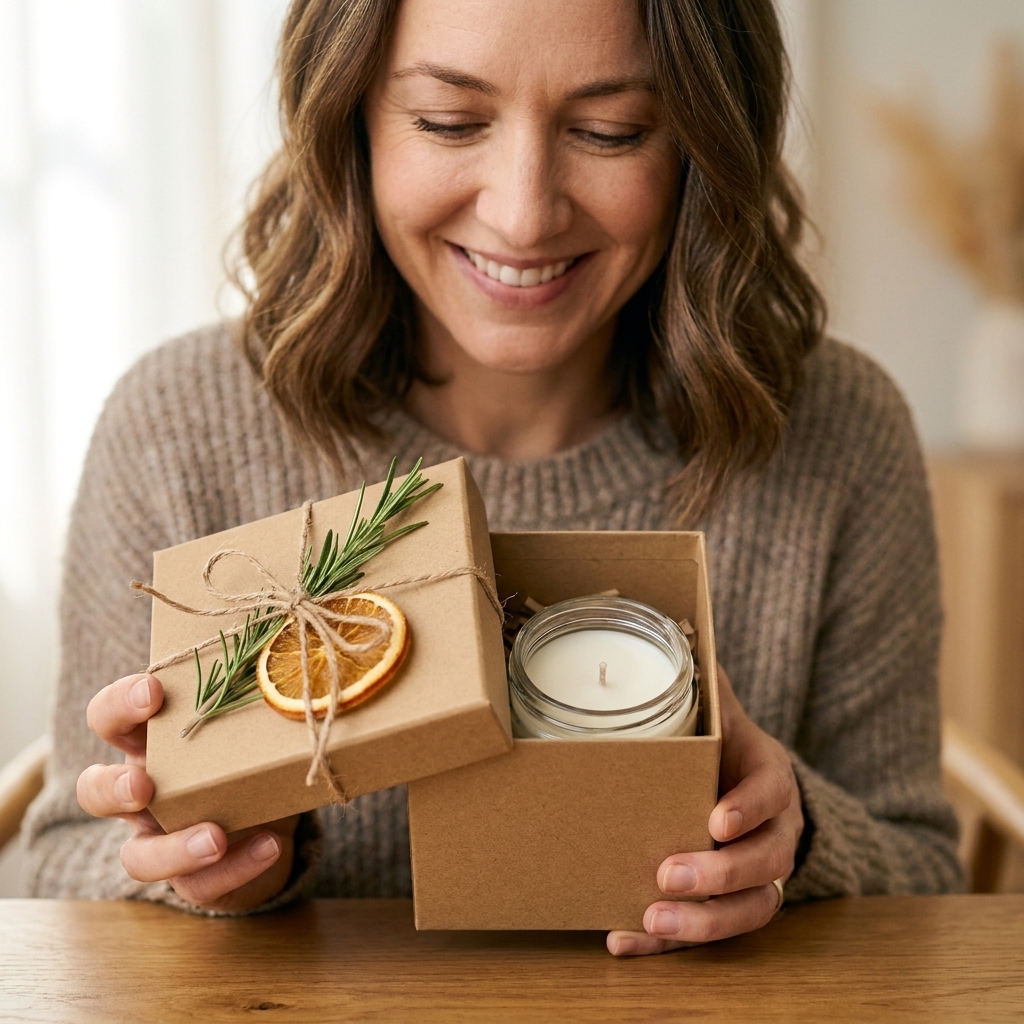
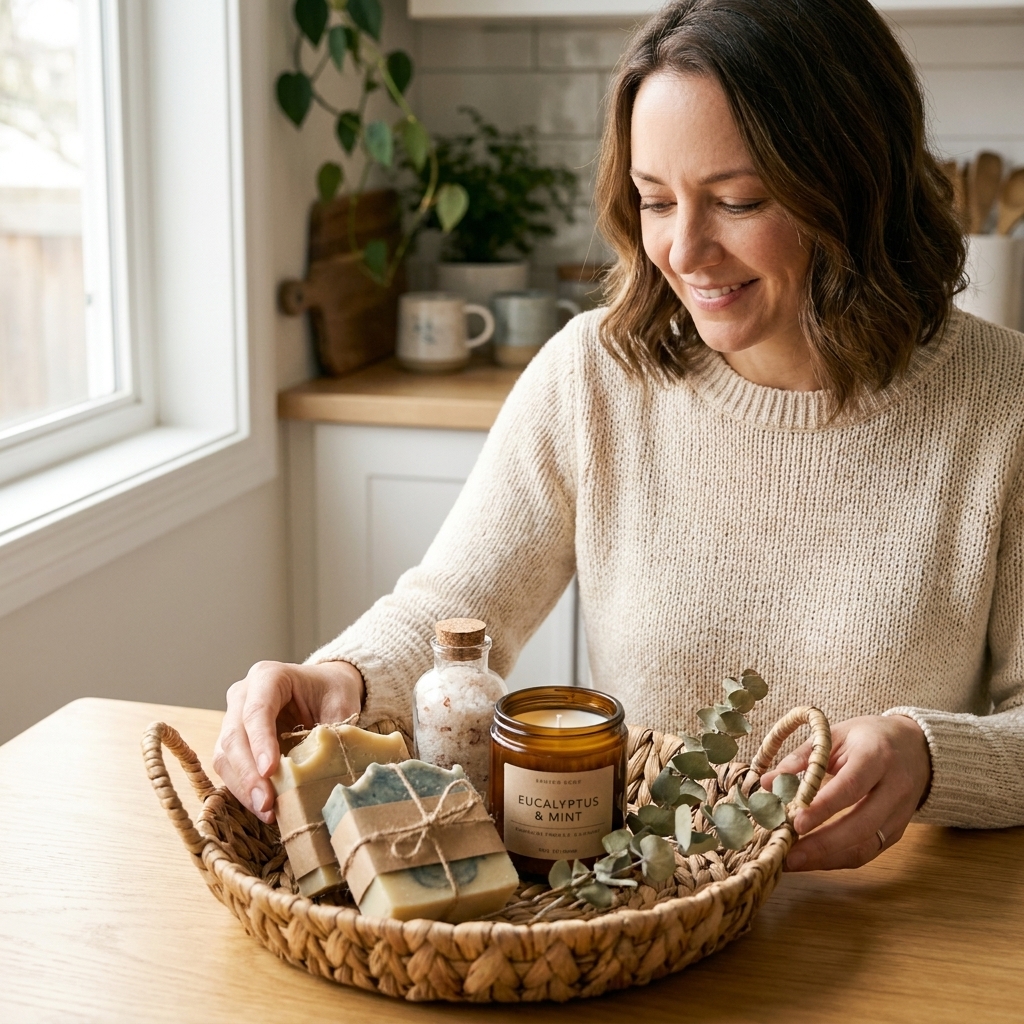
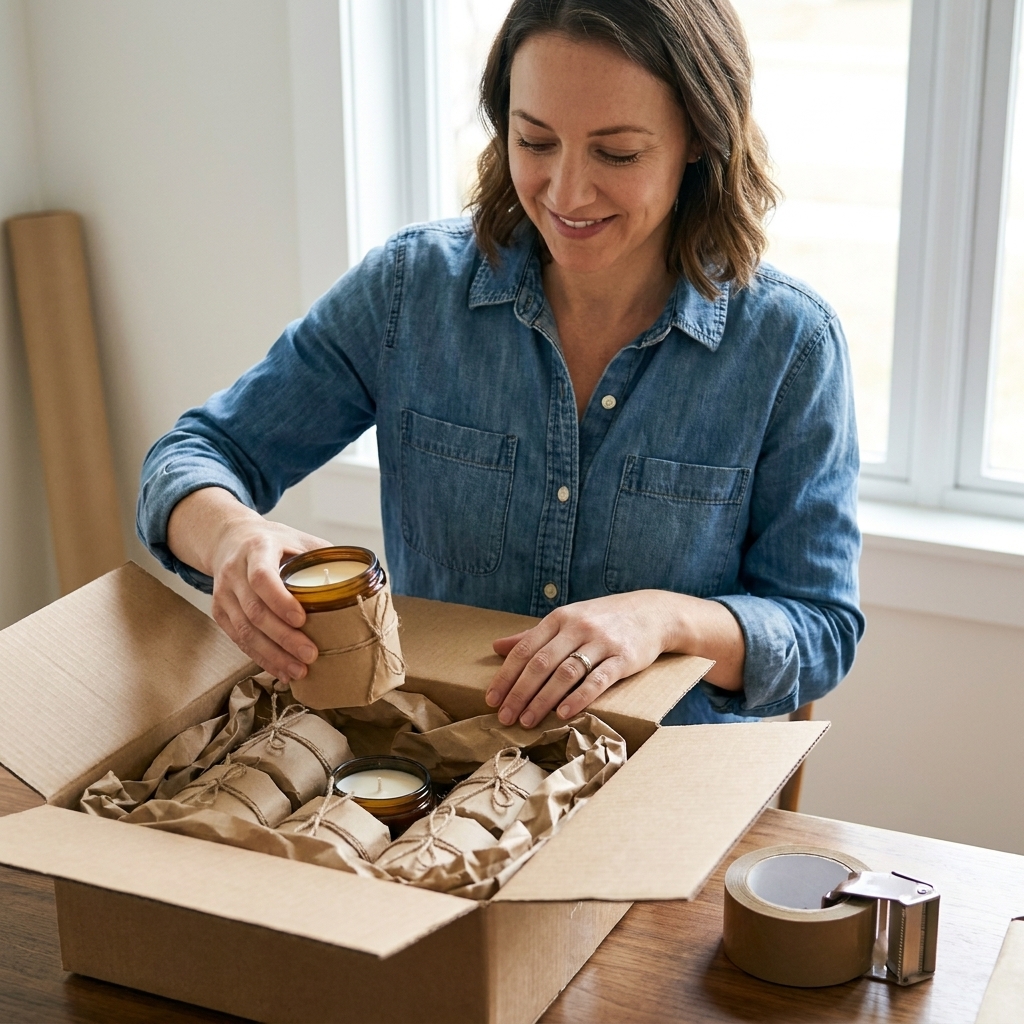
I love a handmade candle or bar of soap because it already feels personal. But the moment someone picks up your gift, the packaging becomes part of the story. Tissue that crackles softly, ribbon that loosens like a little reveal, a wax seal that makes it feel like a letter from another era. None of this has to be fussy or expensive, and you do not need a craft room to pull it off.
This is my favorite mix of high impact and low stress wrapping techniques for candles and soaps: tissue paper, wax seals, and ribbons, plus a few tiny upgrades that make the unboxing feel intentional.
Before you wrap
Wrapping goes smoother when the product is ready for close-up attention. These are my quick pre-wrap habits.
For candles
- Make sure the candle is fully set and cured for your wax. Cure time varies by wax and fragrance load (often anywhere from 48 hours to 2 weeks). Wipe jars with a soft cloth. For matte jars, a microfiber cloth keeps fingerprints from showing up later.
- Trim and center the wick. A centered, neatly trimmed wick instantly looks more gift-ready.
- Check the lid fit. If the lid is slightly loose, a ribbon or a belly band can help keep everything snug.
For cold-process soap
- Wrap only fully cured bars. Fresh soap can sweat or attract moisture, especially in humid conditions, and that can wrinkle paper.
- Brush off soda ash. A soft brush works well. If you do a quick steam pass, keep it brief and let the bar dry completely before wrapping so you do not trap moisture.
- Plan for breathability. Soap likes to breathe. Paper wraps are perfect. Fully airtight plastic is not my favorite for long storage.
Tissue paper that looks tidy
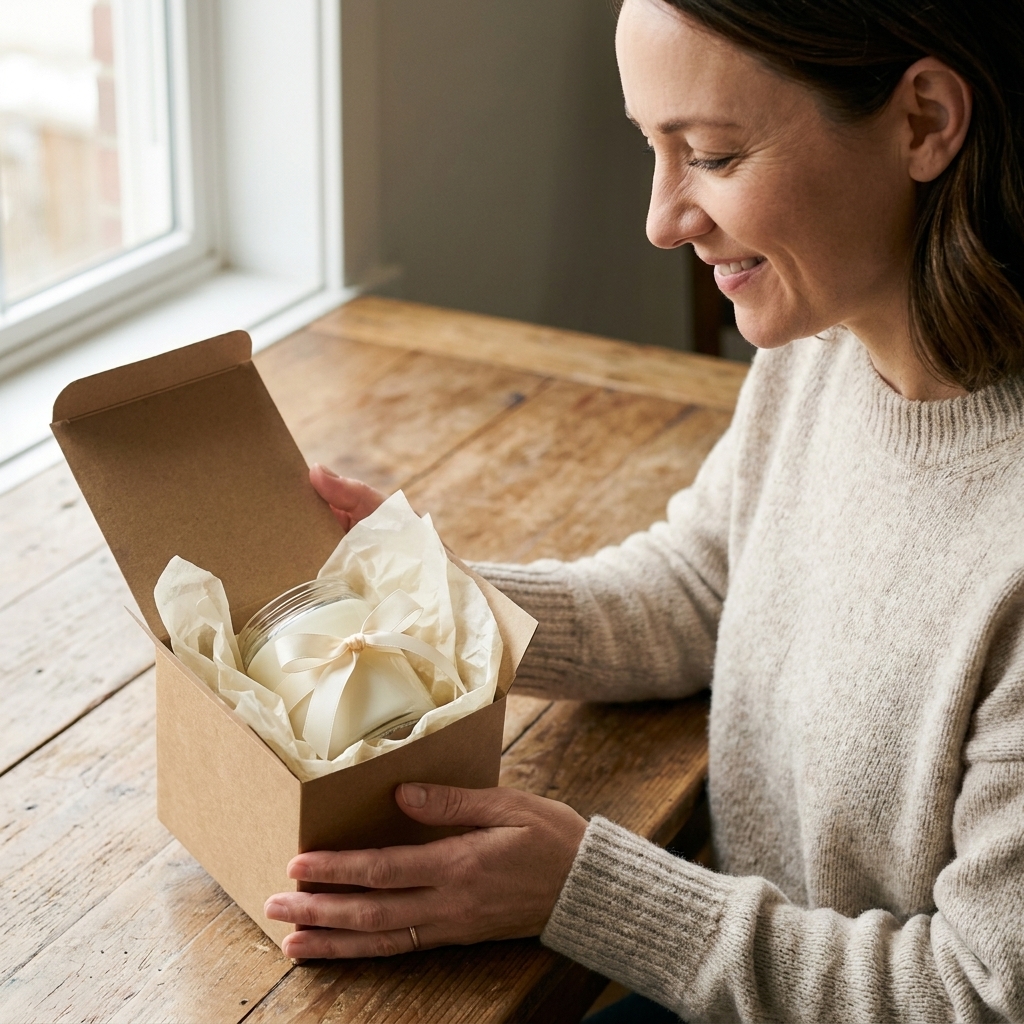
Tissue is my ride-or-die for candle gifting because it is lightweight, forgiving, and it makes even a simple jar feel like a boutique find. The trick is using tissue as a styling tool, not just filler.
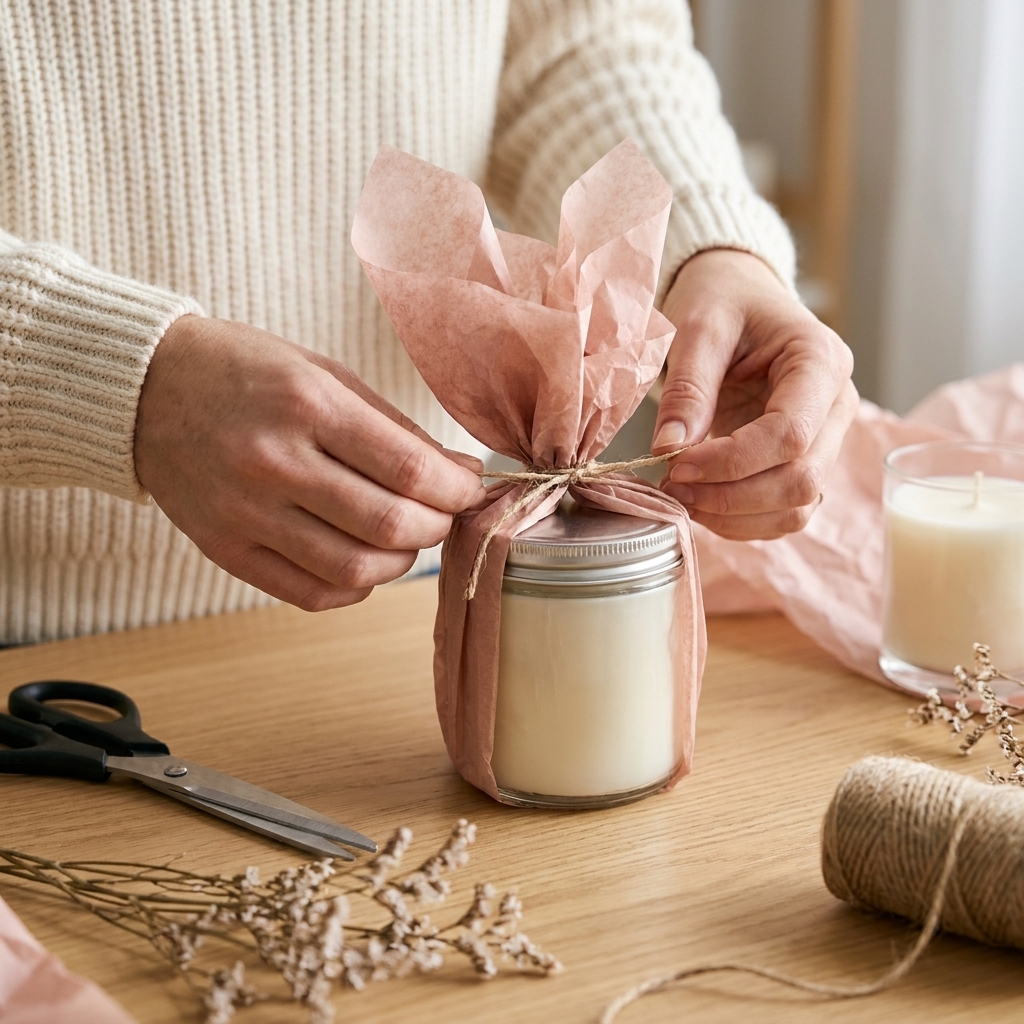
Technique 1: Petal wrap
This is the easiest way to make a candle look lush and giftable.
- Cut two tissue squares. One larger, one slightly smaller. I like layering similar tones for subtle depth.
- Place the candle in the center. Set it on the larger tissue first.
- Bring opposite corners up. Gather gently above the lid, like you are making a bouquet.
- Twist once, then tie. Use ribbon or twine about 1 inch above the lid (or wherever it naturally cinches). Tight enough to hold, loose enough to look airy.
- Fluff the tissue. Pull the petals outward so it looks soft and full.
My little hack: If tissue feels too wild, spritz your hands with a tiny bit of water (not the tissue) and smooth the edges. It calms static without leaving spots.
Technique 2: Tissue band
When you want a modern look that still feels handmade, go for a band instead of a full wrap.
- Cut a tissue strip long enough to wrap around the jar or soap box with a 1 inch overlap.
- Fold it into thirds lengthwise to make a neat band.
- Wrap and secure with a small dot of double-sided tape on the overlap.
- Add ribbon over the band or seal the overlap with a wax seal sticker.
This style is especially cute on amber jars and kraft soap boxes because the band adds color without hiding the product.
Technique 3: Tissue nest for boxes
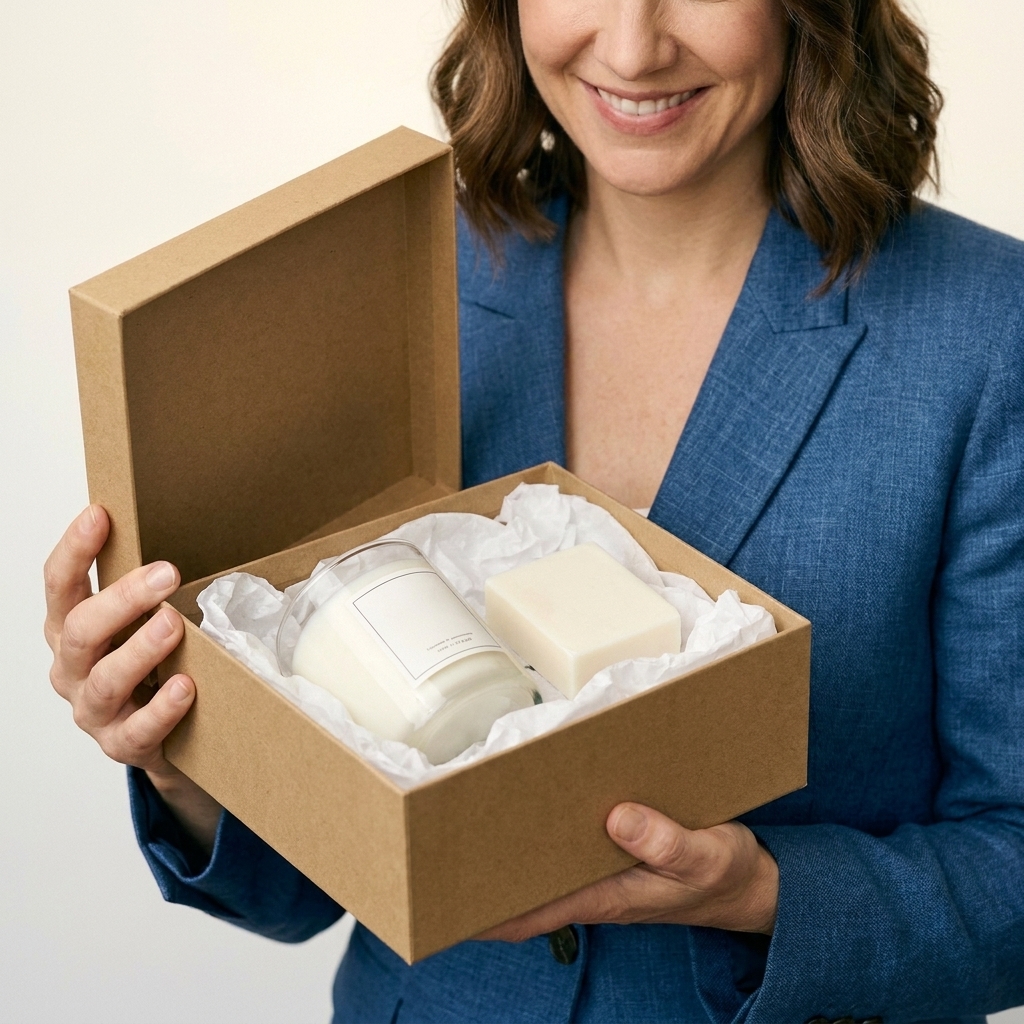
If you are boxing candles for shipping or for a basket, tissue is your cushion and your presentation in one.
- Line the box with two to three sheets of tissue, leaving extra hanging over the sides.
- Make a nest by gently scrunching tissue in the center.
- Set the candle in place and add crumpled tissue around the sides so it cannot shift.
- Fold the overhang over the top like a soft envelope.
Shipping note: For heavier jars, pair tissue with sturdier void fill like kraft paper, molded pulp, or corrugated inserts so the candle cannot thump the box walls. If it can rattle, it can chip.
Tip for hot weather: If you are gifting in a warm climate, avoid tight plastic wrap around candles. Tissue and a sturdy box help, but the real protection is keeping the package out of heat and sun.
Wax seals that hold up
Wax seals are pure romance. They also come with one practical question: will they stick, crack, or smudge? The answer depends on the surface and the type of wax you use.
Pick the right wax
- For convenience: use self-adhesive wax seals. They are fast, consistent, and great on paper, tissue bands, and boxes.
- For handmade charm: make traditional poured seals, but use them on tags or cardstock first, then attach the tag with ribbon or adhesive dots. This avoids messy pours directly on a gift box.
- One thing to skip: candle wax. It is usually too brittle and not formulated for sealing.
Where seals work best
- On paper: tags, belly bands, envelope-style box closures.
- On jars: only if the jar is smooth and the seal is not in a high-friction spot. I prefer sealing ribbon tails or a paper band rather than sticking wax directly on glass.
- On soap: not on the soap itself. Oils and humidity can loosen it. Seal the wrap, not the bar.
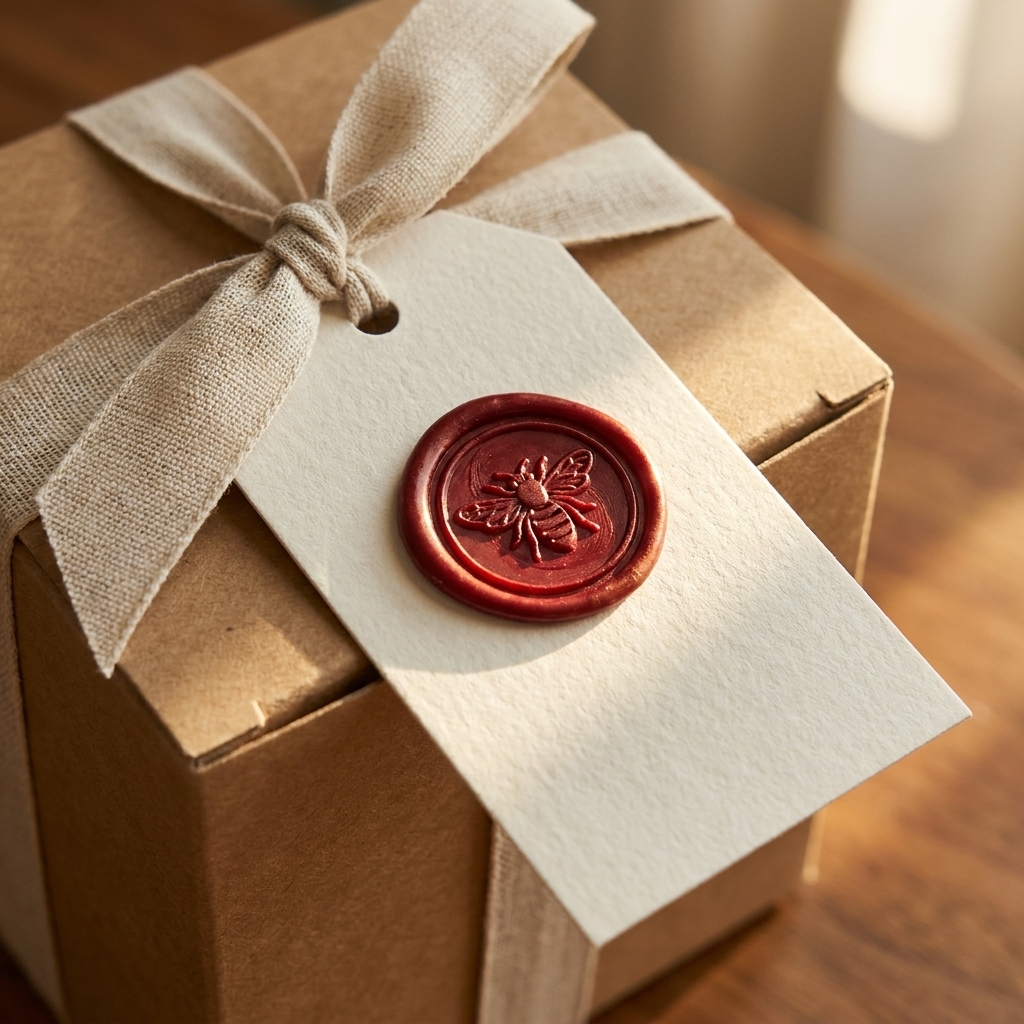
My no-stress method: seal the tag
- Stamp your wax seal onto a small piece of cardstock.
- Let it cool completely.
- Punch a hole above the seal.
- Thread ribbon through the hole and tie around the candle or soap box.
You still get the luxe sealed look, and it survives handling a lot better.
Ribbon that looks polished
Ribbon is the quickest way to make a gift look finished. I keep a small stash in a few widths and textures so I can match almost anything.
Choose ribbon on purpose
- Satin: sleek and festive, best for smooth jars and formal vibes.
- Grosgrain: holds its shape and ties beautifully, great for boxes and baskets.
- Velvet: cozy and rich, especially pretty with winter scents like pine, vanilla, or smoked woods.
- Cotton or linen tape: earthy and handmade, perfect for botanical soaps and minimalist candles.
Technique 1: Lid hug
This keeps the bow centered and makes the candle look like it came from a tiny apothecary shop.
- Wrap ribbon around the jar just under the lid.
- Cross the ends and bring them back to the front.
- Tie a bow slightly off-center, then slide it to where it looks best.
- Trim tails on a diagonal or a neat V-cut.
Extra nice touch: tuck a small dried botanical sprig under the ribbon knot, but keep it on the outside of the packaging and easy to remove. If the candle will be lit, add a quick note that says: remove all packaging and decor before burning.
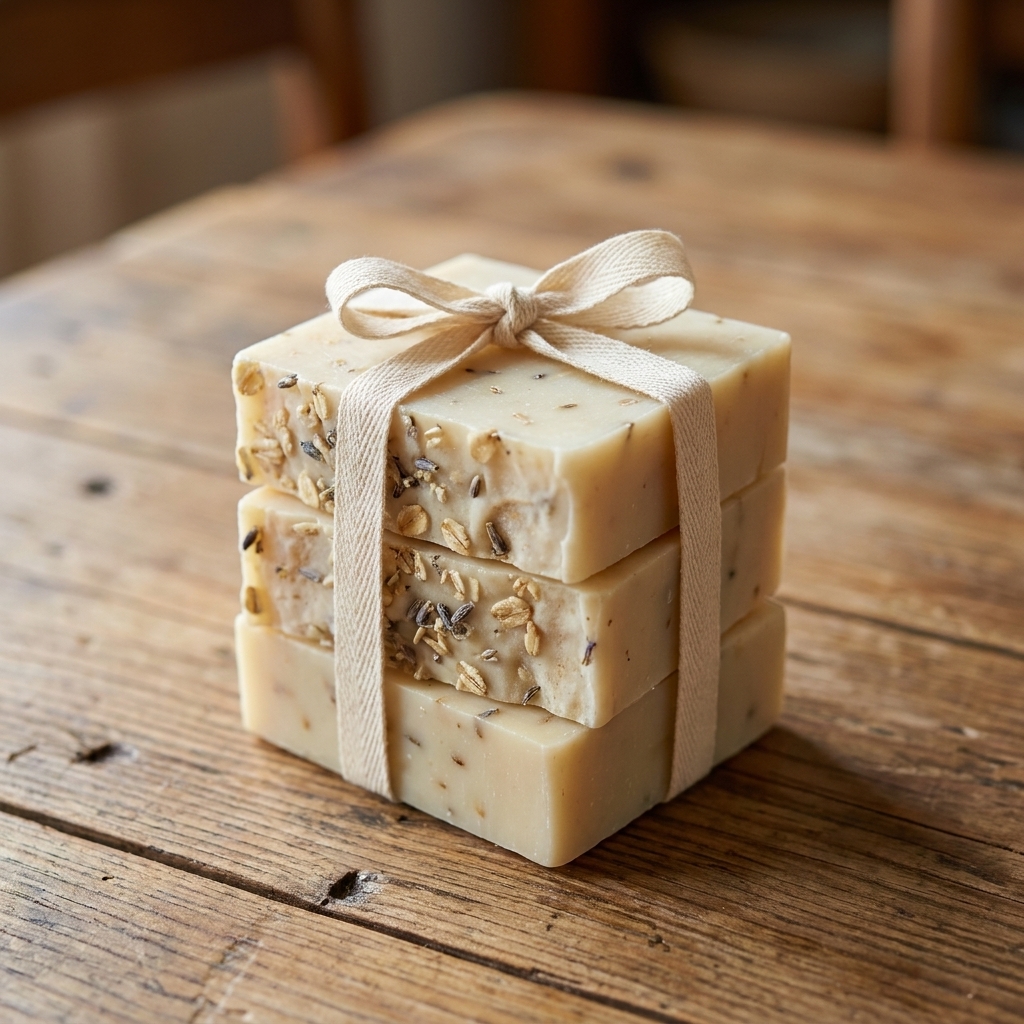
Technique 2: Stack tie for soap sets
This is my favorite for gifting two to four soap bars as a mini collection.
- Stack soaps with labels facing the same direction.
- Wrap ribbon around the short side, then around the long side like you are tying a parcel.
- Knot firmly, then tie a bow on top.
- Add a tag with scent notes and cure date if you include that info for fellow makers.
Technique 3: Bow that stays put
Some bows like to wander. This one stays where you tied it.
- Wrap ribbon around the box and tape the underside with a small strip of clear tape.
- Tie a bow on top.
- Secure the knot with a tiny dot of double-sided tape under the bow center.
It is invisible, and it keeps the bow from sliding during transport.
Three unboxing upgrades
If you want your packaging to feel like an experience, these tiny details do a lot of work.
Scent note card
A small card that says what the scent is supposed to feel like helps the recipient get your blend. For example: Creamy vanilla, toasted coconut, and a little sea salt.
Simple dust cover
If your candle does not have a lid, add a simple circle of tissue or parchment over the top before boxing. It keeps wax clean and helps prevent any surface oils or fragrance residue from marking packaging.
Texture layering
Pair smooth tissue with a textured ribbon, or a matte kraft box with a glossy wax seal. Contrast reads as intentional even when the color palette is simple.

Heat and smudge-proof tips
Prevent wax seal cracking
- Use flexible sealing wax formulated for mailing, not brittle candle wax.
- Avoid sealing on areas that bend, like box corners.
- Let seals cool fully before handling, and do not stack heavy items on top.
Avoid tissue stains
- Make sure candle jars are wiped clean, especially around the rim and lid threads.
- If a candle sweats in warm weather, choose a box plus tissue nest rather than a tight wrap.
- For soaps with high vanilla discoloration or strong fragrance, use a paper band first, then tissue outside the band.
Keep adhesives drama-free
- On matte jars or coated labels, test tape and glue dots first. Some adhesives can lift labels or leave a cloudy residue on glass.
- If you are worried about residue, attach ribbon to itself (not the jar) and use a belly band or tag as your anchor point.
Seasonal shipping reality check
If you are shipping candles in summer heat, consider holding shipments on extreme days, using faster delivery, and adding insulation or molded pulp inserts. No wrap can outsmart a hot delivery truck.
Quick style recipes
- Minimalist: white tissue band + linen tape + small kraft tag.
- Romantic: blush tissue petal wrap + velvet ribbon + wax-sealed tag.
- Apothecary: kraft box + black grosgrain ribbon + deep red wax seal.
- Botanical soap: kraft paper wrap + cotton twine + clay-colored wax seal on a tag.
FAQ
Can I put a wax seal directly on a candle jar?
You can, but I only recommend it on smooth glass and in a spot that will not rub in transit. My preferred approach is sealing a tag or a paper band, then attaching that to the jar with ribbon.
What tissue paper works best for wrapping candles?
Acid-free tissue is lovely if you are storing gifts for a while, and thicker tissue is easier to fluff without tearing. If your tissue feels very thin, just double it up.
How do I wrap soap so it can still breathe?
Use paper wraps, belly bands, or boxes with a small vent gap. Avoid fully airtight plastic for long-term storage because soap can sweat, especially in humid climates.
What if my wrap looks messy?
Hide the work with one focal point: a centered bow, a wax seal, or a tag. Even if the tissue is a little imperfect, a clean focal point makes it look purposeful. I call this the happy-accident cover-up, and it works every time.